If you followed the previous chapter and set up Azure DevOps or some other source control for your project, good! If not, you may add the assembly we build in this section to source control later, but if you plan to use Git, you may regret skipping the previous chapter.
Creating a custom SSIS task begins with creating a .Net assembly. We engage in practices that differ from many .Net development projects because we are creating a control that will be used in other Visual Studio projects, specifically, SSIS projects.
In this chapter, we take steps to establish the foundation of our project while considering the following steps. The very first step is how we open the Visual Studio IDE. If Visual Studio is open, please close it before continuing.
Opening Visual Studio IDE
I can hear you thinking, “Hold on a minute, Andy. Do you propose to start by telling us how to open Visual Studio?” Yes. Yes, I do. “Why?” I’m glad you asked. If you are new to .Net development and seeking answers to questions about developing a custom SSIS task (or similar code), this is one of the tricky things that real software developers do not remember to tell you. They are not intentionally leaving stuff out to trip you up, nor are they bad people; they simply do not remember making changes to their development environments to support this kind of development.
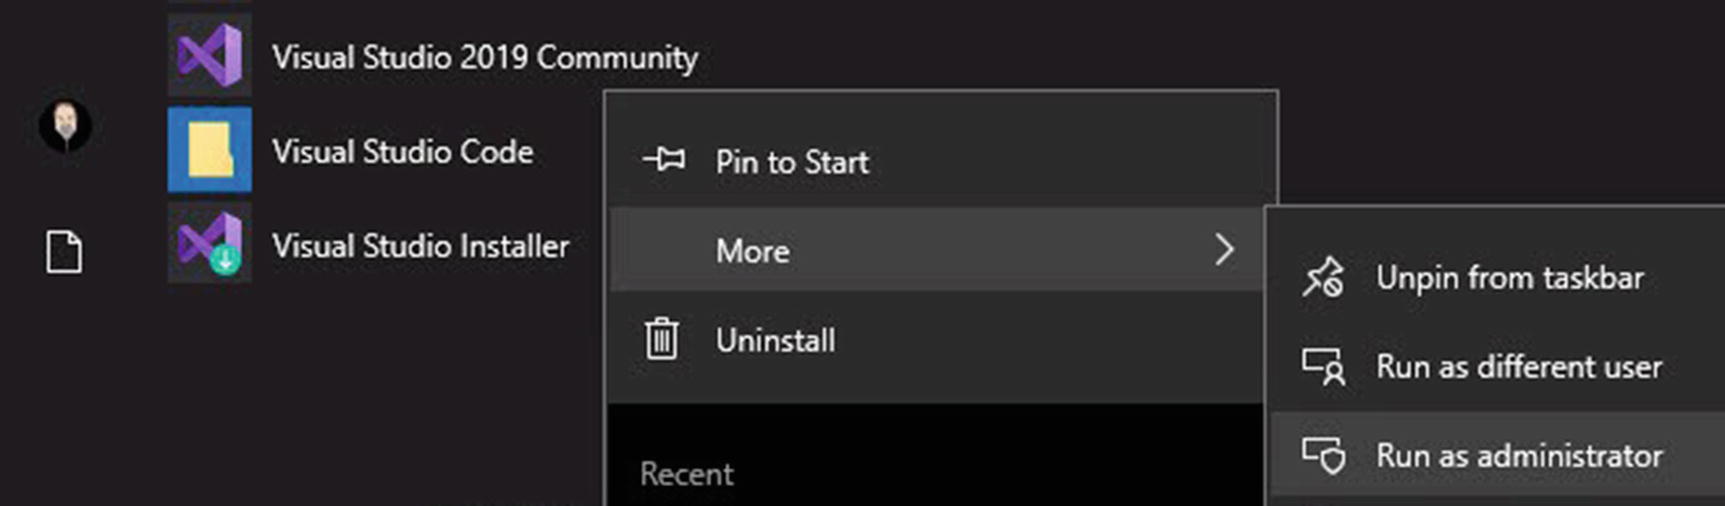
Run Visual Studio as Administrator
You do not have to take this step. But taking this step will save you time and effort later. Why? Later we will configure Build operations to copy output files to the Global Assembly Cache (GAC), which will require elevated permissions.
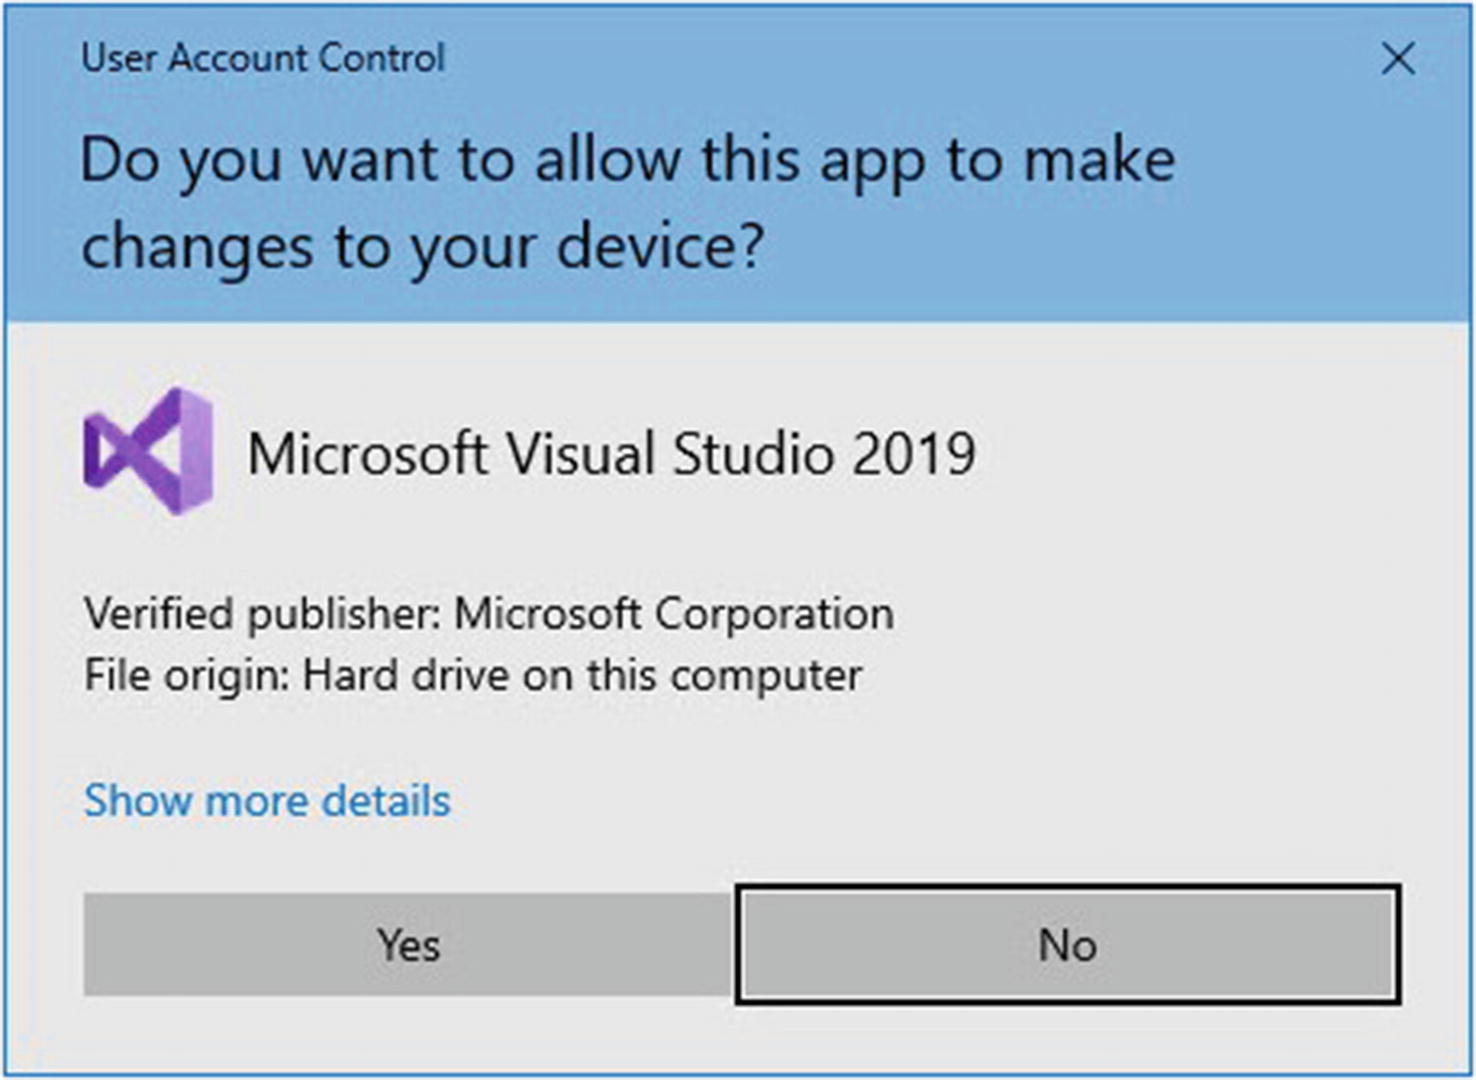
Confirm you really want to run Visual Studio as administrator
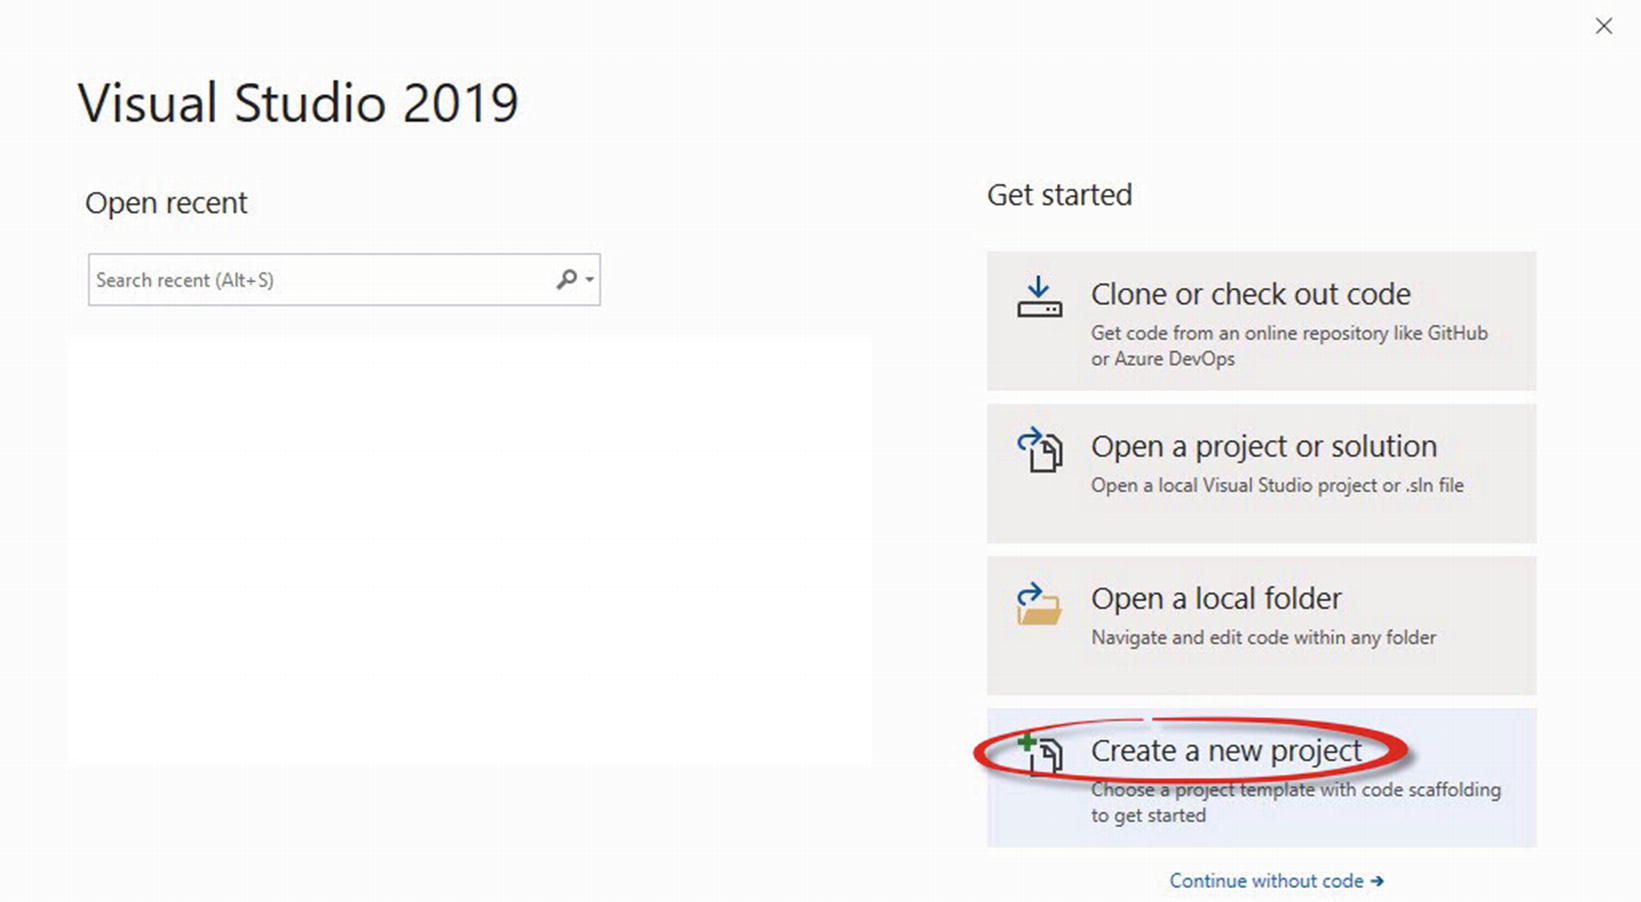
Start a new project
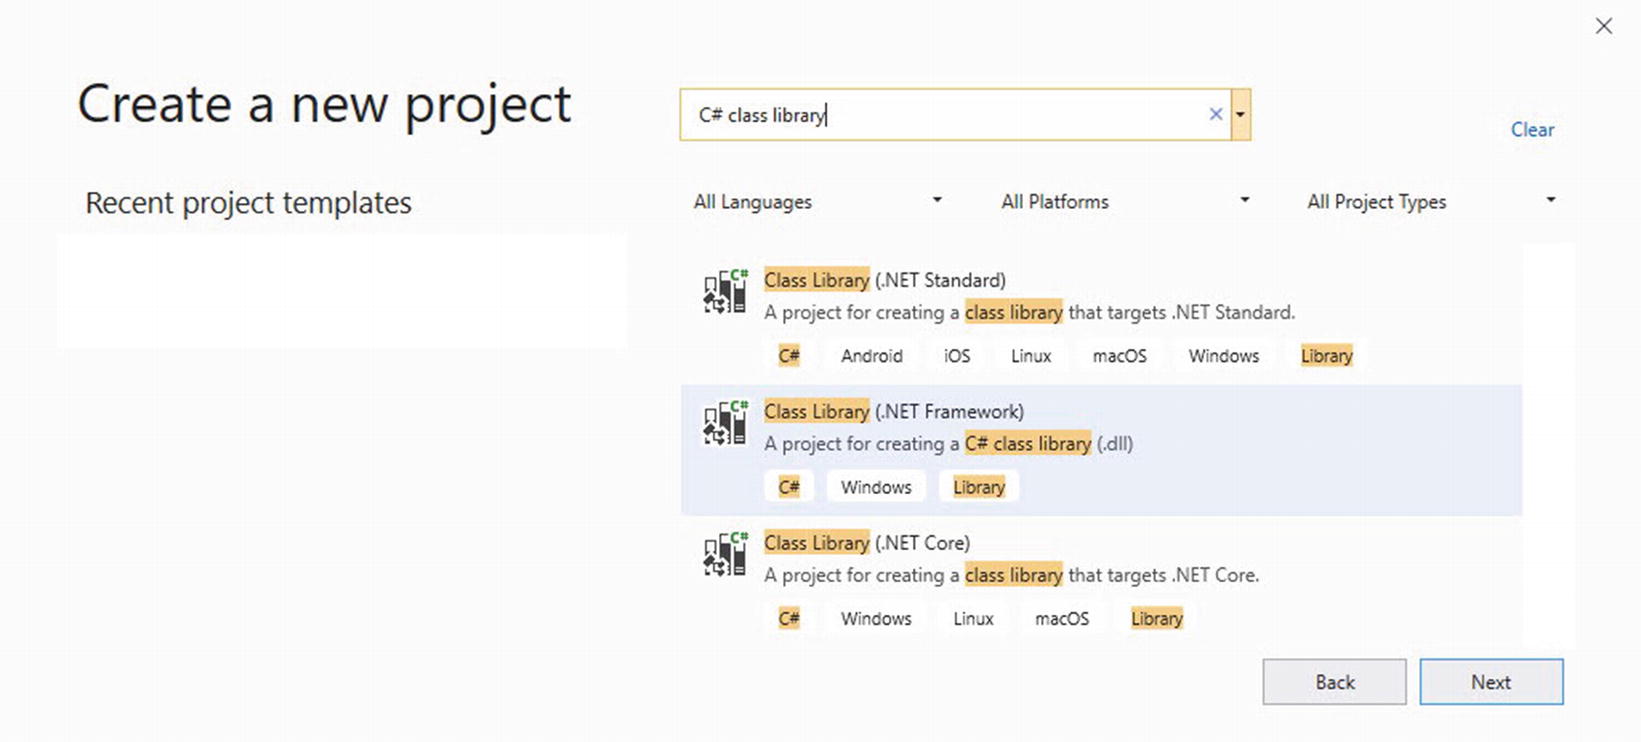
Selecting a project type
Select “Class Library (.NET Framework)” and click the Next button.
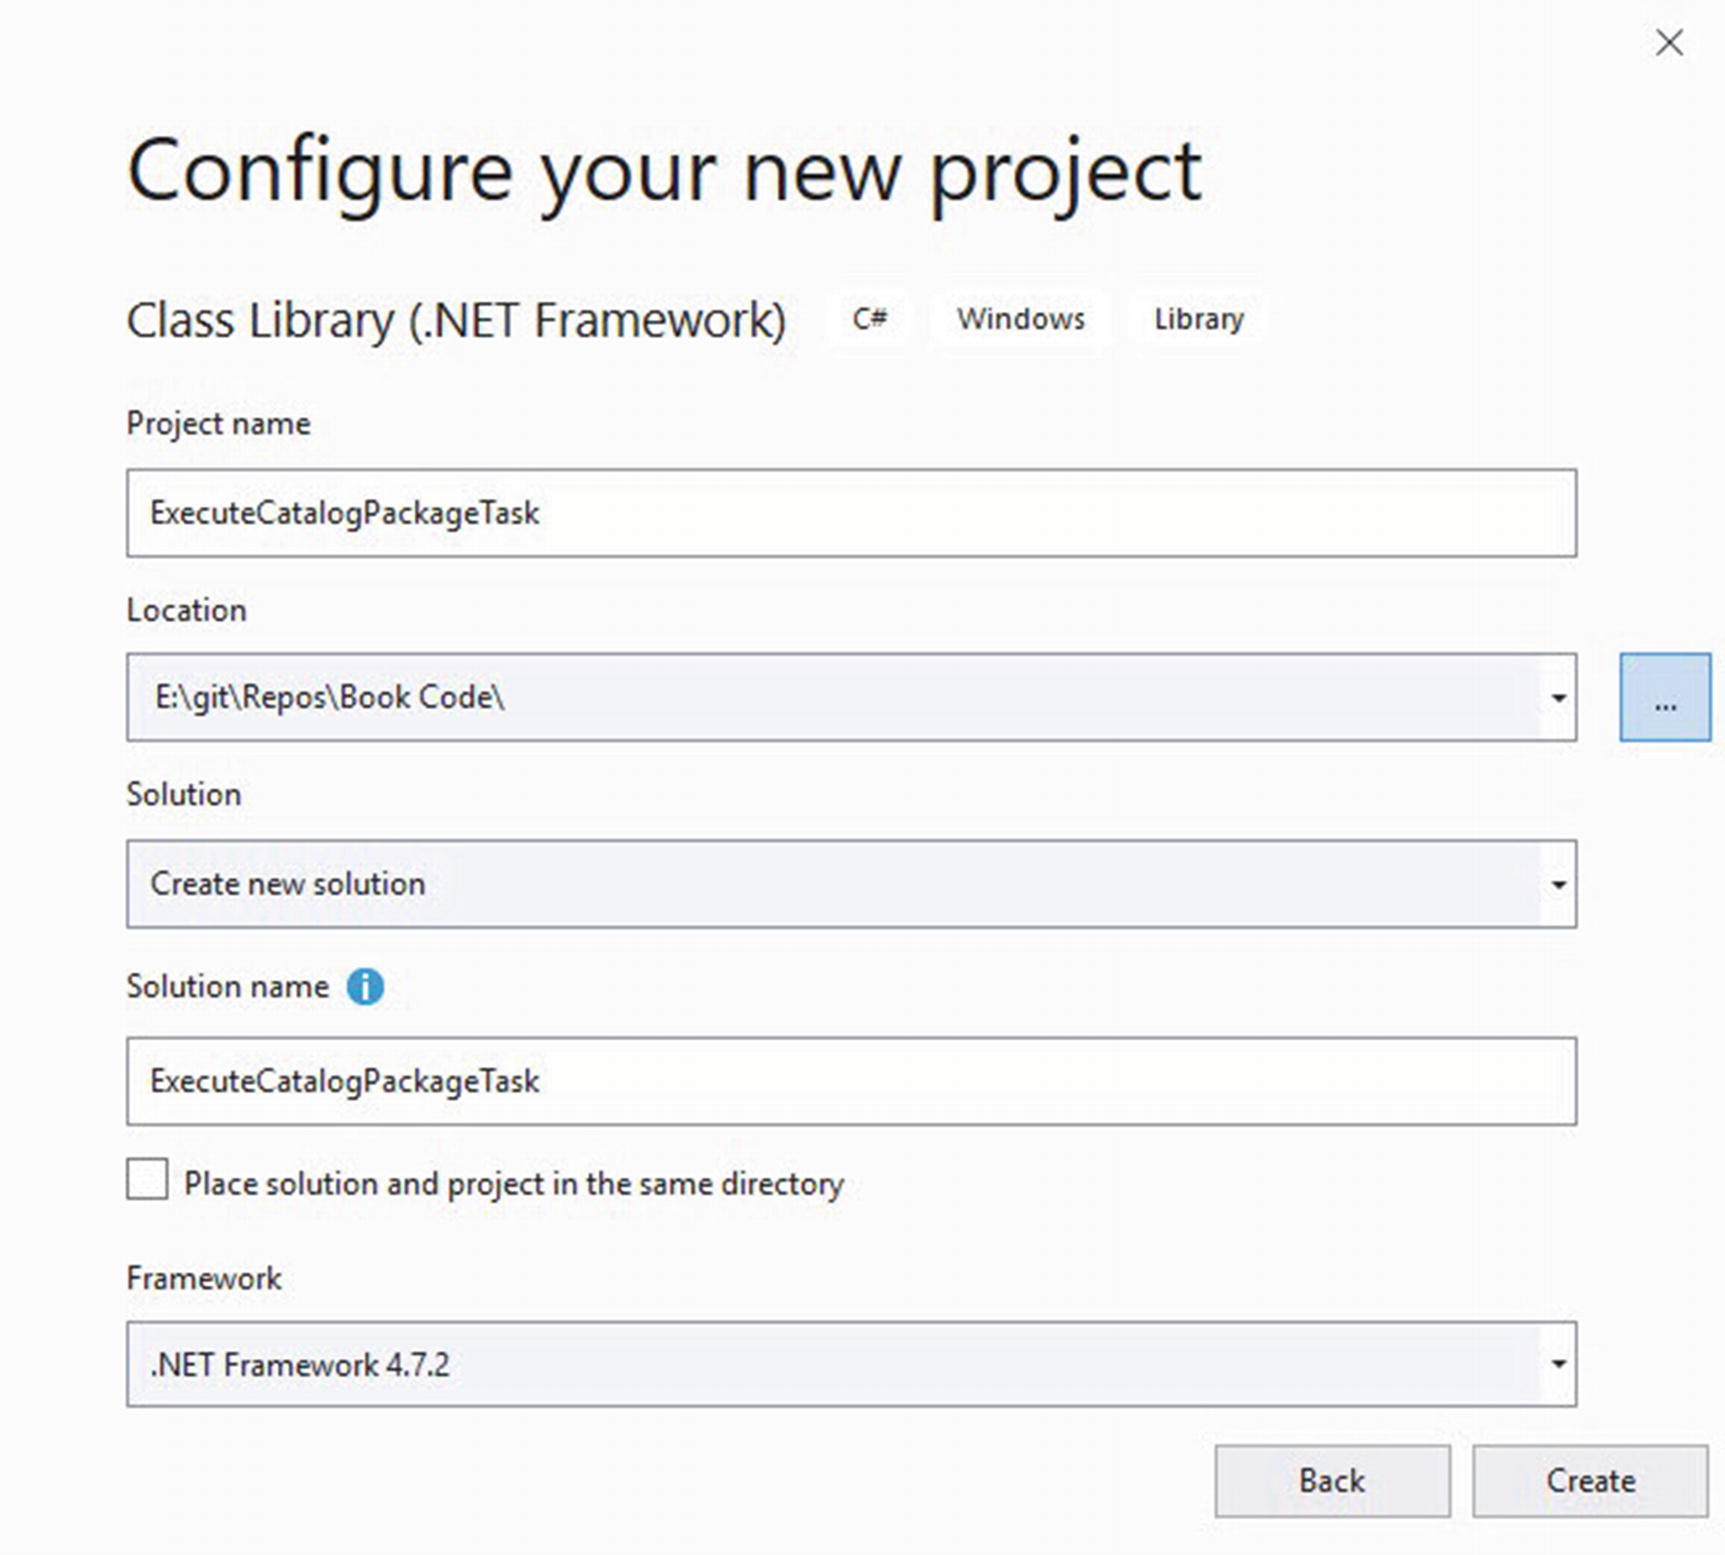
Configuring and naming the new project
Name the project ExecuteCatalogPackageTask.
Store the project in the path created when the Azure DevOps Git repo was cloned.
Click the Create button to create the project.

The new Visual Studio project in the local repo
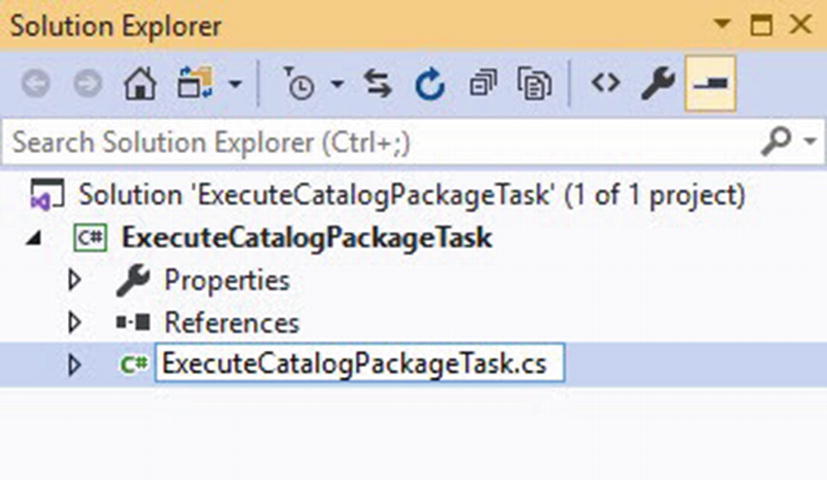
Renaming Class1 to ExecuteCatalogPackageTask
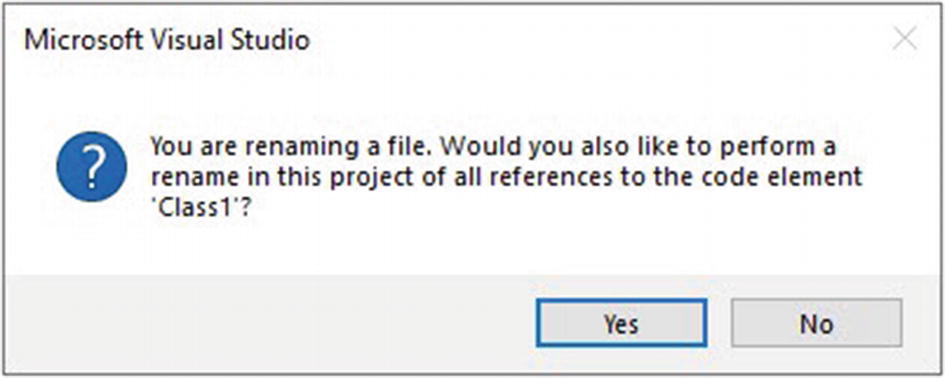
Renaming all references
These are the first steps to creating a custom SSIS task using Visual Studio 2019. Experienced developers will likely find this information trivial – this book is not written for experienced developers.
A key takeaway from this section: Remember to start Visual Studio as an Administrator.
Adding a Reference
The .Net Framework was invented so developers could get a few hours of sleep. It encapsulates a host of common functions which developers may use in applications. That’s pretty cool, but even cooler is the fact that many platforms and applications expose functionality via .Net assemblies. Coolest of all (for our purposes), SSIS assemblies allow us to create custom tasks!

Project References in Solution Explorer

Preparing to add a reference

Adding the Microsoft.SqlServer.ManagedDTS Assembly Reference from AssembliesExtensions
If the assembly is not located in the AssembliesExtensions list, you will have to browse for the Microsoft.SqlServer.ManagedDTS assembly. On my virtual machine, I located the file in the following folder:
C:WindowsMicrosoft.NETassemblyGAC_MSILMicrosoft.SqlServer.ManagedDTSv4.0_15.0.0.0__89845dcd8080cc91
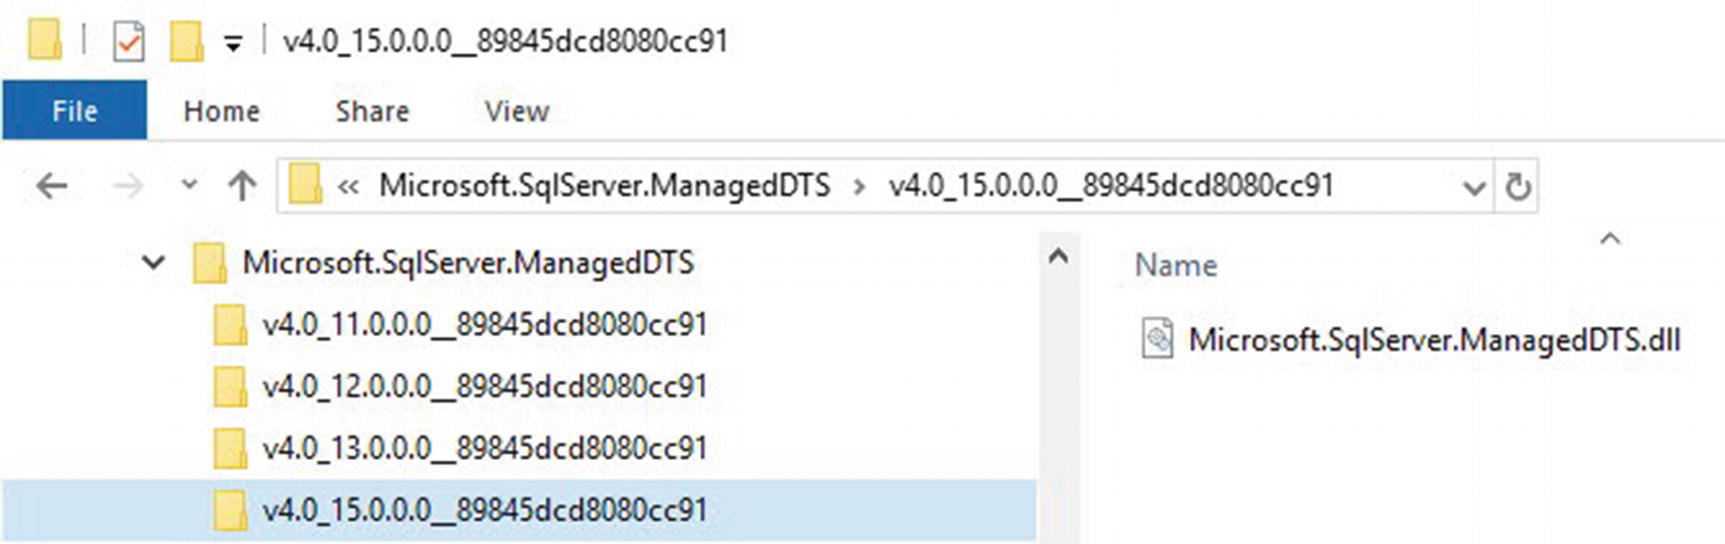
Adding the Microsoft.SqlServer.ManagedDTS Assembly Reference from the file system

Reference successfully added
Conclusion
Created and configured an Azure DevOps project
Connected Visual Studio to the Azure DevOps project
Cloned the Azure DevOps Git repo locally
Created a Visual Studio project
Added a reference to the Visual Studio project
It’s time to check in our code.