We’ve worked through several chapters in preparation for this chapter, but we are finally ready to begin coding the custom task in earnest. We begin by adding references to the project, decorating the class, inheriting from a base class, and adding a property.
Using a Reference
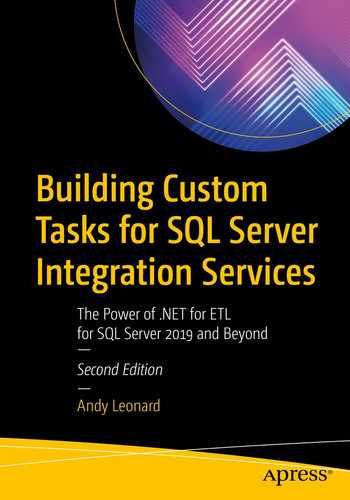
Open the Visual Studio solution ExecuteCatalogPackageTask. In Solution Explorer, open the class ExecuteCatalogPackageTask.cs. In the top section of the class, add the line using Microsoft.SqlServer.Dts.Runtime;
Using a reference
This line of code allows you to use objects, methods, and properties contained in the assembly Microsoft.SqlServer.ManagedDTS – a reference added to this assembly in Chapter 3.
Decorating the Class
If you are reading this near the holidays, I know what you’re thinking: “Andy, the holidays are almost over. Why are we decorating now?” It’s not that kind of decorating.
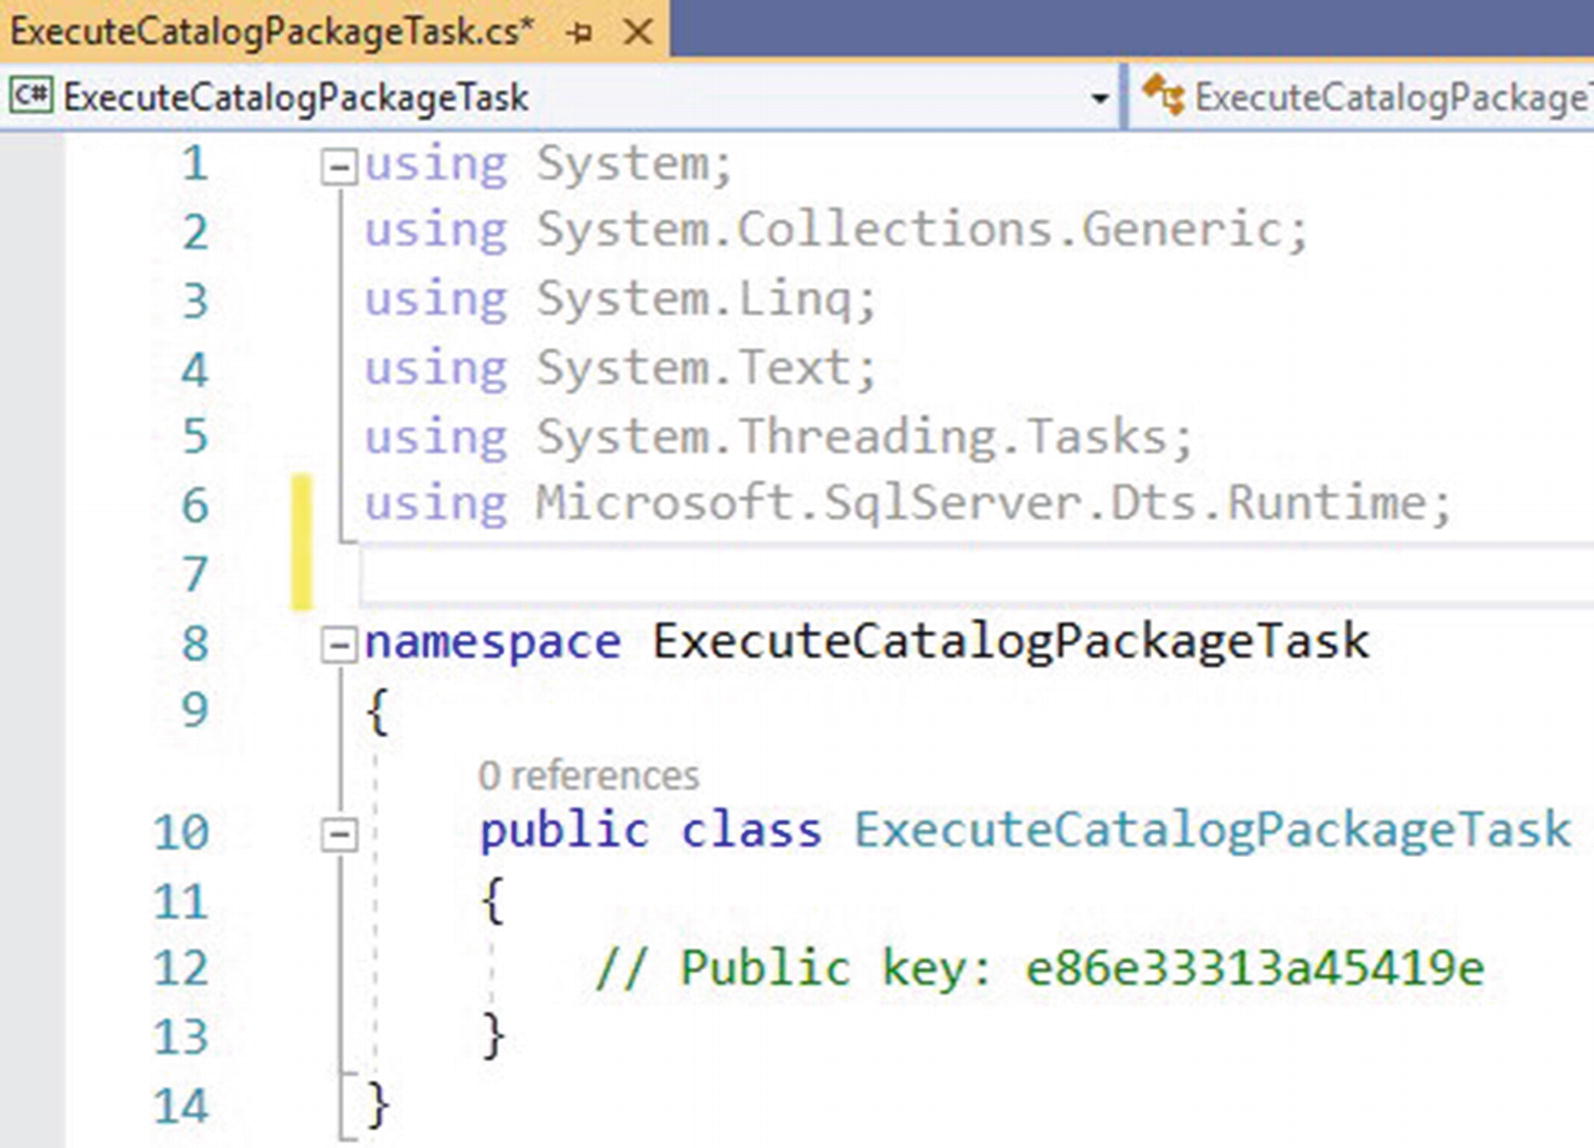
Decorating the class
Decorating the class
The TaskType attribute is optional. SSIS 2019 is version 150. One could argue for permitting SSIS 2012, version 110, for the TaskType attribute in the DtsTask decoration since the SSIS Catalog was introduced with SSIS 2012. Since this project is built using Visual Studio 2019 using the default .Net Framework – 4.7.2 at the time of this writing – the author opted to code the task for SSIS 2019 and later.
Inheriting from Microsoft.SqlServer.Dts.Runtime.Task
Once the reference and decoration are in place, the next step is to configure inheritance from the Microsoft.SqlServer.Dts.Runtime.Task object. Inheriting Microsoft.SqlServer.Dts.Runtime.Task provides a framework for a lot of the work to come, including methods the code will override.
Inheriting from Task

Inheriting Task
The actions taken so far combine to create a relationship between our code and the base code included in the ManagedDTS assembly we referenced and using statement earlier. Now it’s time to build on that relationship by adding the things we want our task to do.
What do we want our task to do? We want to start an SSIS Package that’s been deployed to an SSIS Catalog. To accomplish this, we need to provide the name of a SQL Server Instance that hosts an SSIS Catalog, the name of the SSIS Catalog Folder that contains the SSIS Project, the name of the SSIS Project that contains the SSIS Package, and the name of the SSIS Package.
Adding a Property
Properties provide a mechanism to expose values of internal variables to objects outside the class. In a class, a property may be coded using an internal private variable and publicly accessible property. Properties may also be coded using a get/set at declaration.
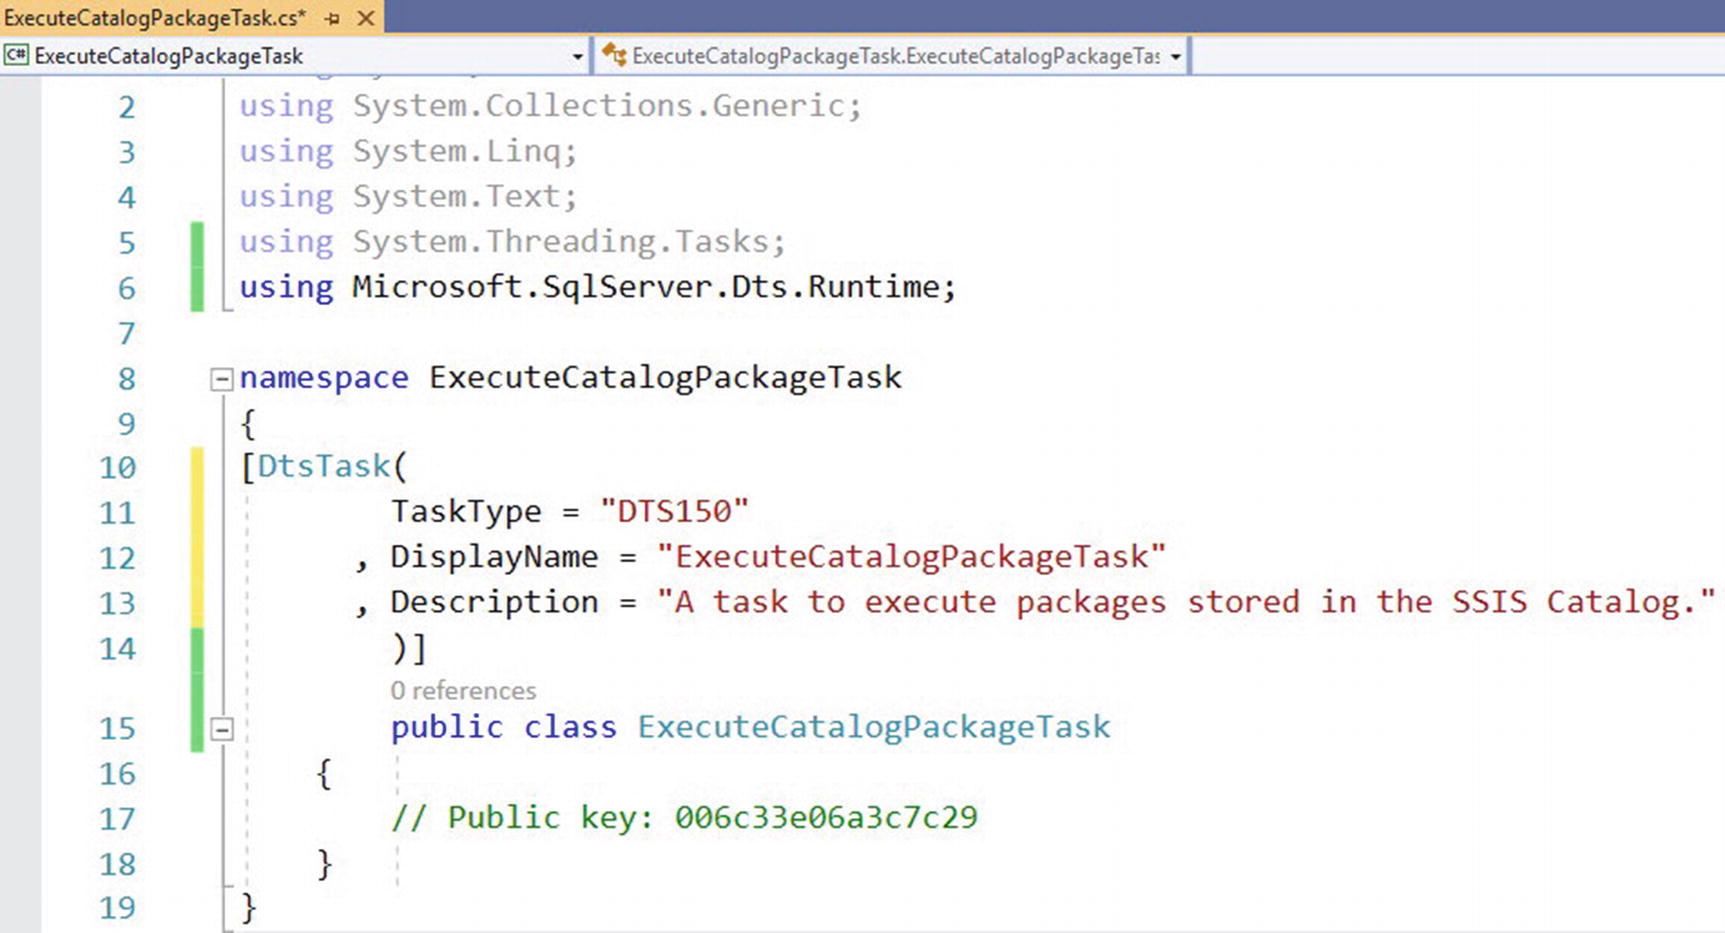
Declaring task properties
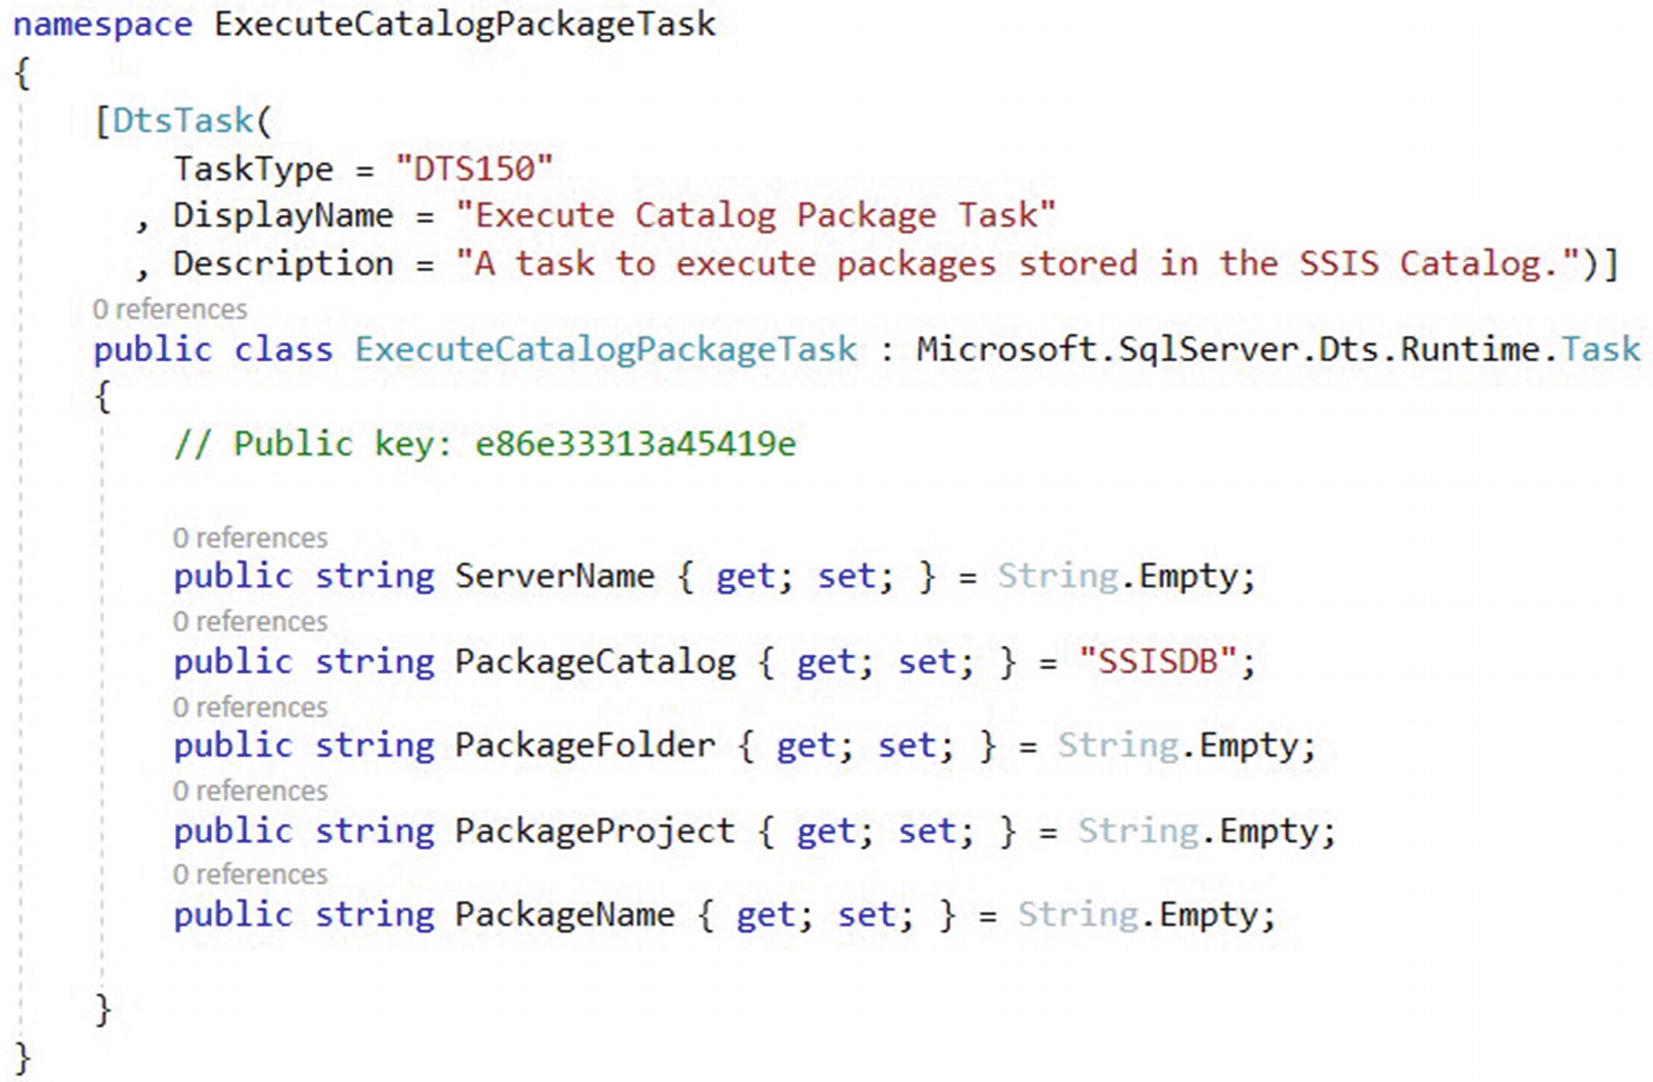
Adding properties
Task properties will contain string values, and we will use the string values internally in the task. For example, the property named ServerName will surface name of an instance of SQL Server that hosts an SSIS Catalog. The Execute Catalog Package Task will connect to this SQL Server instance to execute an SSIS package stored in the SSIS Catalog hosted on the instance named in the ServerName property.
Note the PackageCatalog property defaults to “SSISDB” and the other properties default the String.Empty. At the time of this writing, Microsoft limits the number of SSIS Catalogs to one catalog per SQL Server instance and defaults the name of this catalog to “SSISDB.” Although the PackageCatalog defaults to “SSISDB,” the value may be overridden if desired. Coding the task in this manner is an example of future-proofing, which means allowing for things to change in the future.
Non-defaulted property values are null. Null property values cannot be written (set) or read (get). Failure to initialize property values may present a troubleshooting challenge.
Declaring task properties
I prefer to leave the property read-write and recommend not removing the “set;” code from the declaration.
Investigating Task Methods
Earlier, we added inheritance to the ExecuteCatalogPackageTask class – public class ExecuteCatalogPackageTask : Microsoft.SqlServer.Dts.Runtime.Task – remember? When you inherit one class in another, the inherited class is identified as the base class. In Visual Basic, the base class may be directly addressed using the keyword MyBase; in C#, it’s base.
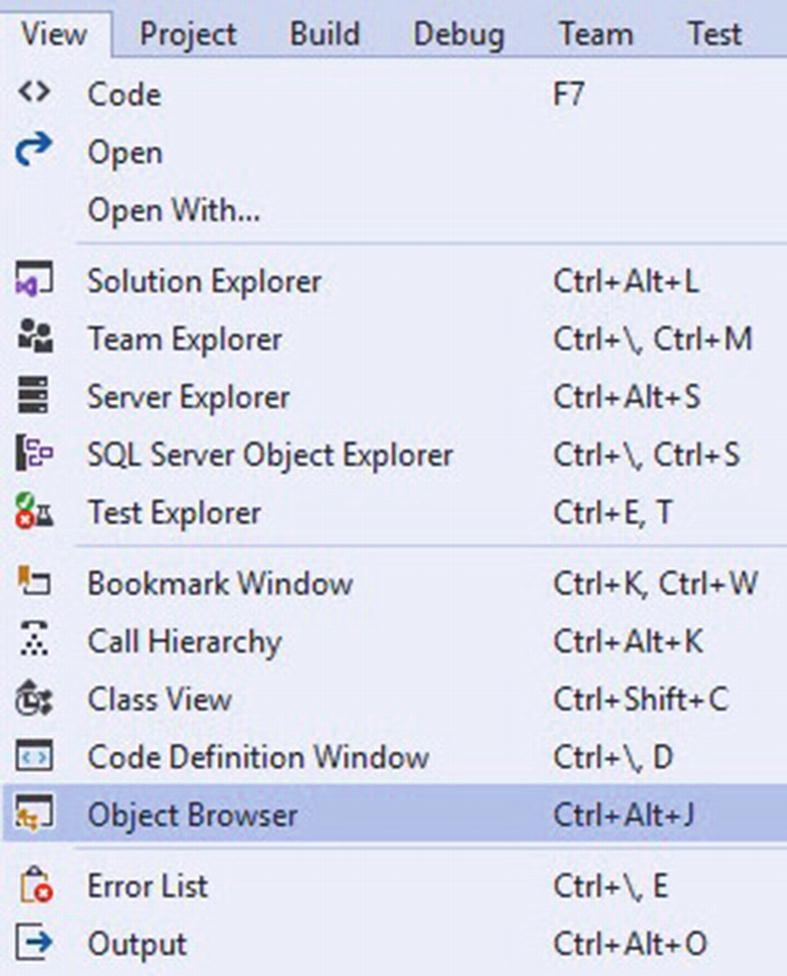
Opening Object Browser
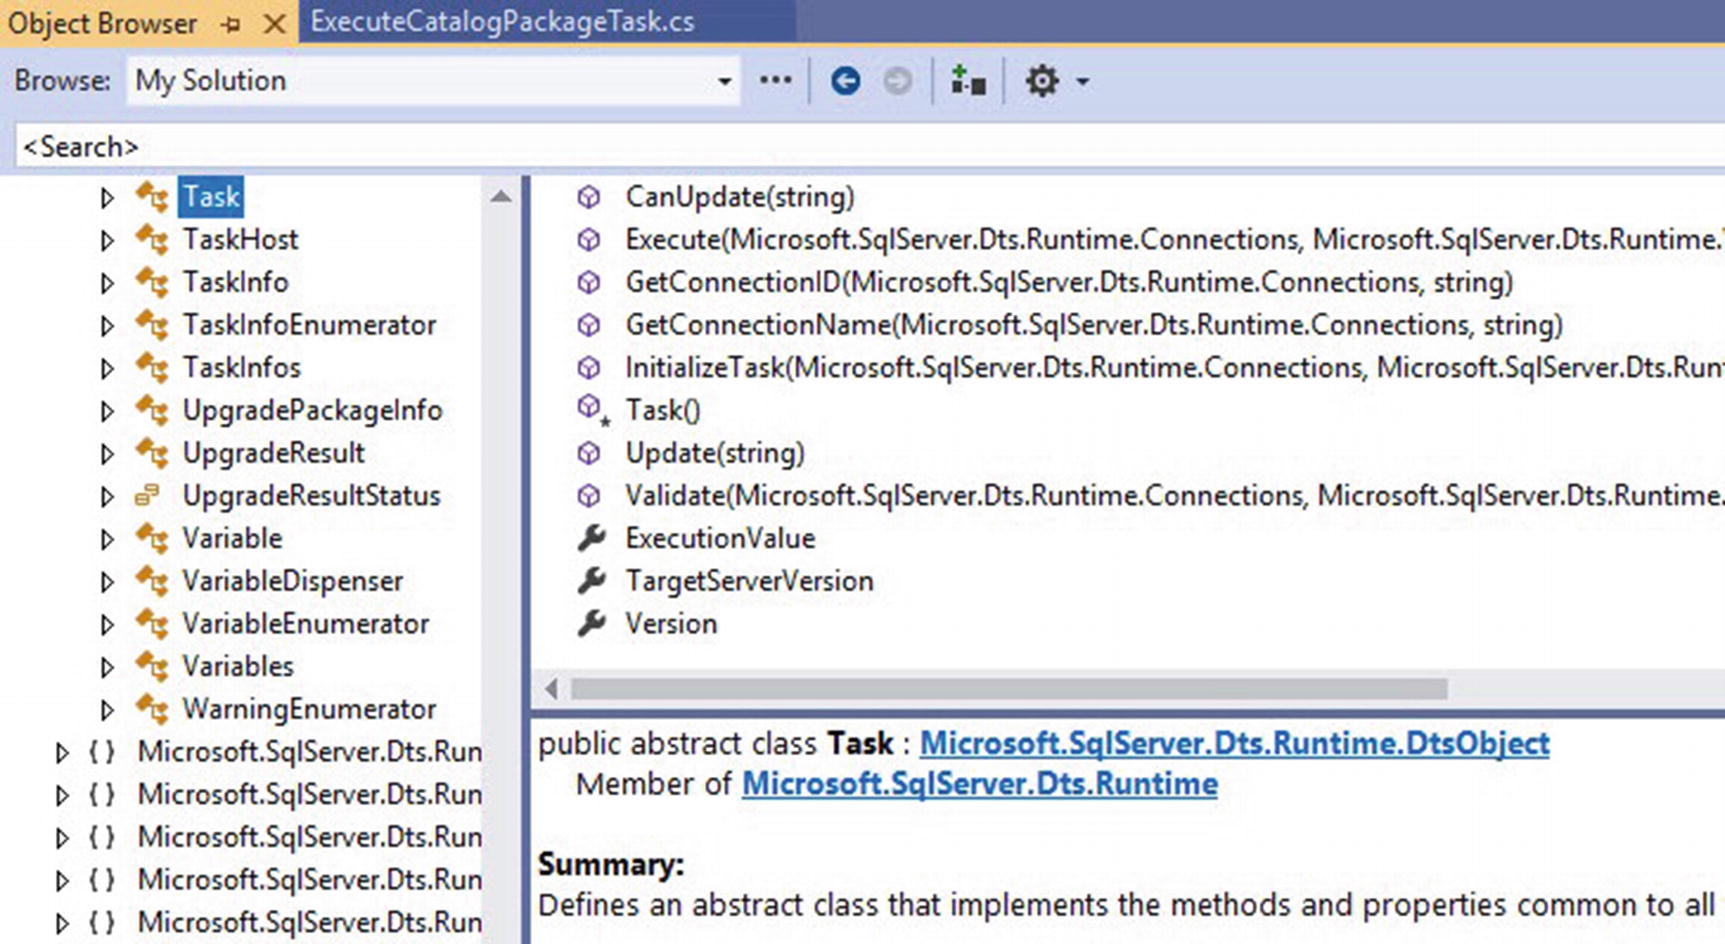
Viewing the Task class in Object Browser

Viewing the description of the InitializeTask method in Object Explorer
Overriding the InitializeTask method
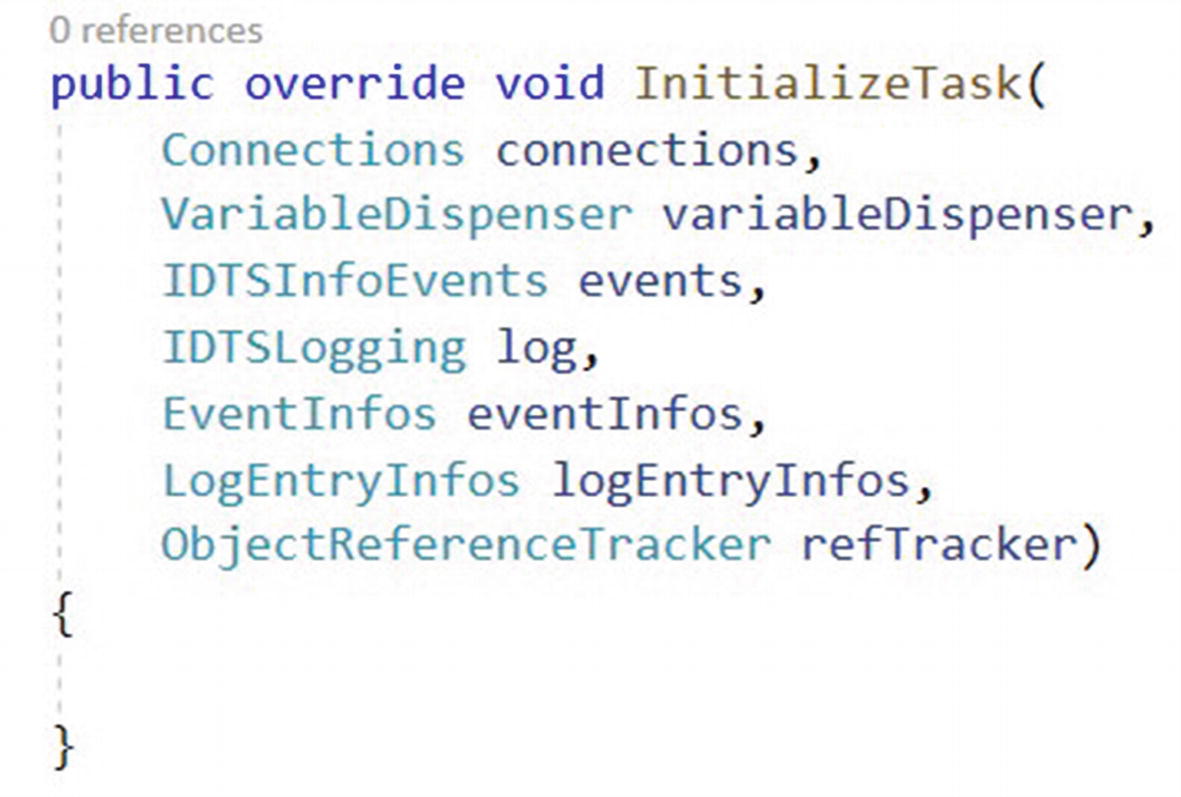
Overriding InitializeTask
The InitializeTask method executes when the task is added to an SSIS Control Flow.
Overriding the Validate Method
The Validate method should be overridden in our class. Later in this book, we will implement validation code in this method. At this juncture, the custom task is not production-ready. A production-ready custom SSIS task should always implement validation. For now, stub this method with a DTSExecResult.Success return value.

Overriding the Validate function
The Validate method is called when the task is added to the SSIS Control Flow, when a property changes, and when a task is executed. The line return DTSExecResult.Success tells the method to return Success – which translates to “I think I am ready to run” in Task-Speak – to the Control Flow when the method is invoked.
Overriding the Execute Method
As with the Validate method, we override the inherited Execute method with a bare minimum of functionality. Again, this is not yet production-ready code.

Overriding Execute
That is all we are going to code in this task at this time. We will add more code to these methods later in this book. The additional code will make this custom SSIS task more production-ready.
Conclusion
The project now contains the beginnings of custom task functionality.
Now would be a good time to execute a commit and push to Azure DevOps.
Created and configured an Azure DevOps project
Connected Visual Studio to the Azure DevOps project
Cloned the Azure DevOps Git repo locally
Created a Visual Studio project
Added a reference to the Visual Studio project
Performed an initial check-in of the project code
Signed the assembly
Checked in an update
Configured the build output path and build events
Overridden three methods from the Task base class
We are now ready to begin coding the task interface.