
One of the things a web developer does more often than not is to deploy a web application for (user acceptance testing) UAT or developer testing purposes. Azure makes this process very convenient for you by providing a seamless publishing experience from within Visual Studio. To publish a web application or website to Azure, you first need to create a web application on Azure to publish your website to.
To start working with Azure, you will need to have an Azure account. You can create a free trial account. For more information on Azure pricing, have a look at the following URL: https://azure.microsoft.com/en-us/pricing/.
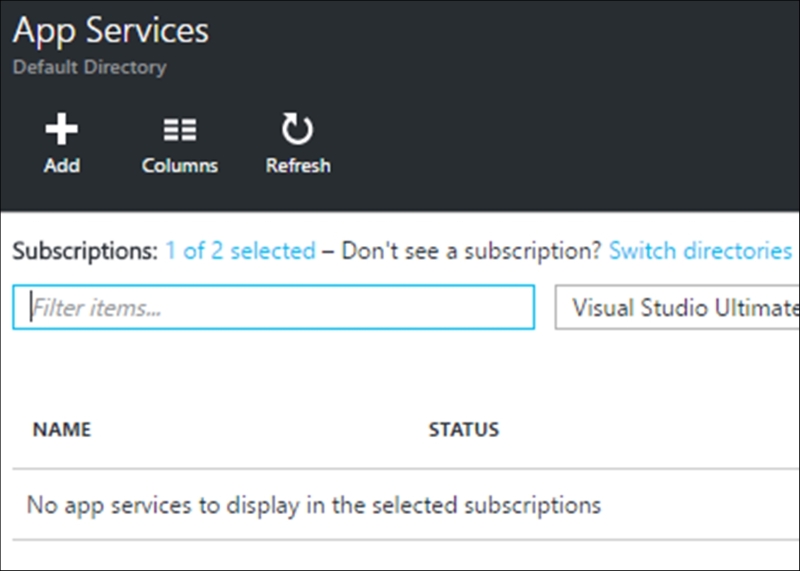
- After you have logged in to your Azure account, you will be taken to your Dashboard. From here you can see any items you may have pinned. To the left, you will see the menu. We want to create a website, so click on the App Services menu item:

- If this is your first time using Azure, you probably will not have any app services to display. Click on Add to create a new one:
- Give the app service a name and select or create a Resource Group:
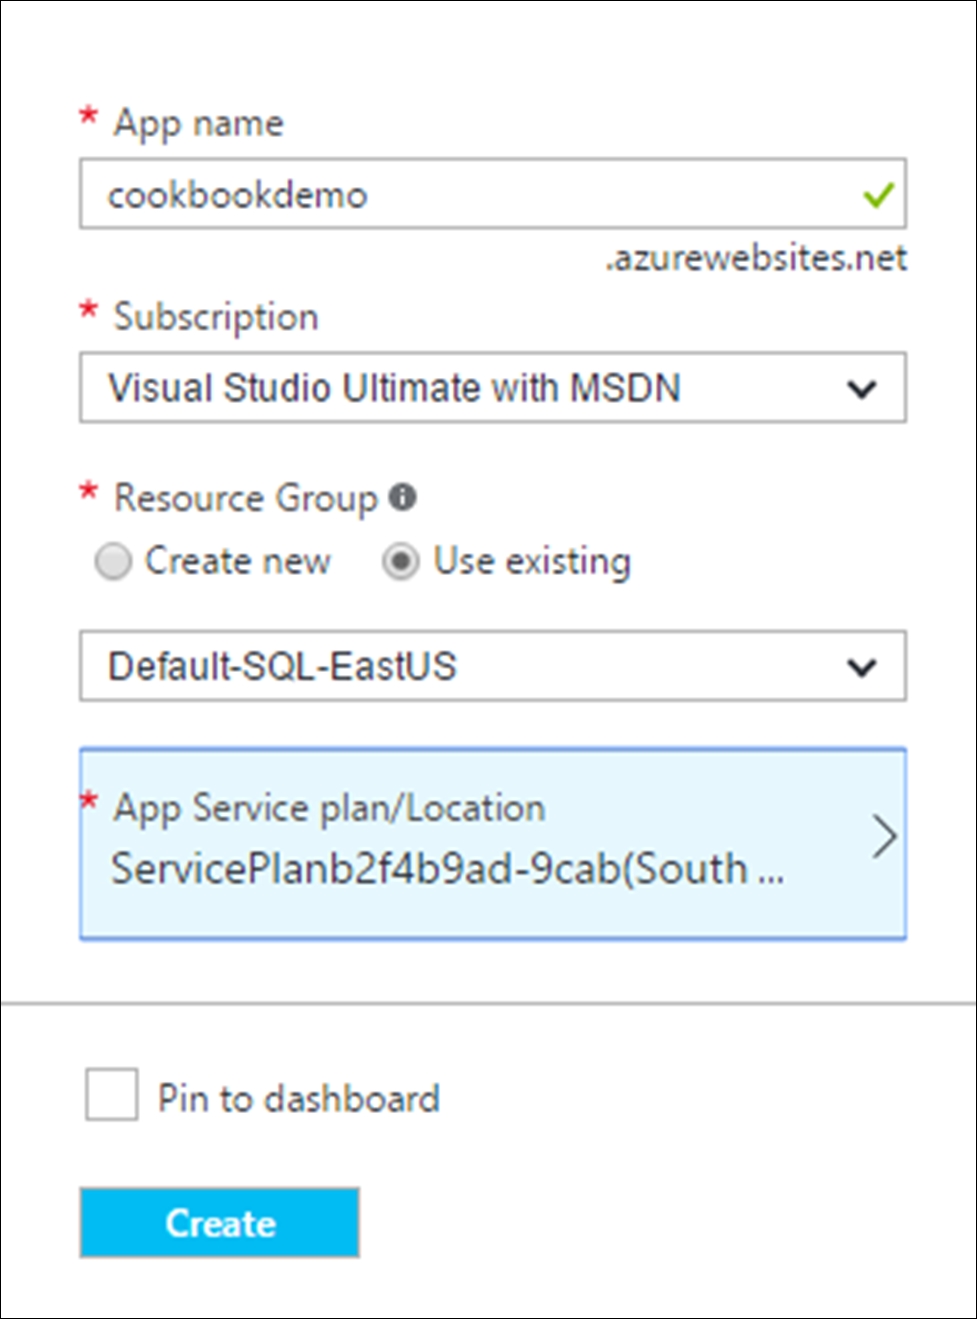
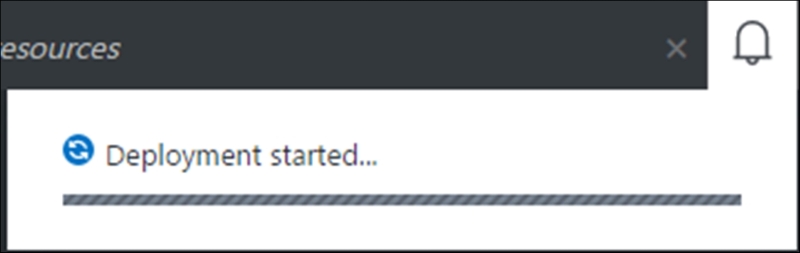
- When you click the Create button, Azure starts the deployment. This process can take several minutes to complete, so go grab a cup of coffee while you wait:
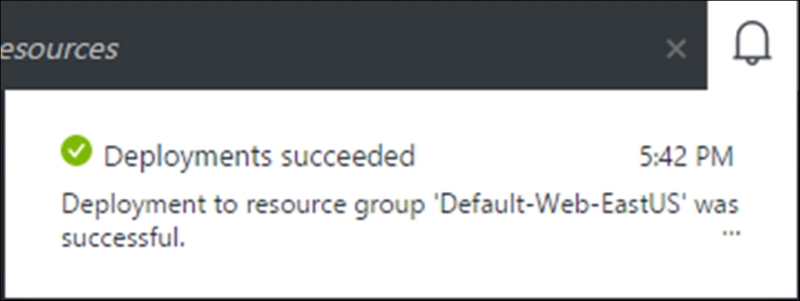
- When the deployment is finished, you will receive a notification in the notifications menu:
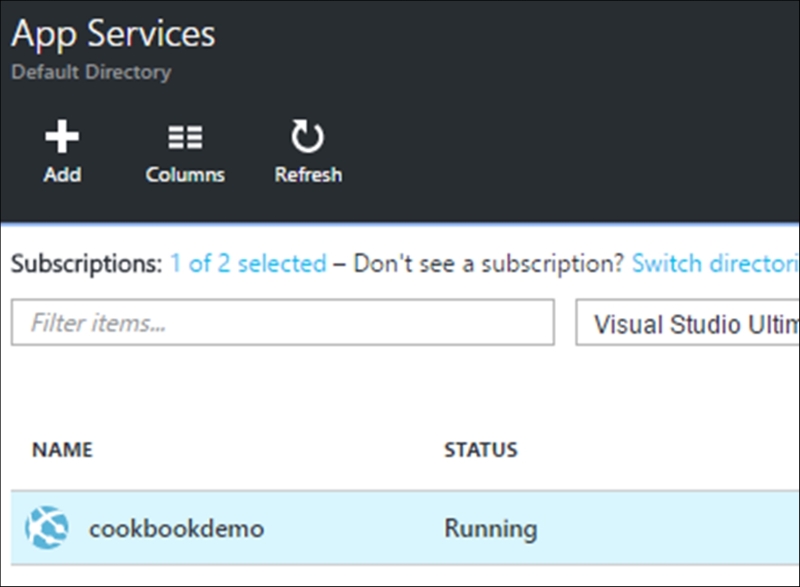
- Refreshing the App Services section, you will see the cookbookdemo web app that we have just created. You might need to click on the Refresh button before the cookbookdemo web app becomes visible:
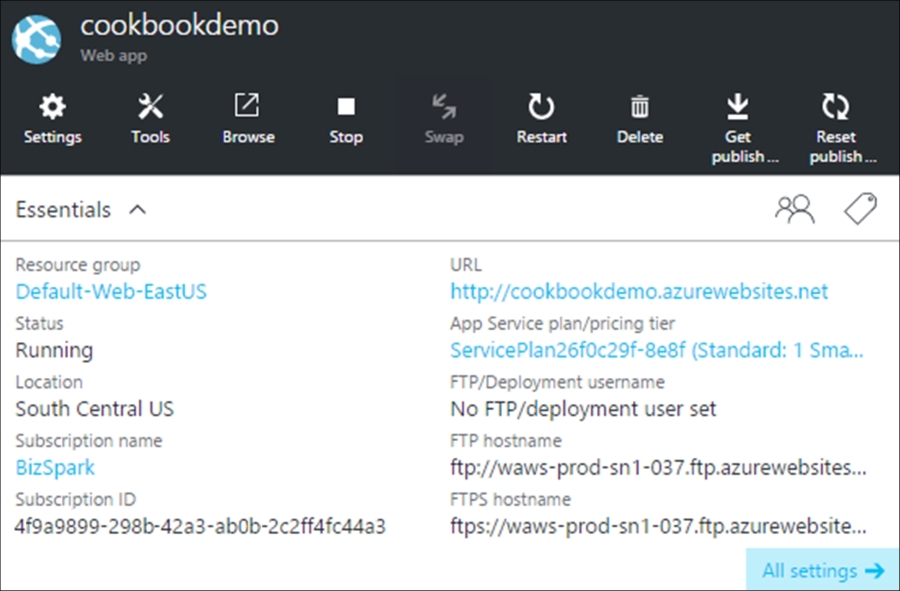
- Clicking on the cookbookdemo web app will display the properties. Take special notice of the URL in the upper-right corner:
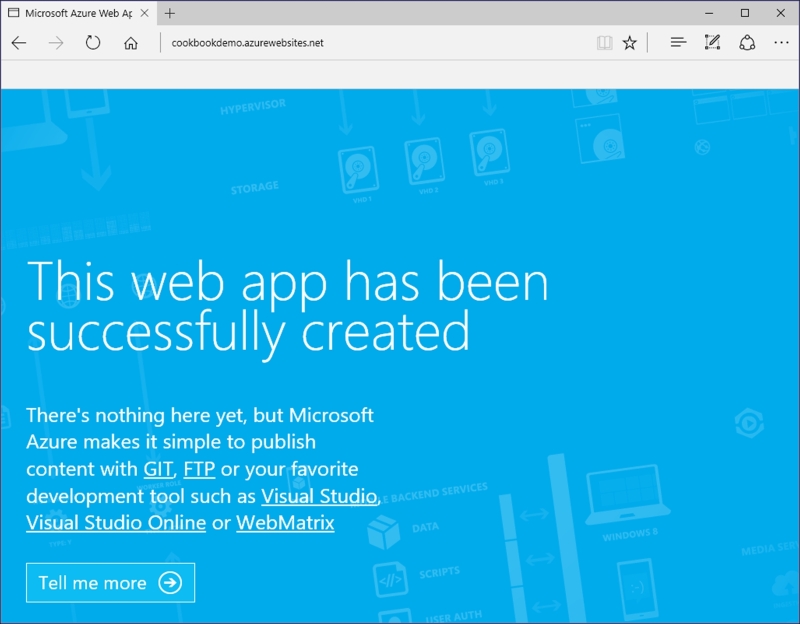
- If you click on this URL, you will be taken to the default placeholder site for your web application. It is time to publish our website to Azure:
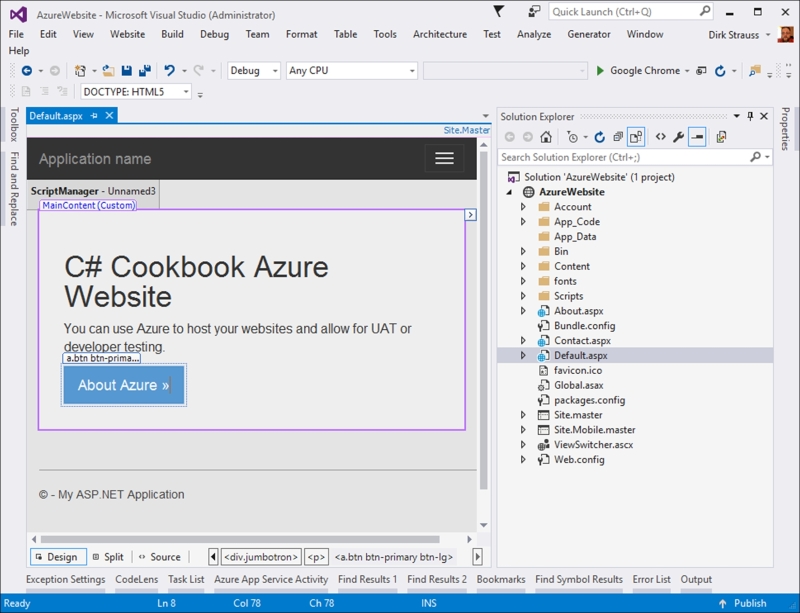
- Start Visual Studio and create or open a website you want to publish. I have created a simple website that I want to publish:
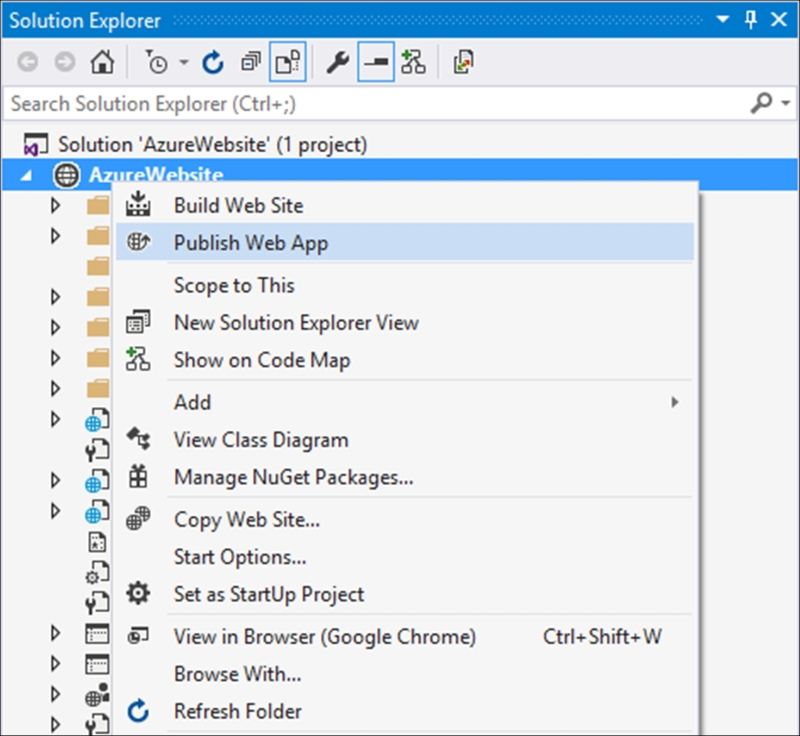
- Right-click on your website project and click on Publish Web App from the context menu:
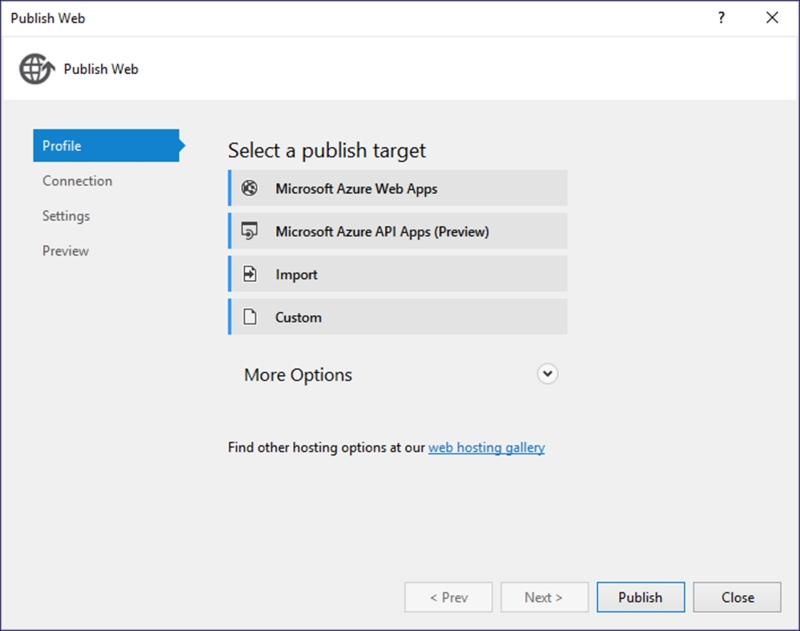
- The Publish Web screen is displayed. Here you can see various publish targets available to you. We simply want to publish our application to Azure. Select Microsoft Azure Web Apps as a publish target:
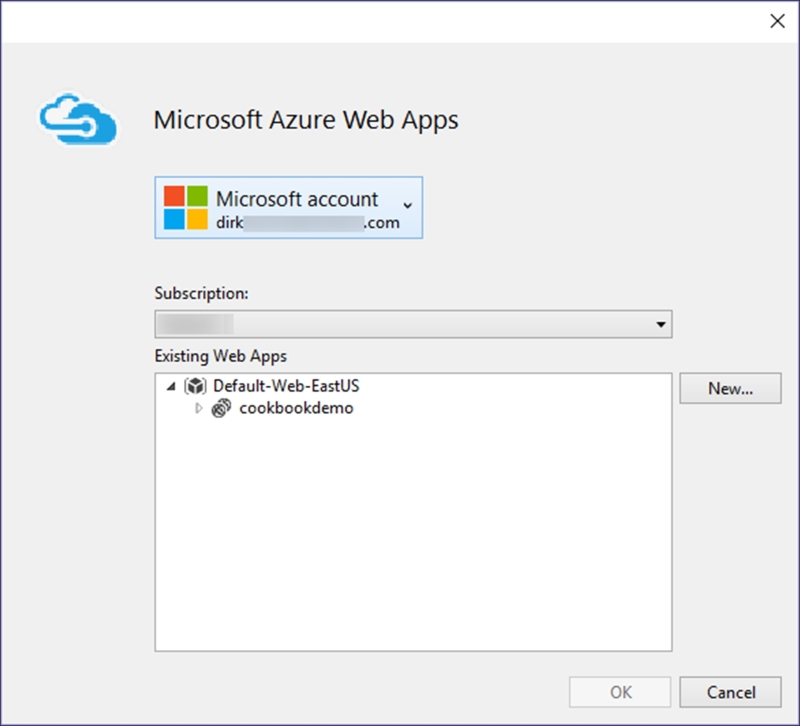
- Clicking on Next will either ask you to connect to Azure or, if you have previously connected, select your Subscription from the drop-down selection. Any existing web apps are displayed in the Existing Web Apps list. The cookbookdemo web app we created earlier is displayed:
- Selecting the cookbookdemo web app, you now have to define your web app connection and Publish method. For now, we will just select Web Deploy as our method for publishing our web application to Azure:
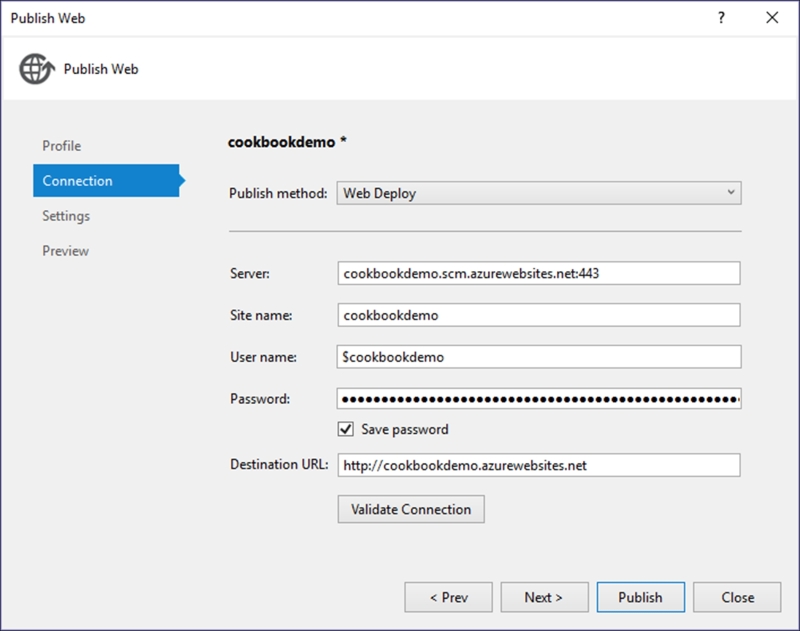
- You can also click on the Validate Connection button to make sure everything is in order before continuing:

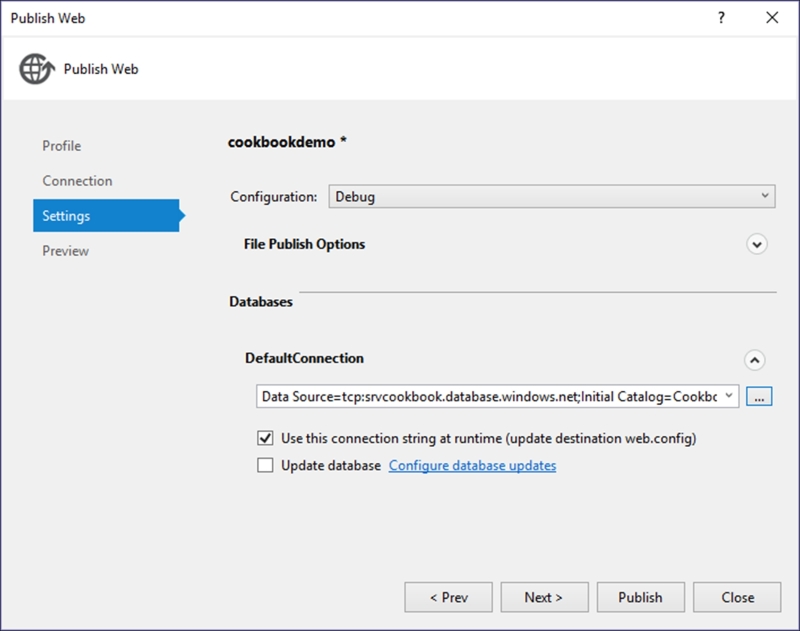
- Clicking Next takes you to the Settings screen. Here you can select a Configuration to deploy, as well as define a database connection:
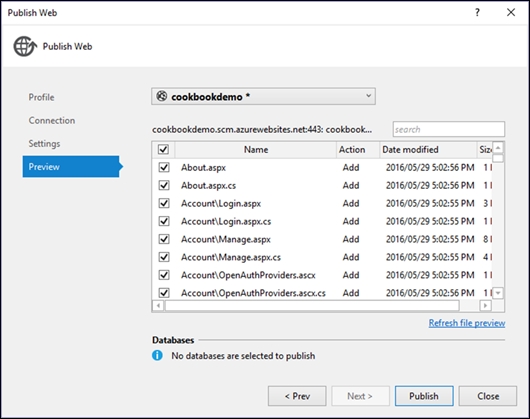
- When you click Next, you will see that you can preview the files that are to be published to the web application on Azure. The initial publish will obviously contain the most files, as nothing exists on the web application yet:
- When you are ready, clicking on the Publish button will start the process of publishing your website to Azure. This can also take a few minutes to complete. When the publish has completed, Visual Studio will automatically open the published website:

- Back in Azure, you will see the Monitoring window spring to life. You can also add other sections here that will provide more information about the state of your web application:
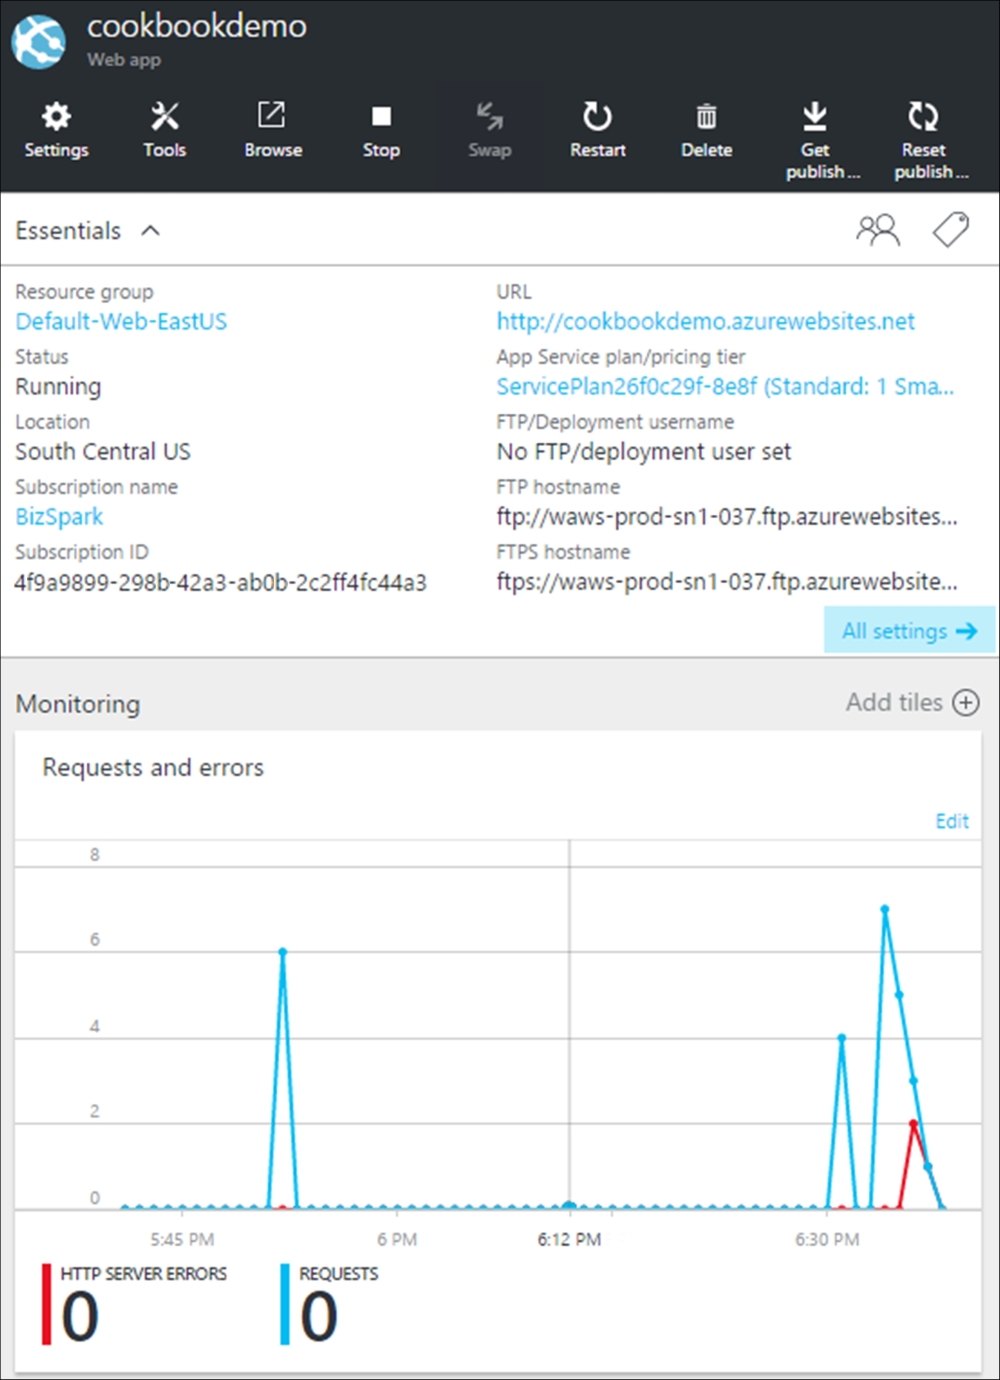
Azure puts a lot of power into the hands of the developer when deploying to Azure. You can add additional sections that assist in the management of your web application. These are displayed to you as tiles. Some of the sections available are:
- Process Explorer
- WebJobs
- Traffic routing
- Requests and errors
- Http 4xx
- Http 5xx
- Filesystem storage
- Web tests
- Users and roles
- Performance tests
- Even your estimated Azure spend
Azure is truly a very versatile cloud solution for developers, no matter what your individual needs.