
A virtual machine (VM) is indispensable to developers. I have a few myself that I use for my personal use and to try out new software. The technology behind it is quite incredible as it virtualizes a specific environment for you to accurately test your applications against. At my previous employer, we would create VMs of certain client environments in order to test application deployment and basically to see whether the application works correctly.
With Azure, developers have so many choices when deciding on a specific VM platform. You can spin up virtually (pun intended) any type of VM you need. If you want to test out the new Visual Studio, you can. A new version of Windows? You can bet there will be a VM on Azure for that. Want to play around with Linux and WordPress a bit? No problem. Azure does it all and it is incredibly easy to set up.
Consider the alternative. If VMs weren't there and you wanted to test an application on an OS such as Windows 10, you would probably have to set aside a specific machine just for testing different OS versions. That's one machine not available to you anymore for other work. Then you need to spend an hour or two setting up that PC with the correct OS. You then need to set the PC up to be available over the local network at your office. What about if you wanted to access that test machine from a remote location (at home for example)? You would need to configure it to be accessible remotely while still maintaining security. So then you set up a VPN to access the machine remotely on the off chance that the developers need to work after hours. This has to be done for a single instance of an application in development. If you have servers to spare, sure, this might not be a problem. If, however, you are a small-to-medium-sized company with limited resources, chances are you'll be reinstalling that machine soon with a different client's setup for testing.
This is where Azure is brilliant at making a difference. The setup process takes a few minutes, a moment compared to the setup required for a PC at your office. Remote access, security, event monitoring, alerts, and a whole bunch of other features are immediately available to all the developers in your team.
To start working with Azure, you will need to have an Azure account. You can create a free trial account. For more information on Azure pricing, have a look at the following URL: https://azure.microsoft.com/en-us/pricing/.
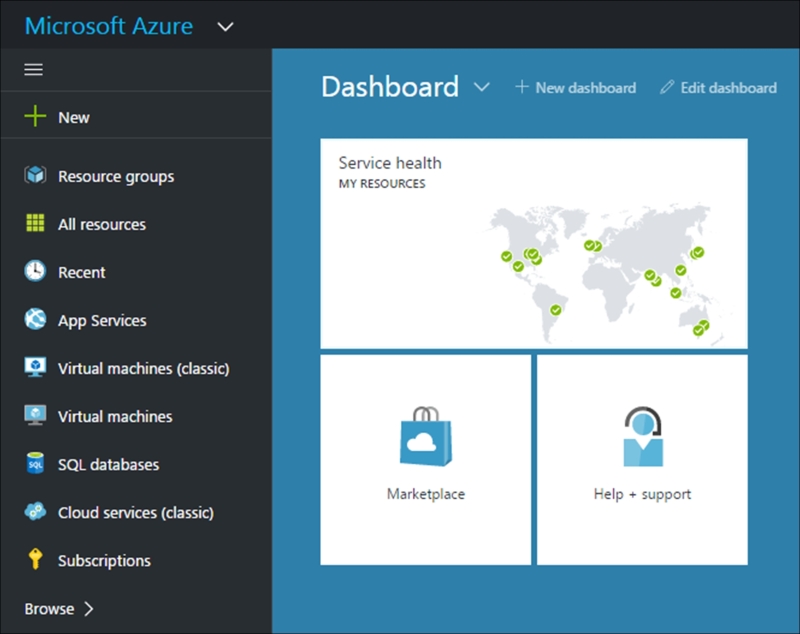
- After you have logged in to your Azure account, you will be taken to your Dashboard. From here you can see any items you may have pinned. To the left you will see the menu. Click on the Virtual machines menu item:
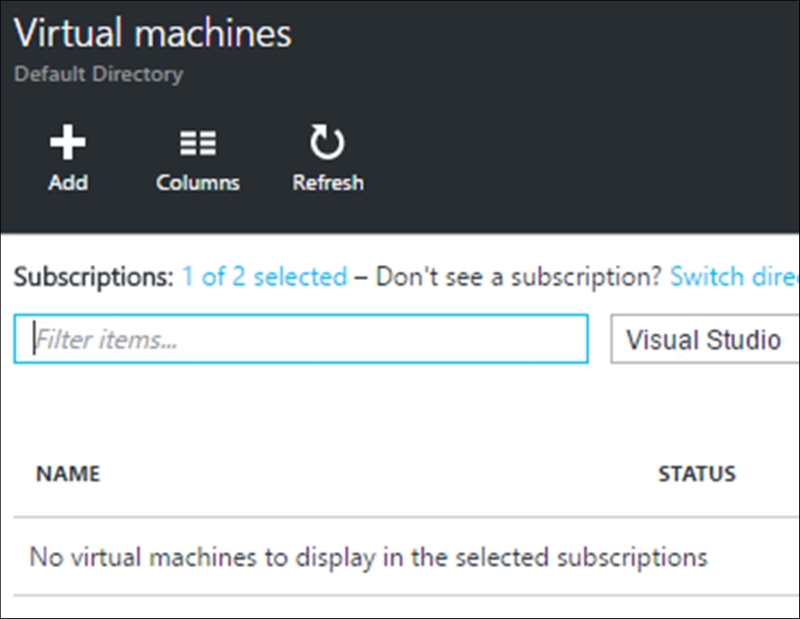
- You will then be taken to the default directory for the virtual machines on your Azure subscription. We need to create a new virtual machine by clicking on the Add button:
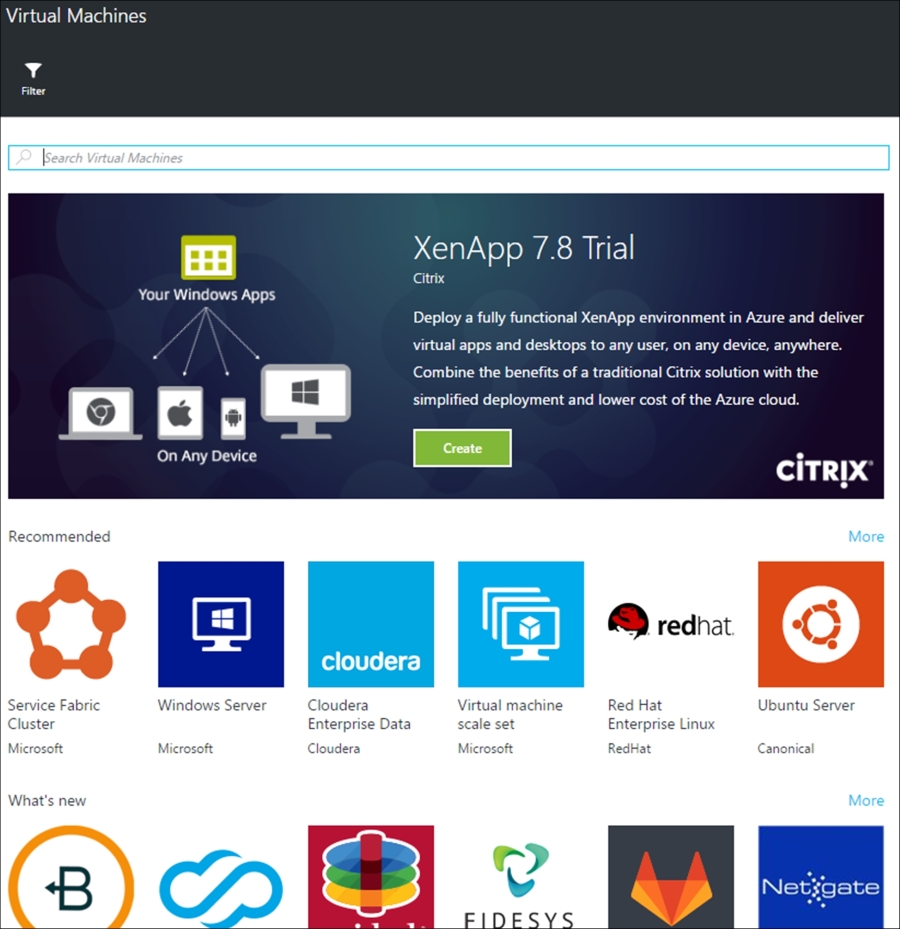
- Azure then displays all the types of virtual machine available to you. There are quite a lot of types of machine to choose from. From Service Fabric, to Linux, to Ubuntu, the choice is vast:
- For our purposes, we will just create a Windows virtual machine:
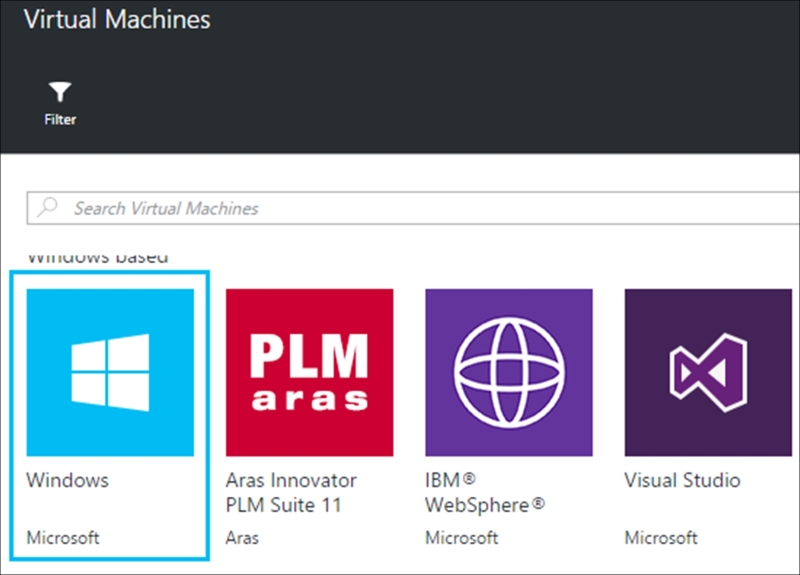
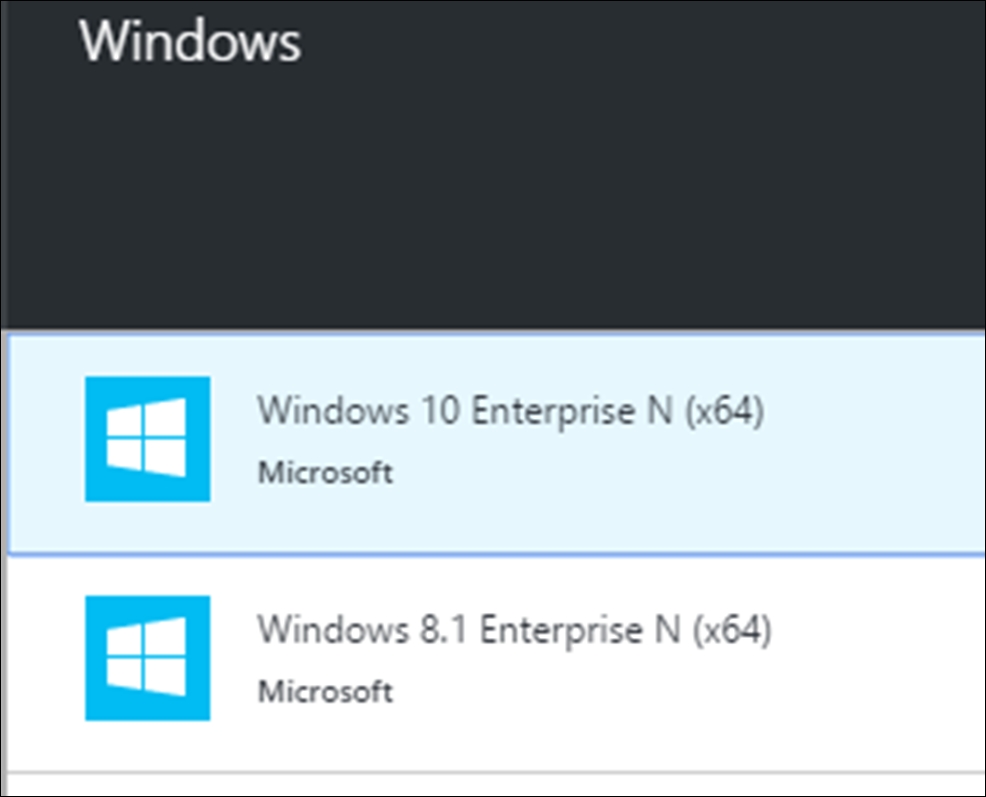
- Clicking on the Windows group, you can see that we have a choice of Windows 10 Enterprise or Windows 8.1 Enterprise 64-bit VMs. We will simply select the Windows 10 VM to get started:
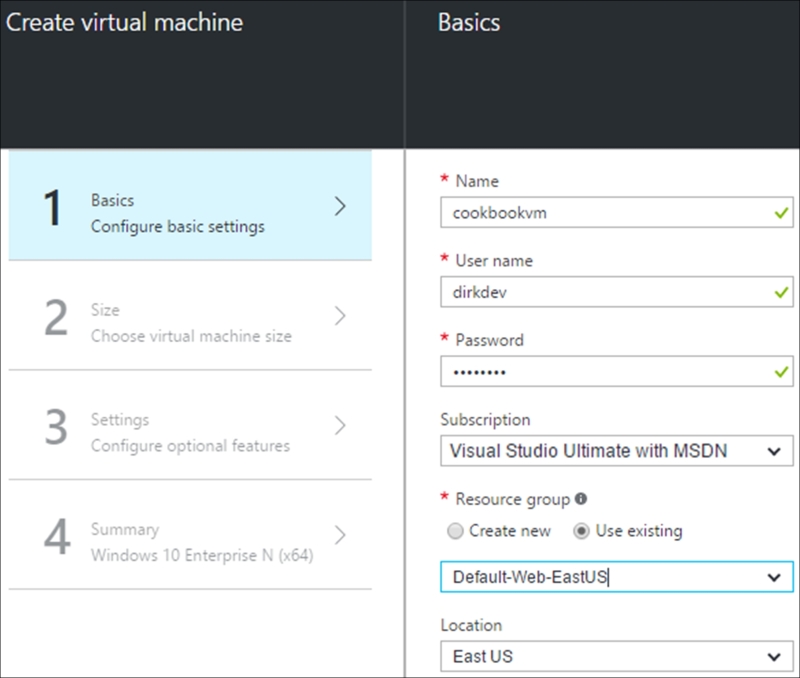
- You will now be asked to enter various settings to configure your Windows 10 VMs. Give your VM a name and define a login user and password. The Resource group will allow you to select an existing one or create a new one:
- On the next configuration screen, you will be presented with recommended VM sizes, each with their different pricing option displayed in your local currency. Choose the option that is most suitable for you, your requirements, and/or budget.
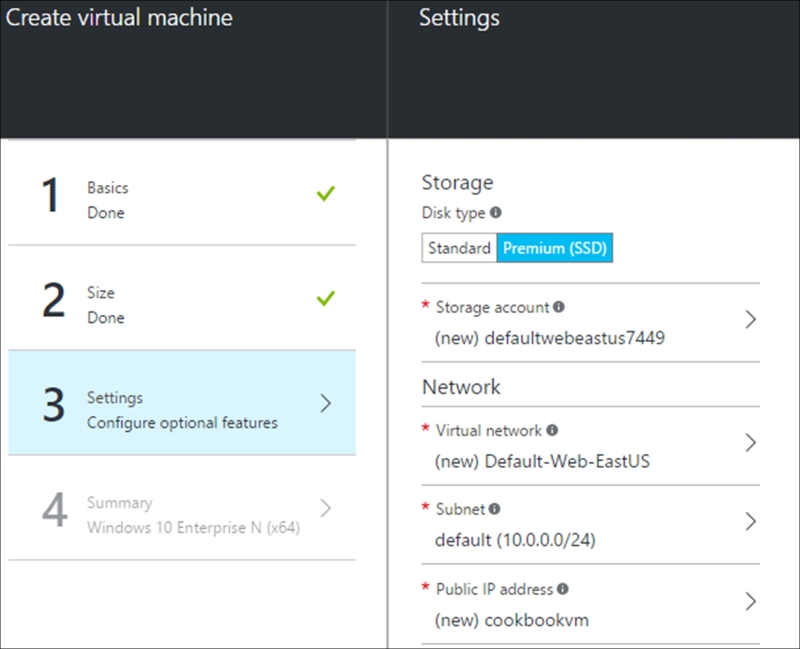
- The next screen allows you to configure optional features. The features available to you are the following:
- Storage account is where the disks for the VM are created.
- Virtual network acts much like a traditional network. Any VMs in the same virtual network will be able to access each other, and this is configured by default.
- Subnet allows you to isolate VM from other VMs or the Internet.
- Public IP address allows you to communicate with a machine outside the virtual network defined previously.
- Network security group is a collection of rules defined on your firewall that controls who can access your Windows 10 virtual machine.
- Extensions are quite nice. These are additional add-ons, such as antivirus packages.
- Monitoring is on by default and allows you to gather information about your VM and define alerts based on the information monitored. This keeps you in control and informed at all times.
- The diagnostics storage account is where the monitoring metrics are stored. You can then analyze these with any of your own tools if needed.
- The availability setting allows you to cluster two or more VMs together to provide a failover if one of the VMs needs to be taken offline for maintenance. This need to be configured at this step because the availability setting can't be changed after the VM is created:
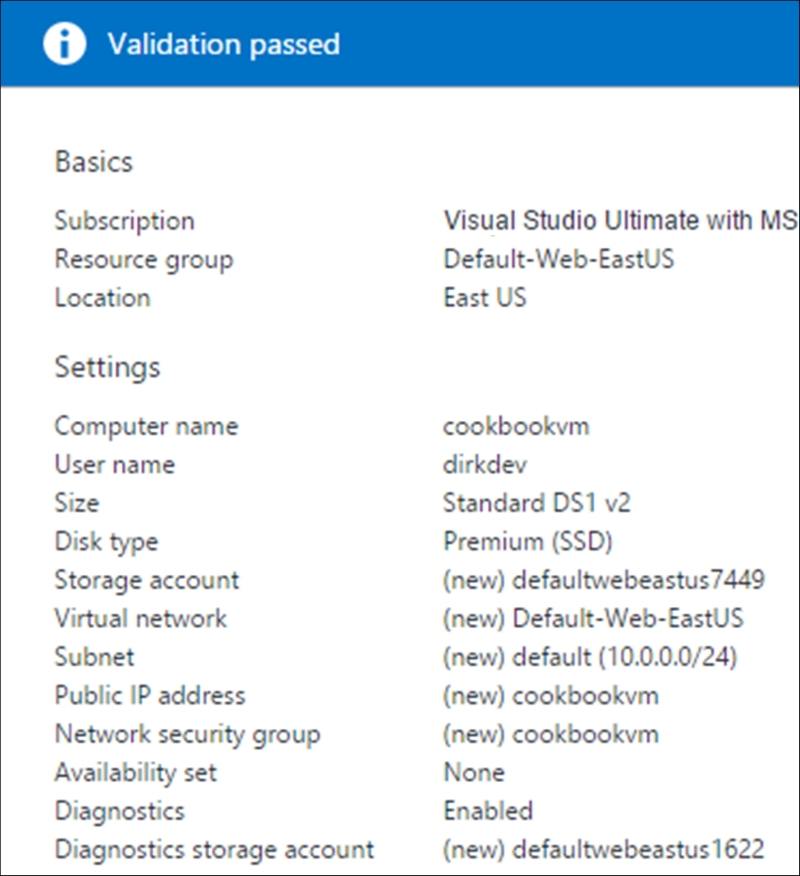
- Once you have configured the VM, you will be presented with a summary of the configuration options you selected during setup:
- When you are satisfied that the VM is set up correctly, Azure will then start the deployment process:
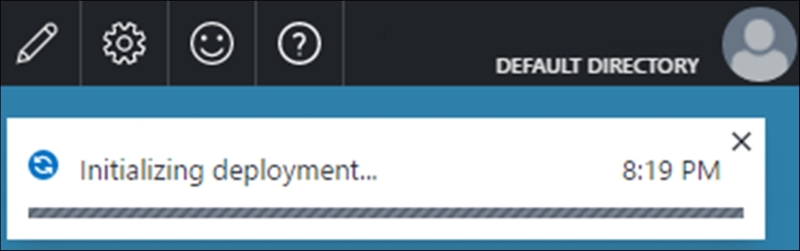
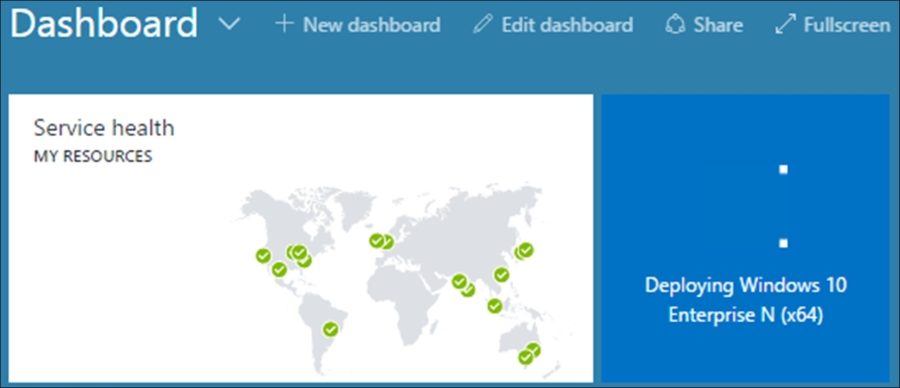
- The progress of the deployment process is also visible on the Dashboard and takes a few minutes to complete:
- After a few minutes, the VM is available and ready. You will be taken to the virtual machine page for your cookbookvm:
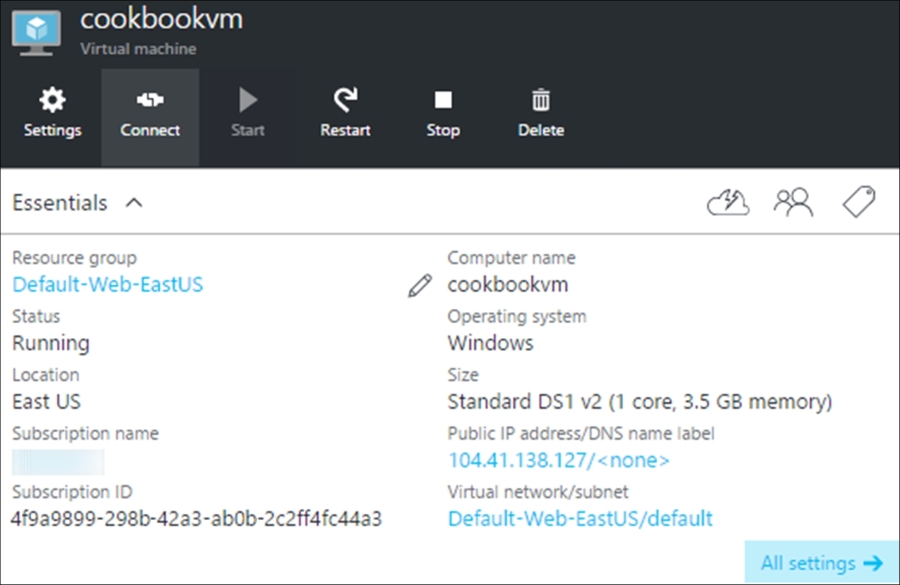
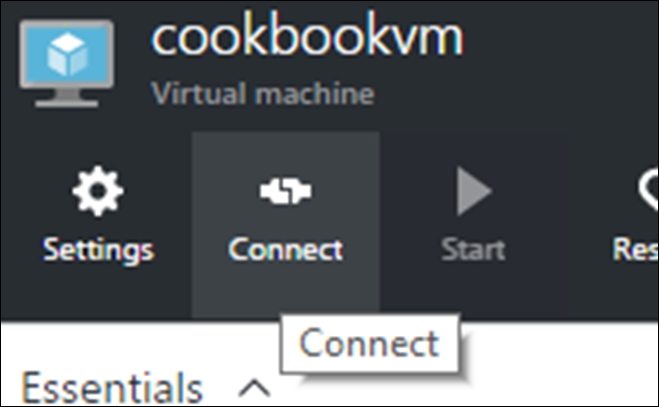
- To connect to your VM, click on the Connect button:
- An
.rdpfile is then downloaded. You can click on the file directly to start the Remote Desktop Connection session: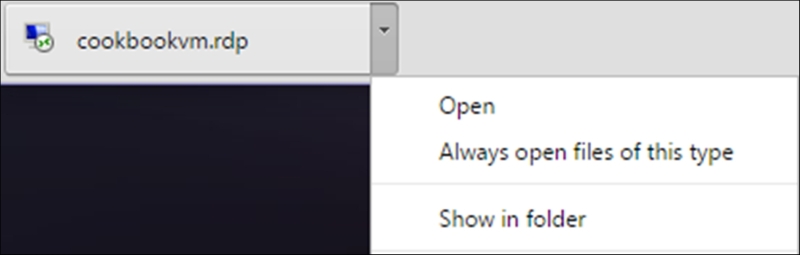
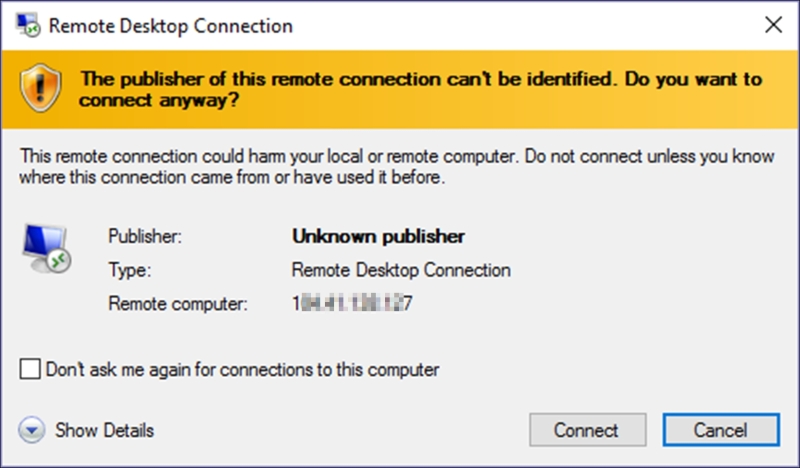
- You will probably be asked whether you trust the publisher of the remote connection. Obviously you do, so just click on the Connect button:
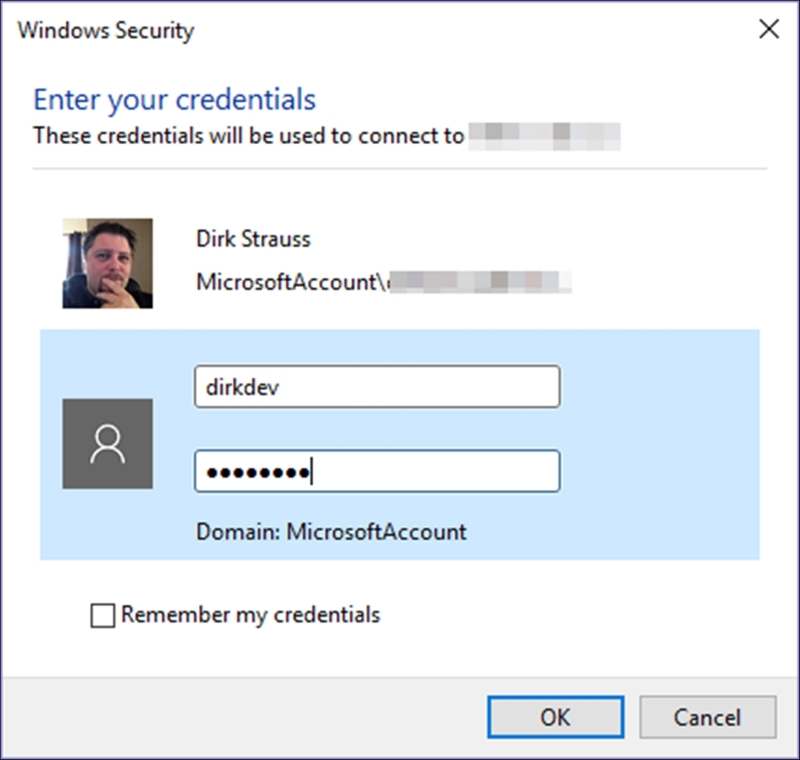
- You will now be able to enter your login credentials, as defined earlier during the VM setup:
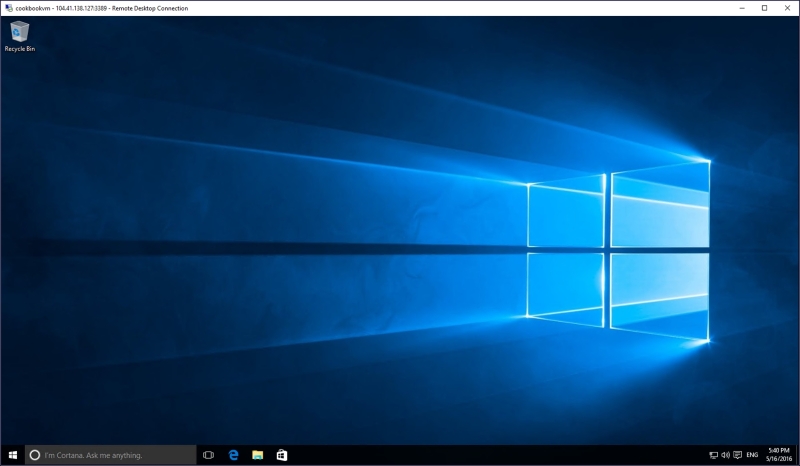
- You will now be connected to the Windows 10 virtual machine via Remote Desktop Connection:
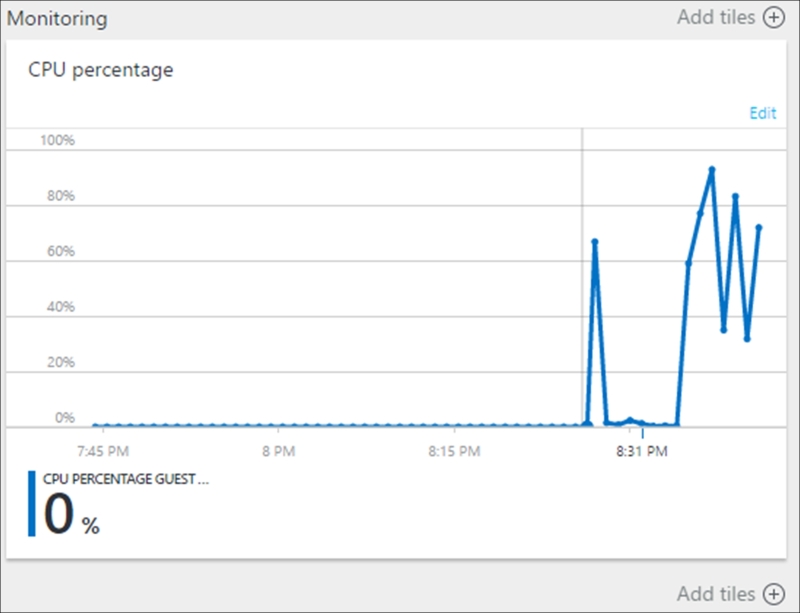
- Back in Azure, if you selected the Monitoring option during the VM setup, you will see that you have a default Monitoring tile for CPU percentage. Azure allows you to add more monitoring events and create alerts for each event:
Virtual machines are accessible via remote connections. You can use the good old Remote Desktop Connection, or something more exotic such as mRemoteNG if you have several remote machines that you need to access. The reason that Azure is so well suited for development testing is because the resource does not have to live on your own network at all. That means the overhead involved in maintaining backups of development VMs is largely avoided.
I remember the network administrator at my previous employer regularly asking what VMs we still used. Some of these VMs were used perhaps once or twice a year, so they couldn't be deleted. Having several developers access these VMs also meant that there was a lot of junk on these VMs, which made backing those up a painful process (usually run over weekends).
Azure solves many issues and problems for IT professionals. In this chapter, we have looked at only three solutions available to you as a developer. Do not be fooled, Azure is much more powerful than just being able to provide a robust testing platform for developers. Going into detail about Azure would probably require a separate book on its own.