
2. Packaging Clojure for a Java EE Environment
This chapter is about packaging Clojure to work in a Java EE environment.
Assumptions
In this chapter we assume the following:
![]() You have Java 8 or greater JDK installed.
You have Java 8 or greater JDK installed.
![]() You have Leiningen installed.
You have Leiningen installed.
![]() You know that when we run Leiningen, we open up a command prompt to your project’s parent directory to create a new project directory, and all subsequent commands are in the directory of the project.
You know that when we run Leiningen, we open up a command prompt to your project’s parent directory to create a new project directory, and all subsequent commands are in the directory of the project.
![]() You have Tomcat installed with the tomcat-admin project (or know how to deploy war files into Tomcat or your application server).
You have Tomcat installed with the tomcat-admin project (or know how to deploy war files into Tomcat or your application server).
![]() You know the port that Tomcat or your local web server is installed under.
You know the port that Tomcat or your local web server is installed under.
Benefits
The benefit of this chapter is if you’re working in an existing Java EE environment and want to reuse existing Java web application server infrastructure such as Tomcat, WebLogic, WebSphere, or JBoss. This approach to implementing Clojure enables you to reuse the existing container lifecycle including deployment, execution, and monitoring.
The Recipe—Common
So let’s get started. This is the common part of the recipe that applies equally to Windows or Mac. The screenshots are from a Windows machine to be inclusive.
1. Create a simple Compojure app using Leiningen. Use the following command:
lein new compojure war-demo
cd war-demo
Note that we’re using the Compojure Leiningen plug-in to create a sample Compojure project.
2. Start a server in ring with the following command:
lein ring server 3000
A new web browser should open with a simple Hello World screen as shown in Figure 2.1.
We have connected to the server.
3. Stop the server in the command prompt window:
CTRL-C
4. Create a war file:
lein ring uberwar
Ensure that the following file is created.
war-test/target/war-test-0.1.0-SNAPSHOT-standalone.war
5. In a web browser navigate to the Tomcat manager page:
http://localhost:8080/manager/html
You should see a screen like that shown in Figure 2.2.
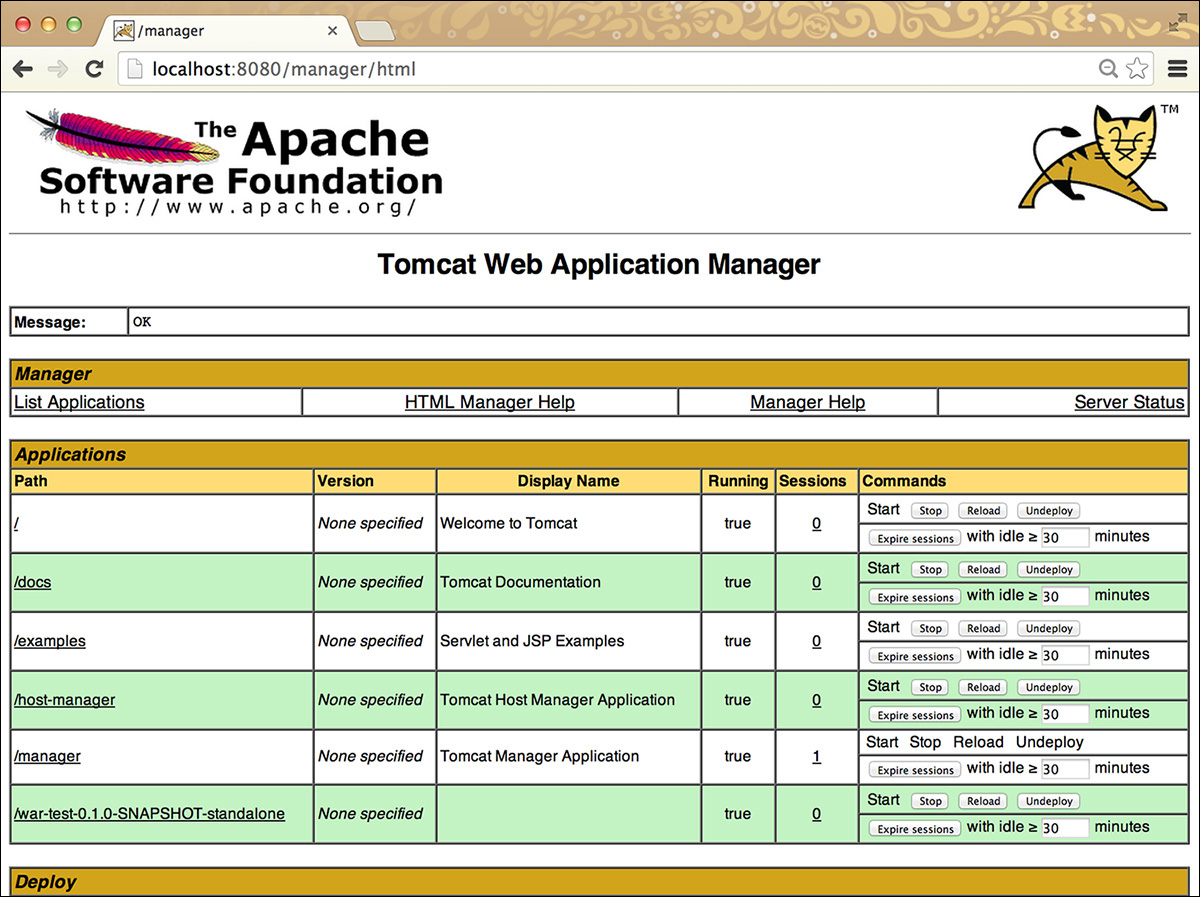
6. Under the Deploy menu—under war file to deploy—click the Choose File button, and then select the war-test/target/war-test-0.1.0-SNAPSHOT-standalone.war we produced in the previous step.
7. Click Deploy.
8. Navigate to the following page:
http://localhost:8080/war-test-0.1.0-SNAPSHOT-standalone/
You should see a page like the one shown in Figure 2.3.
Conclusion
We’ve set up Tomcat with your Clojure war file deployed.
Postscript—Setting Up Tomcat on a Mac
This section will enable the reader to get up to speed quickly with packaging a Clojure application for Tomcat and to avoid roadblocks to getting Tomcat running.
Assumptions made for this additional information on setting up Tomcat on a Mac include the following:
![]() Java is installed.
Java is installed.
![]()
JAVA_HOME is on your path (check with env on the command prompt).
![]() Note that the version of Tomcat was at the time of writing. Yours may be a later version on the page, and you’ll have to update the version in the command line.
Note that the version of Tomcat was at the time of writing. Yours may be a later version on the page, and you’ll have to update the version in the command line.
The following steps provide notes on installing Tomcat on a Mac.
1. Download Tomcat from this page: http://tomcat.apache.org/download-70.cgi where you copy the tar.gz link. The following example shows downloading it on the command line, but there is nothing wrong with downloading it on the browser.
curl –O http://www.us.apache.org/dist/tomcat/tomcat-7/v7.0.41/bin/
apache-tomcat-7.0.41.tar.gz
2. Expand the file.
tar -xvzf apache-tomcat-7.0.41.tar.gz
3. Create a symbolic link to the directory.
ln -sfhv ~/apache-tomcat-7.0.41 /Library/Tomcat/Home
4. Export CATALINA_HOME in the .profiles file.
export CATALINA_HOME=/Library/Tomcat/Home
Check that this has been set by running
env
You should see the following in the output:
CATALINA_HOME=/Library/Tomcat/Home
5. Edit the Tomcat permissions—modify the file /Library/Tomcat/Home/conf/tomcat-users.xml to add the following line:
<role rolename="manager"/>
<role rolename="admin"/>
<role rolename="manager-gui"/>
<user username="admin" password="password"
roles="standard,manager,admin,manager-gui"/>
before the final </tomcat-users>.
6. Now start Tomcat:
cd apache-tomcat-7.0.41
cd bin
./catalina.sh start
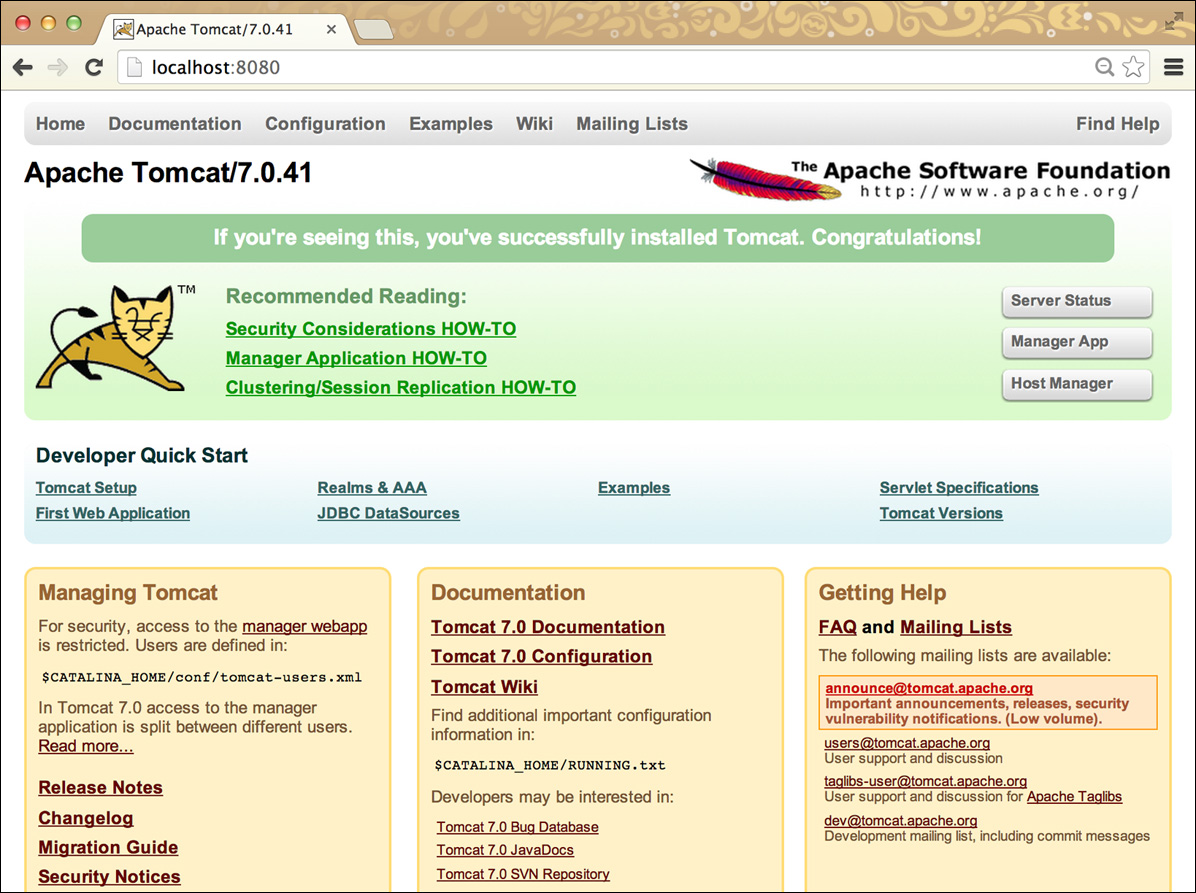
7. Browse to the locally running instance here:
http://localhost:8080/
8. Ensure you can see a screen like that in Figure 2.4.
Postscript—Setting Up Tomcat on Windows
This section will enable the reader to get up to speed quickly with packaging a Clojure application for Tomcat and to avoid roadblocks to getting Tomcat running.
This assumes you have set up the JDK using the steps in the Chapter 1 Postscript.
1. Download Tomcat from here:
https://tomcat.apache.org/download-80.cgi
2. Choose a link that looks like:
32-bit/64-bit Windows Service Installer
which when downloaded has a file that looks like:
apache-tomcat-8.0.23.exe
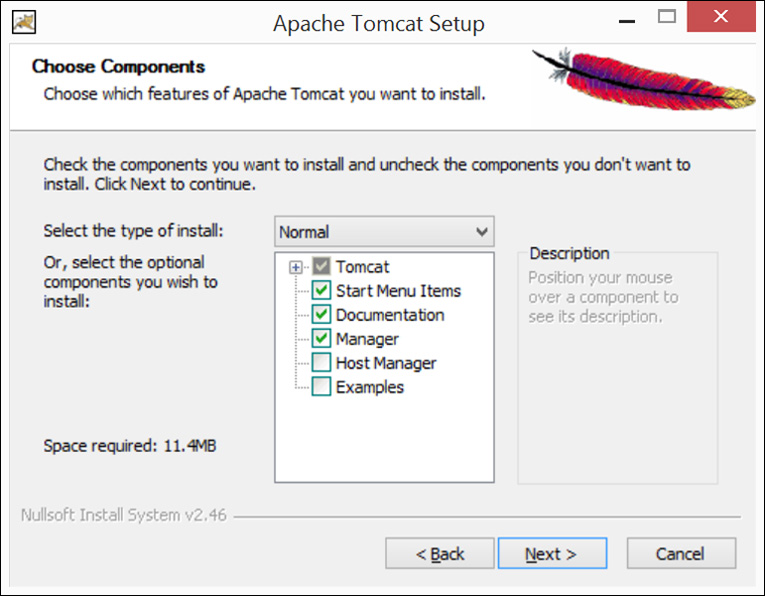
3. Double-click the file to install it and accept the defaults (but don’t install Host Manager or Examples), as shown in Figure 2.5.
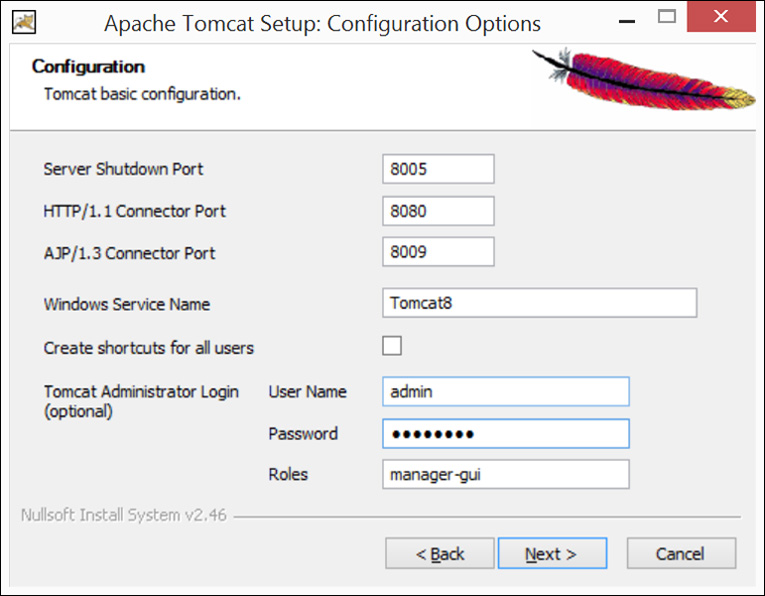
4. Be sure to set the Tomcat admin and password to “admin” and “password.” See Figure 2.6.
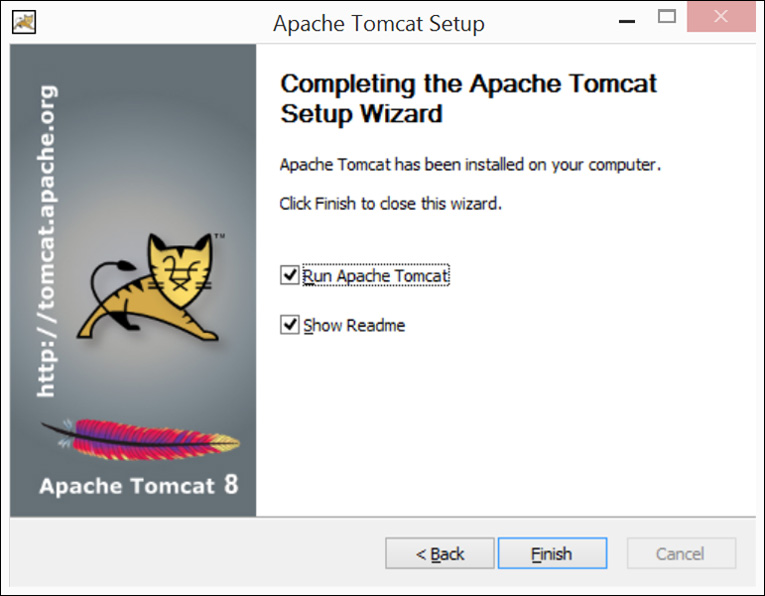
5. Then finish and run Tomcat, as shown in Figure 2.7.
6. Navigate to http://localhost:8080/manager to verify that you have installed it correctly (entering the user name and password you just set). See Figure 2.8.
