
10
Leveraging Video and Animation within Your Business Marketing
Making the most of video and audio in your marketing materials and social media channels will help boost your profile and visibility. Platforms such as Facebook often prefer videos or posts that have an aspect of movement in them as they tend to get better visibility and, as human beings, we capture movement better than a static images. So, if you can create moving graphics, that will have a beneficial impact on your business.
In this chapter, we are going to cover the following main topics:
- Creating presentations
- How to add and edit audio
- How to add and edit video
- How to add animation
- Recording directly into Canva
By the end of this chapter, you will have a good understanding of the impact of video and how to add and edit video and audio files to your Canva designs, as well as how to create a basic presentation, record directly, and add animation.
Creating presentations
Canva is just getting better and better when it comes to presentations by adding new features all the time so that you can create amazing-looking interactive presentations for business and personal use. These are brilliant for those who create courses, run training or zoom calls, or would just like to present something in a fun way.
There are several presentation options in Canva, but we’re going to stick with the first one in the list: Presentations (16:9). If you click on this option, it will open up a blank presentation template:

Figure 10.1 – Finding presentation-sized templates in the Create a design tab
With presentations, you may notice that the pages run along the bottom of the screen rather than underneath each other. This way, you can see how the pages will work together:

Figure 10.2 – A blank presentation page
You can create a presentation using elements, images, and shapes but you also have access to hundreds of templates on the left that you can use and edit to suit your needs.
Use the search bar at the top to find one that will suit your niche. When you click on a template, you will find that many of them have multiple pages. You can either pick and choose which ones you would like to add or click the Apply all x pages option to add them all. They can be individually deleted if they’re not needed at a later date:

Figure 10.3 – Adding a template to your presentation pages
For this example, I’ve chosen to add all pages to the presentation. They are now lined up along the bottom and I can edit each page as I would a normal Canva template, changing text, images, and colors to suit my branding. Click styles on the left, then choose your branding colors (if you have them set up in the PRO version) and click the apply to all pages button. This will populate your branding across the entire presentation:

Figure 10.4 – Changing the color of your branding
This is already starting to look very different.
Once you have added your information, changed your images, and removed any pages you don’t need, it’s time to choose how to present your presentation.

Figure 10.5 – Different presenting options
On the Present tab, there are four options:
- Standard: Allows you to go through the presentation in your own time, moving on to the next page when you’re ready, and is in fullscreen mode:

Figure 10.6 – Standard presenting mode
- Autoplay: You can select how long you would like each page to play for. Then, it will go through your presentation automatically for you. This is also in fullscreen mode:

Figure 10.7 – Setting autoplay on presentations
- Presenter view: You get two windows with this one. You can place the first window on the screen you will be looking at:
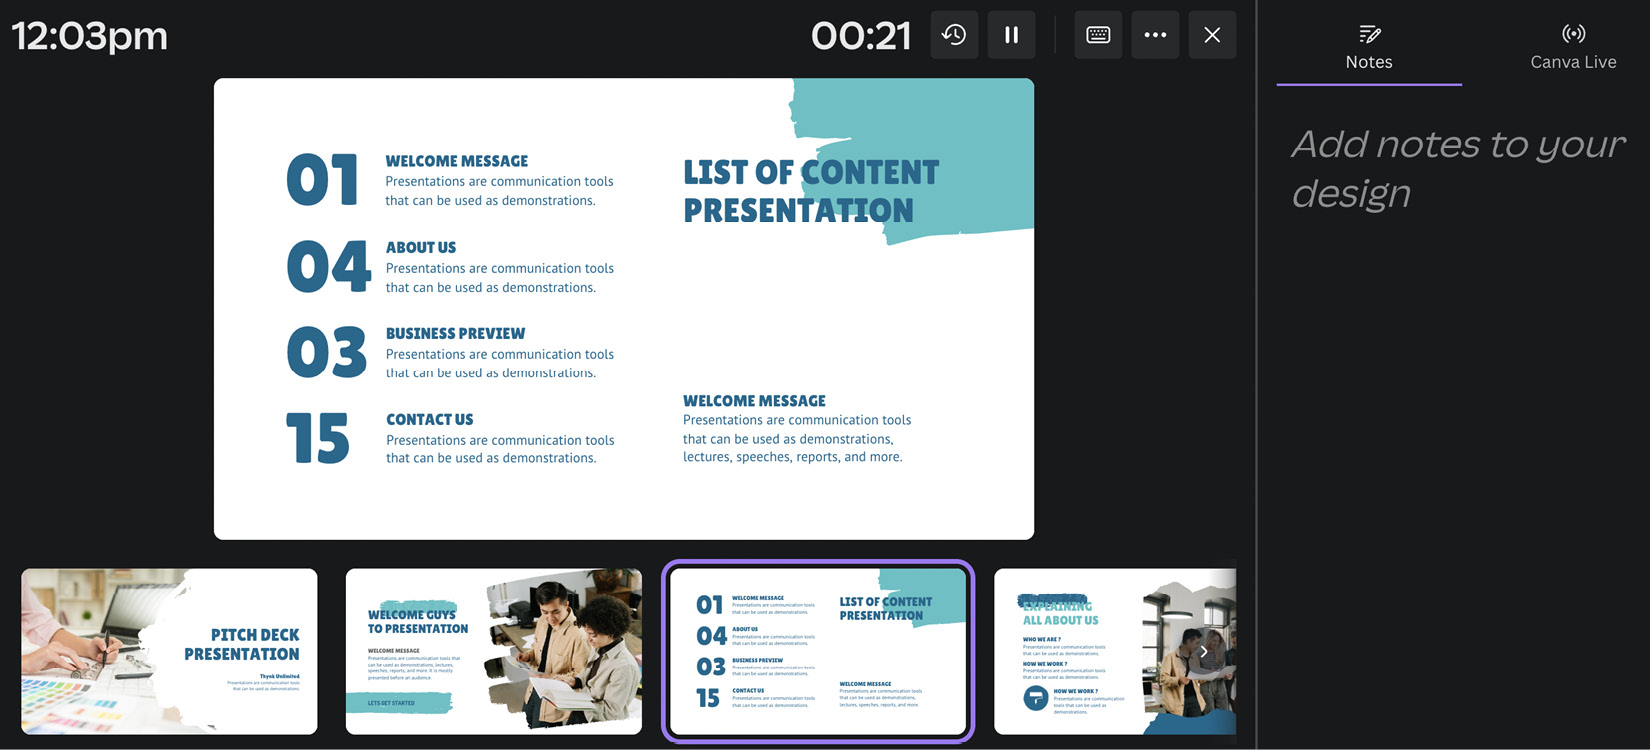
Figure 10.8 – Presenter mode with notes and pages
The second one allows you to display information to your audience. This way, you get to see your presentation pages and notes to guide you through:

Figure 10.9 – Presenter mode for your audience
- Present and record: My favorite one, this option lets you present your presentation while recording it. It shows a small recording of yourself in the corner, which is perfect for prerecorded courses. Once selected, it will take you to the recording studio:

Figure 10.10 – Setting up to present and record at the same time
This is where you can check the camera and microphone settings before recording. This option also gives you the notes on the right and pages along the bottom, but the result will show the full screen and your small video in the corner only:

Figure 10.11 – Presenter mode with a small video of yourself during the presentation
Once you have finished recording, you will be given the option to either share a link to the presentation or download it to your computer for later use.
One more thing I love about presentations is the keyboard shortcuts. Canva has added various keyboard shortcuts that bring up small animations throughout. While you are presenting, press one of these keys and watch what happens:
- C: Confetti
- D: Drum roll
- Q: Quiet emoji
- U: Curtains fall
- O: Bubbles
- B: Blur
- M: Mic drop
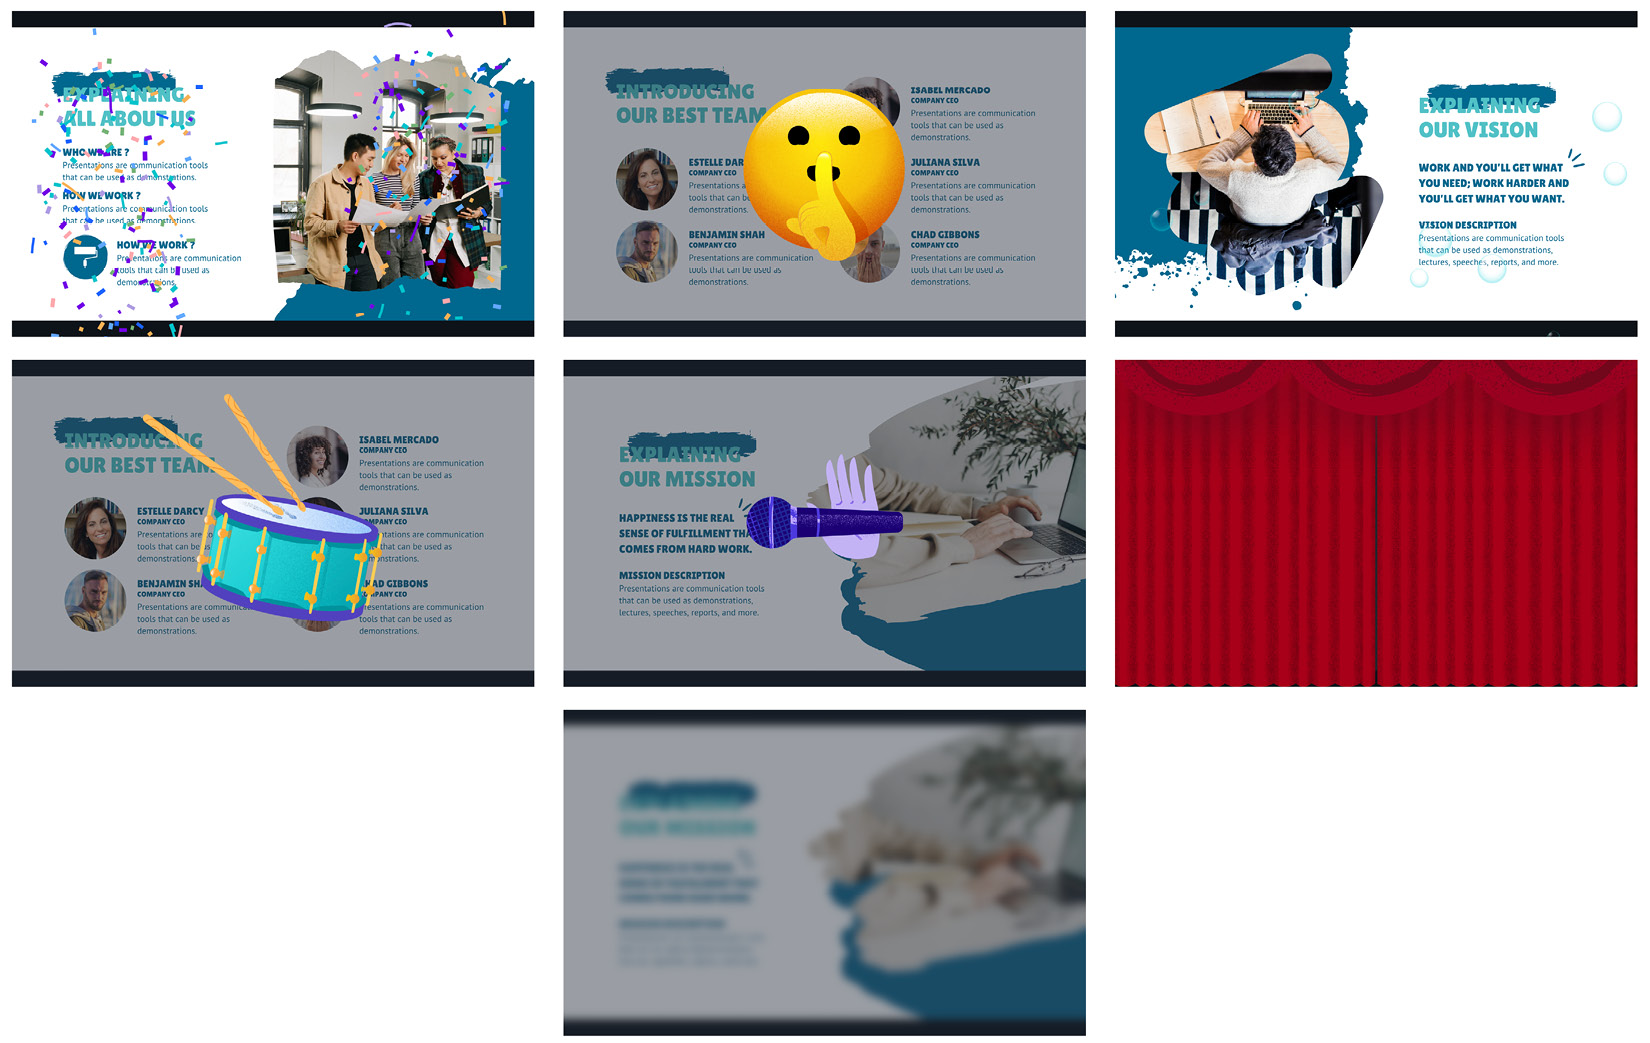
Figure 10.12 – The different animations you can add to a presentation
Presentations are great fun, especially with the added animations. Now, let’s look at how to edit and add audio and video to your social graphics, hopefully helping you with more visibility.
How to add and edit audio
Adding audio to your design is often used on platforms such as YouTube, Instagram, or TikTok, as well as others platforms that like video, but often, you may not want the original sounds of the video being heard. Alternatively, perhaps you’ve created a video with no sound. Being able to add audio to it can help finish it off, making it more appealing to your audience.
Both the Audio and Video options in Canva can be found on the left menu once you have your design open. Scroll down to the bottom; in the very far left corner is the Apps tab:

Figure 10.13 – The Apps tab’s options
Let’s go through how audio works, how you can find different audio files, and how you can add them to your Canva design:
- Click the Apps option; both Video and Audio will appear at the top. Clicking on them individually will place them in your menu:

Figure 10.14 – The video and audio apps in the sidebar
- For this section, we’re looking at adding audio to your design, so click on the Audio option to open up the search results.
From here, you can search for different types of audio you would like to use; the option buttons beneath the search bar are useful for this. Alternatively, you can scroll down to look at recently used or different popular audio files:

Figure 10.15 – Audio search tab and different audio files available
- Next, to play an audio file, hover over the image icon; a play button will appear. Click this to listen to the audio before adding it to your design:

Figure 10.16 – The chosen audio file
- Once you’ve found a piece of audio you like, you can add it to the design. It will appear along the top, giving you a section of the audio that will be played. To change this, drag the blue bar section along the audio:

Figure 10.17 – Audio playing along the top of a design
- In this example, the section of audio that will play is only 5 seconds long. To increase or decrease this, you need to adjust the time frame of the design rather than the audio file. The audio will always play to the same length as the design. So, to increase the length of the design, first, you need to remove the audio by clicking the delete icon in the top-right corner:

Figure 10.18 – Delete option for removing audio
- The normal top bar will appear again. Here, you can adjust the length of the design (the preset time is always 5 seconds), change the time in the box, and hit Enter:

Figure 10.19 – Changing the length of a template

Figure 10.20 – Adjusting the length of an audio file
You can only add one piece of audio at a time. If you wish to add another, drop it in; it will replace the old one. The other option you have regarding audio is to adjust its volume by using the speaker icon in the top-right corner.
Let’s take this a step further now and look at how to add and edit a video.
How to add and edit video
Canva has a fantastic video library. Usually, you can find something to suit your needs, but you can also upload and edit a video as well as remove the backgrounds of a video. However, this is a PRO feature, though it’s worth mentioning here.
To upload a video into Canva, head on over to a blank or existing template and click on the upload tab on the left. This will allow you to upload images and videos directly from your computer. Once you have a video in the upload section, click on it; it will be placed into your template. From here, you can edit it using the options from the top bar:

Figure 10.21 – Adding a video and the different video editing options
Clicking on the Edit video tab will bring up the Background Remover app on the left of the screen, along with options to adjust aspects of your video on the right, including warmth, tint, brightness, and contrast:
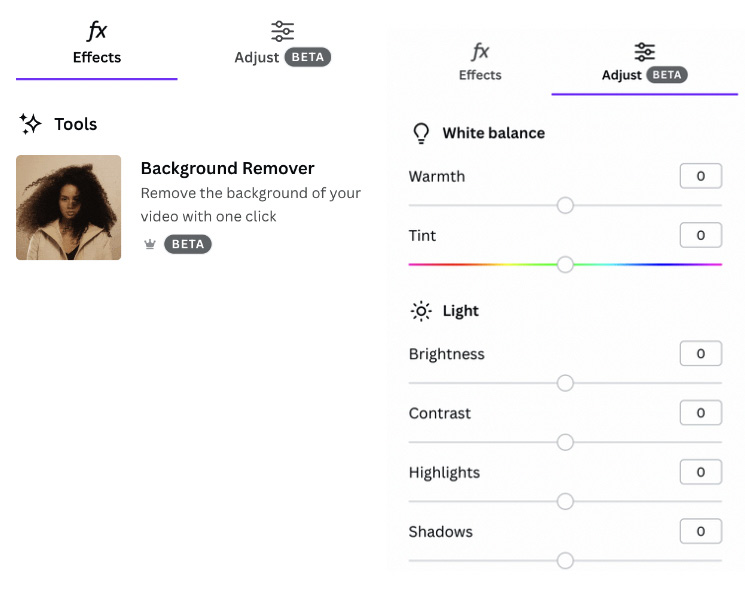
Figure 10.22 – The Effects and Adjust tabs for videos
But let’s look at the background remover app and have a look at this video before and after clicking Background Remover.
This is the video before with full background:
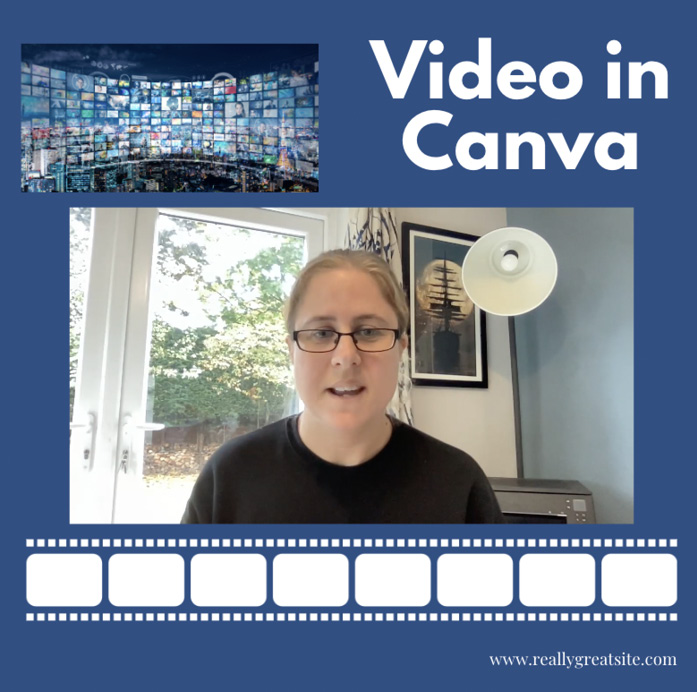
Figure 10.23 – Video before background removal
This is what it looks like after with the background removed:
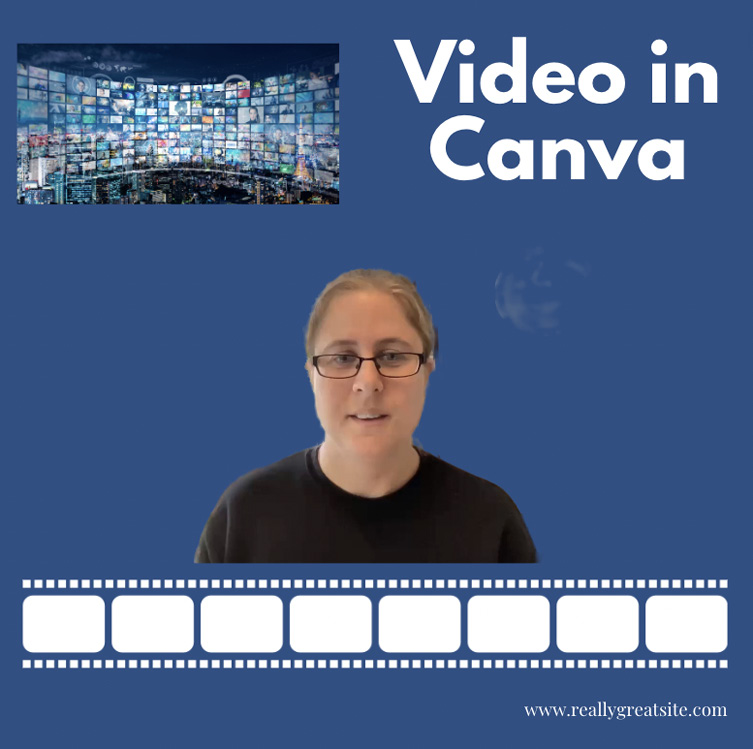
Figure 10.24 – Video after background removal
I can now add this to a design using any color background, grid, or frame to make my video and design stand out more. In the same way, I can add an image to grids and frames, and I’ve also reduced any clutter.
The next thing I can do with a video is cut or trim it. If I have a part at the end that makes it look unfinished – for example, when reaching over to click end, after recording, it’s often a good idea to trim this part out – you can do this by dragging in the purple lines at either end of the video in the top bar and click Done. This will trim your video and will show you the reduced video length time in the box on the left, which currently says 9.1 seconds:

Figure 10.25 – Adjusting the length of a video
There are also two Playback options where you can loop the video forever so that it will play over and over until it has been manually stopped. You also have the option to autoplay the video, rather than you having to press play when presenting your video:

Figure 10.26 – The different playback options for video
Also, on this top bar, you have the option to crop the size of the video by dragging in the white corners. This allows you to remove objects or people in the background you would not like to be there:

Figure 10.27 – Cropping a video
Finally, you have the option to flip or rotate the video and animate it as you would any other template or element, which is exactly what we are going to look at next. Let’s look at animation in a bit more detail.
How to add animation
Animation is a great alternative to adding video. If you don’t want to go through the hassle of recording a video or can’t find one on Canva that could work for you, you can add animation to turn your design into an MP4 file, and you will still have your movement and video for your social media channels.
There are a few ways to add animation and animate different aspects of your design.
You can animate the following:
- The entire design as one
- Individual text boxes
- Individual elements
- Individual images and videos
Depending on which aspect of your design you select, different options will appear on the left. Whenever you select an element, text box, or image, click Animate. A new animations box on the left will appear with two columns – one for the item you have selected and one for the entire page, giving you the option of both:

Figure 10.28 – Photo animations
Hover over any of the animation boxes and you will see it applied to your design, giving you a view of how it will look. Click on the Page Animations option and hover over them; it will do the same, except that the animation has been applied to the entire design.
Animations for elements and images (and videos) are very similar, apart from three additional image/video options. If you scroll to the bottom, you also get these, which are image/video-specific:

Figure 10.29 – Three additional photo/video animations
The text boxes are slightly different but you get a few new options, such as the Typewriter effect. These are text-specific and can make your writing stand out:

Figure 10.30 – Text box animations
As we mentioned in Chapter 9, Making Social Media Graphics with Canva, you can also add animated elements and stickers to your design, giving you the element of movement. These can all be found in the element section. You can also search for video and audio here as well.
Now that we know how to add video and audio, let’s look at how to use Canva to record directly into it.
Recording direct into Canva
This is a great feature that can save you a lot of time when you want to record something and add it to a Canva template. Usually, you would need to use a third-party platform or dig out your camera, then upload it to your computer before adding it. The record direct feature has cut all of this out and it’s so super simple to use.
To find the feature, you need to be on the design where you would like to add the recording. I’ve created the following mock-up:

Figure 10.31 – Template ready to record direct into
I would like to add a short video below the text Video in Canva
To do this, go over to the menu on the left and select the Uploads option. Here, you will find the Upload files button and, below that, one that says Record yourself. Select it:

Figure 10.32 – Upload and record options
A new window will open with your template in the background and a small version of yourself in the bottom-left corner:

Figure 10.33 – Recording directly into your template
Above this window you will find four options, as follows:
- Filters & effects
Here, you can add different filters to your video. Currently, there is just one effect, which is skin smoothing:

Figure 10.34 – Adding filters to your video
- Change shape
This gives you the option to have either a circle- or square-shaped video:

Figure 10.35 – Changing the shape of your video
- Mirror Camera
This option flips or mirrors the camera for you so that any writing or text is the right way around:

Figure 10.36 – Flipping or mirroring your video
- Turn camera off
This option turns the camera off so that you can record audio only:

Figure 10.37 – Recording with no video
For this example, leave all of these settings as they are and click the record button at the bottom. You will see a 3, 2, 1 countdown; then, it will start recording automatically. After that, a red circle will appear with the word RECORDING underneath so that you know you are live:
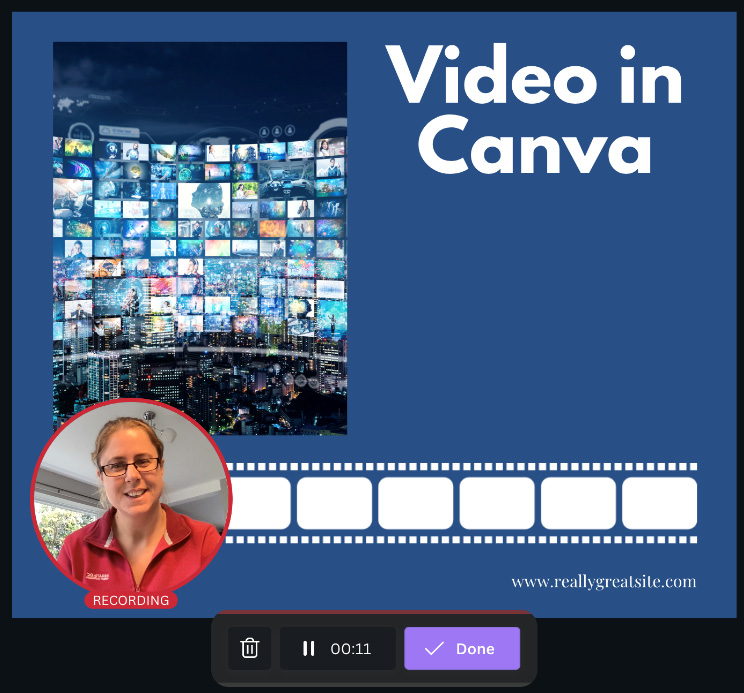
Figure 10.38 – Recording for your template
Once finished, press Done. It will process the video for you. Then, click the Save and exit tab in the top-right corner. The video will be added to your design. All you need to do now is drag and drop it to wherever you would like it to be, and then save and download your finished design ready for use:

Figure 10.39 – Finished recording and complete template ready to use
Being able to record directly into Canva is a huge time-saving feature. You can also add your own pre-recorded videos and use any of Canva’s video library, as we saw in this chapter.
With that, we’ve come to the end of an action-packed chapter. I hope you’ve enjoyed it and will put the video information you have learned here into practice.
Summary
In this chapter, we covered a lot about video, audio, and animation. Now, you can search for and add videos and audio files, as well as record directly in Canva and edit a video’s length, crop it, and flip it. You also learned how to add various animations to the full design or just aspects of it. After this, we covered presentations. You can now create a presentation, present and record it, and also add fun animations while presenting. One thing we haven’t covered yet is how to download and share these great designs you are creating, which is exactly what we will look at in the next chapter.