
3
Tools and Features for Using Elements and Images
Elements and images in Canva can help to make your designs unique to your business; there are hundreds of thousands available for you to use. Images can be edited directly in Canva, and they have given us a large variety of tools to do so. Elements can also be edited but not to the extent of images. In this chapter, we will be looking at all the tools available to you and how to use them.
In this chapter, we are going to cover the following main topics:
- Adding elements into the mix
- Adding and editing images
- Changing the background
By the end of this chapter, you will have learned how to use the many editing tools for images, know how to change the background of a design to help it stand out, and the difference between element file types and which ones you can change.
Adding elements into the mix
Elements in Canva are the individual items that you use to create a design; they can be shapes, icons, animations, text, images, and video. Each one of these options has its place within your design. In this section, we are going to look at how you find and use these within Canva.
Let’s look at static elements; these are elements that don’t move. However, the following also applies to animated elements and stickers; you can’t change the colors on these.
Once you have your template size open, head over to the Elements section in the top-left corner, and here you will see a search bar and lots of different sections below – Recently used, Lines & Shapes, Graphics, Photos, Frames, Grids, and so on:
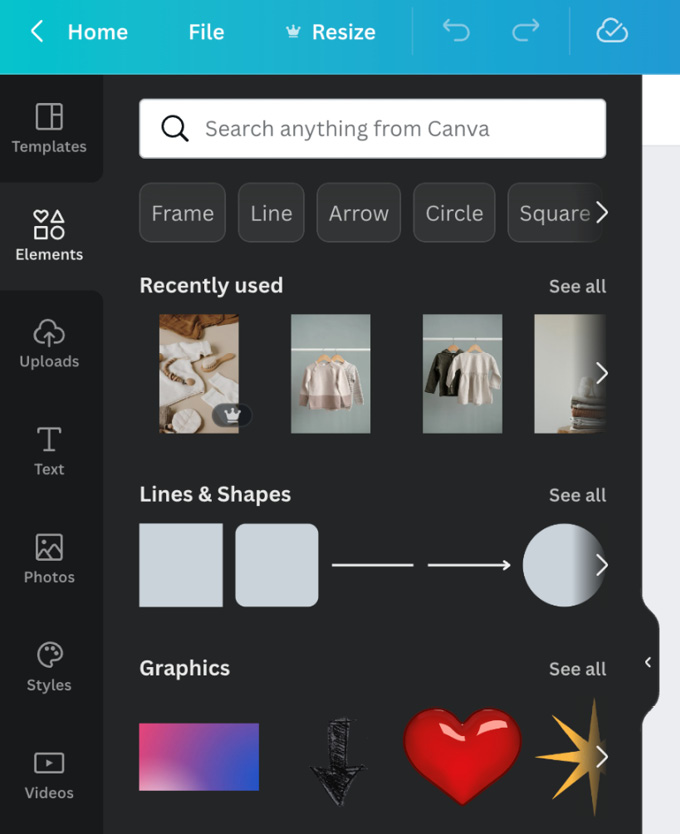
Figure 3.1 – A close-up of the Elements section
In the search bar, we are going to search for the keyword blob. This brings up a large selection of elements that are brilliant to use as borders for text and are a simple but effective style of design you can create quickly:
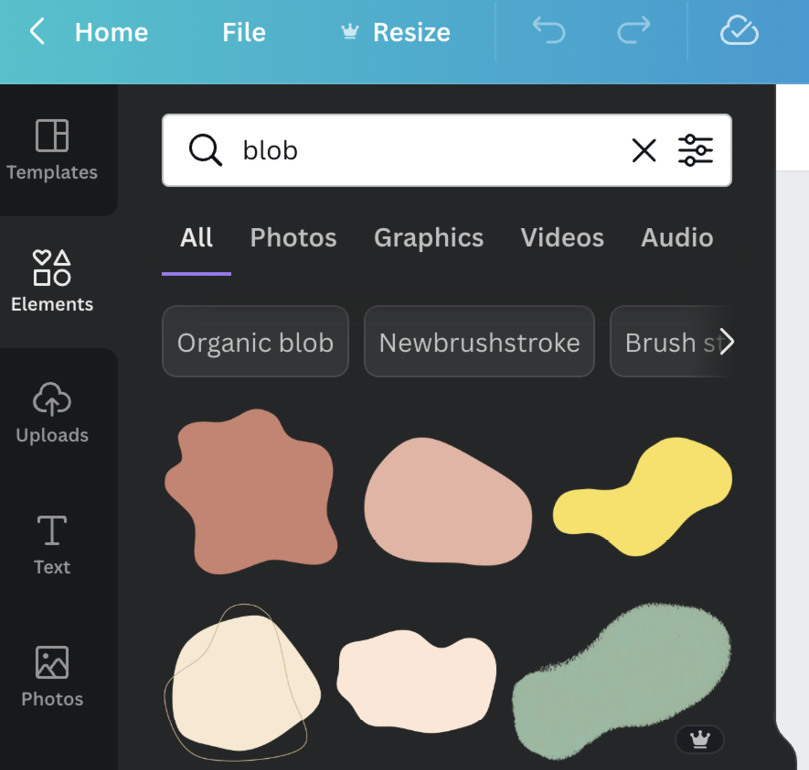
Figure 3.2 – Searching for the keyword blob
I’ve selected the one with the gold line, and it brings up a list of options at the top of the page. From here, I can change the colors of certain parts of the elements and crop, flip, and animate them:

Figure 3.3 – The chosen blob element
Tip
When searching for elements in Canva you will find some give you the option to change colors. You can have up to five color change boxes on elements (the one in the preceding example has two), but some do not change at all. The reason you can change color on some and not others is dependent on the file type. The majority of elements in Canva are created by freelance designers, and they can choose the file type. Some are uploaded as SVG files (these are vector files – they can be adjusted in size without losing resolution), where you can create color-changing options. Others are uploaded as PNG files (these are images or raster files and they can’t be resized significantly without losing some of their resolution quality) and are therefore unable to have their colors changed. This is just something to look out for when using elements that you may want to adjust the colors of.
Editing my chosen element
I have selected the element, so I can see the purple box around it, then click on one of the color options at the top. I can now change the colors of both parts to match my branding:

Figure 3.4 – Changing the color of an element
Next, I have the option to Crop the element; this is useful if there is a part that encroaches onto another element of your design or if you are removing a part that should not be there. You can crop by using the four corners of the purple circle. Once you are happy with the crop, select Done. You can then use the white circles in the corners to enlarge or reduce the size of your element without disrupting the shape:
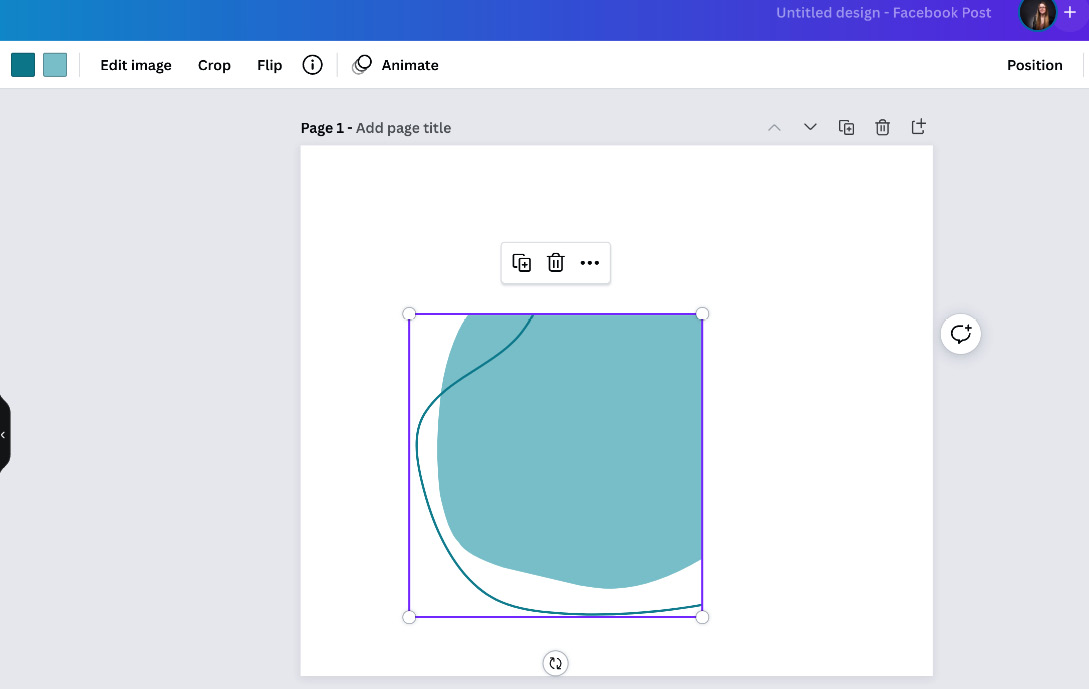
Figure 3.5 – A close-up of a cropped element
We can also flip or rotate an element. I love the rotate option as it allows you to place the element correctly within your design. The rotate option is one of the few that is not on the top bar; you will find it alongside the purple square, along with a few other options. They have been moved to stop the top bar from being overly cluttered.
Here you will find:
- Duplicate
- Delete
- Copy
- Paste
- Delete
- Link
- Animate
- Comment
Lastly, the circle with the two rotating arrows is the Rotate option, which you can drag around in a circle:

Figure 3.6 – Rotate and element menu options
The Flip button allows you to flip your element horizontally or vertically:

Figure 3.7 – Flip your element horizontally or vertically
There is also the edit image option here, but we’re going to cover this further on in this chapter. You will also find the Animate option, which we will cover in more detail in Chapter 10, Leveraging Video and Animation within Your Business Marketing.
Being keyword specific
Thinking about what element you would like and then trying to be as specific with the keywords as possible will help you to find the right one quickly. For example, if you’re looking for a big top tent for a circus-themed template, try searching for circus big top tent. Canva will then bring back a selection of images and elements that fit your keywords:

Figure 3.8 – Searching for the keywords circus big top tent
If you just want graphics and not images, select the Graphics tab at the top before hitting Enter:

Figure 3.9 – Searching for graphics that fit the keywords circus big top tent
Element collections
Canva also has collections of elements where you can use a variety of elements that are all similar in style and theme, helping you to create multiple designs that are consistent. These can be found in the Elements tab by scrolling down to the bottom:

Figure 3.10 – Canva element collections
Select the set that appeals and it will give you access to the full collection for you to use in your designs and templates:

Figure 3.11 – Chosen element collection
We have looked at how to search and find your elements, change the color, crop, flip, and find collections of elements. Next, we’ll look at adding lines and shapes.
Adding and editing images
Canva has amassed a huge library of images, hundreds of thousands, and it has vastly improved on the editing front as well. You can now do a lot of your editing directly on your template. Canva has teamed up with other image platforms such as Pixabay and Pexels to bring you even more amazing images.
If you can’t find an image that you like or would prefer to use your own imagery, you can upload these to Canva, using the Uploads button. This can be found in the menu on the left of your template; from here you can upload images and videos you have saved on your device. There is also a great feature here where you can record yourself directly in your Canva template. We will be looking at this in greater detail in Chapter 10, Leveraging Video and Animation within Your Business Marketing.

Figure 3.12 – Uploading your own images and video into Canva
The best way to check out all of the images in Canva is to open up a blank template and then head on over to the Photos section on the left.
From here, you can use any keyword as we have shown while searching for elements. You can find different images to suit your latest creation. I’ve chosen the keywords colored pencils to find a nice bright image, on which I can show you the features:
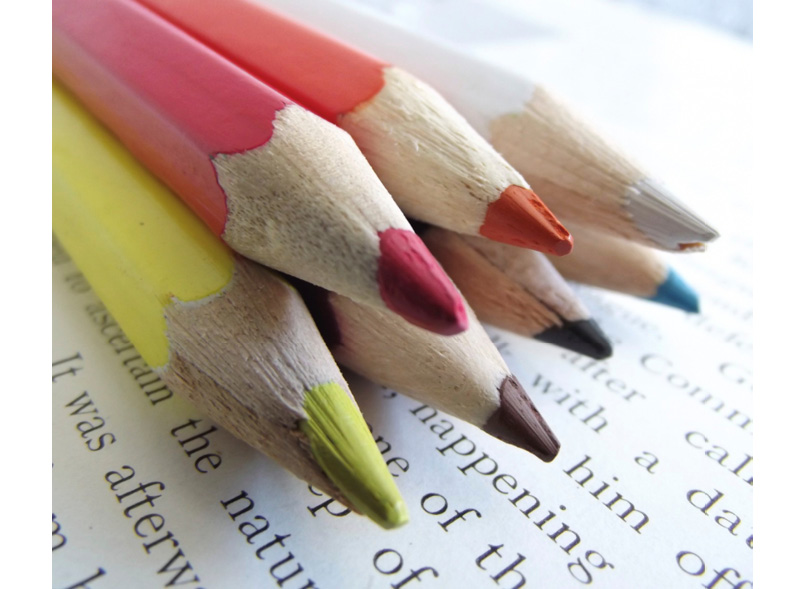
Figure 3.13 – A close-up of a colored pencils image
Select the Edit Image option in the top bar, and it opens up a whole world of options. Starting at the top, you have your recently used features, if you have used any image editing tools before. Then you have the background remover tool, which is a firm favorite among Pro users, and after that you have the Adjust settings:

Figure 3.14 – The image adjustment options
The three main ones are shown with the See all option opening up the rest:

Figure 3.15 – The image adjustment drop-down menu
With these settings, you have full control over your image; you can make it darker and sharper, give it a slight blur, increase the contrast, or a combination of all of these to really change it. But it doesn’t stop there. Next in the menu, you have multiple filters you can apply, Duotone effects, and the option to change the image into a letter mosaic, give it a trippy look, or liquefy it. Here is a selection of some of the effects; each one comes with its own section of options so you can edit them:
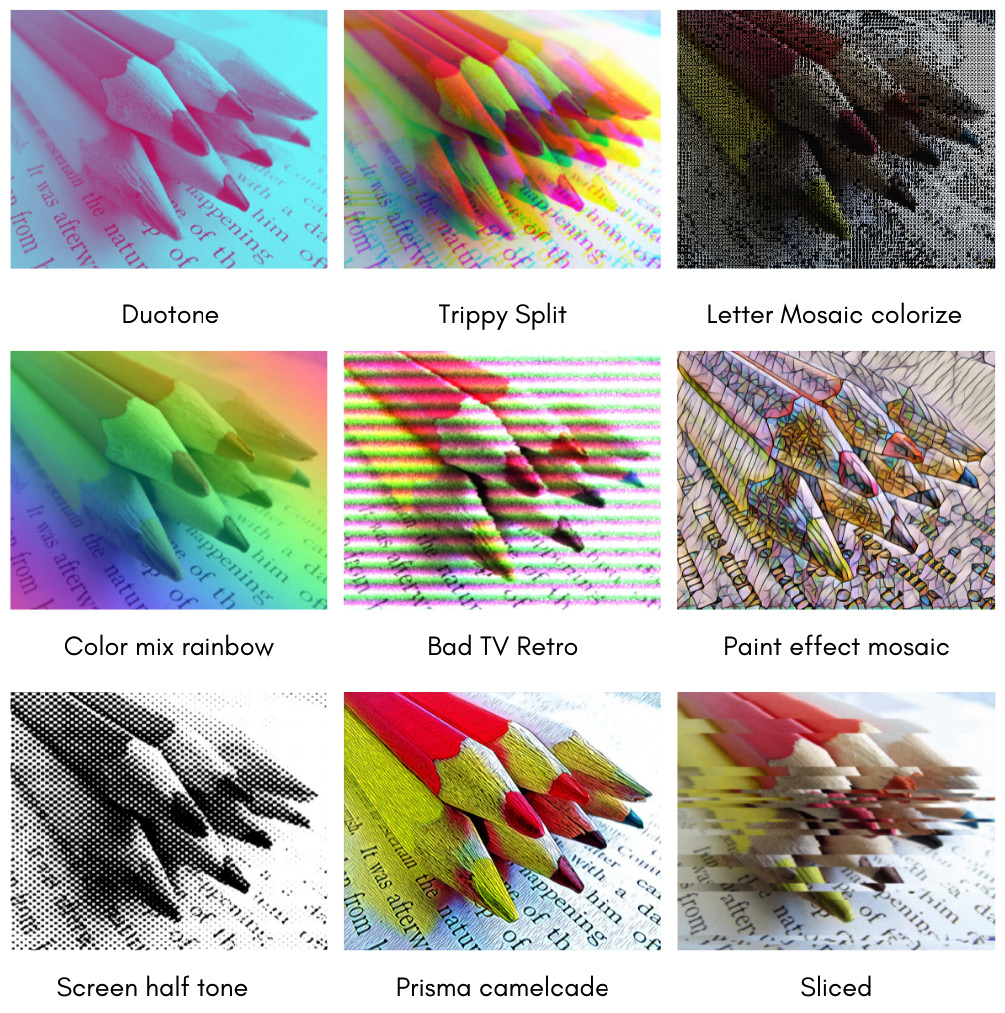
Figure 3.16 – Image effects
Smartmockups
Besides the effects, filters, and adjustment tools in the Edit Image feature, there are three other features that are worth mentioning. The first one is Smartmockups. Canva has teamed up with Smartmockups to bring you around 8,000 options, which are all available to Pro users, and about 20% are available to free account users. These are ready-made mock-ups that you can add to your design to make it look like it has been set up, perfect for product-based businesses, authors, fashion designers, app and website creators, and many more businesses.
There are two ways to access Smartmockups. The first is through the Edit Image feature when creating your template; this gives you a top level of the most popular mock-ups:

Figure 3.17 – Smartmockups
Clicking the See all option will give you access to all Smartmockups. For this example, I’m going to show you how to put a logo design onto a mug, and this process can be repeated for any design you would like to make with a smartmockup:
- Have your logo ready on a template as a PNG file.
- Click on Edit Image at the top.
- Scroll down to the Smartmockups section.
- Click the See all option and find the Mugs section.
- Select the image you like.

Figure 3.18 – Smartmockup Mugs options
Once selected, Canva will then add your design to the mock-up for you:
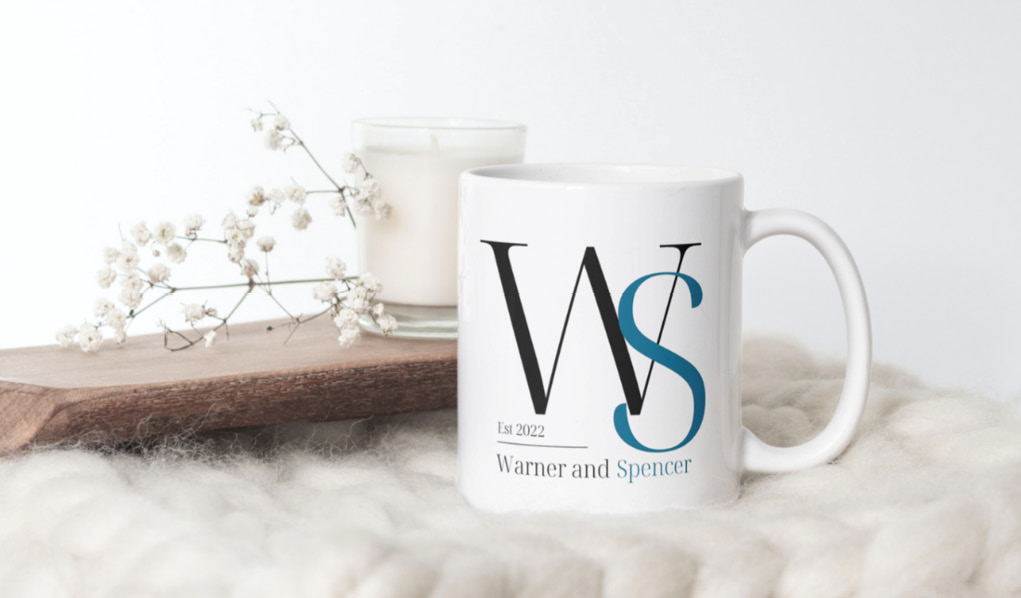
Figure 3.19 – A logo on a mug
The other way to access Smartmockups is by selecting it from the main menu on the home screen. This brings up a new search bar where you have access to all 8,000+ mock-ups:

Figure 3.20 – Smartmockups search bar
Searching for the keyword Books, these are some of the results that appear:

Figure 3.21 – Smartmockups book designs
After selecting one, it will ask if you would like to use it in a design:

Figure 3.22 – Smartmockups book template
Once you have selected to use it, Canva then brings up a window with your recent uploads and design folders, so here you can now use a Canva design in the mock-up and not be restricted to just images:

Figure 3.23 – Designs and Uploads folders
Scroll through your designs, select the one to use, and Canva will add it to the mock-up for you:
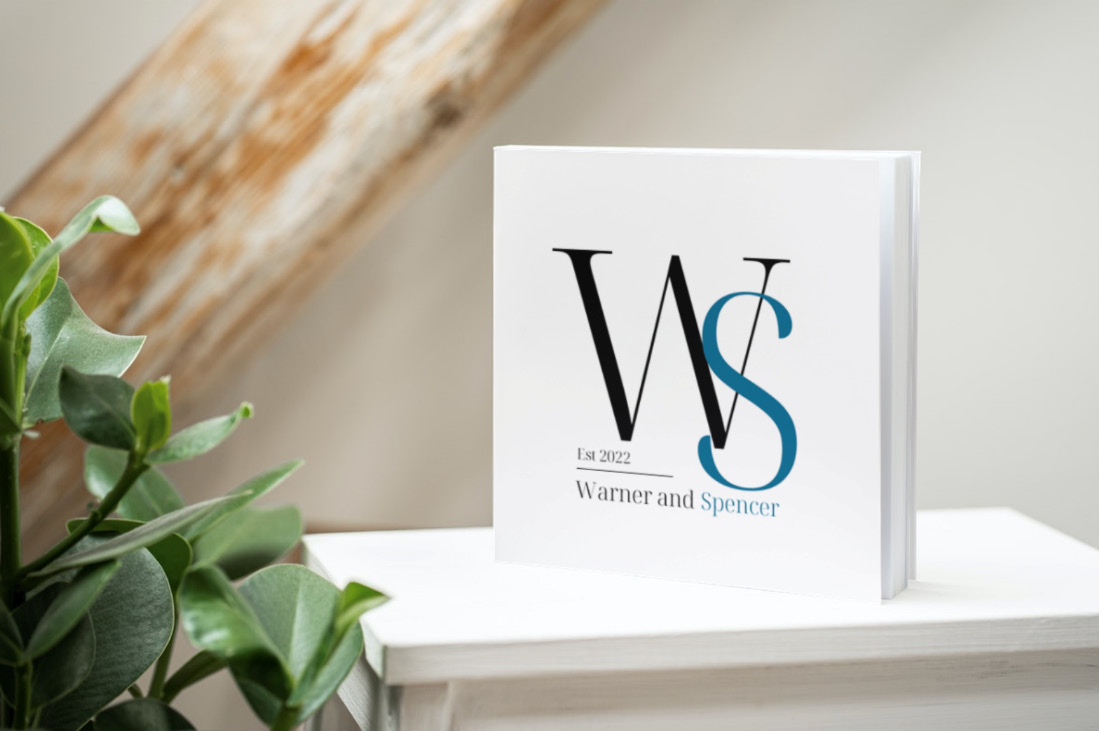
Figure 3.24 – The final mock-up
Once happy with the design, you can save it for future use or choose to adjust the image:

Figure 3.25 – Saving or adjusting the mock-up
Canva will give you one last option to either use the mock-up in a design or to download it as is:

Figure 3.26 – Using the mock-up in a design
If you choose to use it in a design, you can then select the size template you would like to create and use your mock-up.
Shadows
The shadow feature gives your images extra depth; they bring your image to life, making it look like you could pick it up off the page. I will use the same logo image that I used in the previous example to show you:

Figure 3.27 – The shadow feature
There are only a few options, but each one comes with its own settings to edit:

Figure 3.28 – Different shadow options for a logo design
In this example, I used the Angle shadow and slightly increased the blur:
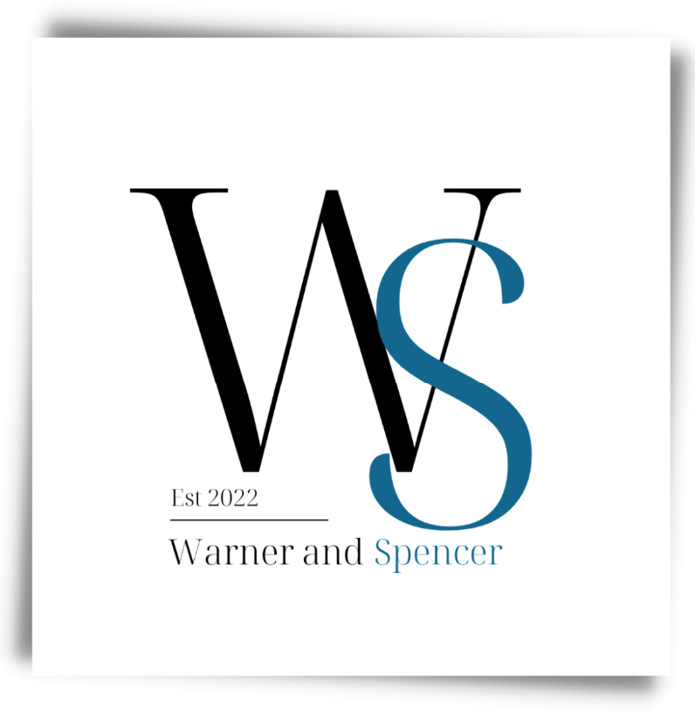
Figure 3.29 – The Angle shadow
This one uses the Curved shadow with no additional edits:

Figure 3.30 – The Curved shadow
Using shadows for your images gives a very striking effect; these work really well on logos, vision boards, product images, family photos, and more.
Frames
Lastly, in this section, I wanted to show you the Frames section. This is a selection of frames that will automatically resize to fit your image. You can find a lot of frames in the Elements section but you will need to manually resize them to fit, whereas these are done for you. They are found under the Edit Image feature when you are on a template and have your image ready to use:

Figure 3.31 – The frames feature
At the top, you have a mobile, laptop, and tablet frame, and then under these, there are polaroid, neon, gold glitter, floral, and vintage frames:
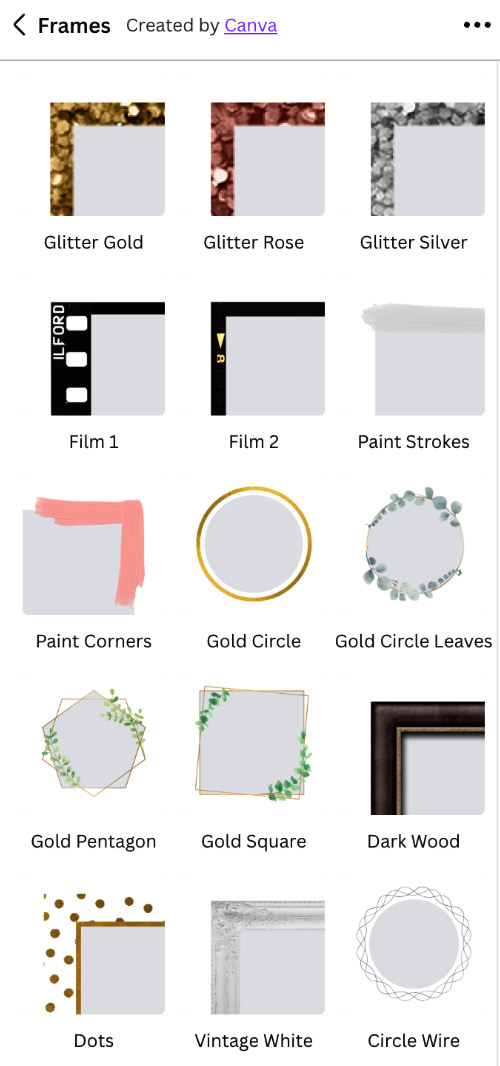
Figure 3.32 – The Frames drop-down menu
Selecting one of these will automatically add it to your image:
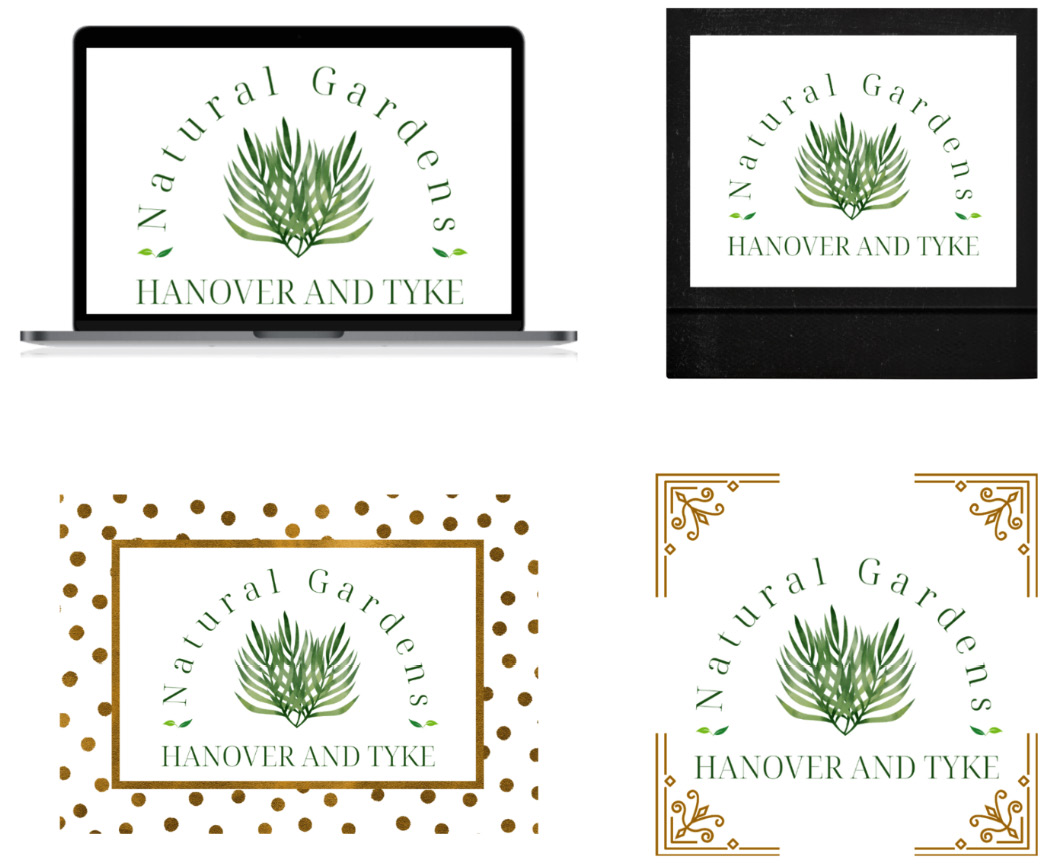
Figure 3.33 – A selection of different frames
Frames are a great way to add a quick border to an image that may otherwise get lost in your design. So, with that in mind, let’s look at backgrounds and how you can make information stand out more on your social posts.
Changing the background
Backgrounds in Canva help to give our design more depth, and Canva has given us access to a tab specifically for backgrounds. We can also use patterns, images, and elements for a background.
First of all, let’s look at the Background tab. It’s in the main left menu when you’re in a template.
I have this clear basic design here, but a background will help the message stand out so much more. I have searched for a modern geometric pattern, as I like the idea of something that suits the message of a new website, keeping the design theme. Adding a floral background, for example, wouldn’t look right, unless the business is a florist (we need to have every part of a design doing a job; if it isn’t, it needs removing).

Figure 3.34 – A basic text template
Now, the design looks better. It has a patterned background and the message is still clear and uncluttered:

Figure 3.35 – Backgrounds and an edited basic template
Often a simple gradient can achieve the same effect. It reduces the plainness of a design but doesn’t over-clutter it:

Figure 3.36 – A selection of gradient backgrounds on a basic template
A photo or pattern from the Photos section can work well; just make sure it’s not too light, doesn’t cover your information, and is in keeping with your message. For this one, I searched for the keyword website.

Figure 3.37 – Images used as a background
Lastly, you can use an element. There are some great patterns and shapes you can use; comic, cartoon, floral, and blobs all can look great as a background for a simple design:
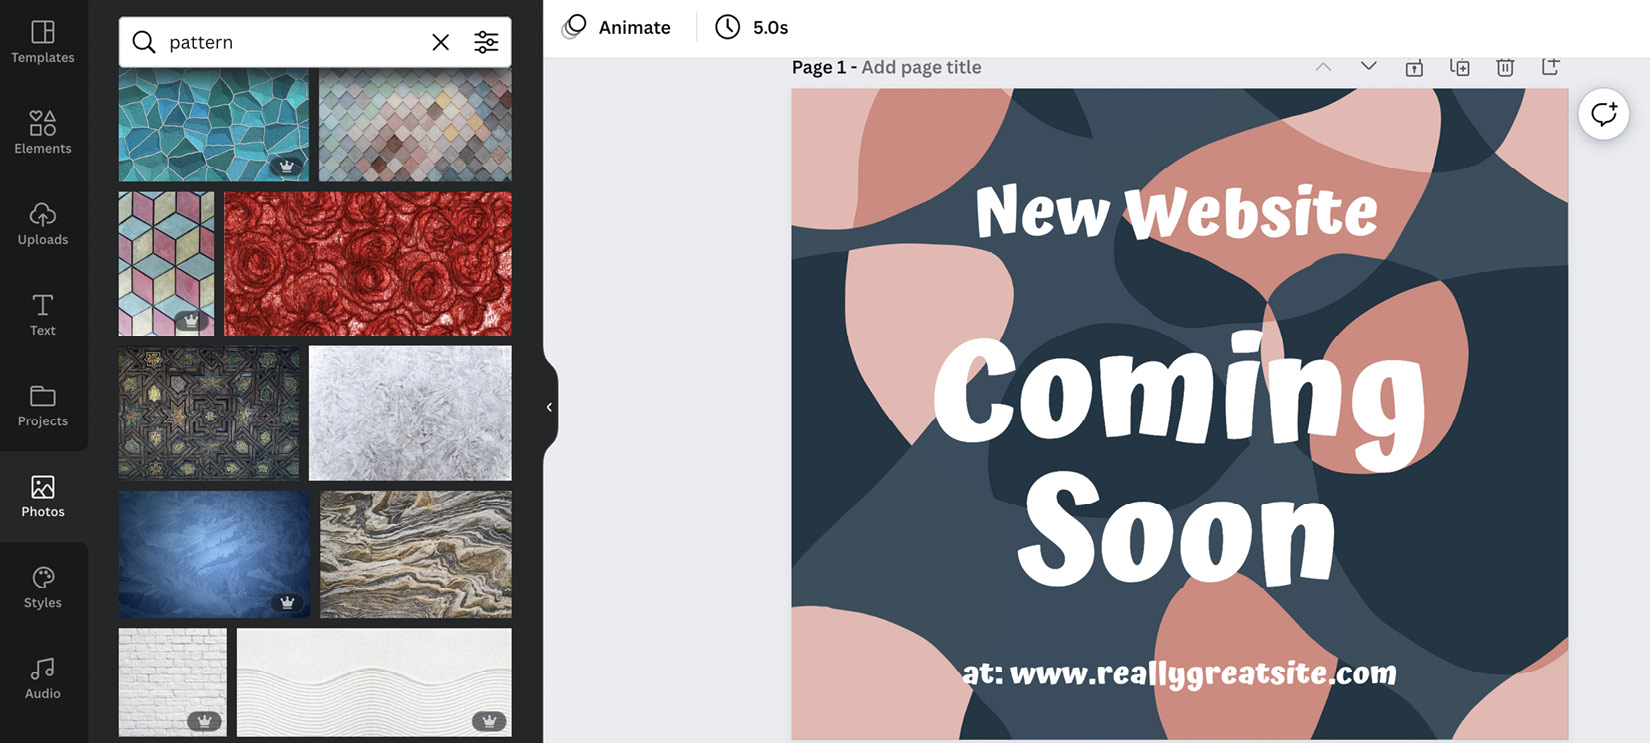
Figure 3.38 – Patterns used as a background
Now we have a great design that we can use on social media to help with the visibility of our business, just by using a simple pattern or image as a background.
We’ve come to the end, so let’s take a look at what we’ve learned in this chapter, which is packed full of information.
Summary
Imagery and elements are some of the main parts of any design in Canva. Understanding how these work will help you on your way to creating amazing designs. So, what have we learned in this chapter? You have discovered the importance of elements, and how to search, select, and edit them. You have also learned how to find and fully edit an image in Canva, using all of the different tools available to you, as well as how to edit a background, giving a blank color block a pattern or image to help your information stand out more.
So that’s it for this chapter. In the next chapter, we will be looking at some of the Canva features that you can use, alongside the knowledge you have learned in this chapter, to create eye-catching graphics.