
Chapter 10. The Internet
Hacks 96–100
Web technologies and the Internet are ingrained in so much of what we do that extending the Web to work with our database applications makes perfect sense. Although at first Access might not seem like a web-savvy product, with a few hacks Access can work well with the Web.
This chapter begins by showing how to save a report as HTML [Hack #96] . This lets you post your data to a web site. Better yet, how about bringing the Internet into your database? “Use a Browser Inside Access” [Hack #97] shows you how to use a web browser right within your Access forms. Need to get data from a web site? Just FTP it over [Hack #99] .
Export a Report as HTML
Preview your reports on web pages to reach a larger audience.
Previewing summarized data is a key business need, and Access handles it quite well. To reach a large audience, you can print, email, save to Word, and so on. Another option is to save a report to a web page.
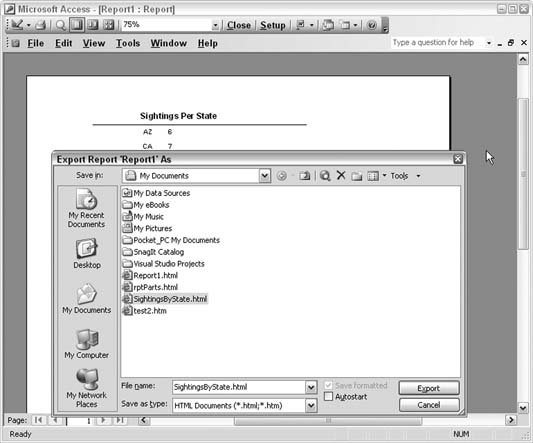
When you open an Access report, one of the selections on the File menu is Export. A handful of output types are available, and one of them is HTML. Figure 10-1 shows a report being exported as HTML.
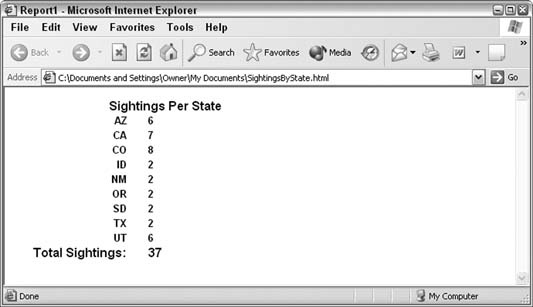
Saving the report as an HTML file opens up a number of possibilities. The likely action is to view the report in a web browser. Figure 10-2 shows the report previewed in Internet Explorer. The HTML file is no longer a part of the database, so you must open it in the browser using the File → Open menu.
You can upload the HTML file to a web server and make it available publicly, or you can upload it to a controlled intranet group. Opening the file in Notepad or another plain-text editor reveals the actual HTML code, as shown in Figure 10-3.
Note the highlighted contents of the HTML title tag. Referring back to Figure 10-2, you can see that the HTML file is named SightingsByState.html. But the title in Figure 10-3 just says Report1. Report1 was the name of the report in Access, so that’s the title used in the Internet Explorer titlebar in Figure 10-2. We’ll have to change the title in Notepad and display the file again in the browser.
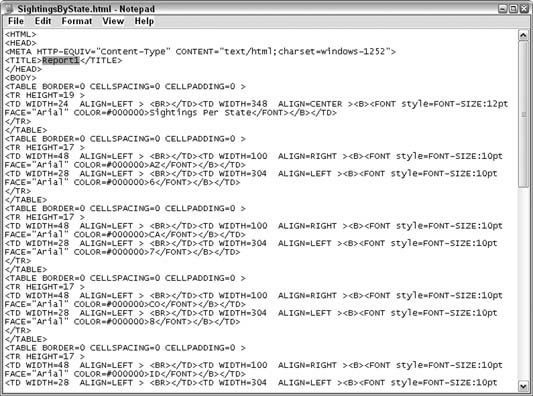
Figure 10-4 shows a slightly edited version of the HTML report. The title has been changed, and a few formatting changes are in place.
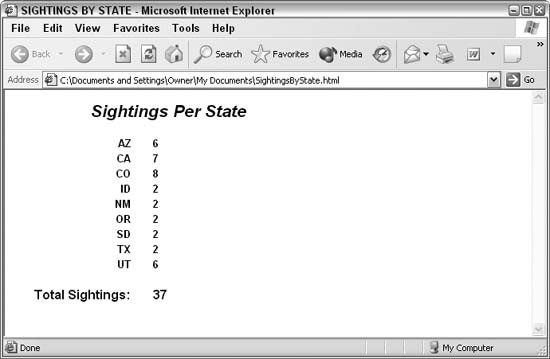
Though the HTML code was edited directly in Notepad, you can open the HTML file with any HTML editor, such as Dreamweaver or FrontPage.
Use a Browser Inside Access
Place the Microsoft web browser on a form to coordinate data and the Web.
Access tables have a hyperlink field type, which stores a URL that, when clicked, opens your computer’s browser and displays the site. This is useful, but to view the database information and the web site together is a challenge. You might have to reduce the size of both Access and the browser so that they fit together on your computer screen.
This hack puts the browser right on the Access form. To view the web site at the stored URL, you just load the browser with the URL address, and the web site appears on the form.
Figure 10-5 shows a form in Design mode. The Microsoft Web Browser control (one of the items in the list of More Controls that is available from the button on the toolbox) has been placed on the form.
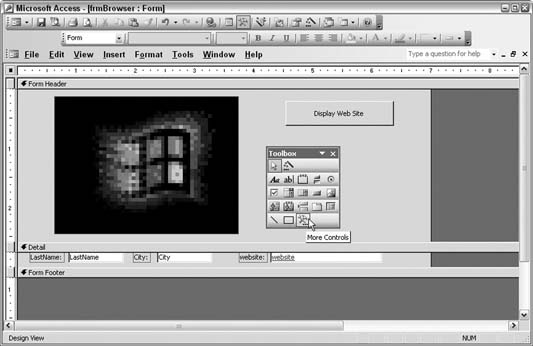
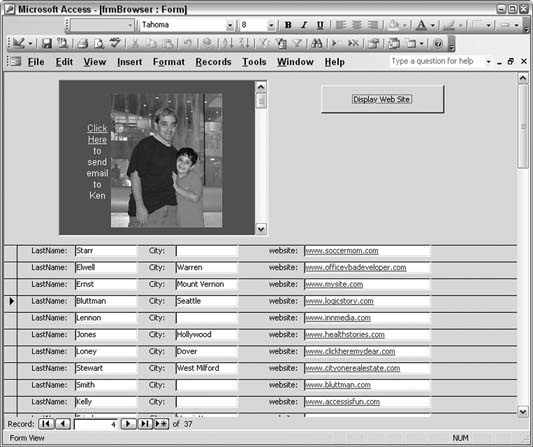
Figure 10-6 shows the form in View mode.
The browser control displays the web site listed in the current record. This occurs when you click the Display Web Site button, which has this line of code in its Click event:
Me.WebBrowser1.Navigate URL:=Me.website
The web browser control has the Navigate method, and it navigates to the supplied URL. In this example, the URL comes from the website field on the form, from the current record. Of course, you can feed a URL to the web browser control in other ways. This is just one example.
Just like any control, you can place multiple web browser controls on a form. Figure 10-7 shows such an arrangement.
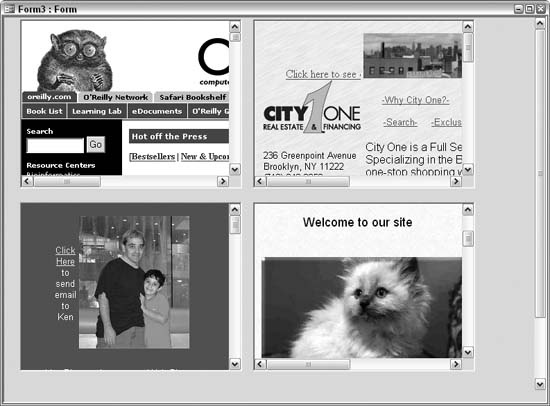
This might seem excessive, but actually, you might have a good reason for using multiple browsers. For example, an application that integrates with current events can use this. Financial applications could keep tabs on different securities markets. The browser controls could even be displaying the output of webcams.
Pull the HTML Source Code from a Web Site
Integrate web data into your application.
“Use a Browser Inside Access” [Hack #97] shows you how to use the Microsoft Web Browser control to display a web page. This hack takes that functionality a step further and shows how to get to the source code. Being able to access the source code makes it possible to extract data from a web site.
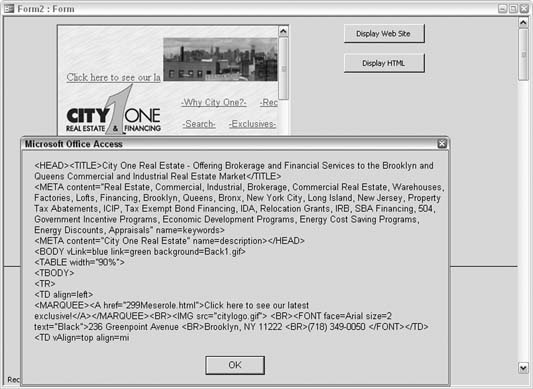
Figure 10-8 shows a web site being displayed in the browser control, and a message box displays the site’s HTML.
Tip
The Microsoft Web Browser control has an extensive programmatic model. Visit http://msdn.microsoft.com/library/default.asp?url=/workshop/browser/prog_browser_node_entry.asp for more information.
The HTML is returned with this line of code:
MsgBox Me.WebBrowser1.Document.documentElement.innerhtml
The programmatic model for the web browser control follows the document object model (DOM). As the browser displays a web site, documentElement and its child nodes become available. In this example, the full HTML is accessed with the innerhtml property. Because the HTML is accessible, you can pass it to any routine you want. For example, you can have a routine that looks for HTML tables from which to pull data or that searches through the HTML for keywords, and so on.
Download Files Using the Web Browser Control
FTP files without ever leaving your database.
“Use a Browser Inside Access” [Hack #97] and “Pull the HTML Source Code from a Web Site” [Hack #98] show you how to browse the Web from an Access form and how to retrieve the source HTML code. This hack shows you how to use the Web Browser control to pull files from an FTP site.
The File Transfer Protocol (FTP) is commonly used to move files to and from a web server. Often, the site is password-protected, so to try out this hack, you need the rights to access an FTP site.
Placing the Web Browser Control on a Form
As discussed in “Use a Browser Inside Access”
[Hack #97]
, you can place the Microsoft Web Browser control on a form. The Navigate method takes a URL address to navigate to. In this hack, an FTP URL is supplied instead of an HTTP URL.
Using a line of code such as the following, the Web Browser control opens a login dialog (shown in Figure 10-9):
Me.WebBrowser0.Navigate URL:="ftp.logicstory.com"
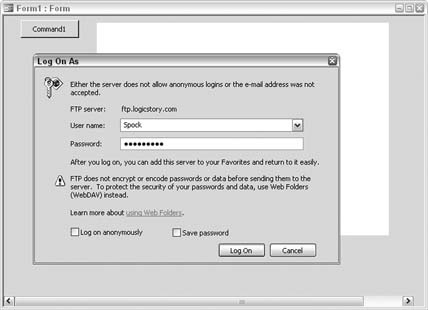
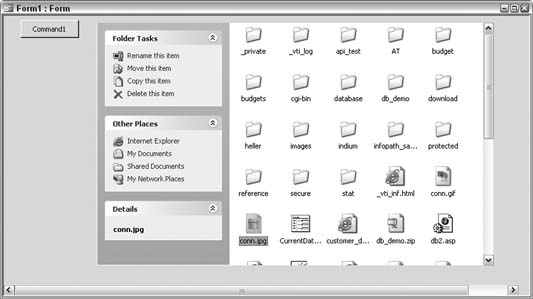
After the login is complete, the Web Browser control displays the site’s contents. You can view, copy, delete, and rename objects depending on your user permissions, as shown in Figure 10-10.
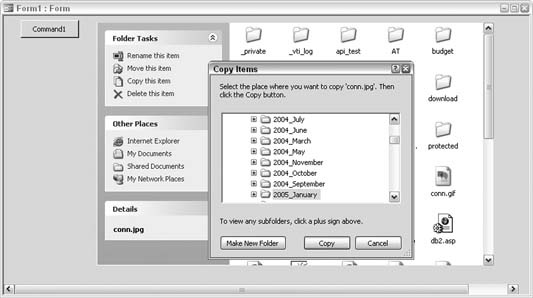
When you select a file to copy, the Copy Items dialog displays the filesystem on the local computer. A directory is selected where the copied file will be pasted, as shown in Figure 10-11.
Uploading Files
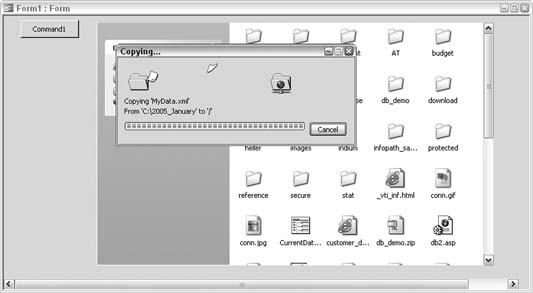
As noted earlier, when selecting a file to download, the “Copy this item” link opens the Copy Items dialog box. Although no equivalent link is available for initiating an upload, you can upload files to the FTP site. All you have to do is select the file on the local machine, and then click once in the Web Browser control and use the paste keyboard shortcut (Ctrl-V). Figure 10-12 shows the progress of a copy operation, confirming that a file is being copied to the site.
Use a Smart Tag to Open a Web Page
Quickly review web information when you need to see it.
Developers have mixed feelings about smart-tag technology. Some create sophisticated smart-tag solutions, and others shun their use. If you’re open to using smart-tag technology, here is a simple way to use a smart tag to open a web page.
First, a smart tag is associated with a table field. Figure 10-13 shows a smart tag being associated with the Cost field in the tblServices table. After the smart tag is selected, the field’s smart tag is available to click.
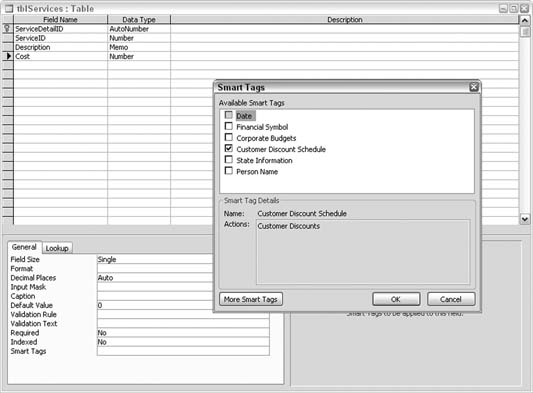
Figure 10-14 shows the table open in Datasheet view. In each row, the Cost field displays a small purple triangle in the lower-right corner. Hovering your mouse pointer over the triangle opens the link to the smart tag.
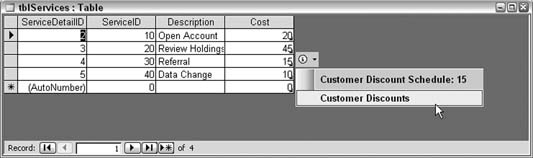
Clicking the smart tag initiates the action associated with the smart tag. In this example, the action is to open a web page to display some additional business information.
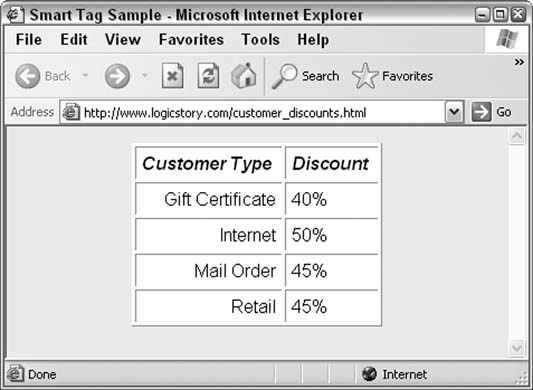
Figure 10-15 shows the web page that opens when the smart tag is clicked.
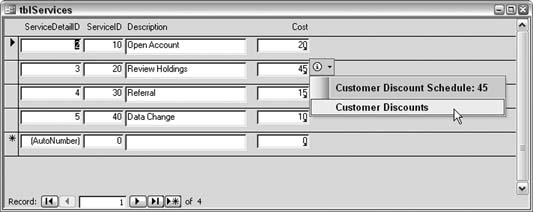
In most database applications, users don’t work directly with tables; instead, they do all their work through forms. Figure 10-16 shows that the smart tag in the underlying table is available on a form as well. From here, too, clicking the smart tag opens the web page.
To summarize, a smart tag can bring information from the Web to the Access application. The mechanics of creating smart tags are beyond our scope here, but if you visit (http://www.microsoft.com and search for smart tags, you will turn up many articles on their development and use.