
10 Working with Backgrounds
Lesson overview
In this lesson, you’ll explore how to add a 2D background image to your scene and learn the following:
What file formats can be imported
What types of images work best as background images
How to automatically match your models to a background image so that they look like they belong in the image
What to do when the automatic image matching feature can’t match the perspective in an image
This lesson will take about 45 minutes to complete. Please log in to your account on peachpit.com to download the lesson files for this lesson, or go to the “Getting Started” section at the beginning of this book and follow the instructions under “Accessing the lesson files and Web Edition.” Store the files on your computer in a convenient location.
Your Account page is also where you’ll find any updates to the lesson files. Look on the Lesson & Update Files tab to access the most current content.
If you have a background photo with strong, clear perspective lines, Dimension’s image-matching features enable you to quickly pose your 3D models in the background.
What you can do with background images
The main purpose of Dimension is to create scenes from one or more 3D models. Every file you create from scratch initially features a plain white background. You can change this background color to whatever you wish, and the color will be applied to the floor (the ground plane) as well as to the rest of the scene background.
However, you can also import a graphic image to be used as a 2D background in your scene. You can use a graphic saved in most of the common image file formats, including AI, JPEG, PNG, PSD, and TIFF, in the CMYK, RGB, grayscale, or indexed color space.
These background images are static. They remain stationary in the background when you adjust your view of the models in your scene with the camera tools. So a common workflow is that you’ll compose a 3D scene consisting of some 3D models and then use the camera tools to adjust your perspective and angle of view so that the models appear as if they are part of the background image. As you’ll see, Dimension has some powerful features that can help you with this process.
Background image workflows
Sometimes, you’ll have a particular background image in mind from the start, so you’ll import the image into your scene before adding and positioning your models.
Other times, you’ll create a scene with one or more models in Dimension and then decide to add a background image near the end of the project.
On other occasions you won’t be able to locate a suitable background image at all, and you will need to construct your own image.
In this lesson, you’ll examine each of these workflows.
Starting a project with a background image
Let’s begin by creating a project where you import the background image, specify the camera perspective, and then place the models in the scene.
In Dimension, choose File > New to create a new file.
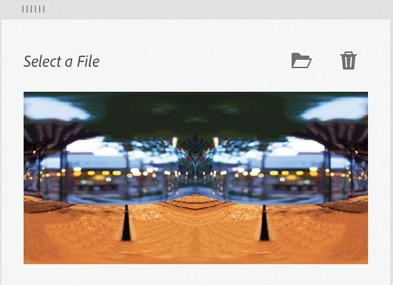
Choose File > Import > Image as Background.
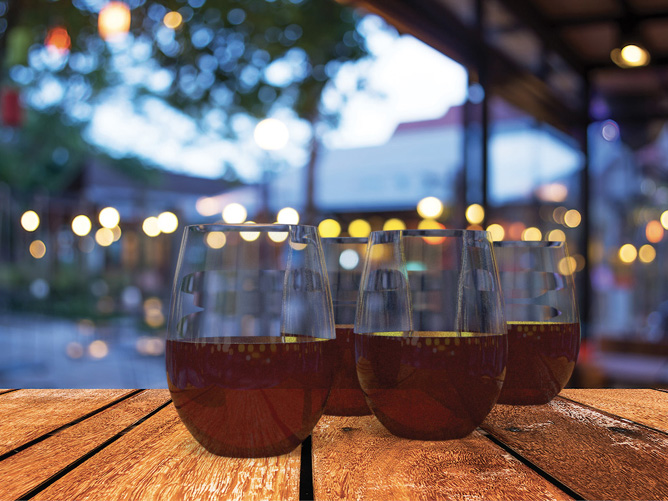
Select the Evening_party_tabletop.jpg file, and click Open.
By default, the image arrives centered on the canvas and cropped to fill the canvas. We’ll leave the image as it is for this lesson.
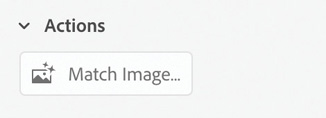
In the Properties panel, click the Match Image button.
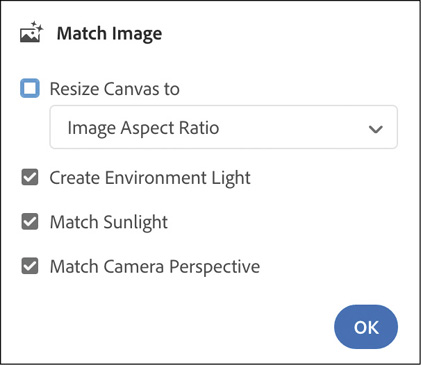
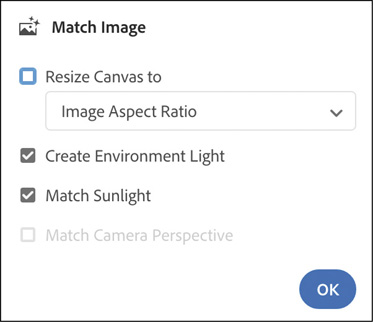
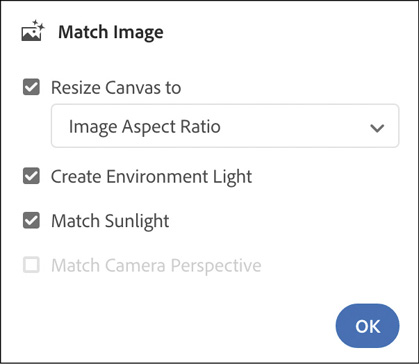
Deselect the “Resize Canvas to” option, select the other three options in the Match Image dialog, and click OK.
Because of the strong, clear perspective lines created by the boards in the photo, Dimension is able to perfectly match the camera perspective to the image.
To make it easier to see the grid lines on the ground plane, let’s change them to a bright green.
Select the Select and Move tool (keyboard shortcut: V).
Click somewhere in the gray area outside the canvas.
Click the color swatch next to Grid in the Properties panel.

Change the color to 0 red, 255 green, 0 blue; then press the Esc key to close the color picker.
Once you get the camera perspective just right, it is a good practice to save a camera bookmark in case you accidentally change the perspective later with one of the camera tools.
Click the Camera Bookmarks icon
 at the top of the screen.
Click the plus icon
 to create a new bookmark.
To rename the bookmark, type Ending view and press Enter/Return.
Examine the auto-generated lights
Dimension uses the background image to automatically extract and build lighting and reflection information for the scene.
Click the background image to select it.
In the Properties panel, click the image swatch to the right of Image.
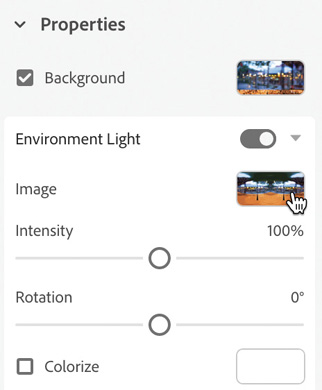
This lets you view the spherical bitmap that Dimension generated automatically from the background image. Dimension uses this bitmap image to create the environment light and reflections.
Click away from the image picker to close it.
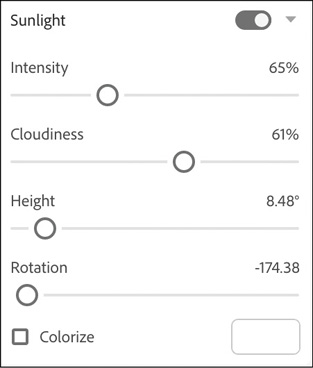
In the Properties panel, click the disclosure triangle icon
 next to Sunlight to open the Sunlight options.
Dimension has calculated values for the sunlight attributes based on the background image. For a complex image like this one, without a strong directional sunlight, these may or may not be the values you want for your scene.
You’ll explore the options for environment light and sunlight in a later lesson.
Add models to the scene
Once the background image and perspective are aligned properly, positioning models in the scene is easy.
Click the Add and Import Content icon
 at the top of the Tools panel, and choose CC Libraries.
In the search field at the top of the Libraries panel, click the down arrow and choose Adobe Stock.

Enter 199461253 into the search field. A glass of red wine should display. This is a free asset.
Click the shopping cart icon
 to save the model to your library. You may be asked if you want to license the free asset. If so, click OK.
It may take a few moments for the model to download. When it has finished downloading to your library, click the model to add it to the scene. It will be added to the center of the scene and positioned on the ground plane, which is positioned on the wood boards.
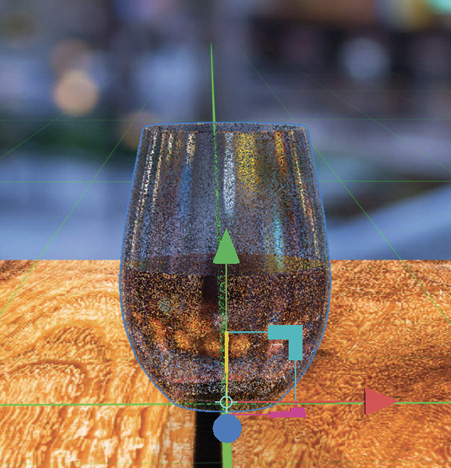
Use the Select and Move tool (keyboard shortcut: V) and the Select and Scale tool (keyboard shortcut: S) to size and position the glass on the wood as desired.
Select the Select and Move tool (keyboard shortcut: V).
Hold down the Option key (Mac) or Alt key (Windows), and drag out a duplicate of the wine glass. As long as you drag only the red or blue arrows, the glass will remain on the ground plane (aligned with the wood in our scene) as you move it.
Repeat step 8 two more times, positioning the resulting four glasses how you want them to appear.
You may want to select the Orbit tool (keyboard shortcut: 1) and rotate your view of the glasses temporarily so that you can see how they are positioned relative to each other. When you are finished, choose Camera > Switch to Home View to return to the camera bookmark we saved.
Remember that your view of the background image doesn’t transform with the camera tools. It’s static. The camera tools transform only your view of the 3D models in the scene.
Adding a background image to an existing scene
Sometimes, you’ll assemble a scene in Dimension with one or more models and then decide later to composite the scene with a background image. Let’s try this.
In Dimension, choose File > Open.
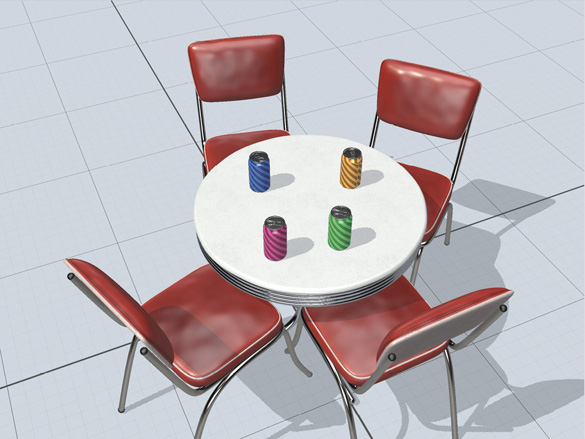
Select the file Lesson_10_02_begin.dn and click Open.
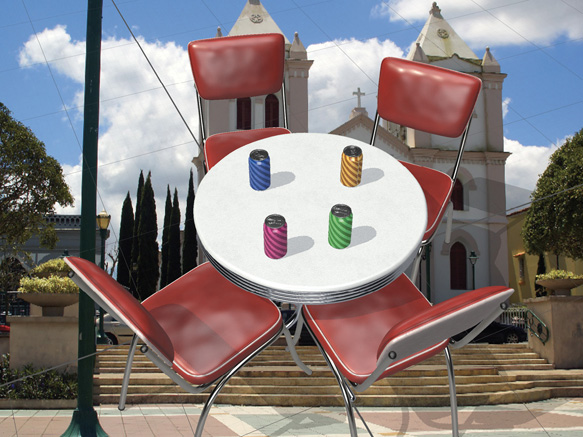
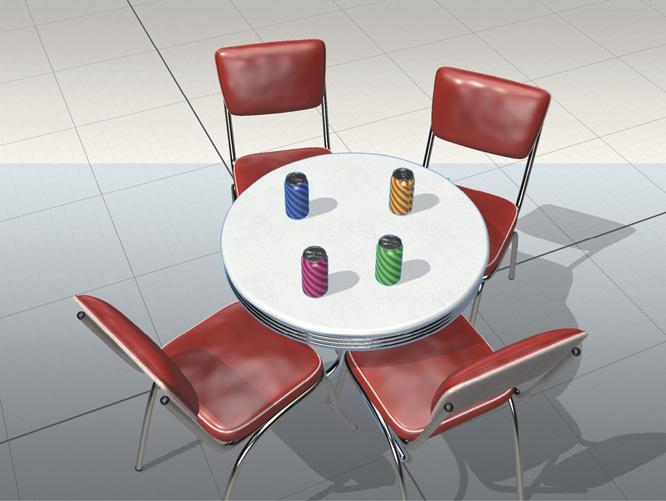
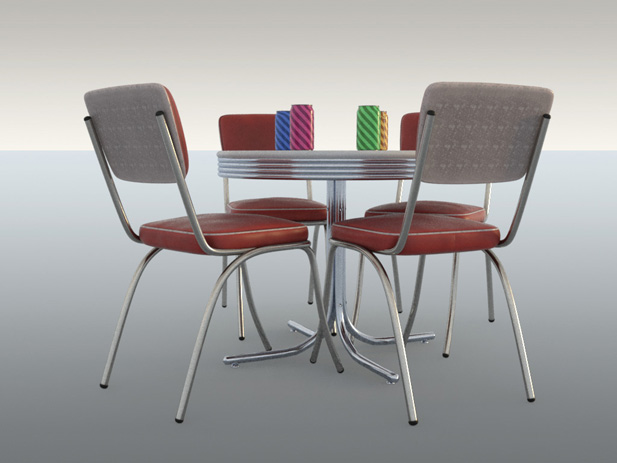
This is a scene consisting of chairs, a table, and four soda cans. The scene was created without a background image in mind. The camera view was changed many times during the composition to aid in placing objects accurately in the scene. Now, we’ve decided to add a background image and realistically incorporate the table and chairs into the image.
 Tip
TipYou can also drag a graphic file from the Finder (Mac), File Explorer (Windows), or Adobe Bridge and drop it onto the canvas to import a background image.
Choose File > Import > Image as Background.
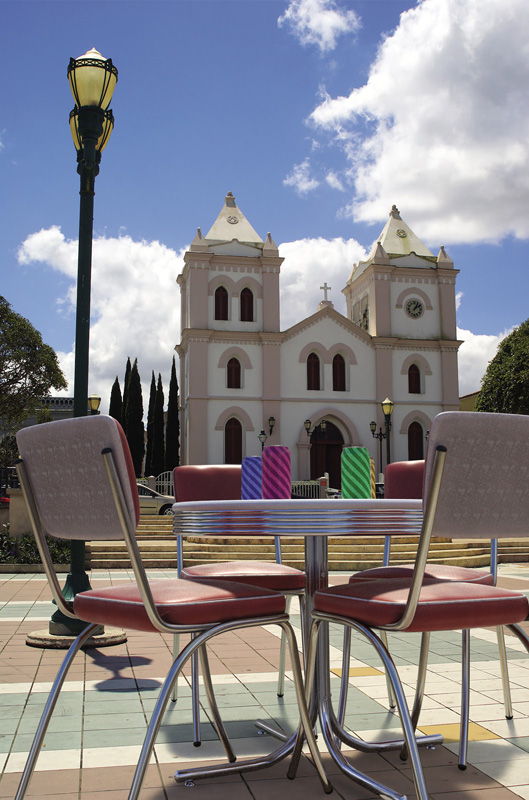
Select the file Village_square.jpg and click Open.
The background image arrives centered on the Dimension file. But the aspect ratio of the background is different from that of the Dimension file. You want the Dimension canvas to match the aspect ratio of the background image, and you want to increase the pixel dimensions of the Dimension file.
With the Select and Move tool (keyboard shortcut: V), click the gray area surrounding the canvas.
In the Actions panel, click the Match Background Aspect Ratio icon
 . This changes the dimensions of the Dimension file to match the aspect ratio of the image.
In the Properties panel, click the lock icon
 next to the Width and Height fields to constrain the proportions.
In the Width field, type *3 after the 508px text to multiply the width by 3 and then press Enter/Return.
Because you constrained the proportions by clicking the lock icon, the height is automatically calculated to keep the canvas proportional.
Choose View > Zoom to Fit Canvas.
Match the scene to the image
If your background image contains strong perspective lines, as the image of the village square does, Dimension can attempt to match the camera perspective to the background image. This can save a lot of work fussing with the camera tools to get the perspective just right.
Choose Image > Match Image.
Deselect the “Resize Canvas to” option, select the other three options in the Match Image dialog, and click OK.

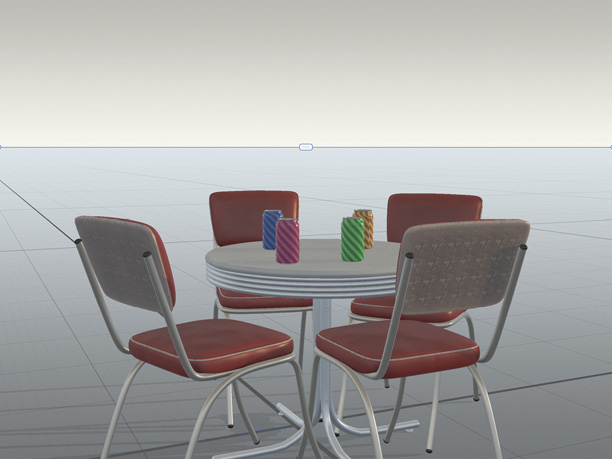
Note that the objects are aligned with the new perspective and camera angle, and their relationship to each other stays the same.
Select the Select and Move tool (keyboard shortcut: V).
To select all the models, choose Edit > Select All.
Drag the red and blue arrows to position the models as desired.
What to do when Match Image doesn’t set the perspective correctly
In the first two exercises in this lesson, the Match Image command worked flawlessly, so creating the scene was easy. But sometimes Dimension isn’t able to work out the perspective in the image and will need some help from you. This can happen for a variety of reasons. For example, the image might have distortion that was introduced by a wide-angle lens or by editing. Or sometimes an image won’t have any visible vanishing lines with which Dimension can determine the perspective.
In Dimension, choose File > Open.
Select the file Lesson_10_03_begin.dn and click Open.
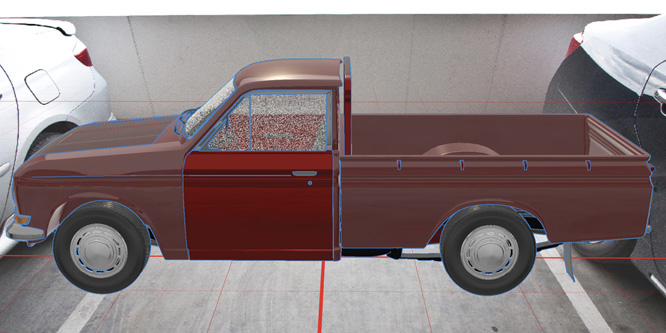
To save you time, I’ve placed the background image into this file and changed the color of the grid lines to red.
Click Environment in the Scene panel if it isn’t already selected.
Choose Image > Match Image.
In the Match Image dialog, deselect the “Resize Canvas to” option and select the Create Environment Light and Match Sunlight options. Note that in this case, the Match Camera Perspective option may be grayed out, indicating that Dimension can’t extract enough information from the file to determine the perspective. If the Match Camera Perspective option is not grayed out, deselect the option so that you can learn what to do when Dimension is unable to help you with the perspective. Click the OK button.
To begin to set the camera perspective manually, select the Horizon tool (keyboard shortcut: N).
Grab the horizon line at the top of the screen, and drag it down a bit. Aim for a location approximately where the two parking stripes would meet if they extended away from the camera.
Right-click the Horizon tool, and click the Turn Camera tool to select it.
 Note
NoteBecause of the distortion introduced by some camera lenses, sometimes it is impossible to map the vanishing lines with exact precision. The key is to get close enough so that when you position your models in the scene, they look as if they belong there.
Click the image and then drag to the right repeatedly until the grid lines are vanishing toward the horizon in the middle of the screen.

Once you have the perspective the way you want it, save the camera location as a bookmark. Click the Camera Bookmarks icon
at the top of the screen.Click the plus icon
to create a new bookmark.To rename the bookmark, type Ending view and press Enter/Return.
Add a model to the scene
Once you’ve established perspective in your scene that matches the background image, you can use this information to realistically position a model into the scene.
Click the Add and Import Content icon
at the top of the Tools panel, and choose CC Libraries.In the search field at the top of the Libraries panel, click the down arrow and choose Adobe Stock.
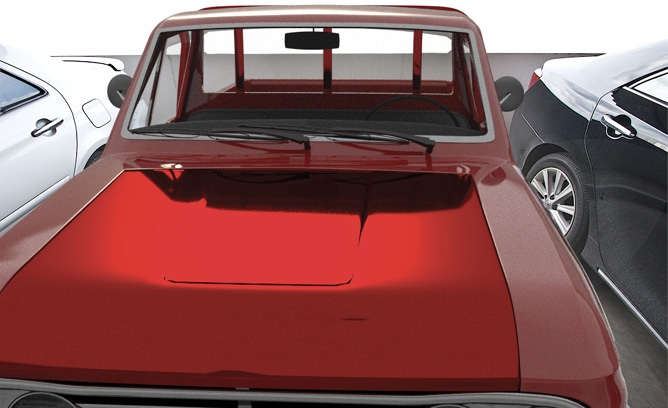
Type 201384101 into the search field. A red pickup truck model should display. This is a free asset.
Click the shopping cart icon
to save the model to your library. You may be asked if you want to license the free asset. If so, click OK.It may take a few moments for the model to download. When it has finished downloading to your library, click the model to add it to the scene.
Since we have radically modified the perspective, the model is placed in the scene somewhere off the canvas, so it isn’t visible from our current perspective.
To make the truck better fit the scene, choose Camera > Frame Selection (keyboard shortcut: F).
With the Select and Rotate tool (keyboard shortcut: R), drag the green arrow to rotate the truck around the y-axis.
In the Properties panel, click the lock icon
next to the Scale values.To make the truck larger, type 1.4 in the X field and press Enter/Return.
Use the Select and Move tool (keyboard shortcut: V) to position the truck as desired.
Building your own background
If you can’t locate a suitable background image for your scene, you can either create a 2D background in a graphics program like Adobe Photoshop or Illustrator or construct a background using geometric models in Dimension.
Use a 2D background built in Photoshop
Sometimes all you need to make your scene look realistic is a very simple background that can be easily constructed with a couple of colors or gradients in Photoshop.
In Dimension, choose File > Open.
Select the file Lesson_10_04_begin.dn and click Open.
Choose File > Import > Image as Background.
Select the file named Simple_background.psd and click Open.
This is just a simple image created in Photoshop with two different gradients that represent a “floor” and a “wall,” or a “ground” and a “sky.” You could of course create something much more complex using various colors, textures, and patterns.
Choose Image > Match Image.
In the Match Image dialog, deselect the “Resize Canvas to” option, and select the Create Environment Light and Match Sunlight options. Note that in this case, the Match Camera Perspective option is grayed out, indicating that Dimension can’t extract enough information from the file to determine the perspective. Click the OK button.
Dimension couldn’t match the perspective for you because there are no perspective lines in this simple image. You’ll need to position the horizon manually.
Select the Horizon tool (keyboard shortcut: N).
Note that no horizon line shows up. That’s because, due to the camera angle in this case, the horizon is way off the top of the canvas, indicated by the two off-screen icons
 at the top left and top right of the document window.
Select the Orbit tool (keyboard shortcut: 1).
Drag up on the image until you are viewing the scene from the side.
Select the Horizon tool (keyboard shortcut: N).
Position the horizon line on the horizon line of the background image.
Click the Camera Bookmarks icon
at the top of the screen.Click the plus icon
to create a new bookmark.To rename the bookmark, type Starting view and press Enter/Return.
Use the Select and Move, Select and Scale, Select and Rotate, Pan, and Dolly tools to position the models in the scene as you see fit.
Build a 3D background in Dimension
Dimension includes some simple models—such as Curved Plane, Cloth Backdrop, Beach Towel, Hollow Sphere, Hollow Cube, Half Pipe, and Plane—that we can use to construct a virtual “set” or “room” in which to pose our models.
In Dimension, choose File > New.
Select the Select and Move tool (keyboard shortcut: V).
Click the Add and Import Content icon
at the top of the Tools panel, and choose Starter Assets.Locate the Plane model, and click it to place it in the scene.
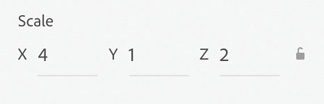
To make the plane larger, in the Properties panel enter a value of 4 for the X scale and 2 for Z.
Choose Edit > Copy.
Choose Edit > Paste. You can see in the Scene panel that there are now two Plane models.

Select the Select and Rotate tool (keyboard shortcut: R).
NoteThe Plane object has only one “good” side that will display materials properly. So it is important that the good side face the desired direction. The good side is up initially, so if you rotate the plane, you need to be sure that you rotate it in such a way that the “up” side faces in the direction you want.
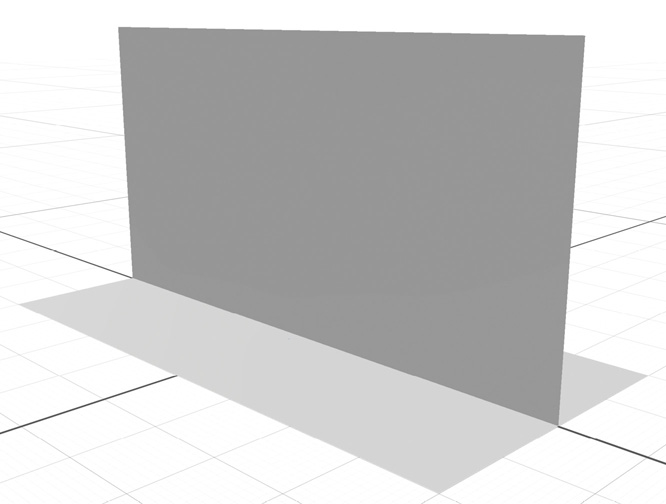
Drag the red arrow counterclockwise to rotate the plane until it is vertical (holding down the Shift key as you rotate will constrain your movement to 15° increments, making this easier).
Choose Object > Move to Ground to slide the plane up so its bottom edge rests on the ground plane.
Choose Camera > Frame All so that you can see both planes in their entirety.
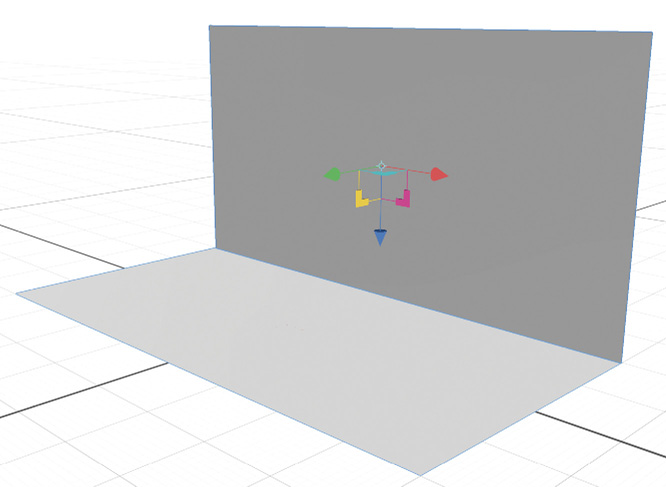
Select the Select and Move tool (keyboard shortcut: V).
Drag the green arrow to the right until the vertical plane is aligned with the back of the horizontal plane.
In the Starter Assets list, locate the Aluminum material and drag it onto the vertical plane.
In the Starter Assets list, locate the American Cherry Wood material and drag it onto the horizontal plane.
Click somewhere on the canvas but not on either of the planes to deselect everything.
Select both of the Plane models, and choose Object > Lock/Unlock. You’ll see a padlock icon appear next to the models in the Scene panel. Now you don’t have to worry about bumping this “backdrop” as you position models on it.
Position a model or models on the bottom plane, adjust your camera angle as desired, and render your scene.
Review questions
1 What are two ways to import a background image into a scene?
2 What are the four things that the Match Image feature attempts to do?
3 If the Match Image feature doesn’t get the perspective correct, what tool would you use to begin correcting the perspective?
4 What are two ways to access the Match Image command?
Review answers
1 You can import a background image into a scene by choosing File > Import > Image as Background or by dragging and dropping an image onto the canvas from the Mac Finder, Windows File Explorer, or Adobe Bridge.
2 The Match Image feature allows you to resize the canvas to match the image size or aspect ratio, create a custom environment light based on the background image, extract the direction and angle of the sunlight from the image, and match the perspective of the camera.
3 The Horizon tool is the primary tool you would use to correct or tweak perspective.
4 Match Image can be found in Image > Match Image, as well as in the Actions panel when a background image is selected.