
Chapter 5
Formulas of One's Own
Prepared Formulas Or Mixing Your Own
A wide variety of commercially prepared formulas are available for use in photographic processes. These prepared formulas are accurately compounded and easy to mix, and they provide reliable purity and uniformity that ensures consistent high-quality results.
Conversely, there are numerous reasons to prepare your own photographic formulas. It can be valuable for a photographer to know how to prepare a formula from scratch. Mixing your own formulas can provide a clear, concrete cause-and-effect demonstration of how various photographic processes work. This understanding can be applied to achieving more precise control of the medium. Mixing your own formulas also can be less expensive than buying packaged preparations and allows you to utilize formulas that are no longer commercially available. This process offers further visual adventures, and is enjoyable and gratifying.
This chapter provides the fundamental background in terms of equipment and methodology necessary to begin experimenting with nonprepared photographic formulas. Specific tried and true formulas and process details are included in the appropriate chapter sections dealing with specific processes. Although no previous expertise is required, one needs to read and follow all handling, mixing, and safety instructions included with the chemicals being used before preparing any formula. Also read and follow all the general safety guidelines outlined in Addendum 1. Protect yourself by wearing protective equipment such as safety glasses, a plastic apron, rubber gloves, and a mask to avoid allergic reactions, burns, and irritation to the skin or lungs.
Basic Equipment
Many photographers already have most of the items needed to prepare their own formulas. These include graduates, mixing containers, stirring rods or paddles, a funnel, an accurate thermometer, opaque storage bottles, protective gear, and a well-ventilated area that is not used for preparing food and is free from children and animals. The items that may be lacking are a scale and a mortar and pestle. All equipment must be made of nonporous and easy to wash materials.
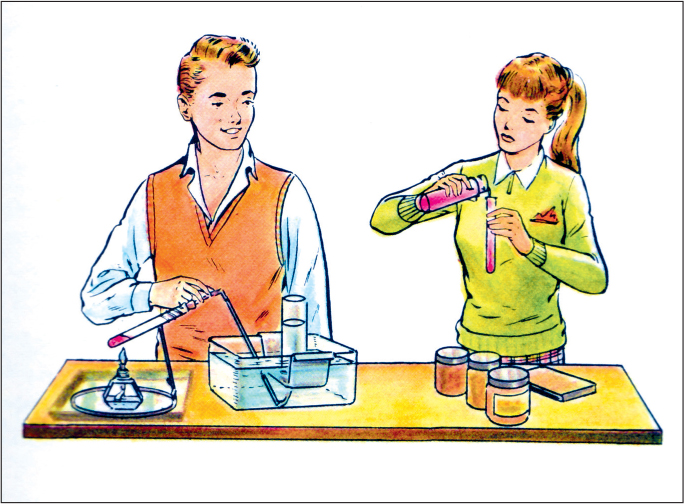
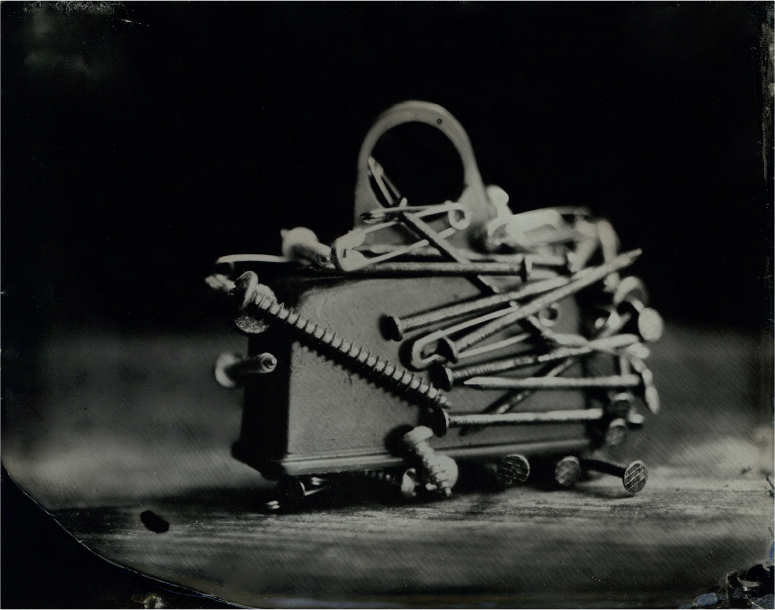
Courtesy Gary Nickard Collection.
Scales: Mechanical and Electronic
A small, accurate scale is essential for weighing chemicals. Scales are available in a variety of sizes, styles, and price ranges. Balance scales are recommended because they are reliable, affordable, long-lived, easy to use, and do not require batteries or electricity. When purchasing a balance scale, be sure the sliding scale is easy to read and that the scale has removable pans for convenience of use and cleaning. The Ohaus Scale Corporation makes a mechanical triple-beam balance scale that is superb for photographic purposes. The scale is sensitive to 0.1 gram and its standard capacity range is suitable for most individual needs and can be extended with attachment weights. If you plan on doing a good deal of your own mixing, this durable scale is a good investment and affordable vintage models can be found online.
Electronic digital scales have replaced many of the lower priced triple-beam balance scales. These scales, often battery powered, are available for those who want a simple LCD readout. Most digital scales will calculate Tare weights with a push of a button. Tare weight is the mass of the container that holds what is being weighed. The Tare weight button automatically subtracts the weight of the container so that only the actual substance (chemical) is weighed. They are commonly used at grocery store checkouts.
Scales and other mixing equipment mentioned in this chapter can be ordered over the Internet, through mail-order photo and scientific houses, from chemical supply houses, or directly from the manufacturer (see Table 5.1).
Mortar and Pestle
A mortar and pestle made out of glass or porcelain is useful for crushing, grinding, and mixing dry chemicals that are not in powder or grain form. Do not use marble or wooden sets, as they will absorb chemicals and could contaminate other formulas.
Spoons
A set of plastic or stainless steel spoons for transferring chemicals from the bottle to the scale can prevent messy spills that are wasteful and can cause contamination.
Mixing Equipment
Accurate, easy-to-read graduates in small and large sizes, clearly marked in both milliliters (ml) and ounces (oz), are essential. Plastic containers of various sizes make good mixing pails and stirring paddles are helpful for mixing.
Table 5.1 Laboratory Equipment Suppliers
| Edmund Scientific | www.scientificsonline.com |
| Lab Safety Supply Inc. | www.labsafety.com |
| Ward's Natural Science | www.wardsci.com |
| Ohaus Scale Corporation | www.ohaus.com |
Storage Containers
Different sized brown or opaque bottles made of glass or plastic make excellent storage containers for mixed solutions. Opaque containers prevent deterioration caused by light. Plastic is more durable than glass and can be squeezed to eliminate most of the air to lessen the effects of oxidation. Bear in mind all plastic containers absorb chemistry over time. Keep similar chemistry in the same containers and replace plastic containers periodically. Medicine-dropper bottles, available at drugstores, are excellent for keeping small amounts of expensive solutions.
Certain chemicals are hygroscopic (absorbing water from the air) and can form a hard crust upon exposure to air. Others are efflorescent, losing their normal water content when exposed to air. Either of these conditions can make accurate weighing impossible. Still other chemicals can evaporate or fume. Avoid these problems by tightening the lids on all bottles. Clearly label every bottle with its contents and the date it was mixed.
Chemicals
Obtaining Chemicals
One can obtain many of the chemicals used in contemporary processes from large photography stores. When working with some of the more unusual or older processes, obtaining the required chemicals can be more problematic. Check with a chemical supply company (see Table 5.2). Some companies may not sell chemicals in small quantities for individual use. If possible, purchase through a business or educational facility. A few companies specialize in stocking photographic chemicals. Check the ads in photography publications or online for information on suppliers.
The prices of chemicals can vary dramatically, so shop around. In addition, manufacturers often give different trade names to the same chemical. For example, the developing agent methylaminophenol sulfate is known as Kodak Elon, Agfa Metol, Pictol, and Rhodol. Spelling also can vary. For instance, the British spelling of sodium sulfite is sodium sulphite and the British spelling of sodium sulfate is sodium sulphate. Chemicals come in three different classifications or grades that reflect their purity (see Box 5.1). Be sure the price obtained is for the exact grade of the chemical required.
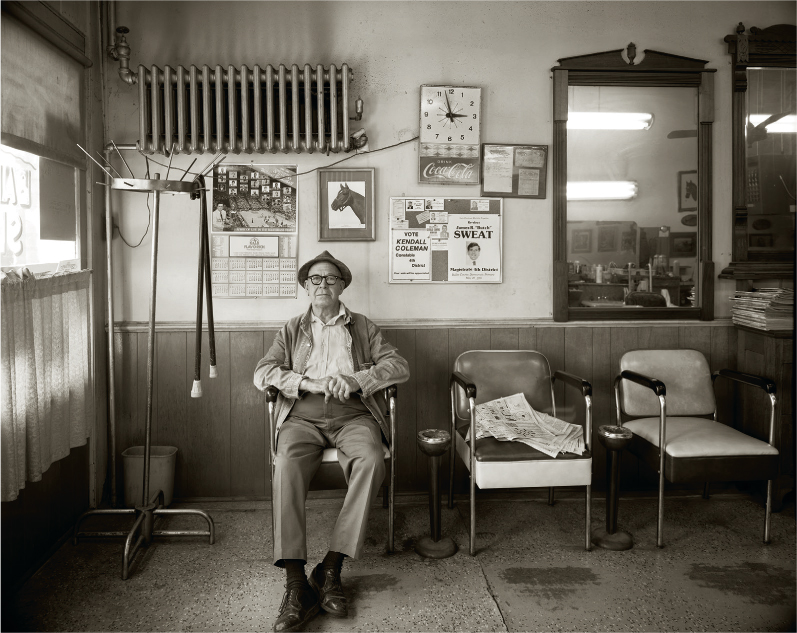
© Frank Hunter. Frank Ross's Barber Shop, Lebanon Jct., Kentucky, 1985. 8 × 10 inches. Toned printing-out paper. Courtesy Thomas Deans Fine Art, Atlanta, GA.
Box 5.1 Chemical Classifications/Grades
1. Analytical Reagent (AR) is the highest standard for purity and uniformity. This grade is the most expensive and is not needed for most photographic purposes. It is usually labeled ACS (American Chemical Specification). In the UK, it is labeled ANALAR.
2. Pharmaceutical or Practical is about 97 per cent pure and can be used for almost all-photographic work. It is labeled USP (US Pharmacopoeia) or NF (National Formulary). In the UK, it is labeled either BP (British Pharmacopoeia) or BPC (British Pharmaceutical Codex).
3. Technical or Commercial is approximately 95 per cent pure and is subject to variations that could alter the visual outcome. It is not recommended for critical work.
Table 5.2 Sources of Photographic Chemicals
| Artcraft Chemicals | www.artcraftchemicals.com |
| Bostick & Sullivan | www.bostick-sullivan.com |
| Photographers’ Formulary | www.photoformulary.com |
| Rockland Colloid | www.rockaloid.com |
| VWR Scientific | www.vwrsp.com |
Chemical Storage
Keep all chemicals away from all living creatures. If necessary, lock them up. Label and date all bottles of mixed solutions. Be sure storage bottles are securely capped. Protect all chemicals from air, heat, light, moisture, and contamination from other chemicals.
Chemical Disposal and Safety
When working with any chemical, you assume the responsibility for its safe use and disposal. Follow any special instructions included with each chemical or process being used as well as the safety recommendations in Addendum 1. Laws concerning disposal of chemicals vary widely. Check with your local health department to get guidelines Hazardous liquids can be poured onto kitty litter and placed in a plastic bag. Dry chemicals or contaminated materials can be disposed of by sealing them in a plastic bag. Both should be put in a closed outside dumpster. Do not mix liquid and solid wastes together, as dangerous reactions might occur.
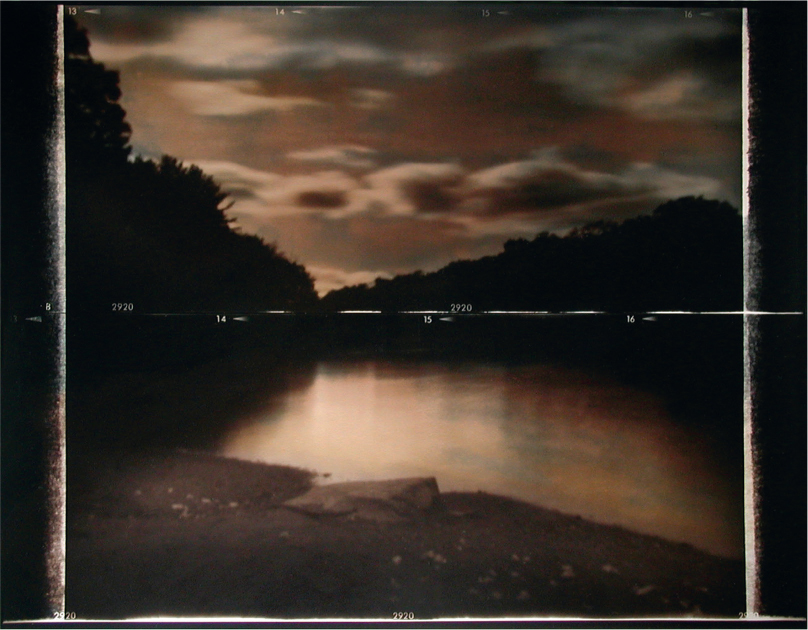
© Mark Eshbaugh. Untitled #276, 2000. 14 × 18 inches. Toned gelatin silver print.
Preparing Formulas
Weighing Chemicals
Place your scale on a level surface, protected from spills with newspaper or plastic, and zero it. Put a piece of filter paper, any clean paper, or a paper cup in the middle of the balance pan. For critical measurements with a triple-beam scale, weigh the paper or cup first and include its weight plus that of the chemical. On electronic scales this procedure can be done automatically by pressing the Tare button after the paper or cup is placed on the scale and before the chemical is added. When using a double-pan scale, place the same size paper in both pans so their weights will cancel each other out. Line up the needed chemicals in an orderly fashion. Put the chemical to be measured in the center of the pan to avoid any leverage errors. Use fresh paper for each chemical to prevent contamination and facilitate cleanup Immediately recap the bottles to avoid confusion, spills, or contaminating one chemical with another.
Temperature
Closely follow the temperature recommendations given with each formula. If the chemicals need to be heated, carry out this procedure in a double boiler, not in a pan directly over the heat source. Direct heat can alter or damage a chemical. The solubility of many chemicals is increased with heat. For this reason, the mixing temperature of the water may vary from the solution's working temperature. Other chemicals may release heat when dissolved, creating an exothermic reaction, and need to be mixed in cool water. Endothermic chemicals absorb heat when mixed and may require hotter water for complete mixing.
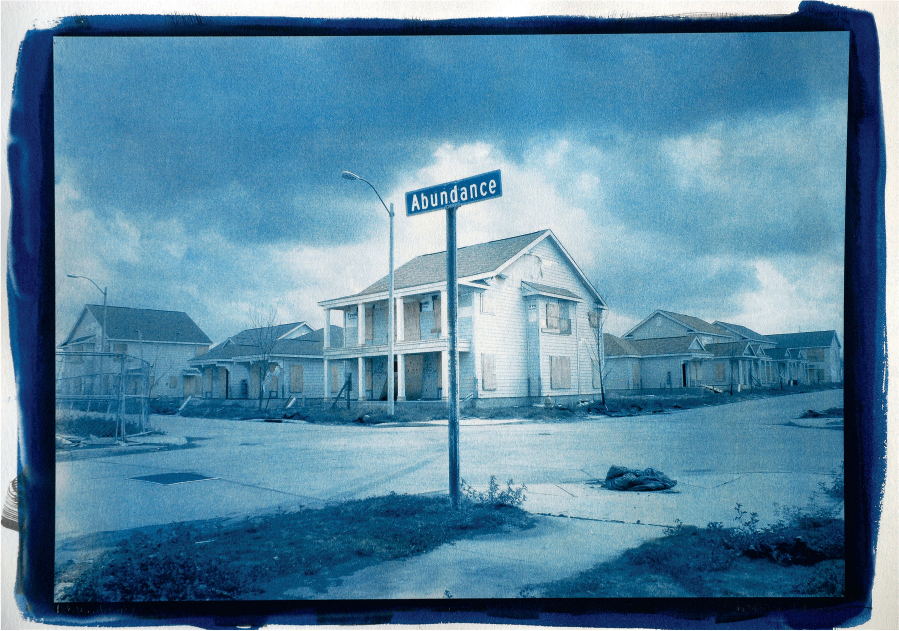
© Christina Anderson. Abundance, 2006. 11 × 15 inches. Cyanotype over palladium.
Mixing Chemicals
Always follow the prescribed order of chemicals given in the formula, as any changes may prevent the solution from being properly mixed. Follow specific recommendations provided with the formula and guidelines in Box 5.2. In general, start with two-thirds to three-quarters of the total amount of water at the correct mixing temperature. While stirring vigorously, slowly pour the first properly measured chemical into the water, not allowing any chemical to settle at the bottom of the container. Wait until each chemical has been completely dissolved before adding the next one. When the correct sequence has been followed and all the chemicals are thoroughly mixed, cold water can be added to bring the solution to room temperature. If you are not confident of the purity of the water being used, mix all developers with distilled water.
Box 5.2 Chemical Mixing Guidelines
■ Protect your eyes with safety glasses and your hands with disposable chemical barrier gloves, which are available at medical supply stores.
■ When mixing an acid, always pour the acid into water. Do not pour water into an acid, as splattering can cause dangerous burns. Wear eye protection.
■ Use a funnel when pouring mixed solutions into bottles. Tightly secure the top and label the bottle with the name of the solution and the date. Most developers are good only for a few months after they have been mixed.
■ Keep a written record of what you do so that you can judge the results, which permits easy adjustment and customization of the formulas.
Percentage Solutions
In some formulas the amount of a chemical may be too small to be weighed accurately, so the amount is given as a percentage solution, or in terms of weight per volume. For photographic purposes, this can be simply stated as the number of grams of a chemical that are dissolved in 100 milliliters of water. For instance, a 5 per cent solution has 5 grams of a chemical dissolved in 100 milliliters of water. Regardless of the amount needed, the percentage (how many parts of the chemical to be mixed into 100 parts of water) is always the same.
When making a percentage solution, mix the chemical in less than the total volume of water required. After the chemical is dissolved, add the remaining water. For example, in preparing a 7 per cent solution, dissolve 7 grams of the chemical in about 75 milliliters of water. After mixing is complete, add more water so that the final volume is exactly 100 milliliters.
Formulas in Parts
Older photographic formulas were often given in parts. Parts can be converted into the equivalent number of grams and milliliters or ounces and fluid ounces. For instance, a formula calling for 10 parts of a chemical and 80 parts of water can be translated as calling for 10 grams of the chemical and 80 milliliters of water or 10 ounces of the chemical and 80 fluid ounces of water.
Ph Scale
Most photographic solutions have a definite pH (potential of hydrogen), which is a way to measure the acidity or alkalinity of a chemical. Acidity is measured by the number of hydrogen ions present while alkalinity is measured by the concentration of hydroxide ions in a solution. The scale runs from 1 to 14, with 7 being neutral. Pure distilled water has a pH of 7. Chemicals with a pH below 7 are considered to be acids. Chemicals with a pH above 7 are alkalis. The change of one whole increment in the pH scale indicates a tenfold change (plus or minus) in the intensity of the acid or alkaline reaction.
© Heather Wetzel. Collective Bargaining, 2007. 3½ × 4½ inches. Ruby ambrotype on black glass.
All photographic processing solutions perform best within a specific pH range. For example, developers must be alkaline to work, stop baths must be acid, and fixers are normally neutral to slightly acid. The pH of most of the commonly used working solutions in today's photographic processes is between 5 and 9. The pH can be measured with pH test paper or with a pH meter. The paper is inexpensive but not very reliable. A pH meter, which is expensive, is required for accuracy. Fortunately, most black-and-white formulas do not require strict pH monitoring. Small changes produced by variations in pH usually do not cause irreparable visual defects. Most of these changes can be corrected during the printing of a negative. The use of distilled water will eliminate most difficulties in controlling pH as long as the chemicals are reliable and all procedures are correctly carried out.
Chemicals possessing either a high or low pH should be handled with care. Acids on the low end of the pH scale get progressively stronger. Acids can dehydrate the skin and, in high concentrations, produce burns. Highly alkaline substances, such as calcium hydroxide, can degrease the skin and cause burns.
Acetic acid is the most commonly used acid in photography. It is a relatively weak acid in its standard 28 per cent photographic dilution and does not react as vigorously as other acids, but it can cause tissue damage in a concentrated form.
Prolonged exposure to photographic chemicals can cause allergic reactions, cracking, dehydration, or discoloration of the skin. Allergic reactions tend to be cumulative. Therefore, when mixing or working with any concentrated chemicals, wear full protective gear.
US Customary Weights and Metric Equivalents
When preparing your own chemicals, you will probably encounter formulas given in both the US customary and metric systems. The scientific world has adopted the metric system, but the US at large has not followed suit. Older formulas in British publications use still another system called British Imperial Liquid Measurement. These systems are not compatible. Many older formulas may be written in only one system, so it is often necessary to translate from one system to the other. This can be accomplished quickly and accurately by using one of the online conversion sites, such as www.worldwide-metric.com/metcal.htm, which gives calculations of the metric system into the US customary system and vice versa for length, weight, pressure, volume, and temperature. Tables 5.3 and 5.4 provide commonly used equivalents.
Equivalent Imperial and Metric Measurements
Table 5.3 Solid Measures
US and Imperial Measures |
Metric Measures |
||
|---|---|---|---|
|
Ounces |
Pounds |
Grams |
|
| 1 | 28 | ||
| 2 | 28 | ||
| 3½ | 100 | ||
| 4 | ¼ | 112 | |
| 5 | 140 | ||
| 6 | 168 | ||
| 8 | ½ | 225 | |
| 9 | 250 | ||
| 12 | ¼ | 340 | |
| 16 | 1 | 450 | |
| 18 | 500 | ||
| 20 | ¼ | 560 | |
| 24 | ½ | 675 | |
| 27 | 750 | ||
| 28 | 1 ¾ | 780 | |
| 32 | 2 | 900 | |
| 36 | 2¼ | 1000 | |
| 40 | 2½ | 1100 | |
Table 5.4 Liquid Measures
|
Fluid ounces |
US |
Imperial |
Milliliters |
|---|---|---|---|
| ¼ | 1 teaspoon | 1 teaspoon | 5 |
| ¼ | 2 teaspoons | 1 dessertspoon | 10 |
| 1 | 1 tablespoon | 1 tablespoon | 14 |
| 1 | 2 tablespoons | 2 tablespoons | 28 |
| 2 | ¼ cup | 4 tablespoons | 56 |
| 4 | ½ cup | 110 | |
| 5 | ¼ pint or 1 gill | 140 | |
| 6 | ¾ cup | 170 | |
| 8 | 1 cup | 225 | |
| 9 | 250 | ||
| 10 | 14 cups | ½ pint | 280 |
| 12 | ½ cups | 340 | |
| 15 | ¾ pint | 420 | |
| 16 | 2 cups | 450 | |
| 18 | 2¼ cups | 500 | |
| 20 | 2½ cups | 1 pint | 560 |
| 24 | 3 cups | 675 | |
| 25 | 14 pints | 700 | |
| 27 | 3½ cups | 750 | |
| 30 | 3 ¾ cups | ½ pints | 840 |
| 32 | 4 cups or | 900 | |
| 1 quart | |||
| 35 | 1 ¾ pints | 980 | |
| 36 | 4½ cups | 1000 |
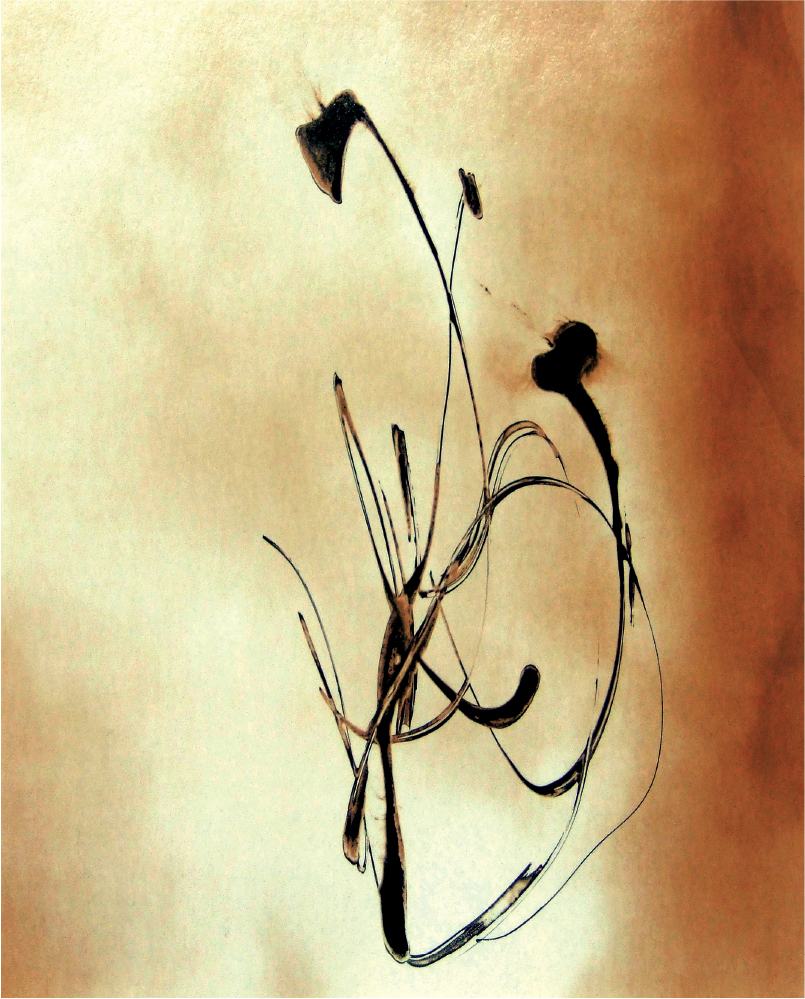
© Norman Sarachek. Kokoro, 2004. 7 × 6 inches. Gelatin silver chemigram.
Resource Guide
Anchell, Stephen G. The Darkroom Cookbook, Fourth Edition. New York: Routledge, 2016.
Donofrio, Diane (Ed.). Photo Lab Index, Lifetime Edition. Dobbs Ferry, NY: Morgan & Morgan, 2001.