Mine Ethers.
Transfer Ethers from one account to another.
View block information.
Create and deploy Smart Contracts.
Use and interact with Smart Contracts.
Eth – A C++ Ethereum client
Geth – The official Ethereum client implemented using the Go programming language
Pyethapp – A Python Ethereum client
Parity – An Ethereum client written using the Rust programming language
The preceding list are all CLI (command line interface) clients. If you want to use a GUI client, you can use Mist, which is built on top of Geth. For this book, we shall focus on the use of Geth.
Downloading and Installing Geth
Linux
macOS
Windows
Also, the sources of Geth is also available for download at https://geth.ethereum.org/downloads/ if you want to learn how Geth is implemented. In the following sections, I will show you how to download and install Geth for the three main platforms.
Installing Geth for macOS
There are two ways to install Geth for macOS. The first is through the command line.
To do that, you need to use Brew.
Tip
Homebrew (commonly known as Brew) is a free and open-source software package management system that simplifies the installation of software on Apple’s macOS operating system and Linux.
Tip
To upgrade Geth to the latest version, use the following command: brew upgrade Ethereum. To find out the current version of Geth you have installed on your computer, use the command: geth help.
Downloading Geth from its web site
Once downloaded, unzip the file and move the Geth file onto your home directory.
Installing Geth for Windows
For Windows user, the easiest way to install Geth is to go to https://geth.ethereum.org/downloads/ and click the button for the Windows version of Geth.
Once downloaded, double-click the .exe to install Geth on your Windows machine.
Tip
For Windows users, if you encounter problems in running any of the commands in this book, you should use the PowerShell instead of the Command Prompt.
Installing Geth for Linux
For Linux user, you can install Geth by downloading the version of Geth for Linux from https://geth.ethereum.org/downloads/ , and unzip the file and move the geth file onto your home directory.
And Geth would now be installed.
Getting Started with Geth
Using Geth, you can connect to the Ethereum blockchain and interact with it. Let’s see how this can be done.
Note
All the commands and examples in this book will be based on macOS.
- The geth client will attempt to connect to the Ropsten test network (--testnet) and download the entire blockchain from the network.
If you want to connect to another test network called Rinkeby , use the --rinkeby option.
The --datadir option specifies the local storage to use to store the blockchain, keystore, and other local client data (in this example, it is stored in a hidden folder named .ethereum-testnet in your home directory).
The entire blockchain for the network will now be downloaded onto your computer; in this case it will be saved in the ~/.ethereum-testnet directory.
Ethereum Networks
Ropsten
Kovan
Rinkeby
Goerli
Examining the Data Downloaded
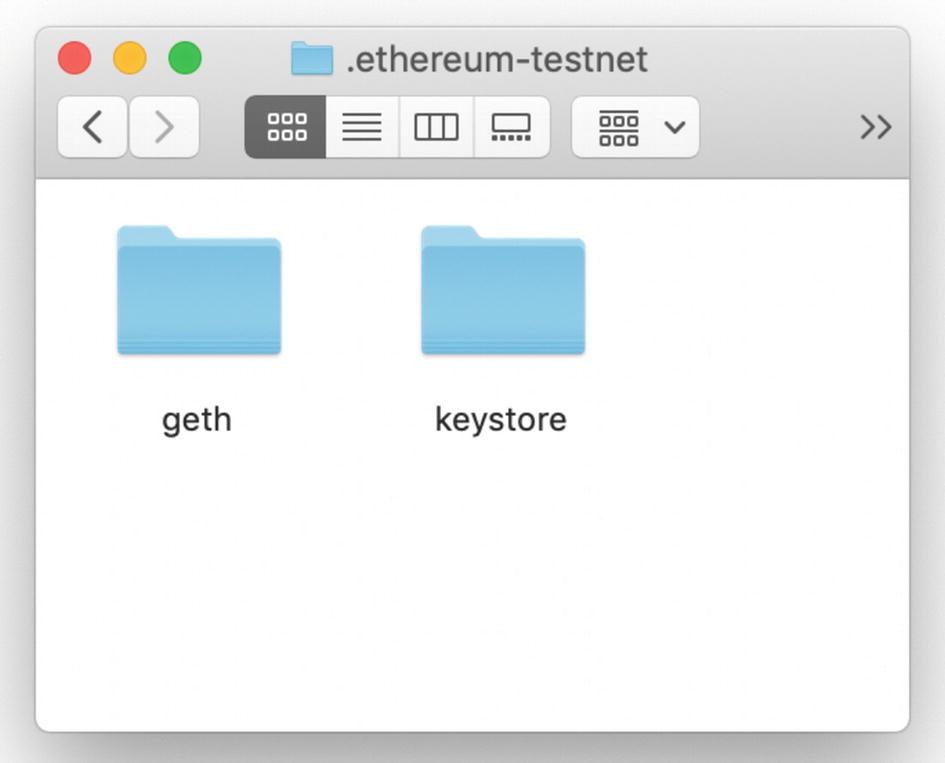
Examining the folders created by Geth
The geth folder contains the blockchain that you are downloading, while the keystore folder contains the account details of your local Ethereum node. We will discuss these in more details in the next chapter.
Tip
It will take Geth quite a bit of time to synchronize all the data to the computer. At the time of writing (June 2019), the size of the Ethereum mainnet is about 250GB. So, if you are synchronizing with the mainnet, make sure you have enough disk space. You can check for the size of the various cryptocurrencies blockchain size at https://bitinfocharts.com .
Geth JavaScript Console
Observe that when Geth is running, all you see is text after text scrolling (these are the statuses of the synchronization). It would be more useful if you are able to interact with Geth directly. And this is possible through the Geth JavaScript Console.
Note
We will discuss more Geth commands in the next chapter.
The --rpc option enables the HTTP_RPC server, and the --rpcport 8545 option means that the HTTP_RPC server is listening at port 8545 to allow other clients to connect to it.
Sync Modes
Full node mode (with fast synchronization) – When you launch the Geth client without specifying the --syncmode option, the default mode used by Geth is Full Nodes with Fast Synchronization (--syncmode fast). In Full node mode, Geth will download the full blockchain onto your computer by first downloading the block headers first and filling in block bodies and receipts afterward. Once the fast sync reached the last block of the Ethereum network, it switches to a full sync mode (see next point). It also validates the latest.
Full node mode – Synchronizes a full node starting at the genesis block and verifying all blocks and executing all transactions. This mode is slower than the fast sync mode but comes with increased security.
Light node mode – A light node only downloads the header chain and requests everything else on-demand from the network. They can verify the validity of the data against the state roots in the block headers. To use the light node mode, use the --syncmode light option.
The preceding output indicates that the syncing starts from block number 5308415 and the current block number is 5529791. The highest block number is 5653493. If you get a false from the eth.syncing property, this means that syncing is not performed at the moment.
Summary
In this chapter, you learned how to download and install Geth, an Ethereum client, on the various platforms. In the next chapter, you will learn how to use Geth to set up a private test network so that you can use it to build your own blockchain network.