
Portia is a an open-source tool built on top of Scrapy that supports building a spider by clicking on the parts of a website that need to be scraped, which can be more convenient than creating the CSS selectors manually.
Portia is a powerful tool, and it depends on multiple external libraries for its functionality. It is also relatively new, so currently, the installation steps are somewhat involved. In case the installation is simplified in future, the latest documentation can be found at https://github.com/scrapinghub/portia#running-portia.
The recommended first step is to create a virtual Python environment with virtualenv. Here, we name our environment portia_example, which can be replaced with whatever name you choose:
$ pip install virtualenv
$ virtualenv portia_example --no-site-packages
$ source portia_example/bin/activate
(portia_example)$ cd portia_example
Note
Why use virtualenv?
Imagine if your project was developed with an earlier version of lxml, and then in a later version, lxml introduced some backwards incompatible changes that would break your project. However, other projects are going to depend on the newer version of lxml. If your project uses the system-installed lxml, it is eventually going to break when lxml is updated to support other projects.
Ian Bicking's virtualenv provides a clever hack to this problem by copying the system Python executable and its dependencies into a local directory to create an isolated Python environment. This allows a project to install specific versions of Python libraries locally and independent of the wider system. Further details are available in the documentation at https://virtualenv.pypa.io.
Then, from within virtualenv, Portia and its dependencies can be installed:
(portia_example)$ git clone https://github.com/scrapinghub/portia
(portia_example)$ cd portia
(portia_example)$ pip install -r requirements.txt
(portia_example)$ pip install -e ./slybot
Portia is under active development, so the interface may have changed by the time you read this. If you want to use the same version as the one this tutorial was developed with, run this git command:
(portia_example)$ git checkout 8210941
If you do not have git installed, the latest version of Portia can be downloaded directly from https://github.com/scrapinghub/portia/archive/master.zip.
Once the installation steps are completed, Portia can be started by changing to the slyd directory and starting the server:
(portia_example)$ cd slyd
(portia_example)$ twistd -n slyd
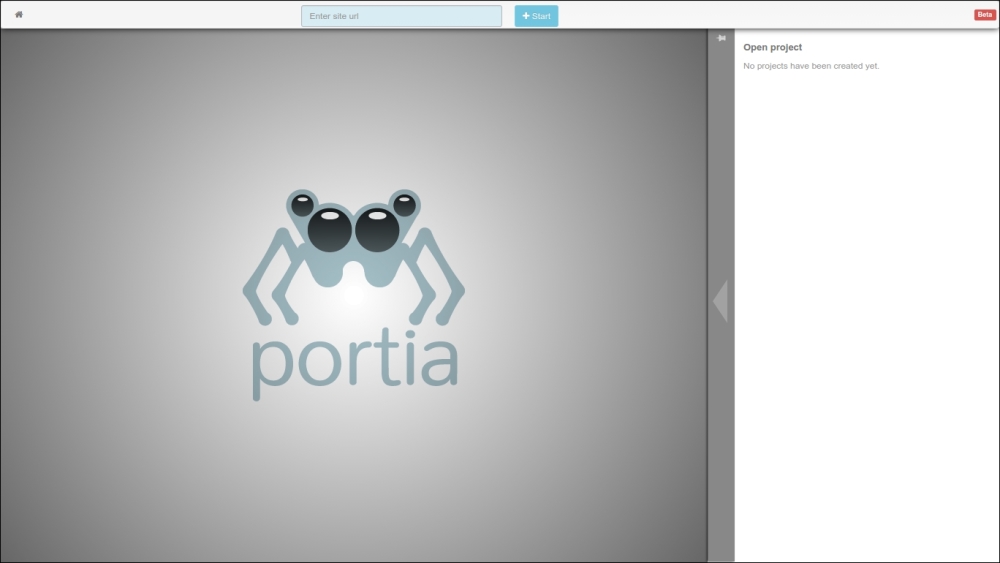
If installed correctly, the Portia tool will now be accessible in your web browser at http://localhost:9001/static/main.html.
This is how the initial screen looks:
If you have problems during installation it is worth checking the Portia Issues page at https://github.com/scrapinghub/portia/issues, in case someone else has experienced the same problem and found a solution.
At the Portia start page, there is a textbox to enter the URL of the website you want to scrape, such as http://example.webscraping.com. Portia will then load this web page in the main panel:
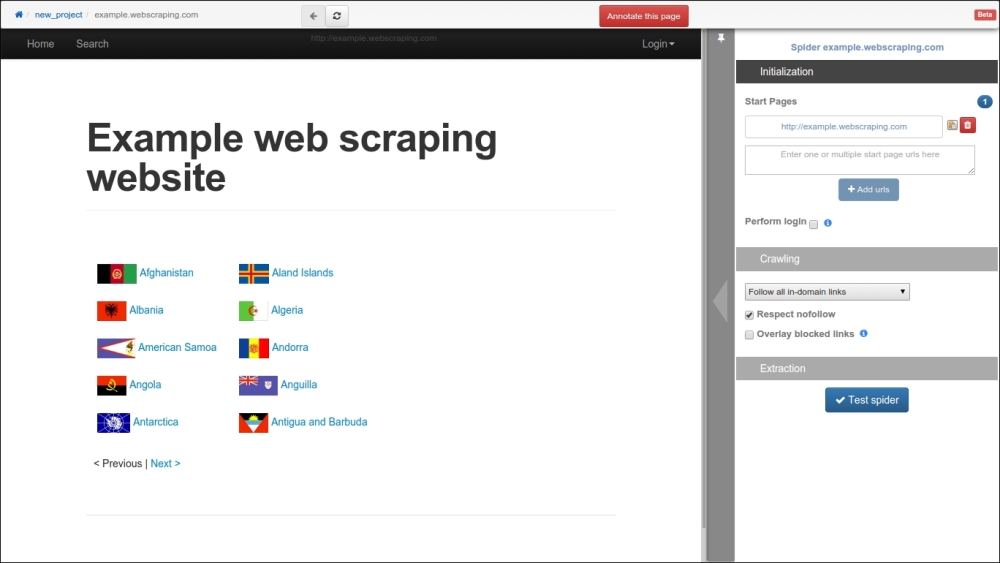
By default, the project name is set to new_project, and the spider name is set to the domain (example.webscraping.com), which can both be modified by clicking on these labels. Next, navigate to a sample country web page to annotate what data is of interest to you:

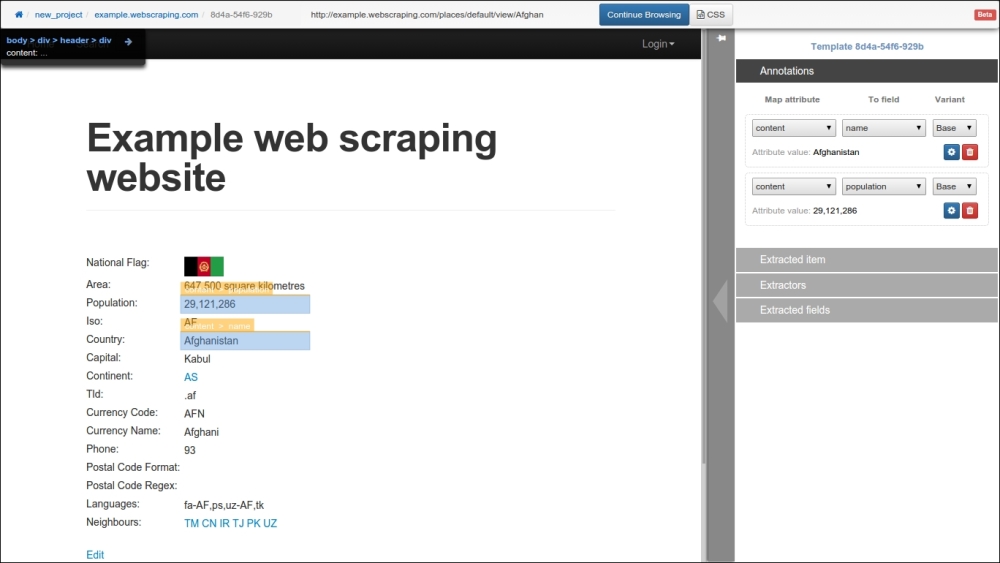
Click on the Annotate this page button, and then when the country population is clicked on, this dialogue box will pop-up:

Click on the + field button to create a new field called population, and click on Done to save the new field. Then, do the same for the country name and any other fields you are interested in. The annotated fields will be highlighted in the web page and can be edited in the panel on the right-hand side:
When the annotations are complete, click on the blue Continue Browsing button at the top.
After completing the annotations, Portia will generate a Scrapy project and store the resulting files in data/projects. To run this spider, the portiacrawl command is used along with the project and spider name. However, if this spider is run using the default settings, it will quickly encounter server errors:
(portia_example)$ portiacrawl portia/slyd/data/projects/new_project example.webscraping.com [example.webscraping.com] DEBUG: Crawled (200) <GET http://example.webscraping.com/view/Antarctica-9>
[example.webscraping.com] DEBUG: Scraped from <200 http://example.webscraping.com/view/Antarctica-9>
  {'_template': '9300cdc044d4b75151044340118ccf4efd976922',
   '_type': u'default',
   u'name': [u'Antarctica'],
   u'population': [u'0'],
   'url': 'http://example.webscraping.com/view/Antarctica-9'}
...
[example.webscraping.com] DEBUG: Retrying <GET http://example.webscraping.com/edit/Antarctica-9> (failed 1 times): 500 Internal Server Error
This is the same problem that was touched on in the Tuning the settings section because this Portia-generated project uses the default Scrapy crawl settings, which download too fast. These settings can again be modified in the settings file (located at data/projects/new_project/spiders/settings.py). However, to demonstrate something new this time, we will set them from the command line:
(portia_example)$ portiacrawl portia/slyd/data/projects/new_project example.webscraping.com -s CONCURRENT_REQUESTS_PER_DOMAIN=1 -s DOWNLOAD_DELAY=5
...
[example.webscraping.com] DEBUG: Crawled (200) <GET http://example.webscraping.com/user/login?_next=%2Findex%2F1>
[example.webscraping.com] DEBUG: Crawled (200) <GET http://example.webscraping.com/user/register?_next=%2Findex%2F1>
If this slower crawl is run, it will avoid being blocked. However, it will then encounter the same inefficiency of downloading unnecessary web pages, such as login and registration. By default, Portia will generate a spider that crawls all the URLs of a given domain. To instead crawl only specific URLs, the Crawling tab in the right-hand side panel can be configured:

Here, we added /index/ and /view/ for the spider follow patterns, and /user/ for the exclude pattern, similar to what we used in the previous Scrapy project. If the Overlay blocked links box at the bottom is checked, Portia will highlight green and red the links that will be followed and excluded respectively:

The generated spider is now ready for execution, and, as before, the output CSV file can be specified using the --output flag:
(portia_example)$ portiacrawl portia/slyd/data/projects/new_project example.webscraping.com --output=countries.csv -s CONCURRENT_REQUESTS_PER_DOMAIN=1 -s DOWNLOAD_DELAY=5
When this command is run, this spider will produce the exact output as the manually created Scrapy version.
Portia is a handy tool to use in conjunction with Scrapy. For straightforward websites, it will typically be faster to develop the crawler with Portia. On the other hand, for more complex websites—for example, if the interface is JavaScript dependent—there is the option to develop the Scrapy crawler directly in Python.