
We will take advantage of the Before Content region we created in our theme's configuration file to add our next component. The Callout block we identified in our mockup earlier allows us to add additional information that helps introduce our Contact form.
If we quickly review the contact.html page from the Mockup folder, we can identify that we will need to create a custom block that consists of a heading and a paragraph.

This is a pretty simple block to create, so let's get started by navigating to /admin/structure/block, which will take us to the Block layout admin.
Next, we will follow these steps:
- Click on the Place block button in the Before Content region.
- Click on the Add custom block button.
- Enter a Block description of Contact Callout.
- Select HTML No Editor from the Text format dropdown.
- Add the markup located in the
Chatper10/start/content/ContactCallout.txtfile to the Body field, as shown in the following image: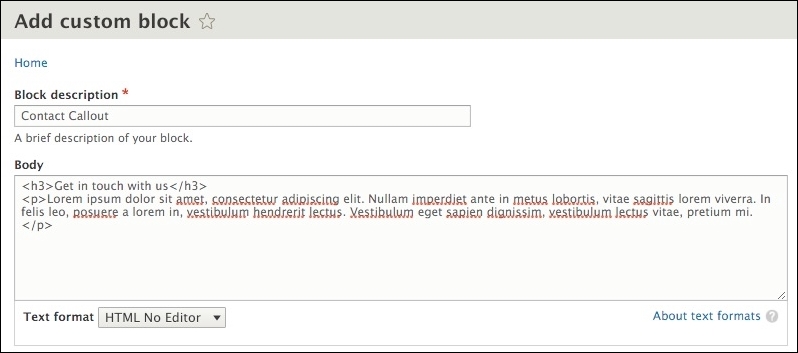
- Click on the Save button to proceed to the Configure block screen.
- Uncheck the Display title checkbox.
- Select the Pages vertical tab within the Visibility section.
- Enter a value of
/contactin the Pages text area. - Choose Show for the listed pages under Negate the condition.
- Choose Before Content from the Region field.
- Click on the Save block button.
We now have our Contact Callout block created and assigned to our Before Content region. Let's make sure that our new block is displaying correctly by navigating back to our Contact page.

Therefore, our content is displaying in the correct region but not quite visually what we were expecting. However, like any other block, we can remedy this by creating a Twig template and apply any additional markup or classes that may be needed.
Using the FILE NAME SUGGESTIONS, we can navigate to the core/modules/block/templates folder and copy the block.html.twig template to our themes/octo/templates folder. Next, we will need to rename the template to block--contactcallout.html.twig and then replace the markup with the following:
New markup
{% set classes = ['block','contact-intro'] %}

<div{{ attributes.addClass(classes) }}>
  <div class="container">
    {{ title_prefix }}
    {% if label %}
    <h4{{ title_attributes }}>{{ label }}</h4>
    {% endif %}
    {{ title_suffix }}
    {% block content %}
    {{ content }}
    {% endblock %}
  </div>
</div>
Make sure to save the template, clear Drupal's cache, and refresh the Contact page in the browser. Our block should now look exactly like our mockup. Now we will move on to our next component, which involves integrating Google Maps.