
Installing Magento 2 via the graphical user interface (GUI) is not new. We have already done this in Chapter 1, Installing Magento 2 on Apache and NGINX. Now, we will be installing a new clean version including the sample data.
The sample data can be installed during and at the end of the procedure. We will be using a composer.json file for our setup prerequisites. First, we will be installing a clean version with sample data, and later, I will show you how to install it at the end in case you already have a preinstalled version.
For this recipe, we will use a Droplet created in Chapter 1, Installing Magento 2 on Apache and NGINX, at DigitalOcean, https://www.digitalocean.com/. We will be using NGINX, PHP-FPM, and a Composer-based setup. No other prerequisites are required.
For the first step, you can either create a new Droplet or rebuild a clean Droplet based on a Ubuntu or RedHat DigitalOcean image.
The option to rebuild is located in the DigitalOcean control panel in the Destroy menu and then rebuild Droplet:

The steps to install Magento 2 sample data via GUI are as follows:
- Preferably, pick the new snapshot or the already created one and press Rebuild from Image. The rebuild will take around 60 seconds.
- Now log in to your new or current Droplet. We will be referring to a new build Droplet throughout this recipe.
- Now let's download the latest Magento 2 version including sample data. Go to https://www.magentocommerce.com/download, pick Full Release with Sample Data (ZIP with sample data), and unpack this in your web directory. We refer to
/var/www/htmlin this recipe.If you are using a ZIP package, make sure that you install the unzip package first, running the following command on the shell:
apt-get install unzip - Now let's set the ownership and permissions:
chown -R www-data:www-data /var/www/html

find . -type d -exec chmod 770 {} ; && find . -type f -exec chmod 660 {} ; && chmod u+x bin/magento
- Now we use Composer to resolve all of our dependencies. Run the following command from the shell:
cd /var/www/html/ && composer installDuring the installation process, you will get a notice to create a GitHub OAuth token. The download rate limit is pretty small. Copy the URL from your shell window in your browser, log in at GitHub or create an account, and create the token. You may also check Chapter 1, Installing Magento 2 on Apache and NGINX, for more details on this topic.
- Next, we will be using the setup wizard to continue the rest of the installation. In this chapter, we will be using the shell installation method. Go to your favorite browser and enter the following URL:
http://yourdomain.com/setupContinue your flow until Step 4: Customize Your Store. As we have chosen a Magento 2 package including sample data, all software modules are preinstalled and listed in the advanced modules configurations list.
Here is an overview of all the modules selected by Magento that can be managed during installation:

- Now, continue the rest of the steps and install Magento 2. Installing sample data can take some time, so don't close or refresh your browser.
The progress bar and console log will share all details regarding the current status:

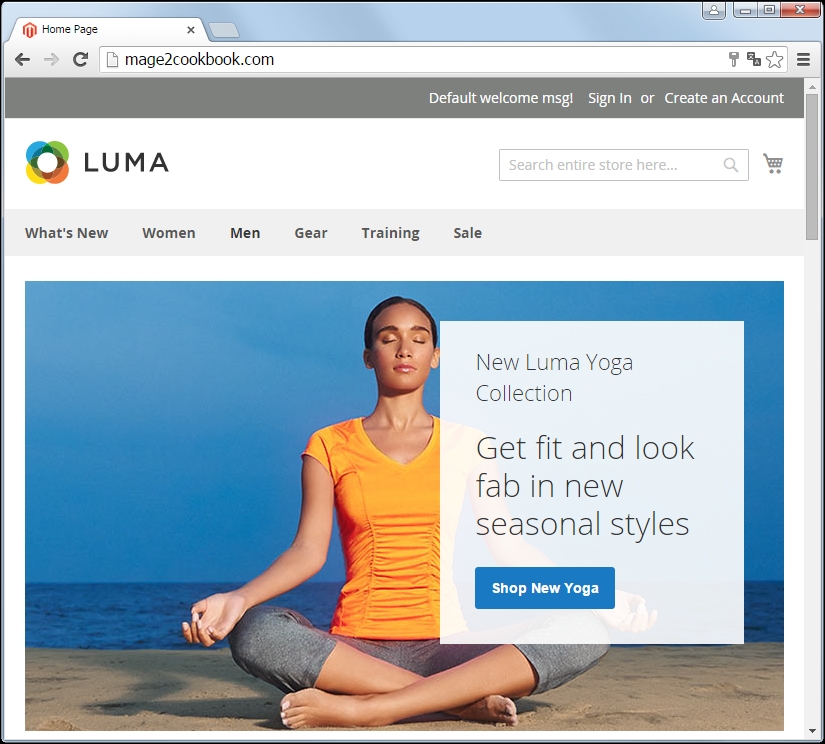
Congratulations, you just finished the installation of Magento 2 including sample data. Now go to your browser using yourdomain.com; you will see the default Magento 2 layout theme called
Luma, as follows:
Let's recap and find out what we did throughout this recipe. In steps 1 through 6, we created a Magento 2 version including sample data. The process is almost the same as we did in the previous chapter. The most important change is that we downloaded a full version including sample data. In this build, Magento submitted all of the media files and data sample packages that we need to complete the process. During the graphical setup, we were able to choose which sample data packages are needed. This process could take some time to complete.
In the /var directory, you can find the following hidden file with the current state of the installed sample data:
less /var/www/html/var/.sample-data-state.flag
Want to start all over again? Magento 2 has a magic uninstall option that cleans everything on the fly, cache, and database. You can use the php bin/magento setup:uninstall command on the shell, as shown here:
root@mage2cookbook:/var/www/html# php bin/magento setup:uninstall
Are you sure you want to uninstall Magento?[y/N]y
Starting Magento uninstallation:
Cache cleared successfully
Cleaning up database `magento2`
File system cleanup:
/var/www/html/pub/static/_requirejs
/var/www/html/pub/static/adminhtml
/var/www/html/pub/static/frontend
/var/www/html/var/cache
/var/www/html/var/composer_home
/var/www/html/var/di
/var/www/html/var/generation
/var/www/html/var/log
/var/www/html/var/page_cache
/var/www/html/var/tmp
/var/www/html/var/view_preprocessed
/var/www/html/app/etc/config.php
/var/www/html/app/etc/env.php