
Performance, performance, performance! This may be one of the most used words in the Magento 1 period. Every Magento website benefits from a great performing platform, and every customer loves it.
However, before we can create a great performing website, all sorts of elements have to be conquered. One of the missing elements in Magento 1 was creating sample data based on a company profile. As every Magento website is unique, so is performance testing based on their profile. Some companies have only one website, store catalog, and store view. Others have 800 websites and are converting one million orders per day.
Magento 2 now provides us with the option to run a profile that creates sample data based on your company profile. By default, there are four sample data profiles. Depending on the profile, creating the sample data may take a long time, so keep this in mind.
After creating the sample data based on your profile, you can start doing performance-based testing. Based on this profile, you may need to scale up or tune one of the components before going into production.
For this recipe, we will use a Droplet created in Chapter 2, Magento 2 System Tools, at DigitalOcean, https://www.digitalocean.com/. We will be using NGINX, PHP-FPM, and a Composer-based setup including Magento 2 (without sample data). No other prerequisites are required.
For the purpose of this recipe, let's assume that we need to run a Magento 2 performance test. The following steps will guide you through this:
- Before we can start generating a profile, we need a clean setup. Run the following command to start with a clean Magento 2 instance:
rm -rf * /var/www/html
composer create-project --repository-url=https://repo.magento.com/ magento/project-community-edition /var/www/html --prefer-dist
chown -R www-data:www-data /var/www/html
- Now let's install Magento 2 without sample data. Run the following command. We will be using the same procedure as we used in Installing Magento 2 sample data via the command line recipe of Chapter 2, Magento 2 System Tools:
bin/magento setup:install --db-host=localhost --db-name=<your-db-name> --db-user="<db-user>" --db-password="<db-password>" --backend-frontname=<admin-path> --base-url=http://yourdomain.com/ --admin-lastname=<your-lastname> --admin-firstname=<your-firstname> --admin-email=<your-email> --admin-user=<your-admin-user> --admin-password=<your-password> --use-rewrites=1 --cleanup-database - After completing the install via the shell, we need to compile our code before we can start using it. Run the following command on the shell:
php bin/magento setup:di:compile-multi-tenant
chown -R www-data:www-data /var/www/html
- Check in your browser whether everything is working correctly before starting the small data profile. We use the small data profile because it does not take too long to run. Run the following command:
php bin/magento setup:perf:generate-fixtures /var/www/html/setup/performance-toolkit/profiles/ce/small.xml - All data profiles are located in the
setup/performance-toolkit/profiles/directory. Depending on whether you are running CE or EE, you need to choose one of the subdirectories. - Depending on the profile that you ran, the output looks as follows:

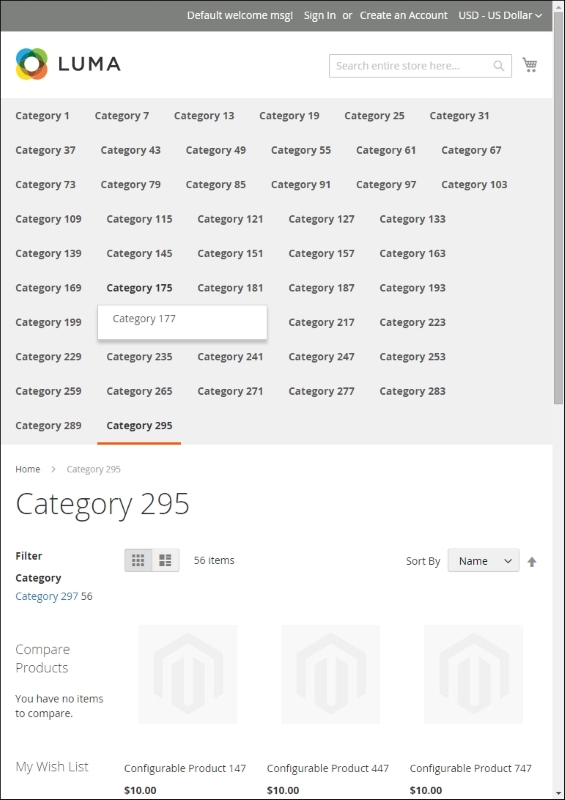
- Now you can open a browser and surf to
yourdomain.com, and check whether everything is correct. You can also log in to the backend of your Magento website and check all the created settings. - Congratulations, you just finished creating profiles for performance testing with Magento 2. Now you can choose your favorite performance test tool and test your server:
Let's recap and find out what we did throughout this recipe. In steps 1 through 8, we created sample data to test the performance of the Magento 2 website.
In steps 1 and 2, we started with a clean Magento 2 setup using Composer and bin/magento setup:install.
In step 3, we needed to compile our Magento code base before we could input the sample data.
In step 4, we ran a generated fixture profile using the bin/magento setup:perf option. Depending on the profile, Magento will start creating all of the required data. Running a large profile set can take up to several hours. Adjusting the profile is self-explanatory.
If the default profile does not fit your needs, you can create a custom profile. For example, copy the small.xml file to mycustom.xml in the same directory and open the file in your favorite editor. Run the following command on the shell:
cd /var/www/html/setup/performance-toolkit/profiles/ce/small.xml
cp small.xml mycustom.xml
vi mycustom.xml
Now you can change data such as websites, store_groups, store_views, simple_products, configurable_products, categories, categories_nesting_level, catalog_price_rules, catalog_target_rules, cart_price_rules, cart_price_rules_floor, customers, tax_rates_file, and orders:

Save your file, and use the following command:
Esc + :wq
Before we start, you need to check whether your setup is clean. Otherwise, start with step 1 of the recipe.
Now we can run the
mycustom.xml file with the following command:
php bin/magento setup:perf:generate-fixtures /var/www/html/setup/performance-toolkit/profiles/ce/mycustom.xml