
In many apps, you sometimes require users to accept a term of service before they can move on to the next page. The typical approach is to create a popup modal or a new page showing the term of service. Once users finish reading, they can click on the Done or Back button. However, if the content of your term of service changes, you may need to ask users to update the app. In many cases, users don't update apps often. So, the terms of service that they accepted could be older than your current version. Therefore, there is a need to maintain term of service content separately from the app itself. The InAppBrowser plugin is the best solution for this because you can point users to the same Term of Service page that is already on your website.
The app will just have a simple checkbox and button to demonstrate how InAppBrowser works:
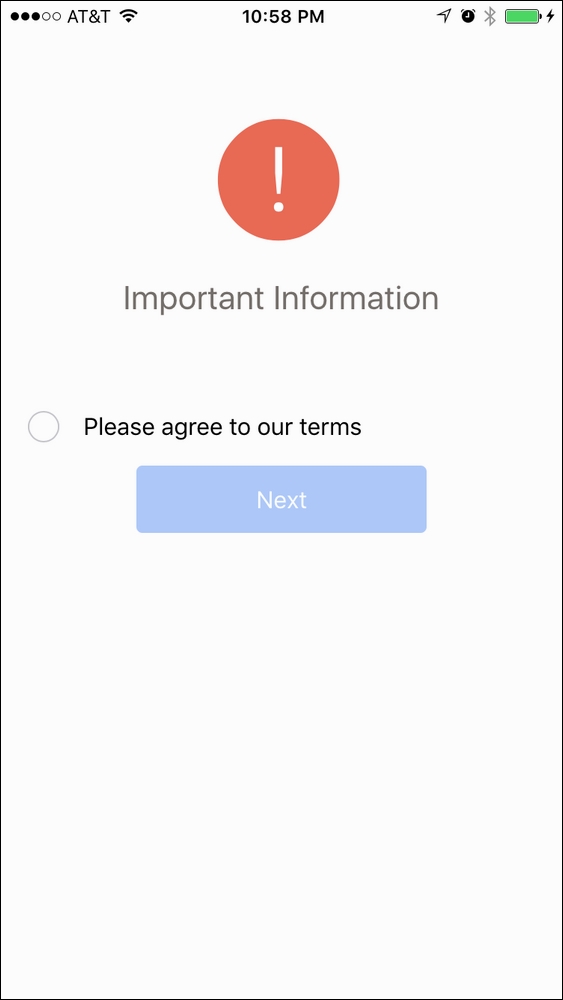
Once the user clicks on the Please agree to our terms checkbox, they will go to the InAppBrowser page:
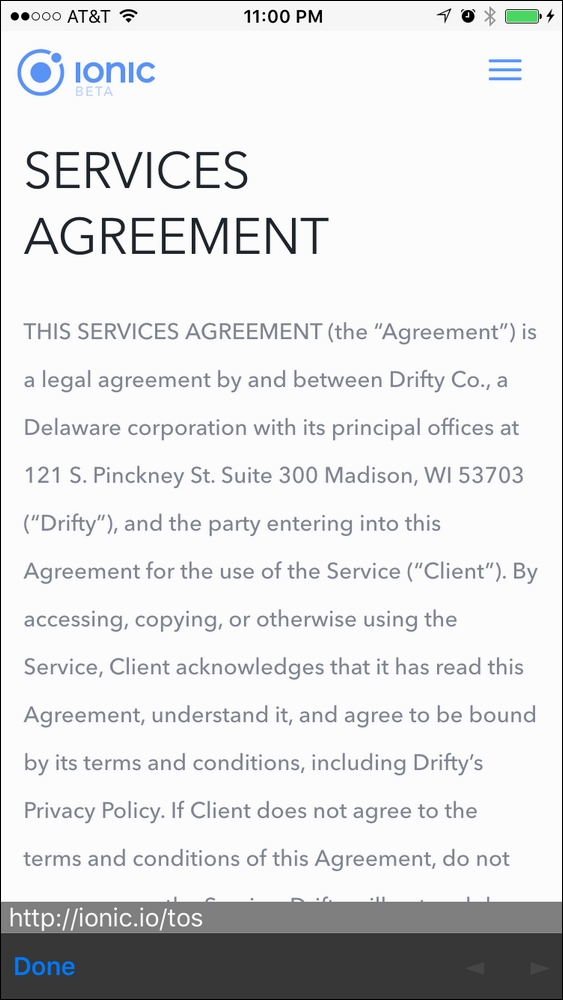
After going through the term of service content, they can click on Done and go back to the previous page with the Next button enabled:

You should have a physical device ready in order to test InAppBrowser, as this won't work in the browser as an iframe.
Here are the instructions:
- Create a blank Ionic app (for example,
OnlineTOS) andcdto that folder, as shown:$ ionic start OnlineTOS blank --v2 $ cd OnlineTOS
- Install the InAppBrowser plugin using the following command:
$ ionic plugin add cordova-plugin-inappbrowser - Open
/config.xmlin the project folder and insert the following two lines under<access origin="*"/>, as shown:<allow-navigation href="http://*/*" /> <allow-navigation href="https://*/*" />
This will tell Cordova that it's okay to allow navigation to any website. Otherwise, the device security will block InAppBrowser. You can read more about this on the Cordova documentation page at https://cordova.apache.org/docs/en/latest/reference/cordova-plugin-whitelist/.
- Open
./src/pages/home/index.htmland replace with the following code:<ion-content class="home"> <div class="top-header center"> <ion-icon name="alert"></ion-icon> <br/> <h3> Important Information </h3> </div> <ion-item> <ion-label>Please agree to our terms</ion-label> <ion-checkbox dark (click)="openTOS()"></ion-checkbox> </ion-item> <div class="center"> <button ion-button class="long" [(disabled)]="!readTOS">Next</button> </div> </ion-content> - Open
./src/pages/home/home.tsand replace with the following code:import { Component } from '@angular/core'; import { Platform } from 'ionic-angular'; import { InAppBrowser } from 'ionic-native'; @Component({ selector: 'page-home', templateUrl: 'home.html' }) export class HomePage { private platform: any; public readTOS: Boolean = false; constructor(platform: Platform) { this.platform = platform; } openTOS() { this.readTOS = !this.readTOS; this.platform.ready().then(() => { let ref = new InAppBrowser('https://ionic.io/tos','_blank'); ref.on('exit').subscribe(() => { console.log('Exit In-App Browser'); }); }); } } - Open
./src/pages/home/home.scssand replace with the following code:.home { .item-inner { border-bottom: 0; } } .top-header { margin-top: 50px; margin-bottom: 50px; ion-icon { color: #EB6B56; font-size: 100px; } h3 { color: #75706B; } } .center { text-align: center; } .long { padding: 0 5em; }This is just to provide minor styling to the page.
- Run the app in the Terminal using the following command line:
$ ionic run ios
$ ionic run android
First, let's take a look at the template home.html:
  <ion-item>
    <ion-label>Please agree to our terms</ion-label>
    <ion-checkbox dark (click)="openTOS()"></ion-checkbox>
  </ion-item>
  <div class="center">
    <button ion-button class="long" [(disabled)]="!readTOS">Next</button>
  </div>
There are two areas that you should make a note on. When the <ion-checkbox> component is clicked on, it will trigger the openTOS() method, which will open the URL via InAppBrowser. The Next button is disabled by default (via the readTOS variable). So, when the user checks the checkbox, this readTOS will be True and the button will be enabled.
In your home.ts, you must import the InAppBrowser module first, as shown:
import { InAppBrowser } from 'ionic-native';This will make the InAppBrowser object available for use in your class.
Here is the openTOS() method:
  openTOS() {
    this.readTOS = !this.readTOS;
    this.platform.ready().then(() => {
      let ref = new InAppBrowser('https://ionic.io/tos', '_blank');
      ref.on('exit').subscribe(() => {
        console.log('Exit In-App Browser');
      });
    });
}To trigger InAppBrowser, you just need to call InAppBrowser.open and pass the following three parameters:
- The URL to load.
- The target to open the URL. There are four options only—
_self,_blank, and_system._selfwill overwrite your current Ionic app; thus, you should never need to use this option._blankis typically what you want because it leaves you a way to come back to your app. Finally,_systemopens a separate browser outside the app. - Options is the last parameter where you have to pass a string. You can visit the official document for more information (https://github.com/apache/cordova-plugin-inappbrowser#cordovainappbrowseropen). In general, you just need to set
location=trueso that the user can see the current URL.
InAppBrowser also has an exit event, where you can listen via ref.on(). This is useful when you want to pop up a Thank You dialog or record an event (via the REST API to your server).
- To stay up to date with the latest changes in InAppBrowser, you can visit https://github.com/apache/cordova-plugin-inappbrowser
- Official support for Ionic Native's InAppBrowser is located at http://ionicframework.com/docs/v2/native/inappbrowser/