
If you develop an app with shareable content, you might want to utilize the native device feature to share via the device's authorized social media accounts. There are several benefits from using this approach. First, users don't need to open a separate browser to log in to their social media account each time they want to share. Second, all the information can be filled out programmatically, such as title, body, link, or image. Finally, since this is a native feature of the device, the menu selection allows users to see multiple accounts, which they are already familiar with, to choose from. The social sharing plugin can greatly enhance the user experience.
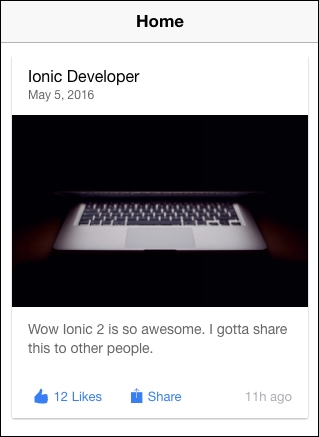
This is the app that you will build:
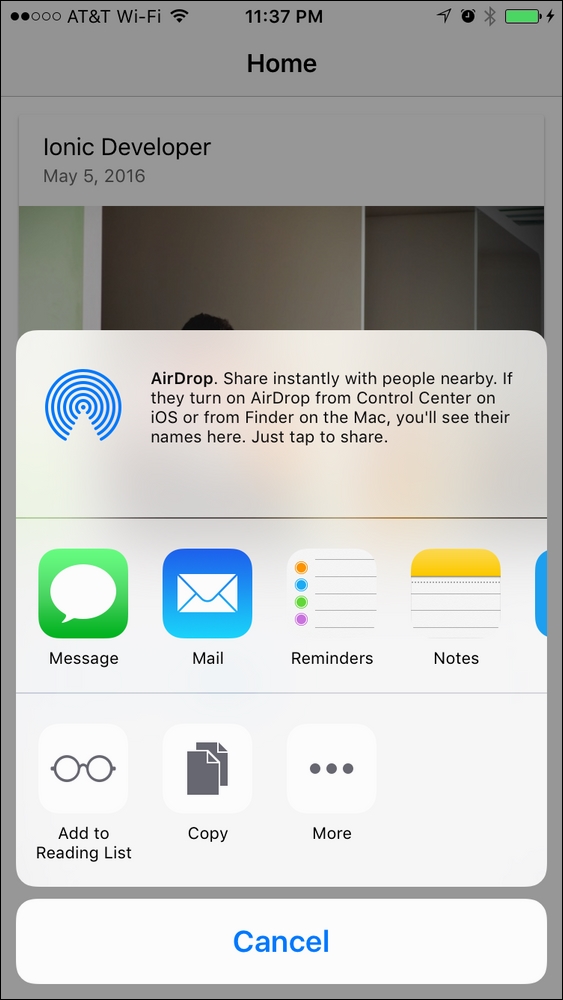
When the user clicks on the Share button, the app will show the following native button menu for social media account selection:
If the user selects Twitter, a popup will show up with all the information prefilled, as illustrated:

After posting on Twitter, the user goes right back to the app without ever leaving it.
You should have a physical device or simulator ready in order to test the social sharing capability.
The following are the instructions:
- Start a blank project (for example,
LinkSocialShare), as follows, and go to that folder:$ ionic start LinkSocialShare blank --v2 $ cd LinkSocialShare
- Add the Cordova camera plugin with the following command line:
$ ionic plugin add cordova-plugin-x-socialsharing - Open
./src/pages/home/index.htmland replace its contents with the following code:<ion-header> <ion-navbar> <ion-title> Home </ion-title> </ion-navbar> </ion-header> <ion-content> <ion-card> <ion-item> <h2 #messageSubject>Ionic Developer</h2> <p>May 5, 2016</p> </ion-item> <img src="https://source.unsplash.com/category/technology/600x390"> <ion-card-content> <p #messageBody>Wow Ionic 2 is so awesome.I gotta share this to other people.</p> </ion-card-content> <ion-row> <ion-col> <button ion-button color="primary"clear small icon-left> <ion-icon name="thumbs-up"></ion-icon> <div>12 Likes</div> </button> </ion-col> <ion-col> <button ion-button color="primary" clear small icon-left (click)="sendShare(messageBody.innerText, messageSubject.innerText,'http://ionicframework.com/docs/v2/')"> <ion-icon name="ios-share"></ion-icon> <div>Share</div> </button> </ion-col> <ion-col center text-center> <ion-note> 11h ago </ion-note> </ion-col> </ion-row> </ion-card> </ion-content>
This is a very simple page with the card element. The Like button is there just for cosmetic reasons without code implementation. However, all the JavaScript logic will focus on the Share button:
- Open
./src/pages/home/home.ts, as shown:import { Component } from '@angular/core'; import { NavController } from 'ionic-angular'; import { SocialSharing } from 'ionic-native'; @Component({ selector: 'page-home', templateUrl: 'home.html' }) export class HomePage { constructor(public navCtrl: NavController) { } sendShare(message, subject, url) { SocialSharing.share(message, subject, null, url); } } - Go to the Terminal and execute either of the following command lines:
$ ionic run ios
$ ionic run android
You can start looking at the template because that is where the social media content is extracted from. The subject value is from the #messageSubject local variable, as illustrated:
<ion-item>
  <h2 #messageSubject>Ionic Developer</h2>
  <p>May 5, 2016</p>
</ion-item>
In the preceding case, the subject is Ionic Developer because you will access messageSubject.innerText later on. messageSubject is just referencing your H2 DOM node.
Similarly, the body is from #messageBody, as shown:
<ion-card-content>
  <p #messageBody>Wow Ionic 2 is so awesome. I gotta share this to other people.</p>
</ion-card-content>
When the user clicks on the Share button, it will trigger the sendShare() method, as follows:
<button ion-button color="primary" clear small icon-left
          (click)="sendShare(messageBody.innerText,messageSubject.innerText, 'http://ionicframework.com/docs/v2/')">
Let's take a look at your home.ts to understand how sendShare() works.
First, you need to import the SocialSharing module from Ionic Native, as illustrated:
import { SocialSharing } from 'ionic-native';Ionic 2 makes it very convenient because you don't need to install ngCordova separately. Ionic Native is actually a default option that comes with the project during its creation.
To share your content and trigger the social media menu, the logic, as shown, is very simple:
sendShare(message, subject, url) {
  SocialSharing.share(message, subject, null, url);
}
If you want to share a file, you can replace the third parameter (where it is null) with the URL to the user's local filesystem. This is useful when you want people to send a PDF or JPG via e-mail or post it on Facebook.
- To see the latest update of the Social Share plugin, you can visit the documentation page at http://ionicframework.com/docs/v2/native/social-sharing/