
Push notification is an important feature to engage users frequently, especially when the users are not using the app. Many people download an app but only open it a few times. If you send them a push notification message, it will encourage them to open the app to get involved in a new activity. Implementing push notifications is very complex if you have to build everything from scratch. However, Ionic makes it very simple by leveraging the Cordova Push Notification plugin and Ionic Cloud as the providers. A push notification provider is a server that can communicate with the Apple Push Notification service (APNs) or Google's Firebase Cloud Messaging (FCM). You can set up your own provider server using existing open sources, but you have to maintain this server separately and keep up with potential changes from the APN APIs.
In this section, you will learn how to do the following things:
- Set up Ionic Cloud for iOS Push Notification
- Configure iOS app, certificates (App and Push), and provisioning profile
- Write code to receive push notifications
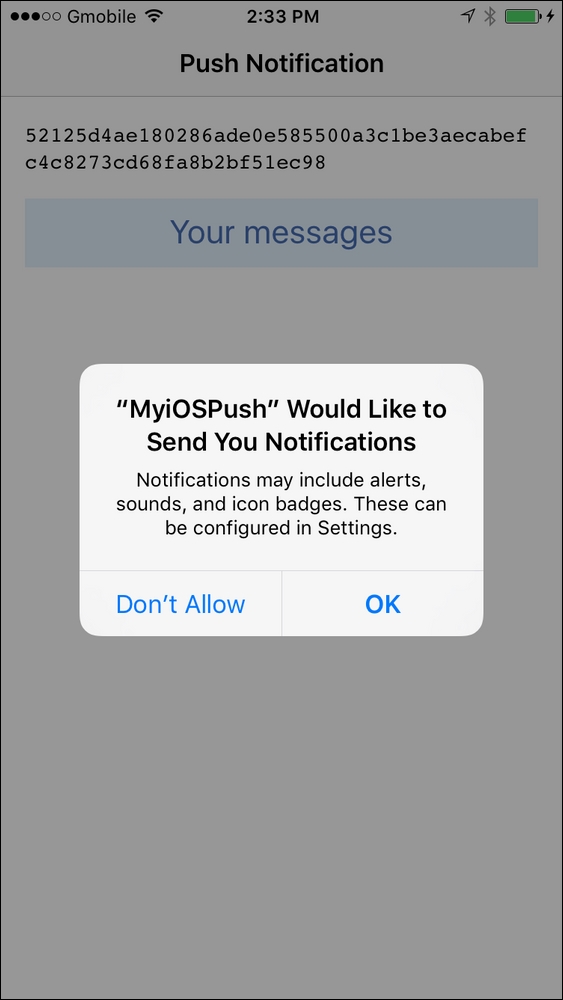
The following is a screenshot of the app after receiving a couple of notification messages:

It's required to have a physical iOS device available in order to test for notification messages.
You must also register for the Apple Developer Program (ADP) in order to access https://developer.apple.com and https://itunesconnect.apple.com because these websites will require an approved account.
In addition, the following instructions use the specific version of these components:
- Mac OSX El Capitan 10.11.4
- Xcode 7.3.1
- Ionic CLI 2.1.8
- Cordova 6.4.0
- Node 6.8.1
- NPM 3.10.8
Observe the following instructions:
- Create a new
MyiOSPushapp using theblanktemplate, as shown, and go to theMyiOSPushfolder:$ ionic start MyiOSPush blank --v2 $ cd MyiOSPush
- Install the Ionic
cloud-angularclient, which is a library to interact with thepushobject, as follows:$ npm install @ionic/cloud-angular --save - Initialize your Ionic Cloud setting, as illustrated, so that an app ID can be created in your account:
$ ionic io initNote
You will be prompted to log in to your Ionic Cloud account for this command line. The initialization process will save the
app_idandapi_keyvalues to your project'sionic.io.bundle.min.js. This means you cannot change the project in your Ionic Cloud account after this (or you will have to manually remove the IDs and reinitialize). Your app ID is also recorded in theionic.config.jsonfile. - You need to install the Cordova Push Notification plugin and provide some value as
SENDER_ID. Since you are only using iOS Push Notification, you can just provide a fake value, temporarily, here, as shown in the following code:$ cordova plugin add phonegap-plugin-push --variable SENDER_ID=12341234 --save - Open your
./ionic.config.jsonfile in the project folder and copy theapp_idvalue. In this case, the value is00f293c4from the following code:{ "name": "MyiOSPush", "app_id": "00f293c4", "v2": true, "typescript": true } - Open and edit
./src/app/app.module.tswith the following content:import { NgModule } from '@angular/core'; import { IonicApp, IonicModule } from 'ionic-angular'; import { CloudSettings, CloudModule } from '@ionic/cloud-angular'; import { MyApp } from './app.component'; import { HomePage } from '../pages/home/home'; const cloudSettings: CloudSettings = { 'core': { 'app_id': '00f293c4' }, 'push': { 'sender_id': 'SENDER_ID', 'pluginConfig': { 'ios': { 'badge': true, 'sound': true }, 'android': { 'iconColor': '#343434' } } } }; @NgModule({ declarations: [ MyApp, HomePage ], imports: [ IonicModule.forRoot(MyApp), CloudModule.forRoot(cloudSettings) ], bootstrap: [IonicApp], entryComponents: [ MyApp, HomePage ], providers: [] }) export class AppModule {} - Visit the Apple Developer website at https://developer.apple.com and log in with your credentials.
- Click on Certificates, Identifiers & Profiles, as illustrated in the following screenshot:

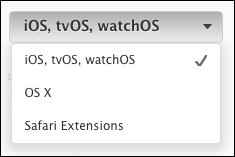
- Select the correct device platform you are targeting. In this case, it will be iOS, tvOS, watchOS as shown in the following screenshot:
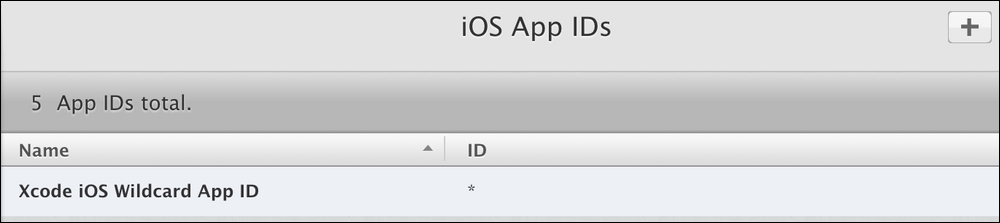
- Navigate to Identifiers > App IDs to create an app ID, as illustrated in the following screenshot:

- Click on the plus(+) button in the top right corner of the screen, as shown in the following screenshot:
- Fill in the form to register your App ID. The Name field could be anything and it's not the same Ionic Cloud's app ID. You can provide the name of your project (that is,
MyiOSPush) to keep things simple, as shown: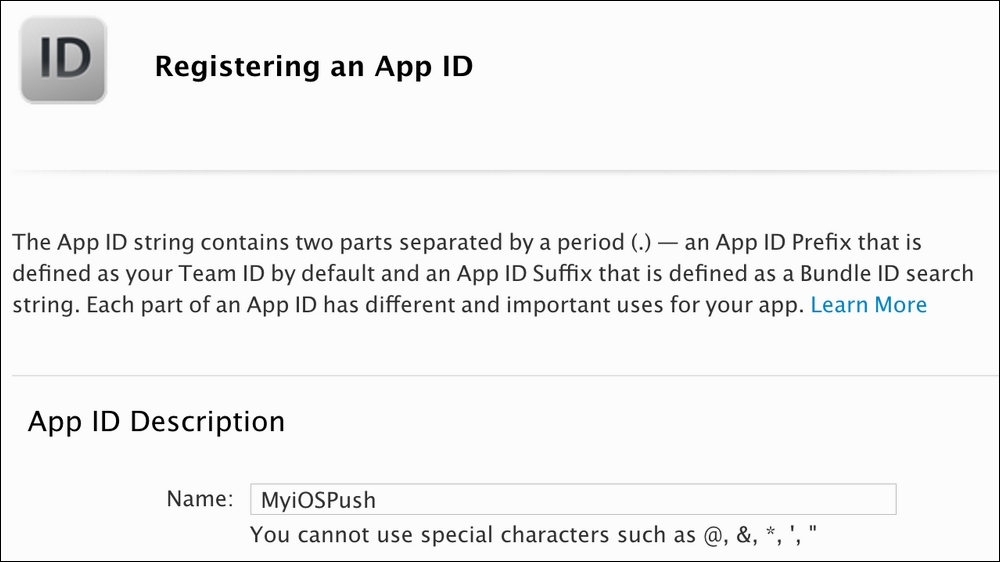
- The important part that you need to do correctly here is the Bundle ID because it must match your bundle identifier in the
./config.xmlfile or Xcode, as illustrated: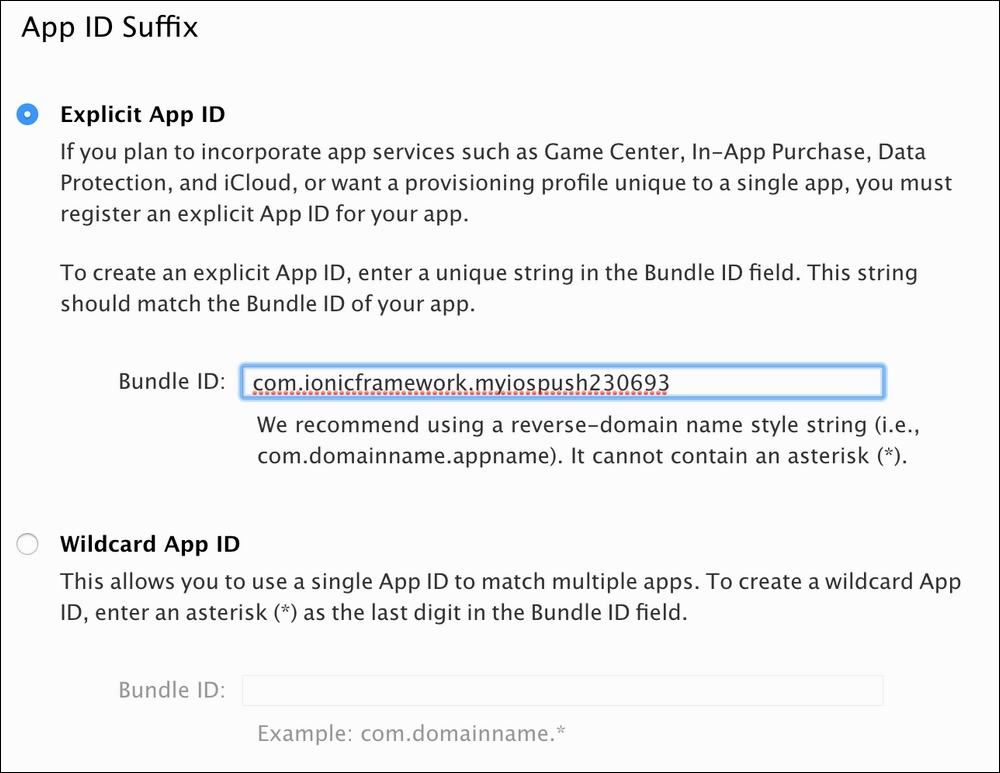
- To enable push notifications, you need to check the Push Notification service on the following page:

- Select Register, as shown:

- Select Done to complete the step to create App ID, as follows:
- To start with certificate creation, you will need to generate a certificate signing request file locally on your Mac OSX using Keychain Access. Navigate to the Keychain Access top left menu and navigate to Certificate Assistant > Request a Certificate From a Certificate Authority…, as illustrated:

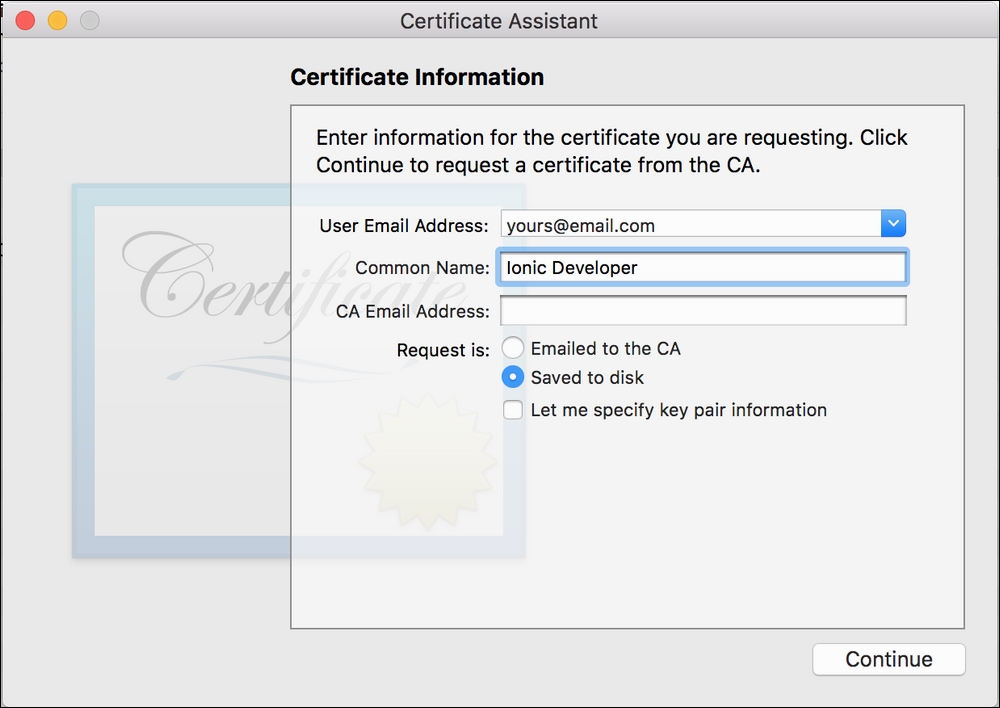
- Enter your User Email Address and Common Name. Leave the CA Email Address field blank and check Saved to disk, as shown:
- Save your
CertificateSigningRequest.certSigningRequestfile, as follows:
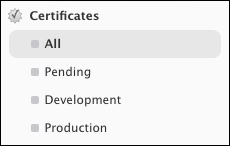
- Navigate to the Apple Developer website and navigate to Certificates > All, as shown:
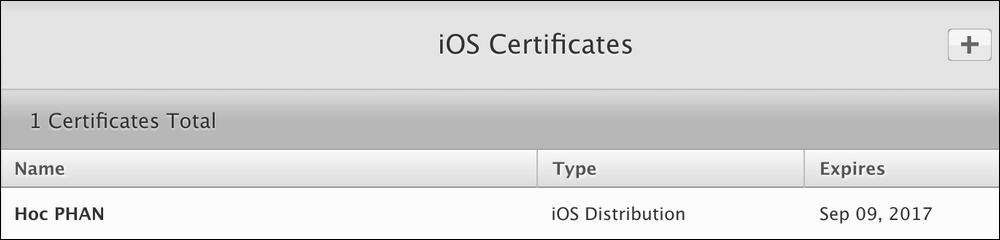
- Click on the plus button in the top right corner to start creating a certificate, as follows:
- You just have to go through the steps on the website to fill out the necessary information. In this example, you will select the Development version instead of Production, as illustrated:

- Click on the Continue button, as follows, to proceed:

- Click on the Choose File… button, as shown in the following screenshot, to upload your signing request file that you saved earlier:

- Click on the Continue button, as illustrated, to proceed:

- Click on the Download button to download your iOS Development certificate file:

- Click on the
.cerfile you downloaded, as shown, so that it can be imported to Keychain Access:
- Locate your certificate in Keychain Access because you need to export this to the
.p12file format. Ionic Cloud will need this file later in order to generate a push token and send push notifications to the app. Observe the following screenshot:
- Right click and select Export from the drop-down menu:

- Save your
Certificates.p12file, as illustrated, so that you can import it to Ionic Cloud later:
- As illustrated in the following screenshot, provide a password to protect this file:

- If you need to push the app to a specific device, you must register the device. Go to Devices > All:

- Click on the plus button:

- Provide the device UDID and save to register the device. Observe the following screenshot:

- You'll need a provisioning profile. Navigate to Provisioning Profiles > All:
- Click on the plus button:

- Select iOS App Development as your provisioning profile since this example is for the development version only:

- Click on the Continue button:

- Select the correct App ID in the drop-down menu and save to finalize your provisioning profile creation:

- Click on the Continue button:

- Select the iOS Development certificate you created earlier, as shown in the following screenshot:

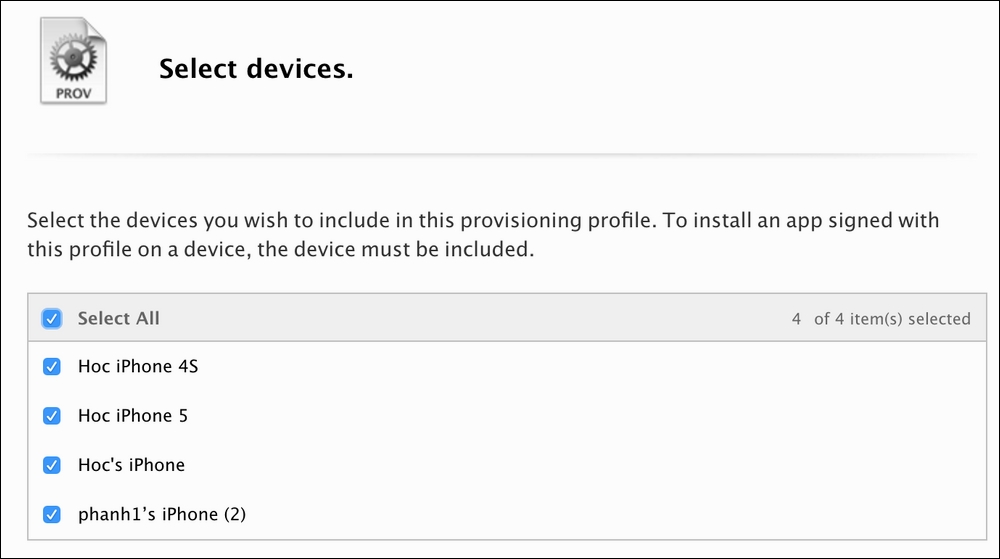
- As illustrated, select at least one device that you want to be able to install the app for testing:
- Provide a Profile Name to your provisioning profile, as shown:

- Click on the Download button to download the provisioning profile file (that is,
MyiOSPush_Provisioning_Profile.mobileprovision):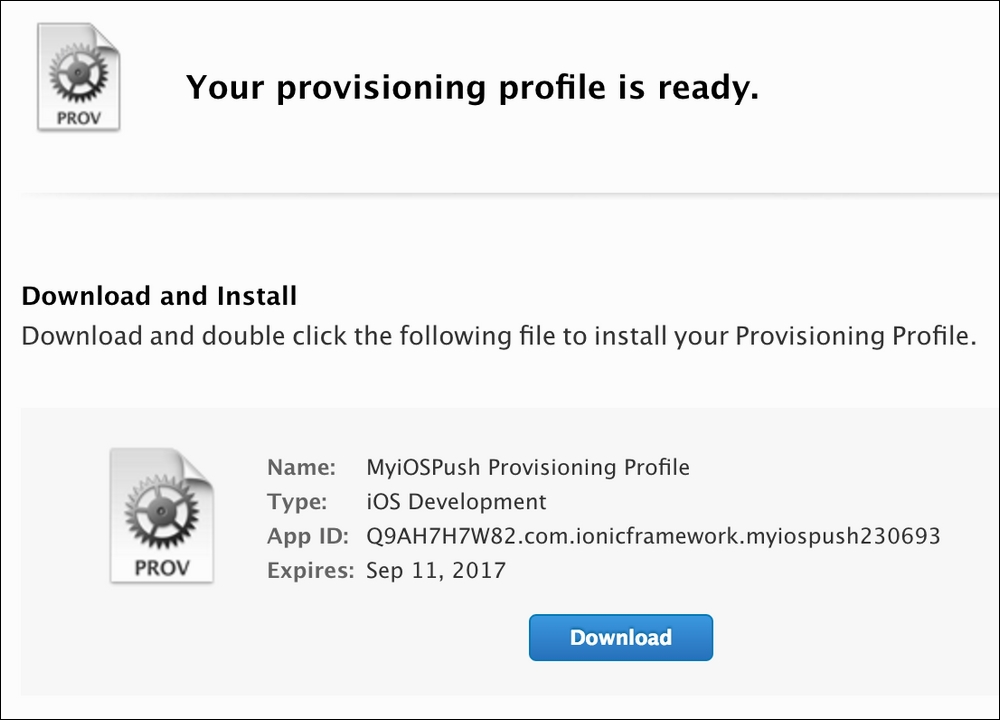
- Click on
MyiOSPush_Provisioning_Profile.mobileprovision, which you just downloaded, in order to import it into Xcode:
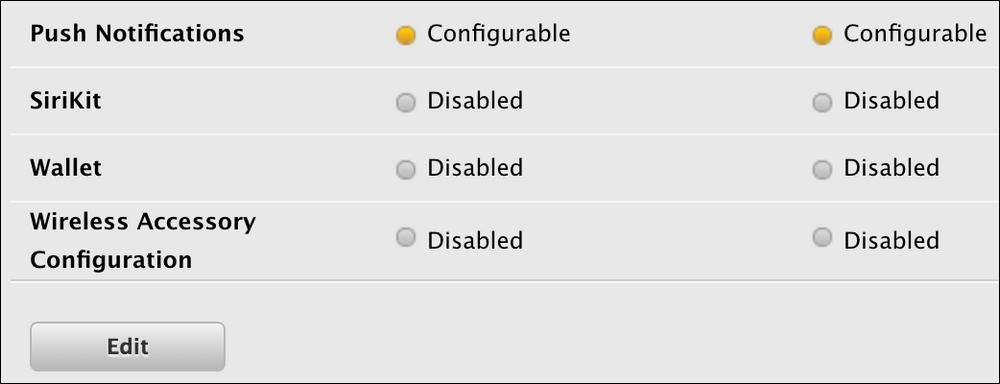
- To enable the Push Notification feature, you must request a Push Certificate, which is different from the app certificate. Select the App ID that you created earlier (that is,
MyiOSPush):
- Click on the Edit button at the bottom of the page:
- Click on the Create Certificates... button under the Push Notifications > Development SSL Certificate section:

- You will be taken to a new page to create your CSR file. Click on the Continue button:

- Click on the Choose File... button:

- Locate the
CertificateSigningRequest.certSigningRequestfile that you created earlier: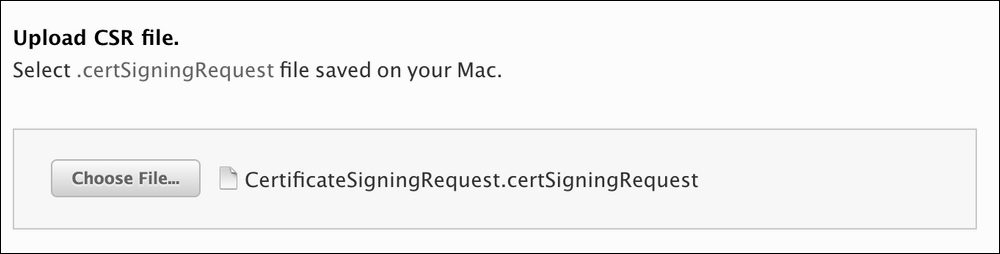
- Click on the Continue button:

- Click on the Download button to download the certificate file. You can name it
aps_certificate.certo avoid overwriting to the earlier.cerfile:
- Once your
.cerfile is downloaded, you need to click on it to import it to Keychain Access:
- Locate the new push services certificate in Keychain Access and select it, as illustrated in the following screenshot:

- Right click on the certificate and select Export:

- Give it a new name to avoid overwriting it to the app certificate. This process is, basically, converting a
.certo.p12file for Ionic Cloud:
- Provide a password for this
.p12file to protect it:
- Once you have completed the setup on the Apple Developer website, you need to upload the provisioning profile and two certificates (app and push) to Ionic Cloud. Navigate to https://apps.ionic.io and log in with your credentials.
- Select the app generated for this project (that is,
MyiOSPush):
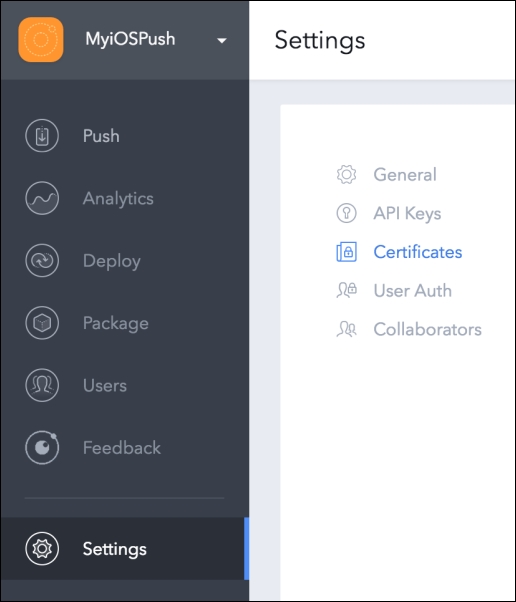
- Navigate to Settings > Certificates:
- Select New Security Profile:

- Provide a Profile Name and click on the Create button to save the profile:

- Select EDIT next to the
MyPushProfilethat you just created to edit the settings:
- You will need to upload three files: a provisioning profile, and app development certificate for the app itself, and an APN certificate for push notification. Let's start with the app requirements. Click on Choose File under Build Credentials and upload two files:
Certificates.p12(from Step 30) andMyiOSPush_Provisioning_Profile.mobileprovision(from Step 44). Ensure that you provide the same password that you used to protect the.p12file earlier:
- Click on Choose File under Push Notification Service and upload the
push_Certificates.p12file (from Step 58). Ensure that you provide the same password that protects this file: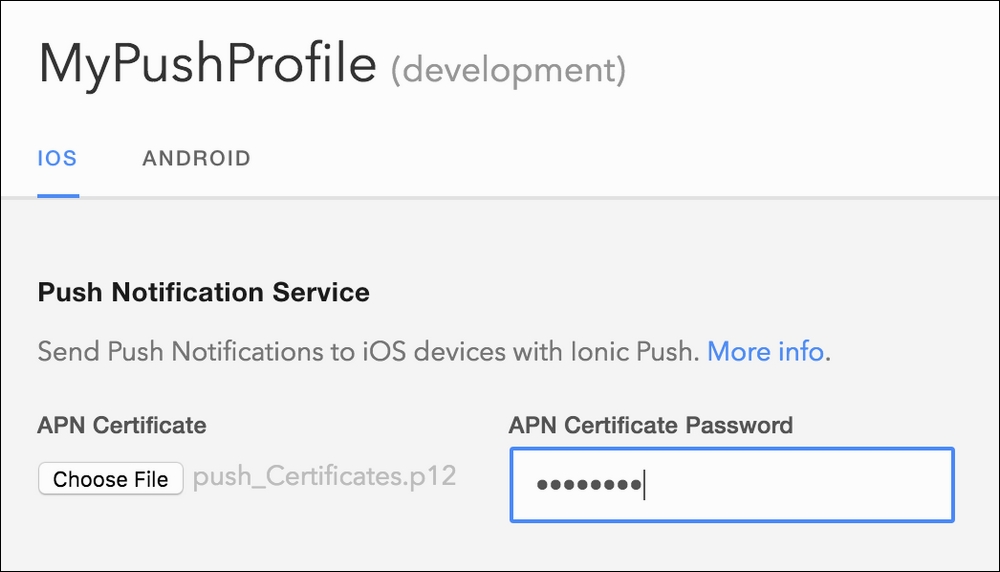
- Click on the Save button to save your security profile. This completes your Ionic Cloud setup for push notification.
- You need to modify your home page code in order to receive notification messages. Open and edit
./src/pages/home/home.htmland paste the given code:<ion-header> <ion-navbar> <ion-title> Push Notification </ion-title> </ion-navbar> </ion-header> <ion-content padding> <code class="center">{{ pushToken }}</code> <button ion-button block [disabled]="clicked" [hidden]="pushToken" (click)="registerPush()"> <span [hidden]="clicked">Register Push</span> <span [hidden]="!clicked">Registering...</span> </button> <h2 class="big-square" *ngIf="!pushToken"> You have no message </h2> <h3 class="sub-title" *ngIf="pushToken"> Your messages </h3> <ion-card *ngFor="let msg of messages"> <ion-card-header> {{ msg.title }} </ion-card-header> <ion-card-content> {{ msg.text }} </ion-card-content> </ion-card> </ion-content> - Replace the content of the
home.tsfile, in the same folder, with the following code:import { Component, ApplicationRef } from '@angular/core'; import { NavController } from 'ionic-angular'; import { Push, PushToken } from '@ionic/cloud-angular'; @Component({ templateUrl: 'home.html' }) export class HomePage { public push: any; public pushToken: string; public messages = []; public clicked: Boolean = false; constructor(public navCtrl: NavController, push: Push, private applicationRef: ApplicationRef) { this.push = push; } private processPush(msg, that) { console.log('Push notification message received'); console.log(msg); this.messages.push({ title: msg.title, text: msg.text }) this.applicationRef.tick(); } registerPush() { this.clicked = true; this.push.register().then((t: PushToken) => { return this.push.saveToken(t); }).then((t: PushToken) => { this.push.rx.notification().subscribe(msg => this.processPush(msg, this)); console.log('Token saved:', t.token); this.pushToken = t.token; }, (err) => { alert('Token error'); console.log(err); }); } } - Replace
home.scss, also in the/homefolder, with the given code:.home-page { .center { text-align: center; } h2.big-square { text-align: center; padding: 50px; color: #D91E18; background: #F9BF3B; } h3.sub-title { text-align: center; padding: 10px; color: #446CB3; background: #E4F1FE; } ion-card ion-card-header { padding: 10px 16px; background: #F9690E; color: white; } ion-card ion-card-header + ion-card-content, ion-card .item + ion-card-content { padding-top: 16px; } } - Connect your physical iPhone to the Mac via a USB connection.
- Ensure that you are in the app folder and build for the iOS platform, as follows:
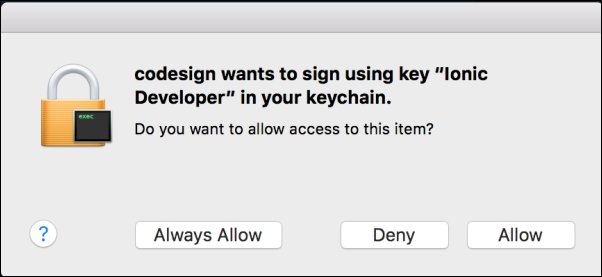
$ ionic run ios --device - The OS will prompt to allow codesign to sign using the iOS Developer certificate. You must accept this to allow access in order to build the app and upload it to your device:
- Verify that the app has been running successfully on the device. The initial screen should look as illustrated:

At this point, you have completed the push notification setup and coding. The next step is to verify that you receive notifications via the app. Here are the instructions:
- Click on the Register Push button in the mobile app to register for push notification to the Ionic Cloud provider server to acquire a token. Click on OK to accept permission to receive push notifications, as follows:
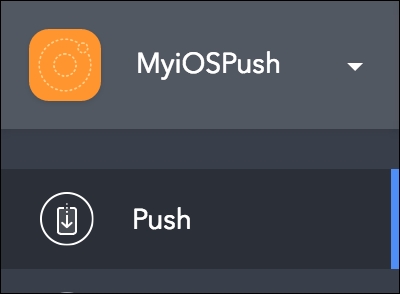
- Navigate to Ionic Cloud > your app (MyiOSPush) > Push:
- Click on the CREATE YOUR FIRST PUSH button:

- Fill in the push notification form to create your first push message:
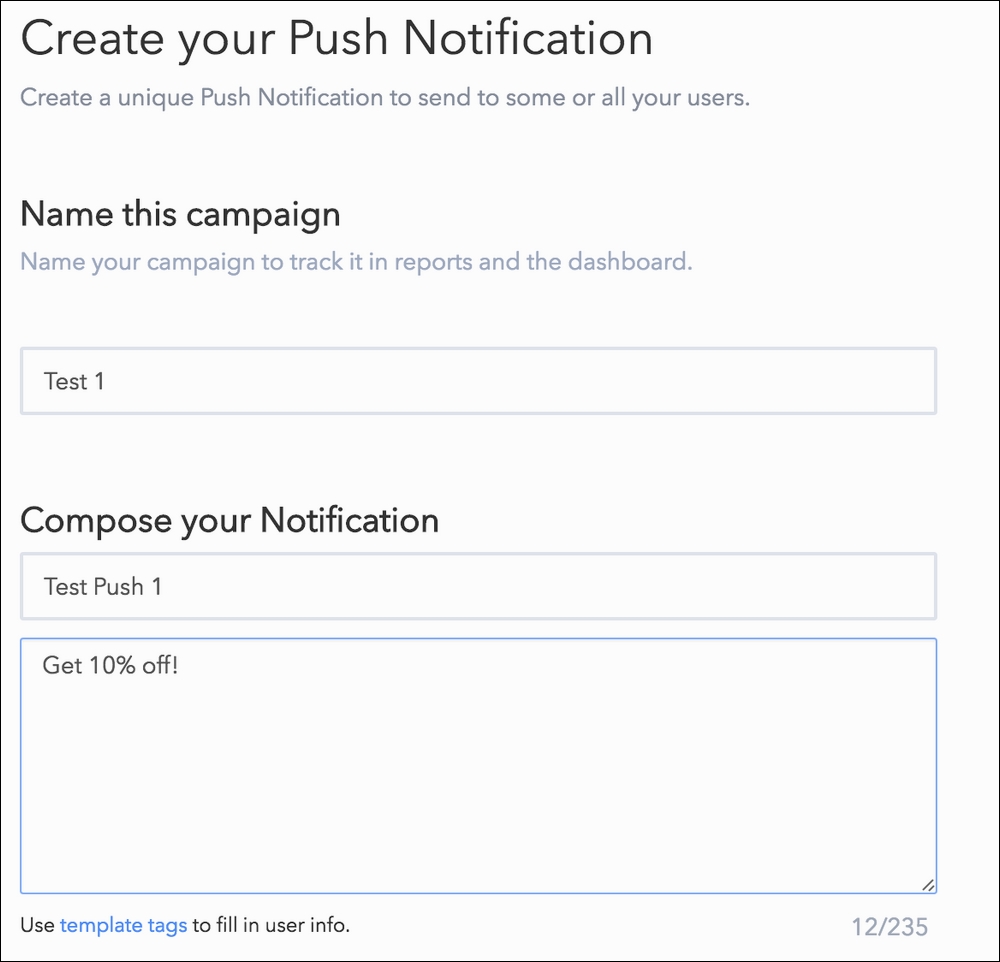
- Verify on the right screen to ensure that the push message is displayed as desired:

- Leave the segment as All users so that anyone can get the push:

- Select the security profile (that is,
mypushprofile) that you created earlier. Then, click on the Send this Push button: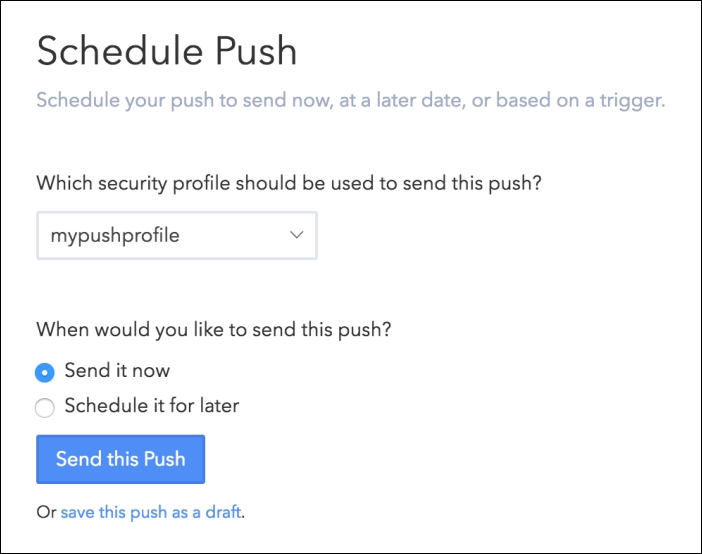
- Verify that the push notification has been sent successfully from Ionic Cloud. It should have the Sent status, as shown:

- In the app on your mobile device, verify that the push message has appeared as illustrated:

To understand how the entire process works, let's summarize what you have done, as shown in the following section:
- Created an Ionic project and initialized it to create an Ionic Cloud project:
- Your Ionic project on the local computer must sync with the Ionic Cloud project for push notifications and other management, such as user authentication
- Set up your Apple Developer account by doing the following things:
- Created an app ID
- Created app certificate (after creating a signing request locally via Keychain Access)
- Created a provisioning profile
- Created a push certificate
- Set up your Ionic Cloud account:
- Created a security profile.
- Imported three files from Apple Developer: an app certificate, a provisioning profile, and a push certificate. These files are needed so that Ionic Cloud can be a trusted provider to communicate with Apple's APN server to trigger push notifications.
- Wrote code in your app to receive notifications:
- You need to install the Ionic Cloud Angular library and the Cordova Push Notification plugin. The basic idea is to make the
pushobject available for the app to use. Thispushobject has been configured with your Ionic Cloud push provider.
- You need to install the Ionic Cloud Angular library and the Cordova Push Notification plugin. The basic idea is to make the
Now, let's focus on the coding portion itself to understand how this works.
You need to change how the app bootstraps in app.module.ts. This requires the importing of the provideCloud and CloudSettings providers, as shown:
import { provideCloud, CloudSettings } from '@ionic/cloud-angular';Besides setting the app_id to match with your project app_id in Ionic Cloud, you need to specify the push object with the parameters you want for both iOS and Android, as follows:
const cloudSettings: CloudSettings = {
  'core': {
    'app_id': '00f293c4'
  },
  'push': {
    'sender_id': 'SENDER_ID',
    'pluginConfig': {
      'ios': {
        'badge': true,
        'sound': true
      },
      'android': {
        'iconColor': '#343434'
      }
    }
  }
};
Then, inside NgModule, you need to insert the following line so that Ionic knows that it needs to initialize Ionic Cloud as well:
CloudModule.forRoot(cloudSettings)
In your home.html template, there is a button to trigger the registration of push notification by calling registerpush():
<code class="center">{{ pushToken }}</code>
<button ion-button block [disabled]="clicked" [hidden]="pushToken" (click)="registerPush()">
  <span [hidden]="clicked">Register Push</span>
  <span [hidden]="!clicked">Registering...</span>
</button>
This registration process must be intervened manually by the user because the user will have to accept permission in the next step. It's not recommended to require the users to accept a push notification request when they open the app right away. The main reason is because they are not familiar with your app and don't know what to expect (that is, whether they will get bombarded with notifications later on).
The messages will be displayed via the messages object, as shown in the following code:
<ion-card *ngFor="let msg of messages">
  <ion-card-header>
    {{ msg.title }}
  </ion-card-header>
  <ion-card-content>
    {{ msg.text }}
  </ion-card-content>
</ion-card>
Here, each message item has the title and text fields.
In home.ts, there are two critical imports that you must be aware of: Push and PushToken are required to register and receive push notifications. ApplicationRef will be discussed later as you need to trigger re-render the Angular template manually, as illustrated:
import { Component, ApplicationRef } from '@angular/core';
import { NavController } from 'ionic-angular';
import { Push, PushToken } from '@ionic/cloud-angular';
The registerPush() method is the key to acquire the PushToken from Ionic Cloud, as shown:
registerPush() {
  this.clicked = true;

  this.push.register().then((t: PushToken) => {
    return this.push.saveToken(t);
  }).then((t: PushToken) => {

    this.push.rx.notification().subscribe(msg => this.processPush(msg, this));

    console.log('Token saved:', t.token);
    this.pushToken = t.token;
  }, (err) => {
    alert('Token error');
    console.log(err);
  });
}
All you need to call is the this.push.register() function. This will return a PushToken object as you can see in the following screenshot of the console log:

To receive notifications, you need to subscribe by using the following code:
this.push.rx.notification().subscribe()
This will call processPush() each time there is a new notification message, as follows:
private processPush(msg, that) {
  console.log('Push notification message received');
  console.log(msg);
  this.messages.push({
    title: msg.title,
    text: msg.text
  })
  this.applicationRef.tick();
}
When the user receives a push message, this function will append to the messages array. If you don't call this.applicationRef.tick(), the UI will not get updated since this process is outside Angular cycle. If you look into the console log, the PushMessage looks as follows, with the text and title fields:

If the user doesn't open the app, you will see that the notification appears in the notification area.
Ionic has its own iOS setup instructions pages, as follows:
The Cordova Push Notification plugin is available directly at https://github.com/phonegap/phonegap-plugin-push.
For more information about the Apple Push Notification service, you can visit the official documentation at https://developer.apple.com/library/ios/documentation/NetworkingInternet/Conceptual/RemoteNotificationsPG/Chapters/ApplePushService.html.