
Publishing on App Store could be a frustrating process if you are not well prepared upfront. In this section, you will walk through the steps to properly configure everything in Apple Developer Center, iTunes Connect and local Xcode project.
You must register for Apple Developer Program in order to access https://developer.apple.com/macos/touch-bar/ and https://itunesconnect.apple.com, because those websites will require an approved account.
In addition, the following instructions a the specific version of these components:
- Mac OS X El Capitan 10.11.2
- Xcode 7.2
- Ionic CLI 2.0
- Cordova 5.4.1
Here are the instructions:
- Ensure that you are in the app folder and build for the iOS platform:
$ ionic build iosGo to the
/platforms/iosfolder to open the.xcodeprojfile in Xcode. Observe the following screenshot: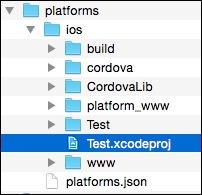
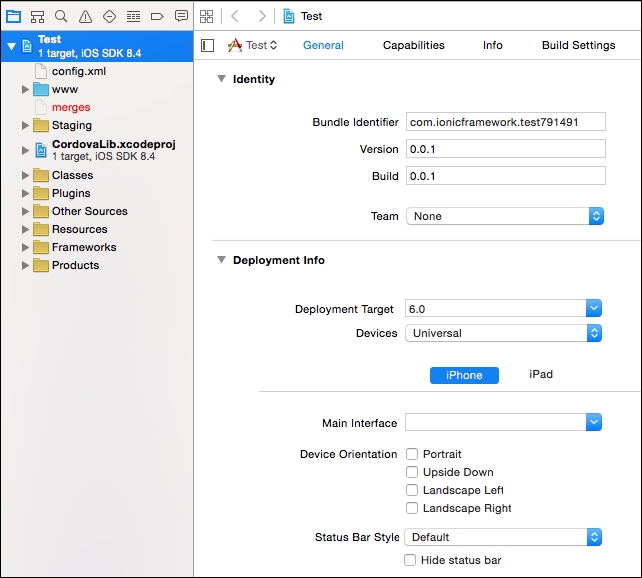
- Go through the General tab, as illustrated in the following screenshot, to make sure that you have the correct information for everything, especially Bundle Identifier and Version. Change and save as needed:
- Visit the Apple Developer website and click on Certificates, Identifiers & Profiles, as illustrated:

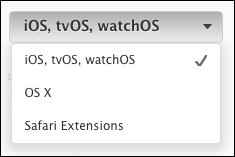
- Select the correct device platform you are targeting. In this case, it will be iOS, tvOS, watchOS as shown:
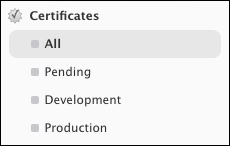
- For the iOS app, you need the certificate, app ID, test device, and provisioning profile. To start with the certificate, navigate to Certificates | All, as follows:
- Click on the (+) plus button, as shown in the following screenshot:

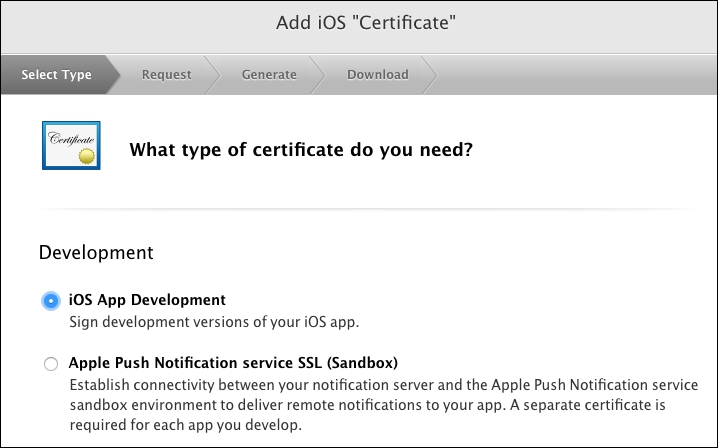
- You just have to go through the steps in the website to fill out the necessary information, as depicted in the following screenshot:
- Once you've completed the form, you can save the CSR file and import it to your Mac's Keychain Access.
- Navigate to Identifiers | App IDs, as follows, to create an app ID:

- Click on the plus (+) button at the top right of the screen, as follows:

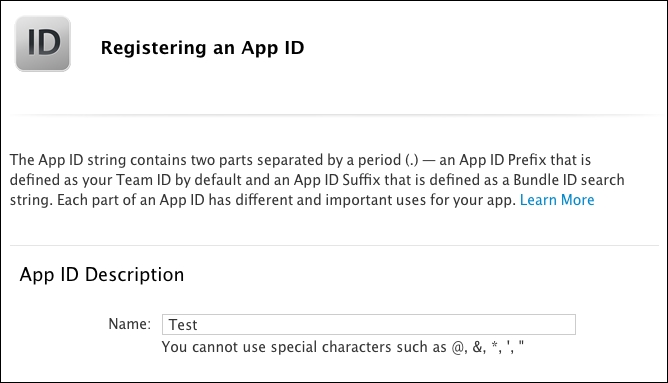
- Fill in the form to register your App ID, as shown:
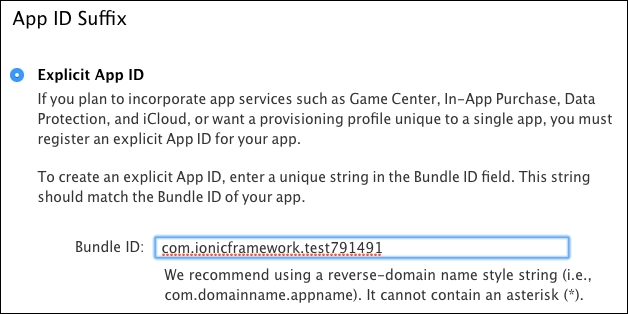
- The important part here that you need to do correctly is the Bundle ID, as shown in the following screenshot, because it must match your Bundle Identifier in Xcode:
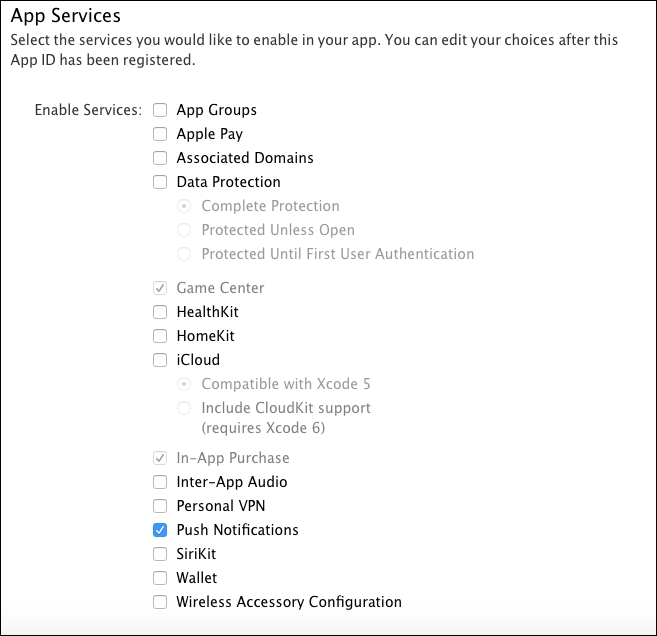
- If your app needs Push Notifications or other App Services, you need to check those services on the page:
- If you need to push the app to a specific device, you must register the device. Navigate to Devices | All, as illustrated:

- Click on the plus (+) button, as shown:

- Provide the device UDID, as follows, and save it in order to register the device:

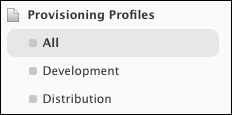
- Finally, you need a provisioning profile if one doesn't exist yet. Usually, Xcode will create one automatically. However, you could create your own by navigating to Provisioning Profiles | All, as shown:
- Click on the plus (+) button, as follows:

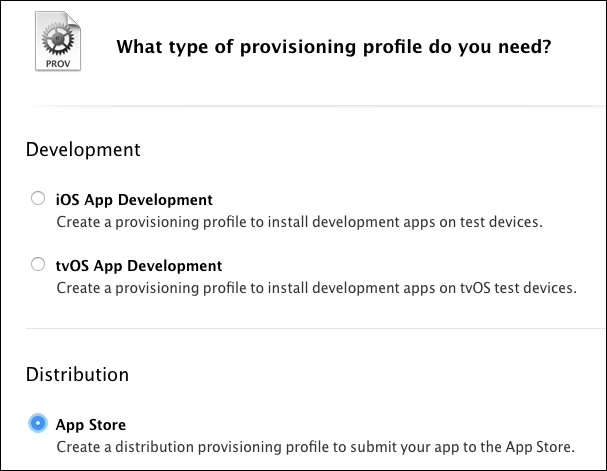
- Select App Store as your provisioning profile, as illustrated:
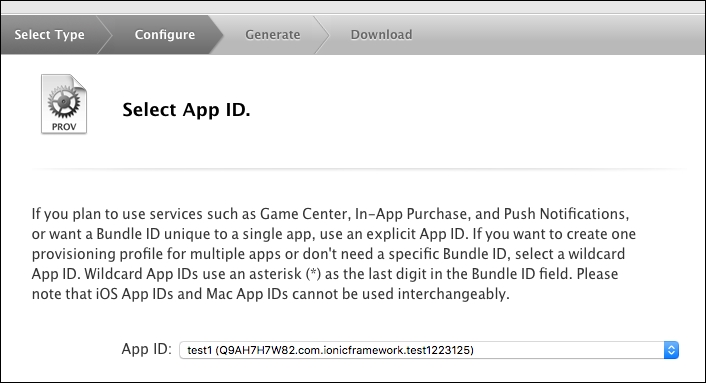
- Select the correct App ID in the drop-down menu and save to finalize your provisioning profile creation, as follows:
- Visit iTunes Connect at https://itunesconnect.apple.com and click on the My Apps button, shown as follows:
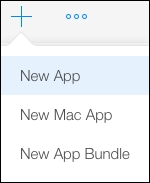
- Select the plus (+) icon to select New App, as shown:
- Fill out the form and ensure that you select the right Bundle Identifier of your app:
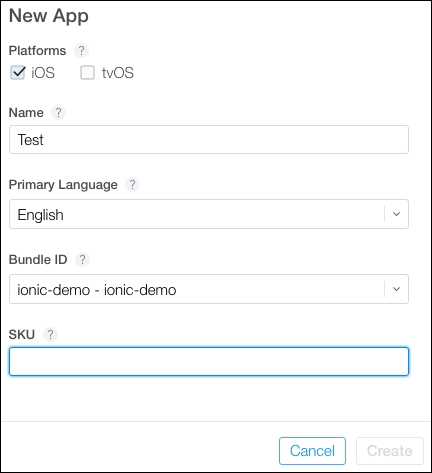
There are several additional steps to provide information about the app, such as screenshot, icon, and address. If you just want to test the app, you could provide some place holder information initially and come back to edit later.
That's it to prepare your Developer and iTunes Connect account.
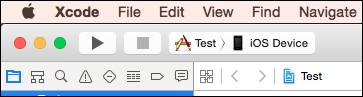
- Now, open Xcode and select iOS Device as the archive target. Otherwise, the Archive feature will not turn on. You will need to archive your app before you can submit to the App Store:
- Navigate to Product | Archive in the top menu, as illustrated:
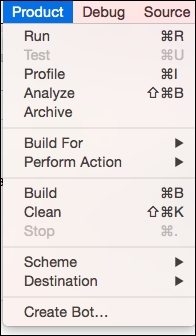
- After the archive process is completed, select Submit to App Store to finish the publishing process.
- To publish, select Submit for Beta App Review. You may want to go through other tabs, such as Pricing and In-App Purchases, to configure your own requirements.
Obviously, this section does not cover every bit of detail in the publishing process. In general, you just need to ensure that your app is tested thoroughly, locally, on a physical device (either via USB or TestFlight) before submitting it to the App Store.
If for some reason the Archive feature doesn't build, you could manually go to your local Xcode folder to delete that specific temporary archived app to clear cache, as shown:
~/Library/Developer/Xcode/Archives
TestFlight is a separate subject by itself. The benefit of TestFlight is that you don't need your app to be approved by Apple in order to install the app on a physical device for testing and development. You can find out more information about TestFlight at https://developer.apple.com/library/content/documentation/LanguagesUtilities/Conceptual/iTunesConnect_Guide/Chapters/BetaTestingTheApp.html.