
Building and publishing an Android app is a little more straightforward than iOS because you just interface with the command line to build the .apk file and upload it to Google Play's Developer Console.
The Ionic Framework documentation also has a great instruction page for this, which is http://ionicframework.com/docs/guide/publishing.html.
The requirement is to have your Google Developer account ready and to log in to https://play.google.com/apps/publish.
Your local environment should also have the right SDK as well as keytool, jarsigner, and zipalign command line for that specific version.
Here are the instructions:
- Go to your app folder and build for Android with the following command:
$ ionic package build --release android - You will see the
android-release-unsigned.apkin the/platforms/android/build/outputs/apkfolder. Go to that folder in the terminal: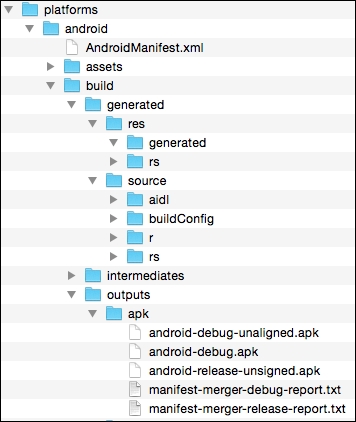
- If this is the first time you created this app, you must have a
keystorefile. This file is used to identify your app for publishing. If you lose it, you cannot update your app later on. To create akeystore, type the following command line and ensure that it's the samekeytoolversion of the SDK:$ keytool -genkey -v -keystore my-release-key.keystore -alias alias_name -keyalg RSA -keysize 2048 -validity 10000 - Once you fill out the information in the command line, make a copy of this file somewhere safe because you will need it later.
- The next step is to use that file to sign your app so that it will create a new
.apkthat Google Play allows users to install:$ jarsigner -verbose -sigalg SHA1withRSA -digestalg SHA1 -keystore my-release-key.keystore HelloWorld-release-unsigned.apk alias_name - To prepare for the final
.apkbefore upload, you must package it usingzipalign, as follows:$ zipalign -v 4 HelloWorld-release-unsigned.apk HelloWorld.apk
You need to ensure that zipalign is in PATH or you have to specify the absolute path. The app name could be anything you like or you can use the same name as created in this chapter:
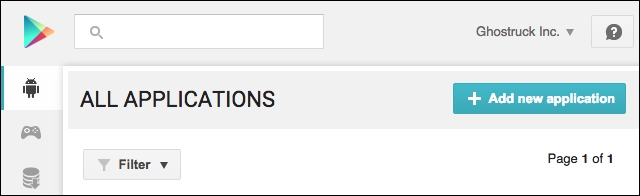
- Log in to Google Developer Console and click on Add new application, as shown:
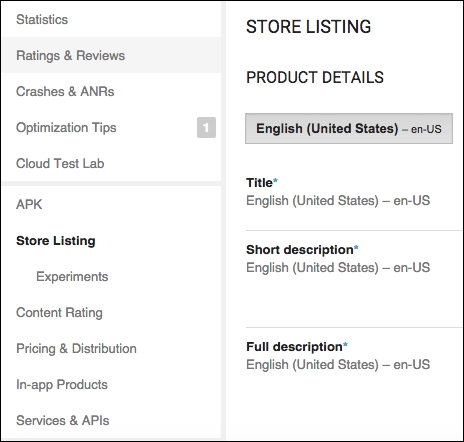
- Fill out content rating and other information as possible for your app using the left menu:
- Now you are ready to upload your
.apkfile. First is to do a Beta: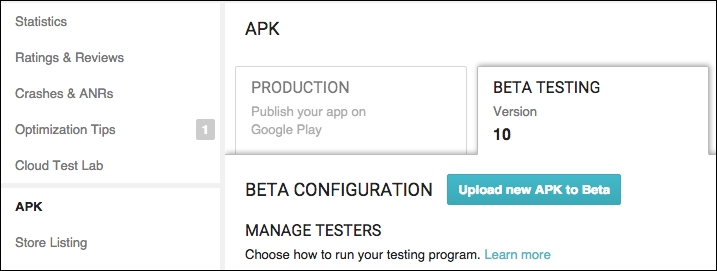
- Once you are done with Beta testing, you can follow Developer Console instructions to push the app to production.
This section does not cover other Android marketplaces, such as Amazon app store, because each of them has different processes. However, the common idea is that you need to completely build the unsigned version of the .apk, sign it using an existing or new keystore file, and, finally, zipa
lign to prepare it for upload.