
GitHub has been a tour de force for so many years. There are developers that swear by it. In fact, it is the default option when using Apple's Xcode IDE. For whatever reason you decide to use GitHub, rest assured that you and your code are in good hands.
The following recipe will assume that you have already signed up for GitHub and that you have enabled Two-factor authentication. If you have not signed up for a GitHub account, you can do so by going to www.github.com and creating a new account. To enable Two-factor authentication on your GitHub account (something I personally strongly advise), do the following:
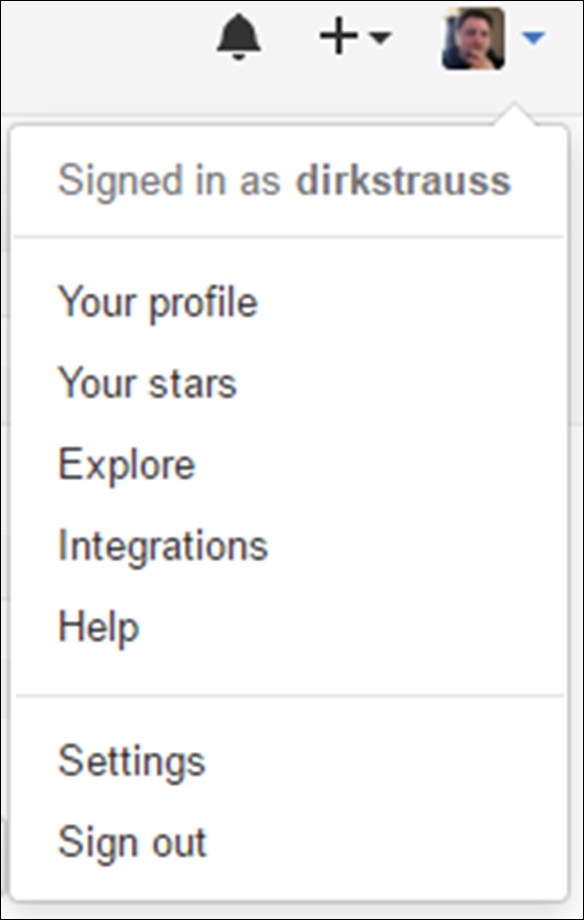
- Click on the down arrow next to your profile image, and select Settings:
- From the Personal settings menu that appears on the left of the next web page, select Security:

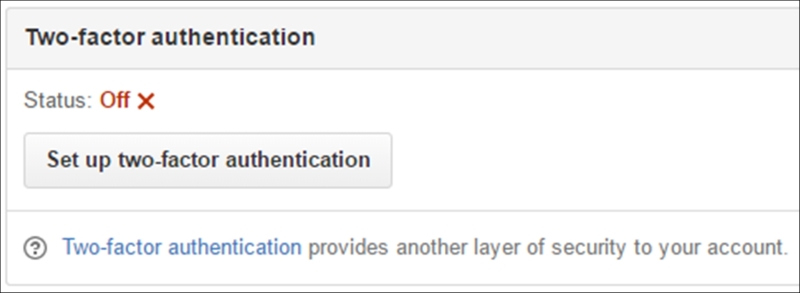
- The first section on the security page will be your Two-factor authentication status. To get started with setting it up, click on the Set up two-factor authentication button:
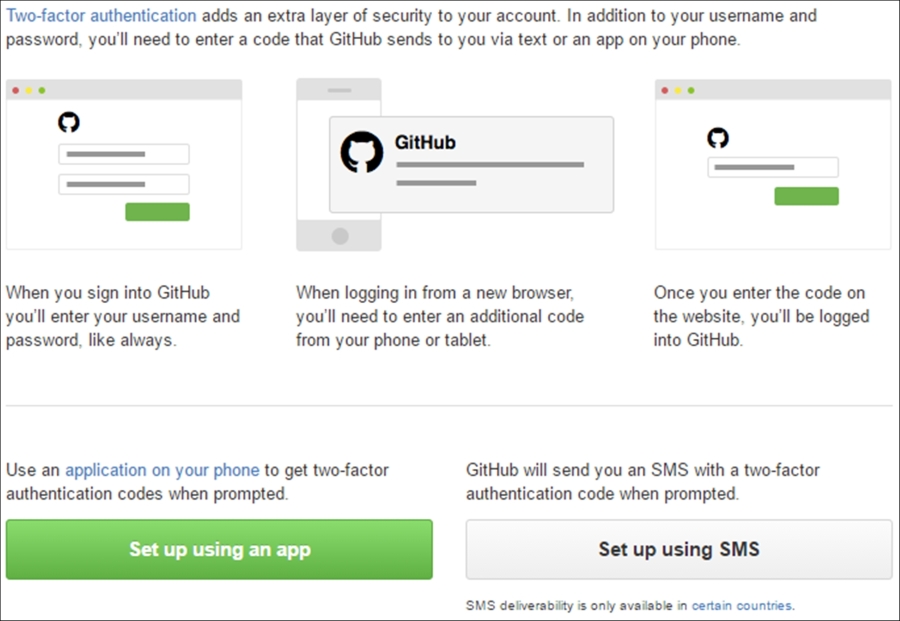
- You will then be presented with a brief overview of what Two-factor authentication is and you will be given the choice of Set up using an app (which I recommend) or Set up using SMS. Using an app is by far the easiest, and if you have a smartphone or tablet you can download an authenticator application from the applicable app store. From there on, follow the prompts that GitHub gives you to complete the Two-factor authentication setup:
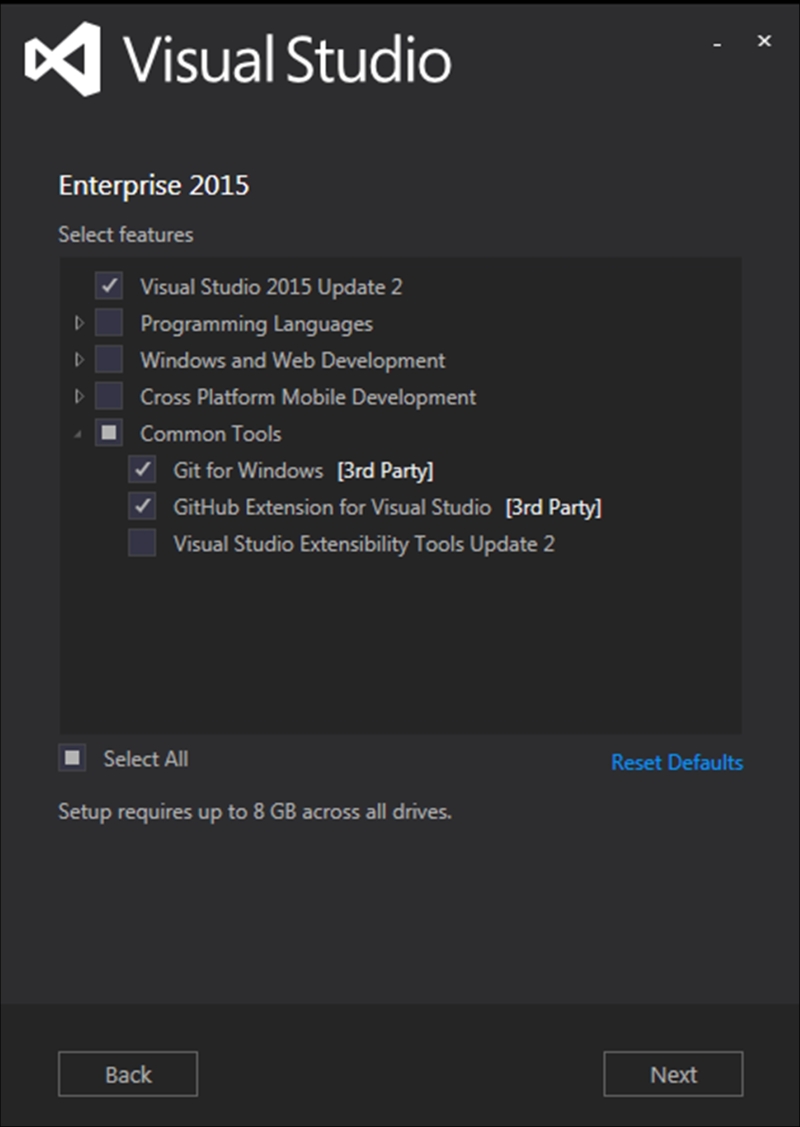
- If you are installing Visual Studio 2015 for the first time, have a look at the Custom installation option. Under Common Tools, when expanded you will see the option to add GitHub to your Visual Studio installation. After you have selected that and other options to install, click Next and finish the installation window wizard. Visual Studio 2015 will now begin to install. You can now take a break, and go have a cup of coffee because the installation can take a while, depending on the hardware of your machine and speed of your Internet connection:
- If you have already installed Visual Studio 2015 without adding the GitHub extension, you can easily just download it from the following link and install it: https://visualstudio.github.com/downloads/GitHub.VisualStudio.vsix.
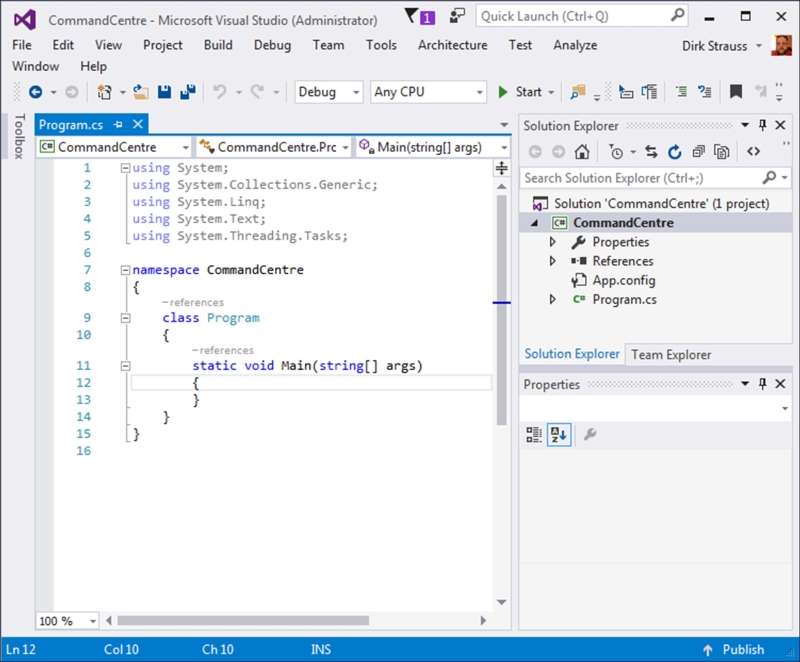
- Assuming that you have an existing application you want to add to GitHub, the process of adding it to a new repository is quite simple. I have simply created a console application with nothing but the template code, but you can add any project type and size to GitHub:
- On the View menu in Visual Studio 2015, select the Team Explorer option:

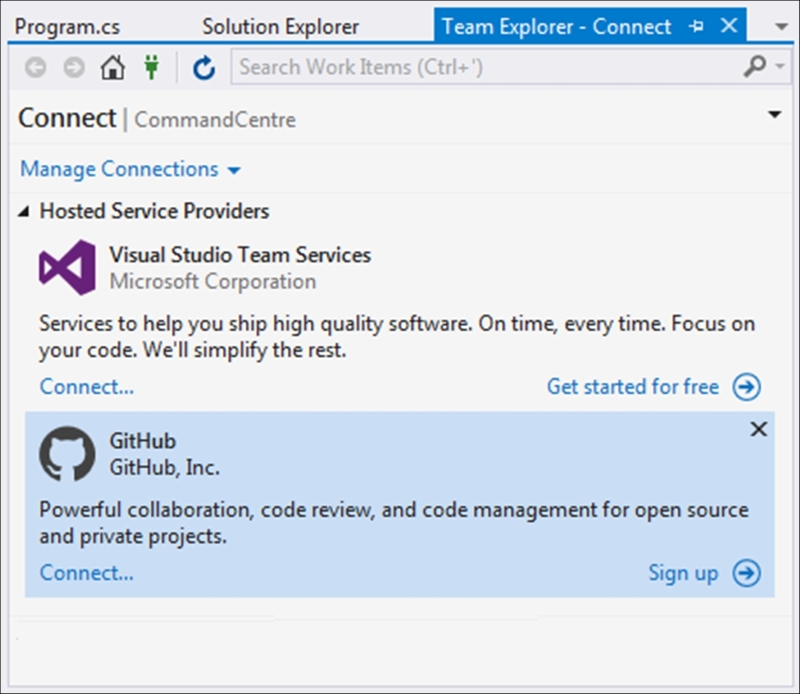
- You will be presented with two options under the Hosted Service Providers section. For now, we will select GitHub and, seeing as we already have an account, we will click on Connect…
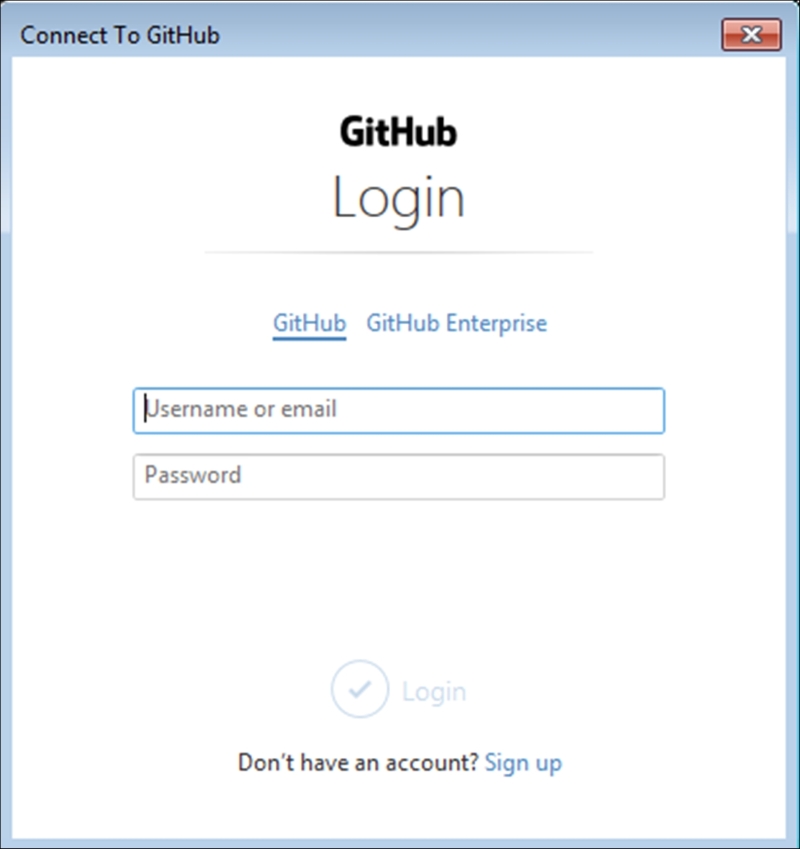
- You will now be presented with the GitHub login page. You are also offered the chance to sign up from here if you do not have an existing GitHub account:
- Because I have Two-factor authentication set up on my GitHub account, I am prompted to use my authenticator application to enter the generated authentication code and authenticate myself:

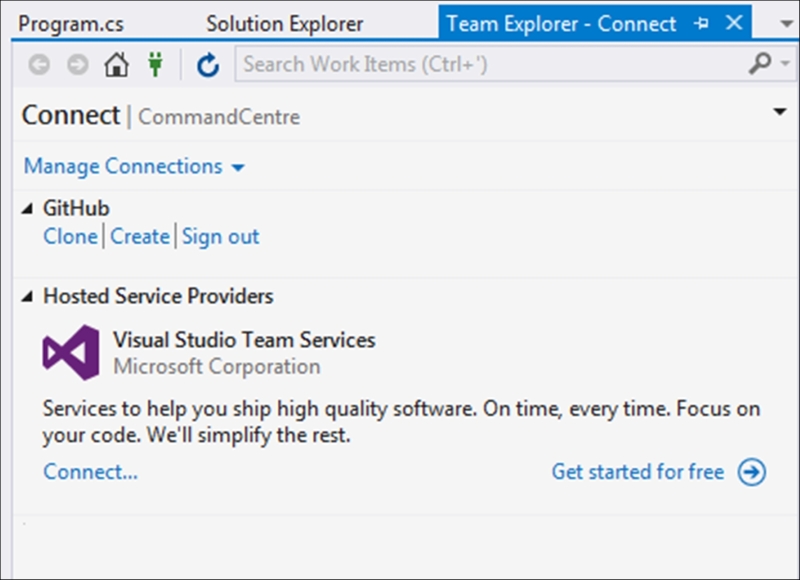
- After you have been authenticated, you will return to the Manage Connections screen:
- Next, you will want to click on the Home icon, which is a picture of a little house at the top of the Team Explorer window. From the Home screen, click on the Sync button:
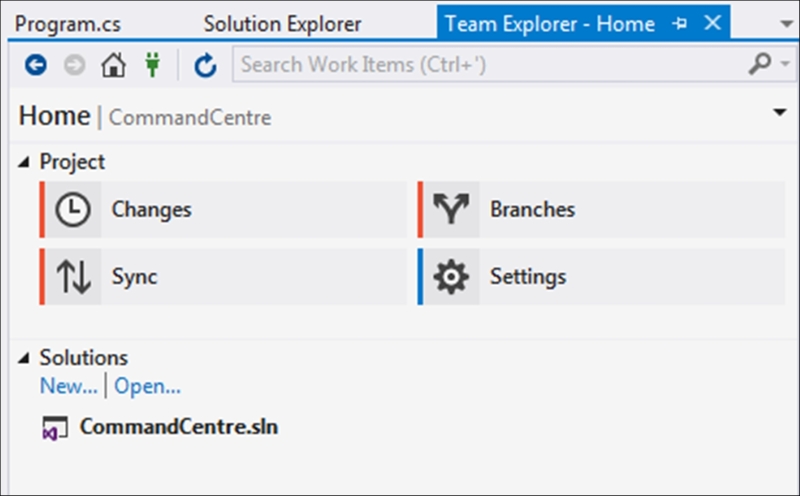
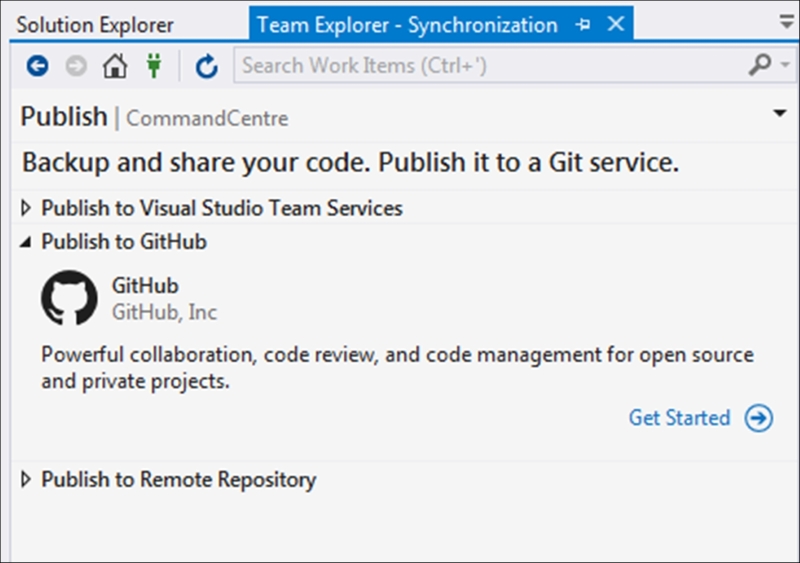
- This will display the Publish window to you. Under GitHub, click on the Get Started link. This is going to publish your project to a new repository on GitHub.
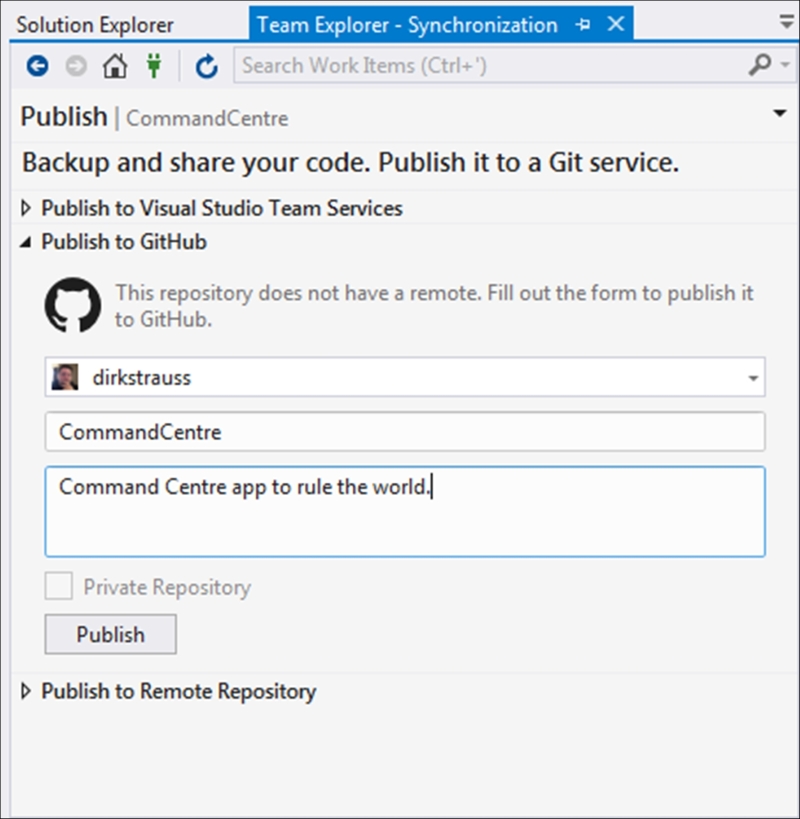
- GitHub will then prompt you to add in the details for this publish. Because you connected to GitHub earlier, your username will already be selected in the drop-down menu. When you are ready, click Publish:
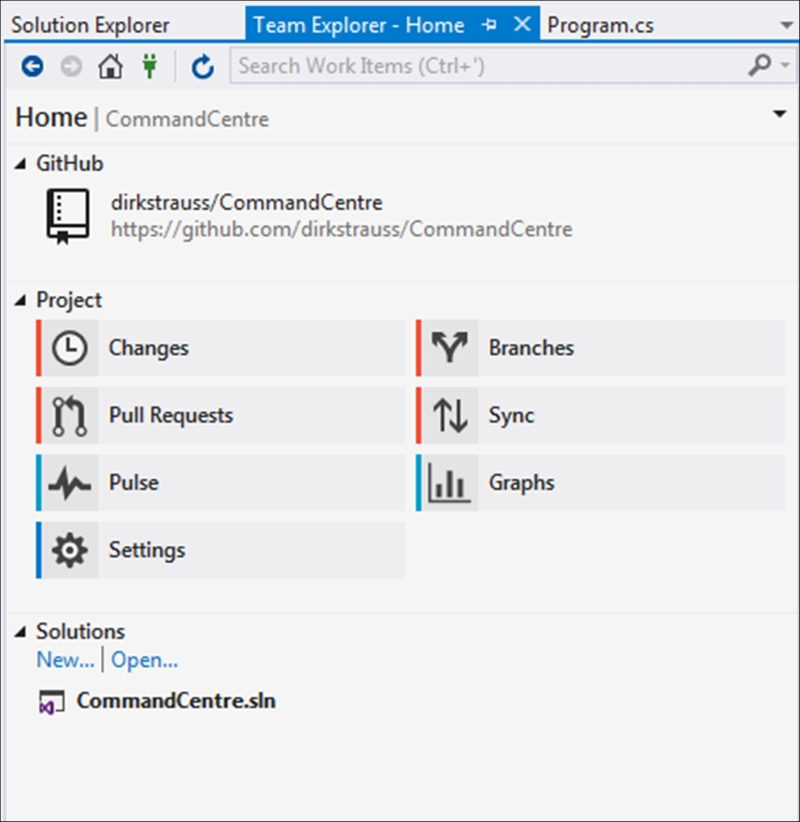
- When the project has been published to GitHub, you will automatically be returned to the Home screen:
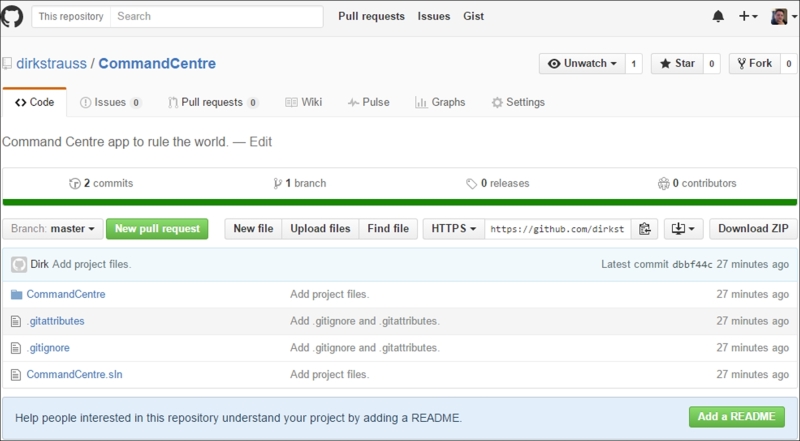
- Looking at your GitHub account online, you will see that the project has been added:
- Next, let us go and make some changes to the
CommandCentreapplication. Just go ahead and add a new class to your project. I called mineDominion.cs, but you can call yours whatever you like: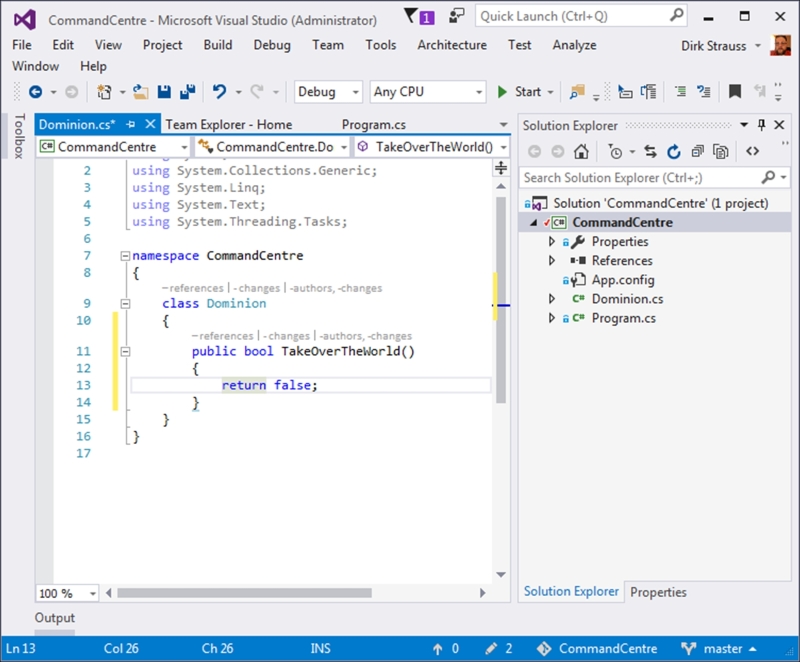
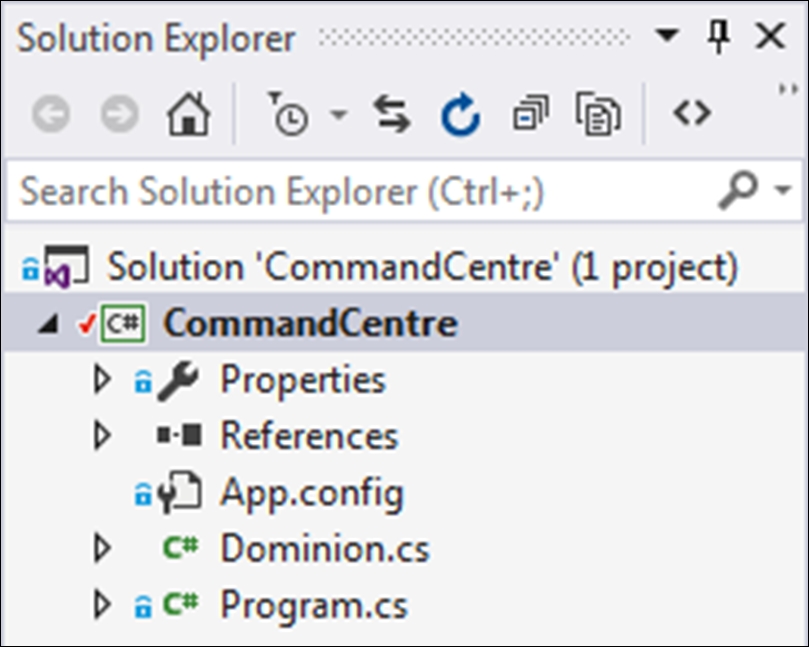
- You will notice that as soon as a change is made to your project, that the solution will mark the changed items with a red tick:
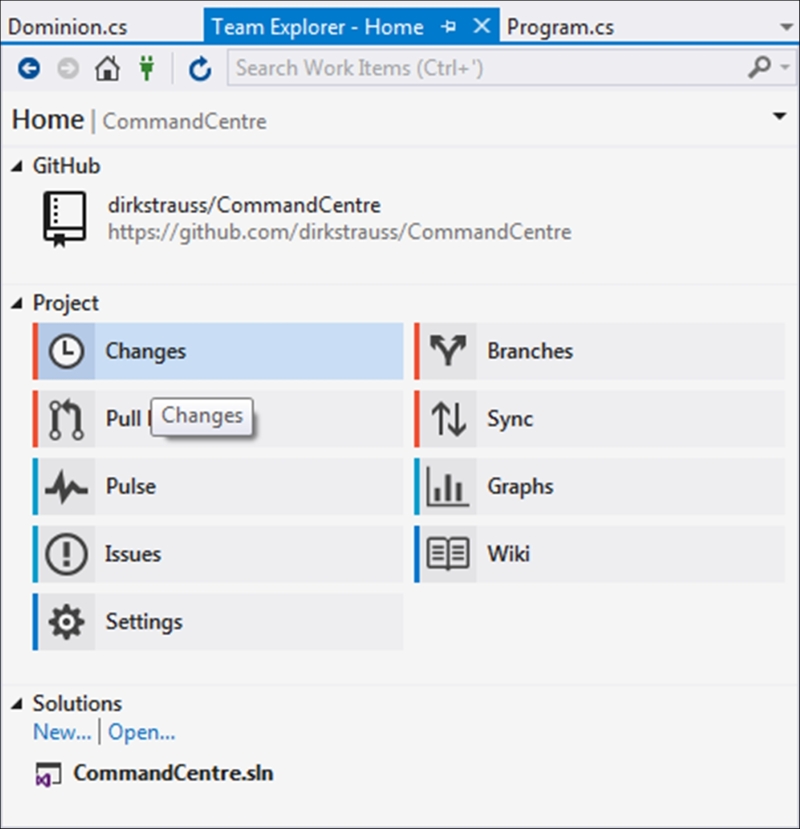
- To add the changes to your GitHub repository, you can follow two routes. The first option is to go to the Team Explorer - Home window and click on the Changes button:
- The second (and in my opinion more convenient) option, is to right-click the solution in Solution Explorer and click on the Commit... menu item from the context menu:

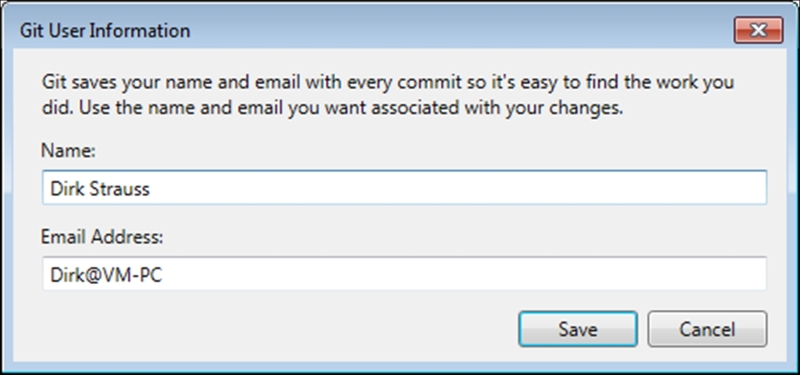
- GitHub might ask you for your user information the first time you perform a commit:
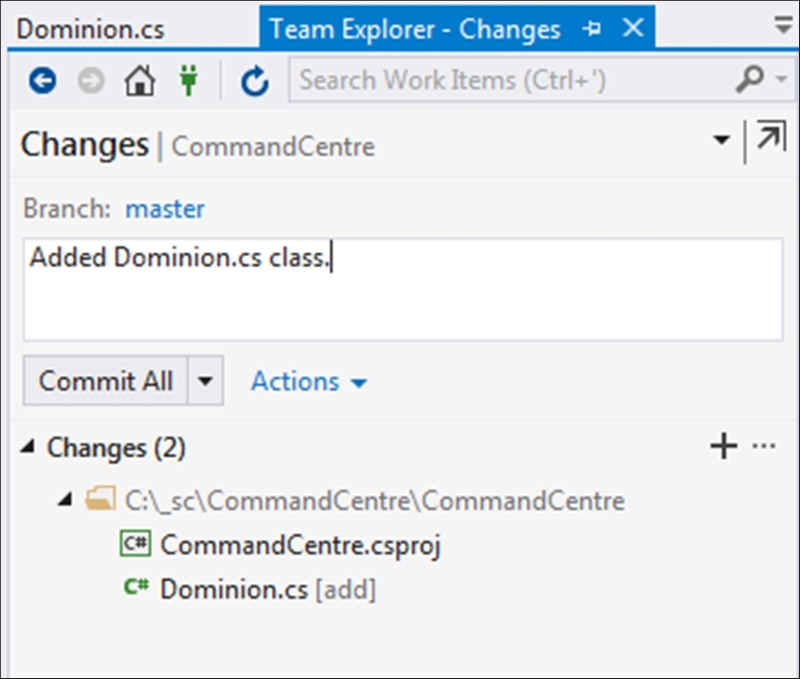
- Before you are allowed to commit your changes, you must fill in the required commit message. In a real team project, be as descriptive as possible in your commit message. Consider using task item code (or backlog codes) to uniquely identify the code being added. This will save your (or another developer's) bacon sometime in the future, I guarantee it:
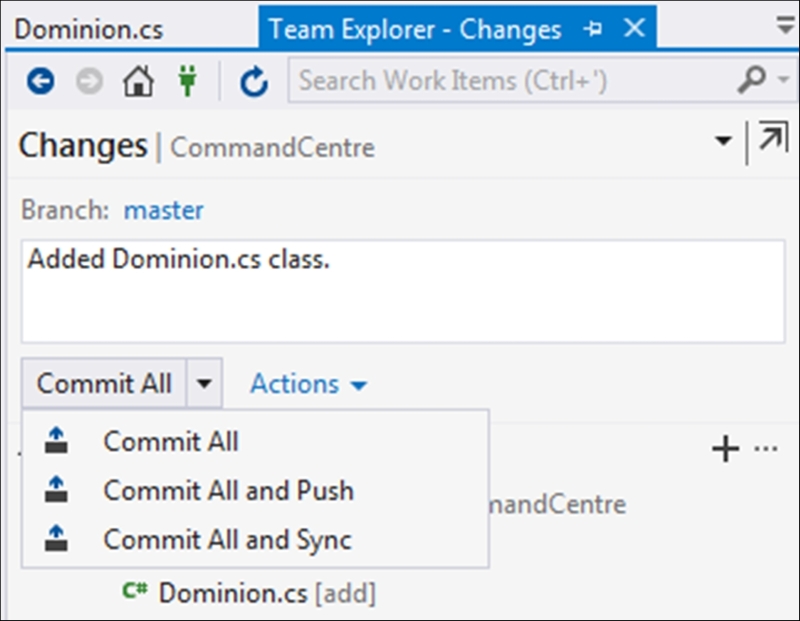
- One important thing to note is that you have three commit options available to you if you click on the down arrow next to the Commit All button. The Commit All button will just record the changes you make on your local machine. In other words, the change will not be reflected in the remote repository. The Commit All and Push button will record the changes on your local machine and push those changes to your remote GitHub repository. The Commit All and Sync button will record the changes on your local machine, then it will pull any changes from the remote repository, and finally it will do the push. You will want to do this if you are working in a team. For this recipe, however, I will just do a Commit All and Push, seeing as I am the only developer working on this repo:
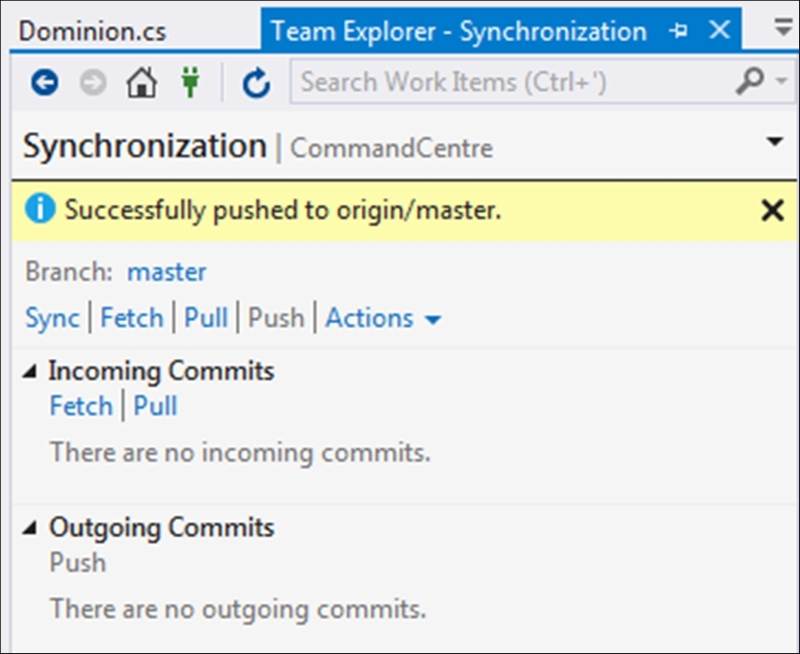
- When the commit has completed, the Team Explorer window will notify you of the successful commit:
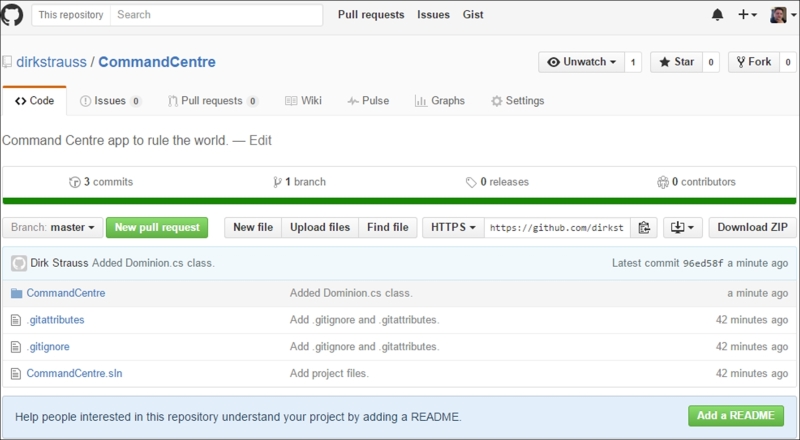
- Heading over to GitHub online, you will see the newly pushed changes reflected in your GitHub repository, along with the commit message:
- GitHub is a fantastic source control solution for any developer. Consider creating an open source project. It is more beneficial than you might imagine.
The free GitHub account allows you to create public repositories. This means that anyone is able to search for, view, and clone your project from GitHub to their own desktop. This is the central idea behind GitHub. This is obviously a key factor for indie developers and corporates that don't want to spend money. Corporates can afford it more though than an indie developer, but I think that some companies prefer to roll their own than use a service provider hosted in the cloud somewhere. This means that they prefer to keep the source control under their control by setting up a source control system on their own corporate servers. Having GitHub as an option for indie developers is an awesome solution. For those that require private repos, the fee isn't a stumbling block either.