
Creating a database in Azure is really a straightforward process. A lot of work has gone into making the process really streamlined with an all-too-familiar wizard-type interface.
To start working with Azure, you will need to have an Azure account. You can create a free trial account. For more information on Azure pricing, have a look at the following URL: https://azure.microsoft.com/en-us/pricing/.
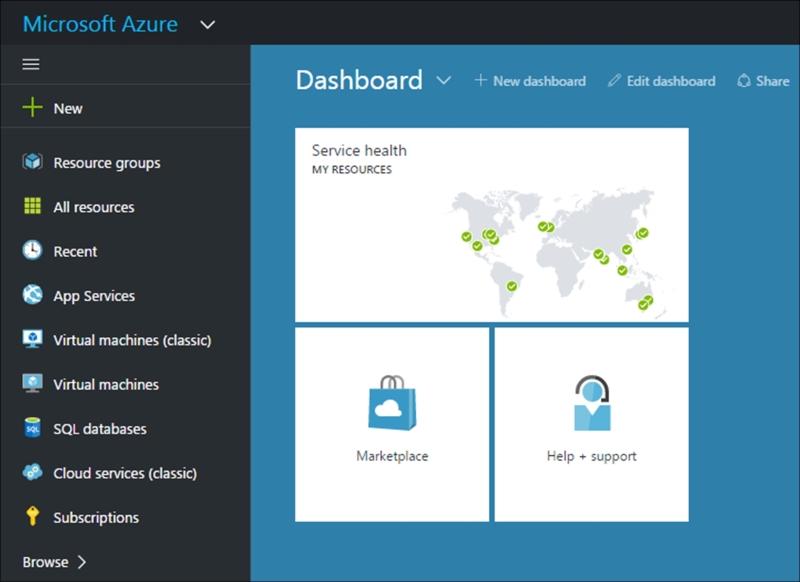
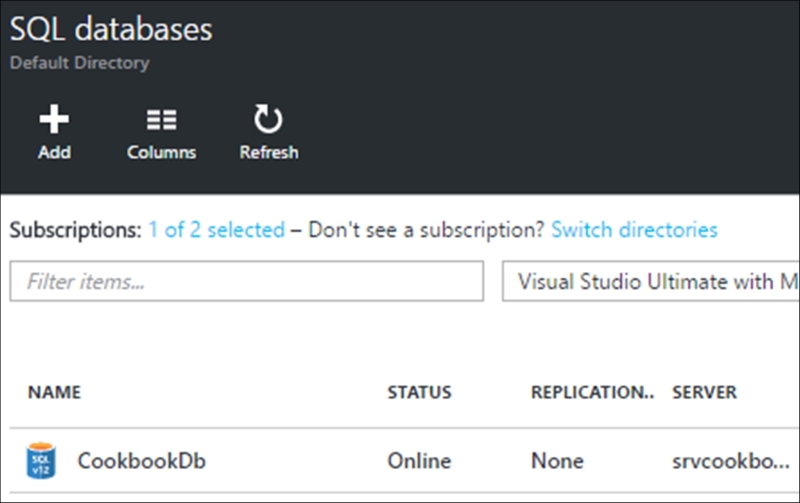
- After you have logged in to your Azure account, you will be taken to your Dashboard. From here you can see any items you may have pinned. To the left, you will see the menu. We just want to create a SQL database, so click on the SQL databases menu item:
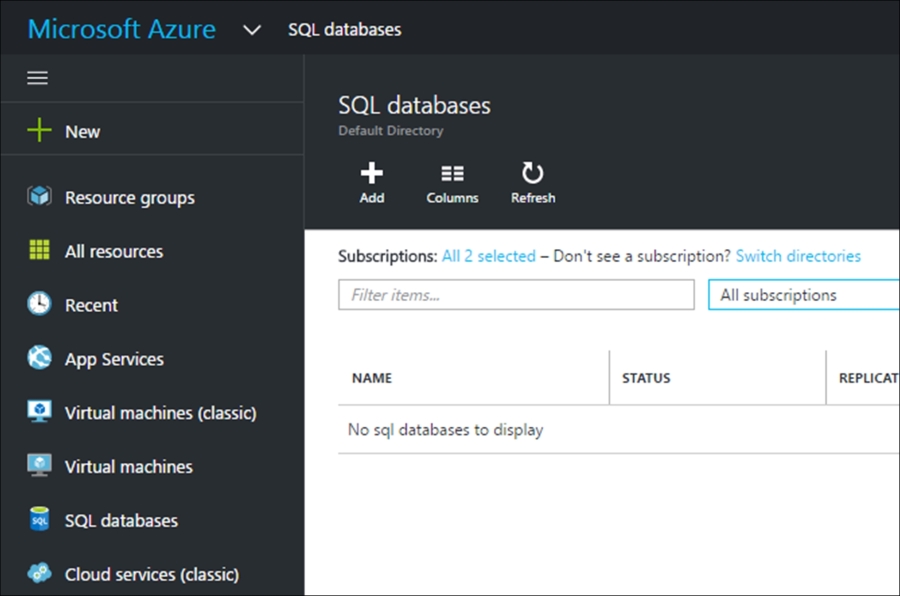
- If this is the first time you are using Azure, you will not have any databases available in the Default Directory. Click on Add to create a new database:
- You will now be presented with a form that you can use to specify the database details. As you can see, you will probably not have a server selected. This is because you probably don't have one yet. Click on Server Configure required setting:

- You will be given the option to create a new server. This is where you will also create the Server admin login:

- When you have created your server, you will be taken back to the database setup screen. The server you created is now selected for you:

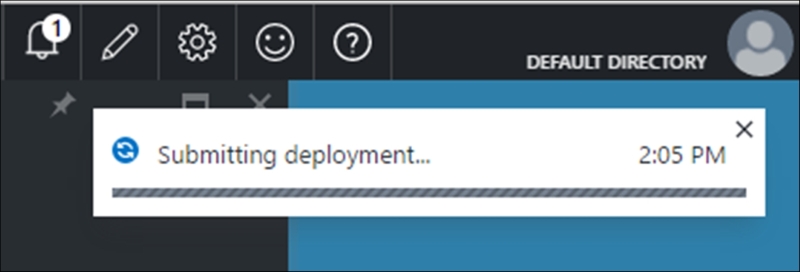
- When you click the Create button, Azure will start deploying your database to the server you created:
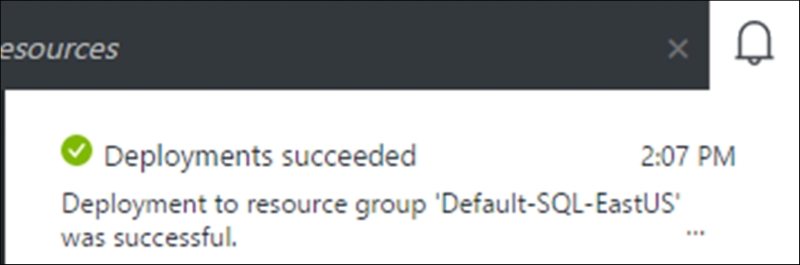
- This process can take a couple of minutes, so be patient while it completes. When the database deployment is completed, you will see a notification in the notifications tab at the top of the Azure portal:
- You might need to refresh your SQL databases screen to see the newly deployed database. In order to complete the next steps, click on the created database in the databases list:
- The properties and settings for the created database are then displayed. Here you can see the Resource group you selected, along with the Server name and other properties. Of particular interest is the Connection strings property:
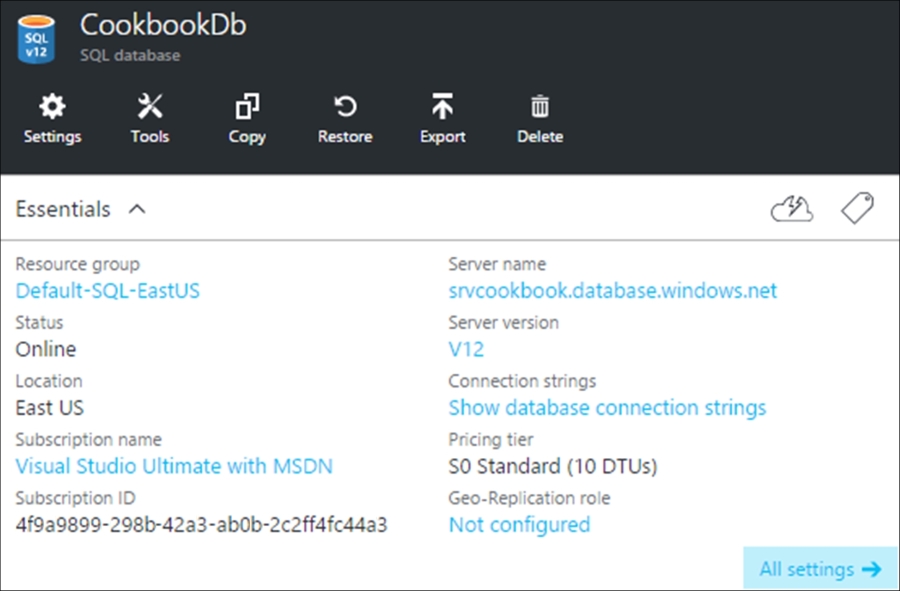
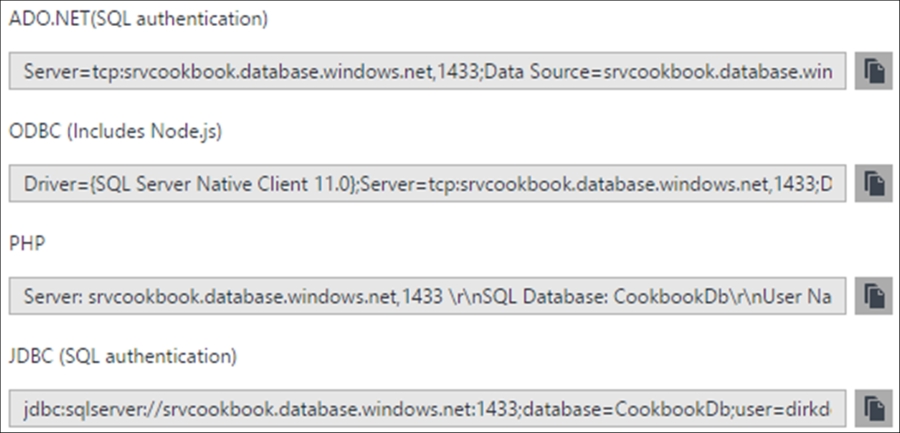
- Clicking on the Connection strings will display the connection strings for the different providers for the database you created. Make a note of the ADO.NET(SQL authentication) string:
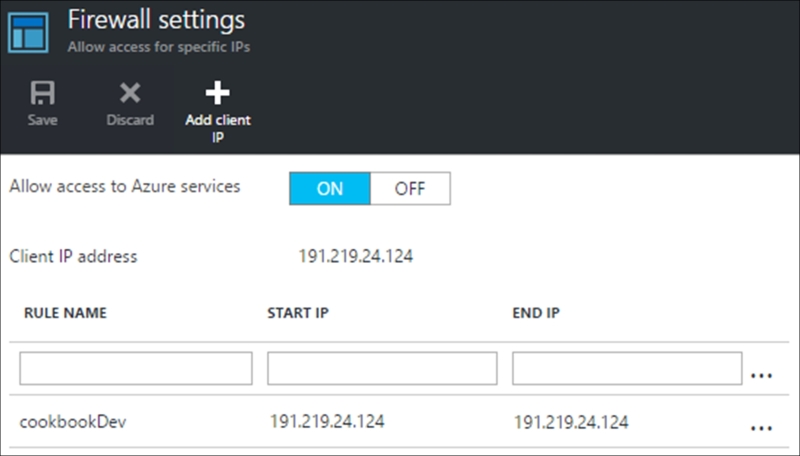
- Going back to the previous screen, click on the Server name property. It is here that you will find the Firewall settings. You need to add a rule to the firewall to allow your computer to connect to this database:

- Clicking on the Show firewall settings, you will see that you can add a client IP. By default, the machine's IP address you are accessing the Firewall settings from is displayed in the Client IP address field. Click on the Add client IP to add your current machine's IP address to allow it through the firewall. You can change the RULE NAME to something more user friendly:
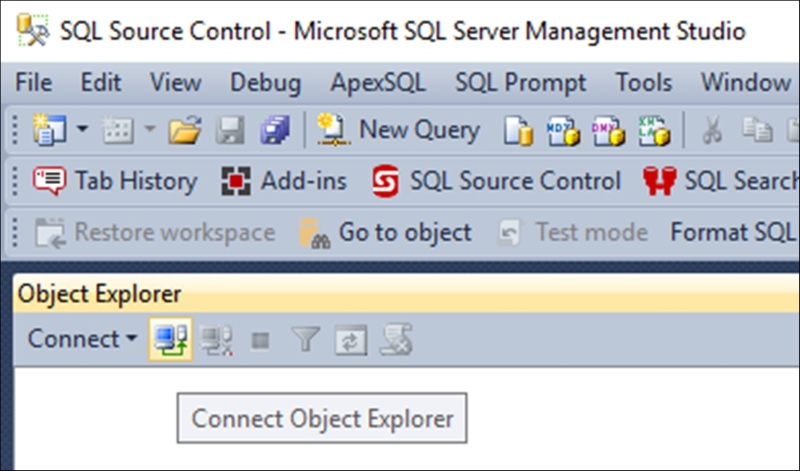
- After you have added your firewall rules, open up SQL Server Management Studio on your local development machine. In the Object Explorer, click on the Connect Object Explorer button:
- Have a look at the connection string you made a note of earlier. After the server portion in the connection string, I copied the server name as
tcp:srvcookbook.database.windows.net. Paste that in the Server name field in the Connect to Server screen. Lastly, enter the Login and Password you defined when creating the server on Azure. Click on the Connect button: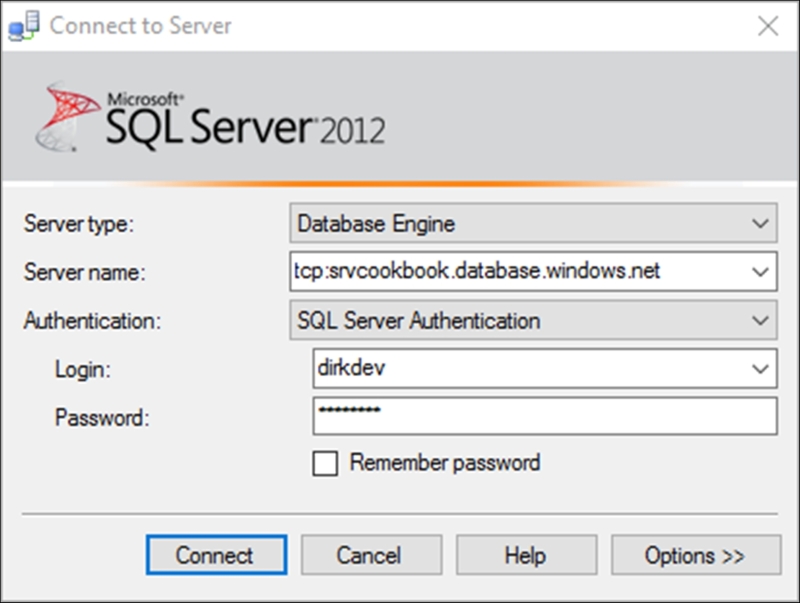
- SQL Server Management Studio will now connect to the
CookbookDbdatabase on Azure: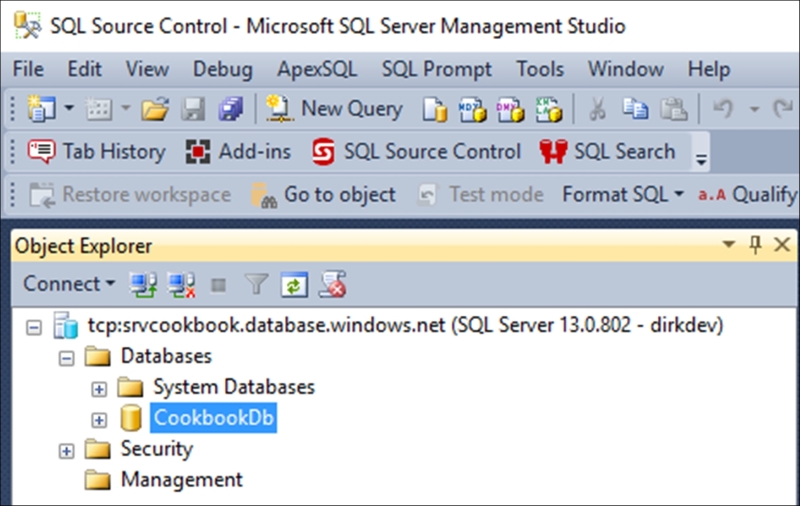
Azure is the perfect place to store your database. It is secure and accessible to only those developers you choose. You need to be aware that if your IP address changes, you might need to reconfigure the firewall rule on your Azure database. This does, however, bode well for security, because you can be assured that your data is secure. For more information on databases in Azure, have a look at the following documentation: https://azure.microsoft.com/en-us/documentation/services/sql-database/.