
12
Tips and Tricks for Printing
Being able to design great graphics in Canva is an essential process for the small business owner. So far, this book has shown you a lot of information, tutorials, and tips on creating and sharing your designs, but you can also print in Canva as well, not only through third-party printing companies but also directly through Canva. So in this chapter, the last in the book, we’re going to look at printing and adding your designs to physical products.
In this chapter, we are going to cover the following main topics:
- Printing templates
- Designing multi-page documents for print
- PDF editing and printing
- Printing directly through Canva
By the end of this chapter, you will be able to set up a template ready for print, print any design through third-party printers or directly via Canva, upload and edit a PDF, and comfortably create multi-page documents ready for print.
Printing templates
Canva has a huge array of different-sized templates, ready for you to use a template or create a custom template for any aspect of your business. However, picking the correct one is important before you start designing, as many of them have additional settings on them:
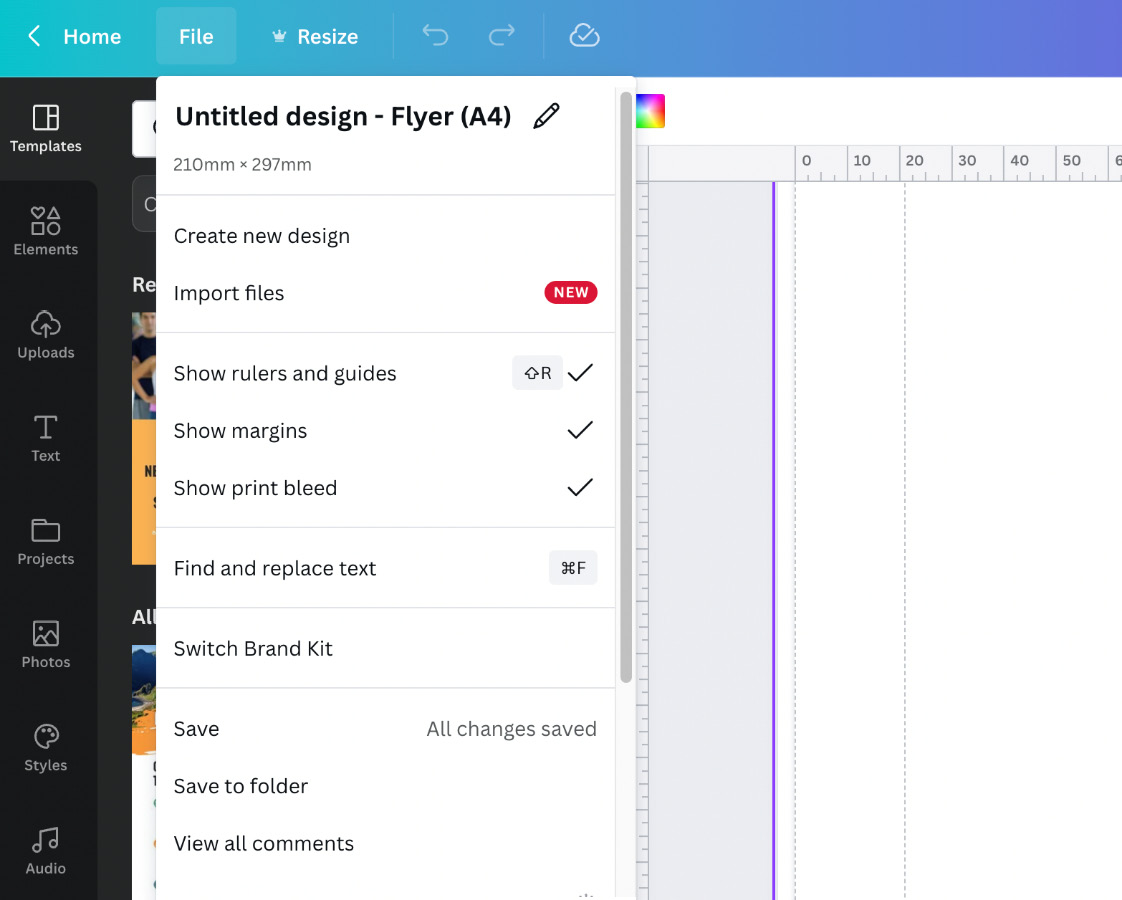
Figure 12.1 – Rulers, margins, and print bleed options
Here are a few examples of template sizes that you can look for and use for printing.
Mainly for business owners, creating marketing materials is an important part of our everyday task list, but you can also create printable designs at home, such as the following:
- Flyers (portrait)
- Business cards
- Brochures
- Newsletters
- Infographics
- Invitations and cards
All of these options have hundreds, if not thousands, of templates already set up for you to edit and use. They also have the margins and print bleed incorporated into the design for you, so let’s look at what the print bleed and margins are in a bit more detail.
Margin
When the Show margins setting has been turned on, it shows a faint dotted line around your template, keeping all of your information inside of this dotted line. This ensures that nothing important gets cropped out during the printing stage:
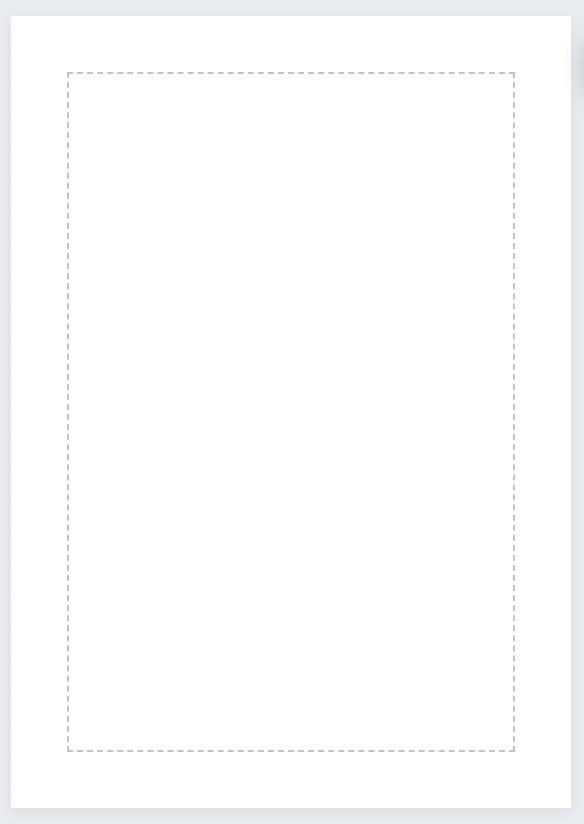
Figure 12.2 – Dotted margin line
This would include any textboxes, images, or elements that you deem essential to the design – it gives the printer a margin of error to work with.
Print bleed
The print bleed is a second dotted line around your template – this is the original borderline. Canva extends the size of the template, usually by 3 mm, to ensure there are no white areas around the outside and that you avoid having white areas around your design, or extending your images, colors, or elements over the edges:
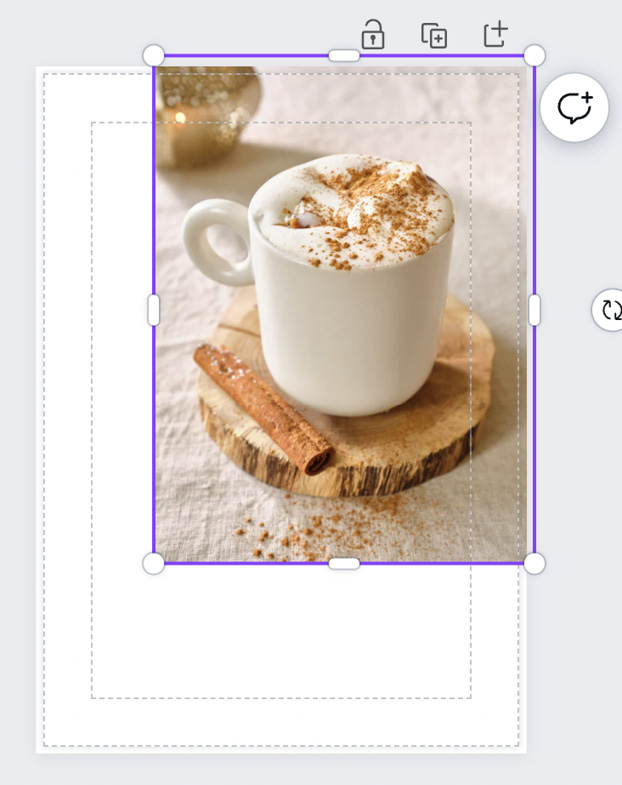
Figure 12.3 – Overlapping an image for print bleed
After you’ve created your design and made sure your information is within the margins and no images or elements overlap with the print bleed, you are ready to print. This is where you can select the Share button, and then the Download button will bring up your options. There are two PDF tabs – the best one for printing is the PDF Print tab. This ensures your print is of high quality, 300 DPI. The PDF Standard tab is only 96 DPI, and printing companies will always ask for the higher-quality 300 DPI document:
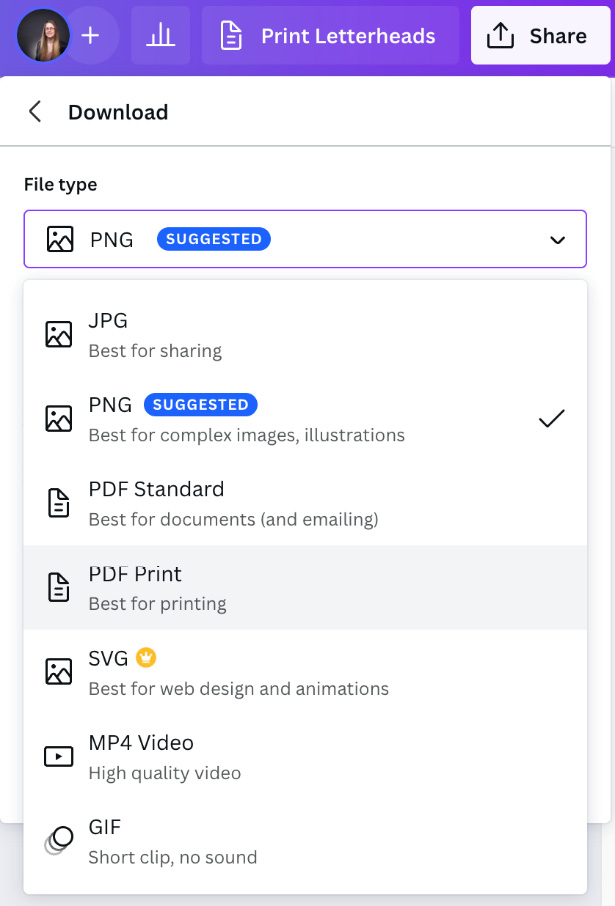
Figure 12.4 – PDF Print dropdown
Once you’ve selected PDF Print, it then gives you further options. From here, you can select the Crop marks and bleed and Flatten PDF options:
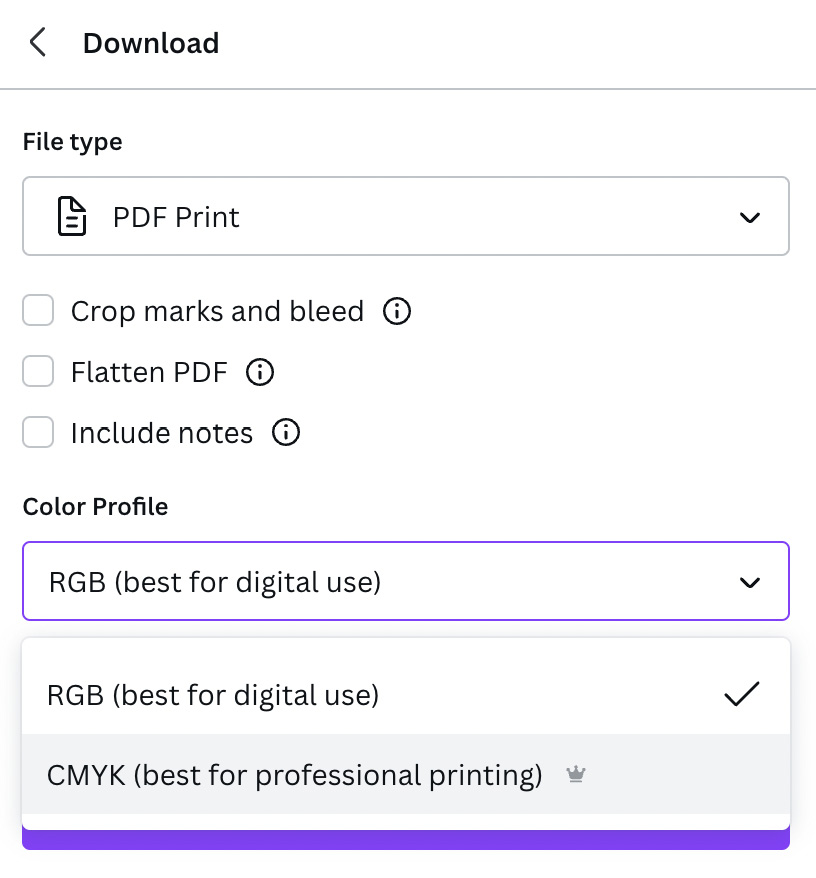
Figure 12.5 – Print options
We also mentioned both the Crop marks and bleed and Flatten PDF options in Chapter 9, Making Social Media Graphics with Canva, but here is a bit more information on what they both are.
Crop marks and bleed
Adding crop marks and bleed helps to show where your design will be cut by the printer. They show up as small lines at each corner and a very thin white border:
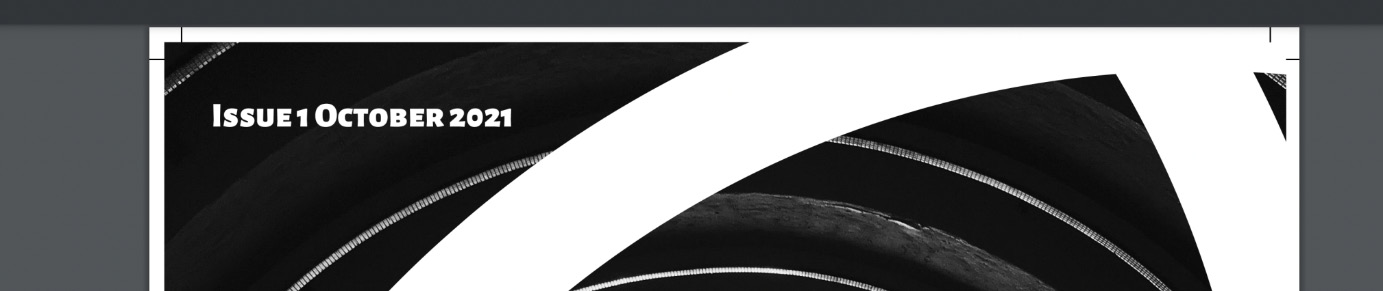
Figure 12.6 – Crop marks and bleed
These will not appear on your finished print; they are only for use by the printer.
Flatten PDF
To flatten a PDF means that every element within the design, such as images, color blocks, and textboxes, is merged into one – they are effectively grouped to form one element. When creating a Canva design, every element we add is separate so that we can move them around, change their sizes, animate them, and so forth, but for printing, they are best combined. This helps keep colors consistent during the printing stage.
Color Profile
The next part in the dropdown, under the Crop marks and bleed and Flatten PDF options, is the Color Profile settings. From here, you can now choose how you want to download your design, either RGB or CMYK. If you’re planning on printing this document, select the CMYK option, which is used by printers and is the preferred option. If you print using RGB, the end result can look dull. The colors will not be as vibrant as using CMYK. However, if you only want to use this online or as a digital product, then the RGB option may be best suited to your needs:
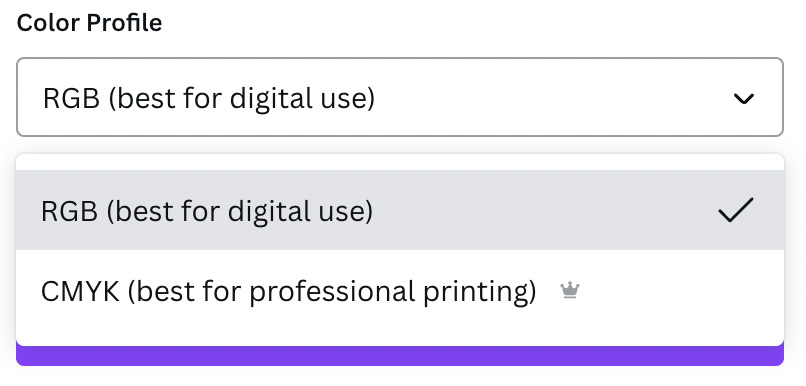
Figure 12.7 – RGB and CMYK print options
Once you have gone through and selected your options, you are now at the stage to click Download, and your design is ready to be printed.
However, there are a couple more points you need to know about if you plan on creating multi-page printable designs in Canva, so let’s have a look at that next.
Designing multi-page documents for print
When creating a multi-page design in Canva, quite often, a lot of the pages are the same or similar, maybe with a variation in the title or images used; for example, a printed journal will have the majority of pages looking the same. When creating these types of designs, concentrate on creating the main page and then duplicate it as many times as needed so that you have the layout set, and then you can then go through and edit any titles, images, or information on each page.
Use the Duplicate page option in the top-right corner of the page you want to copy:
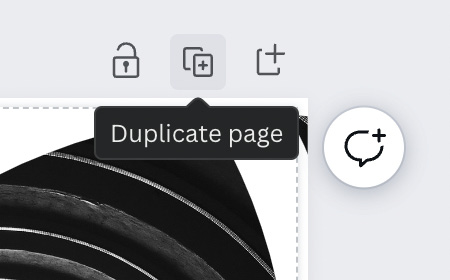
Figure 12.8 – Duplicate page option
This will save you a lot of time and keep your designs looking professional and consistent.
Canva also has a page limit for each design, which is currently set at 200. If you are creating a design that will be larger than this, then you will need to copy your design into a new template so that you have two of the same. By copying the first design, you’re keeping your page layout, branding, and style the same. You then need to edit the second one so that it is in line with the first one – for example, if you’ve numbered your pages but can only get as far as 200 on the first document, then the second document will start at 201, and you would need to continue this way until you were at the end of your design.
However, at this point, you may hit another problem – you now have two documents that need to be combined into one, ready for printing or sending to a publisher if it’s going to be a book. Unfortunately, this can’t be achieved in Canva, so you would need to look into third-party platforms that can combine these.
Currently, both documents will have been downloaded using the PDF Print option and will include your Print bleed, Crop marks and bleed, and Flatten PDF options, so you can use a PDF merge website. There are a few about – some of the ones I would recommend are as follows:
All of these have a free-to-use option for merging PDF documents into one file.
Being able to download as a PDF in Canva is very useful for anyone interested in creating lead magnets, or even bigger projects such as notebooks, journals, or books based on your niche, but you can also upload a PDF into Canva and edit it fully, so let’s have a look at how that can be achieved.
PDF editing and printing
I think this is a brilliant feature and one that is often needed – being able to edit a PDF. I had a client who once had several posters made up for her and they were all PDFs. She loved the design but wanted to change the date and time so they could be used again. I uploaded them to Canva for her and changed them into editable Canva designs so that she could simply edit the information and then download it as a PDF to use as and when needed, and this is exactly what this feature is for.
To find the upload section for the PDF, click on the Create a design tab at the top. Then, at the very bottom of the dropdown, you will find three options:
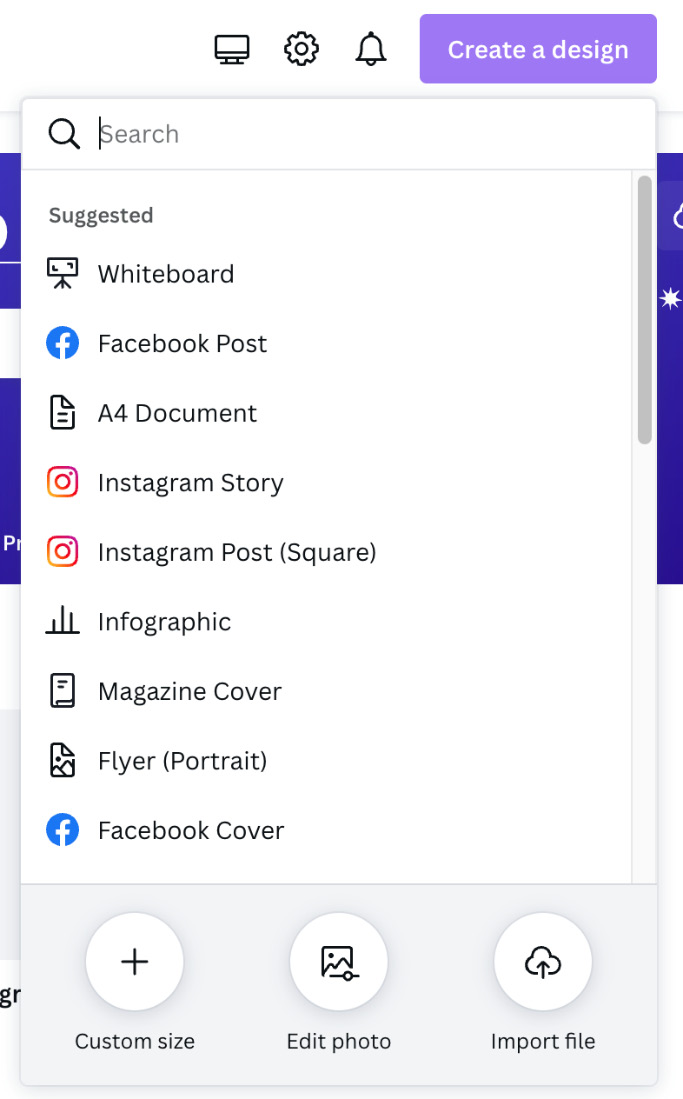
Figure 12.9 – Suggested design ideas and Import file option
For this example, we need the Import file option at the bottom right. When you click on this, it will open up your computer’s documents file, so find and select your PDF. It will then import it into Canva and convert it into a normal Canva design.
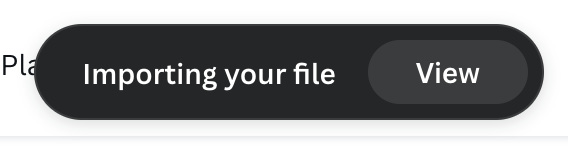
Figure 12.10 – Importing your file notice
It won’t open for you; you will need to go to your Recent designs section, and it should be the first one:
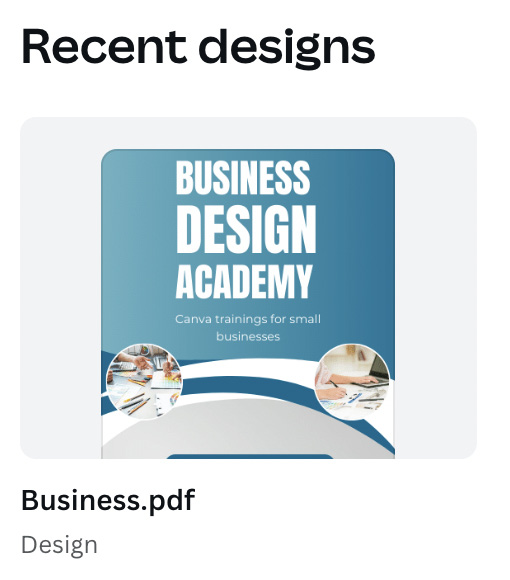
Figure 12.11 – Uploaded PDF document
Click to open it, and you now have a fully editable PDF; all the textboxes can be changed, images can be removed and replaced, and any element can be changed. You can also add new content as and when you wish. Please be aware that at the time of writing, more complex PDFs may not convert correctly, and may look different from your original PDF. However, Canva is great at getting things updated, so I imagine this will be improved upon in the future.
Once you’ve finished editing your PDF, you also have all of the usual download options, so you can download it as a PNG, PDF, or video file.
We’ve now come to one of my favorite features of Canva – printing. I love that I can have products printed through Canva directly.
Printing directly through Canva
Canva has a fantastic array of printable products, where you can create a design and then have it printed onto a product and shipped to you all from within Canva itself.
This is set to get bigger and better as more features and printed products are added.
Let’s have a look at some of the items you can have your designs printed onto. Have a look at the Template tab on the left-hand menu, and then scroll down to Custom Prints:
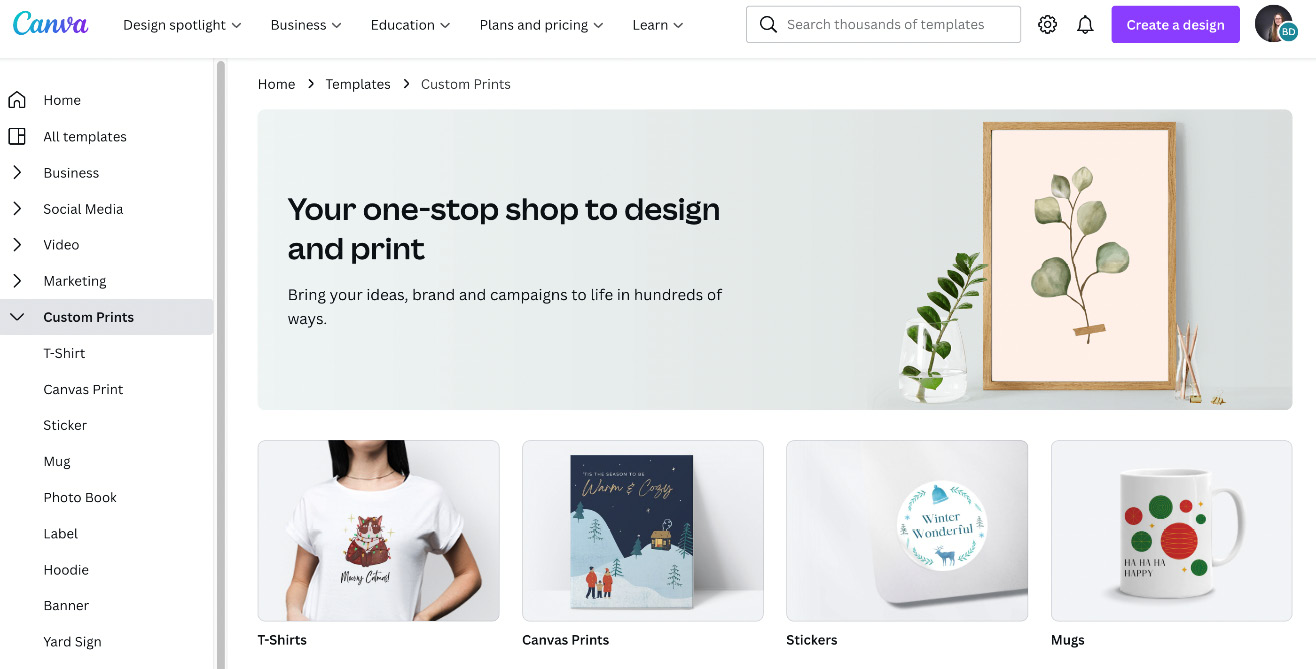
Figure 12.12 – Custom Prints product options
This opens up a new sub-menu of different product types. From here, you can choose what you would like to print, whether on T-shirts, mugs, labels, or jumpers, among other things:
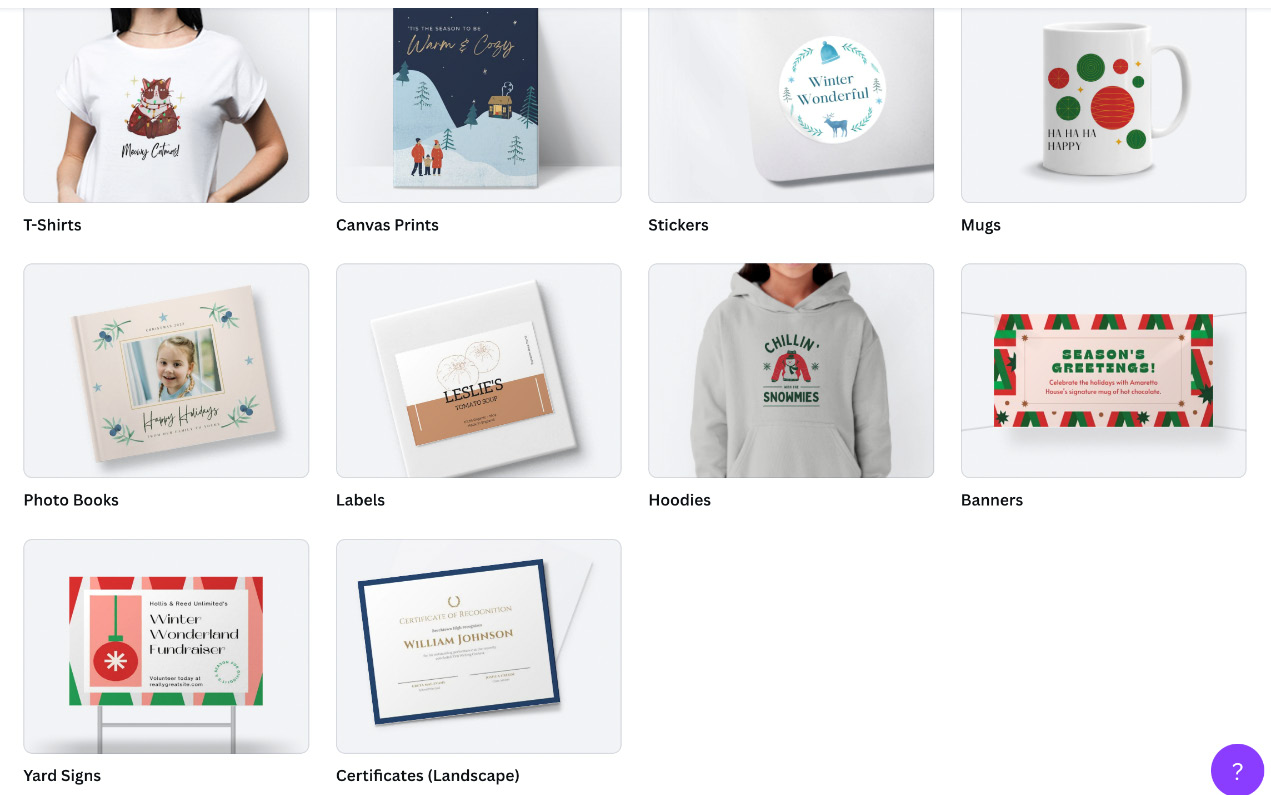
Figure 12.13 – Selection of different products available for print
Once selected, you are presented with a range of different template designs suited to the product, or you can select the first option on this page to create your own design from scratch:
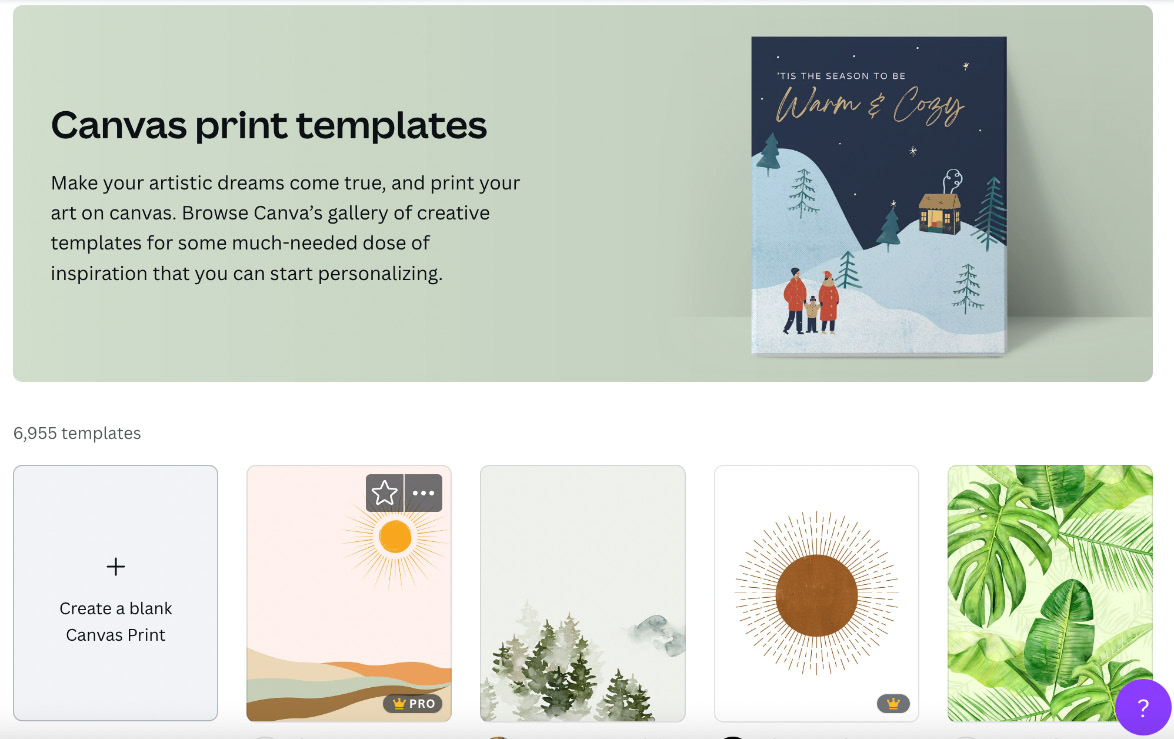
Figure 12.14 – Templates for print options
Another way to create and print designs onto products through Canva is to start with creating your own design – you can then select the Print your design option in the dropdown:
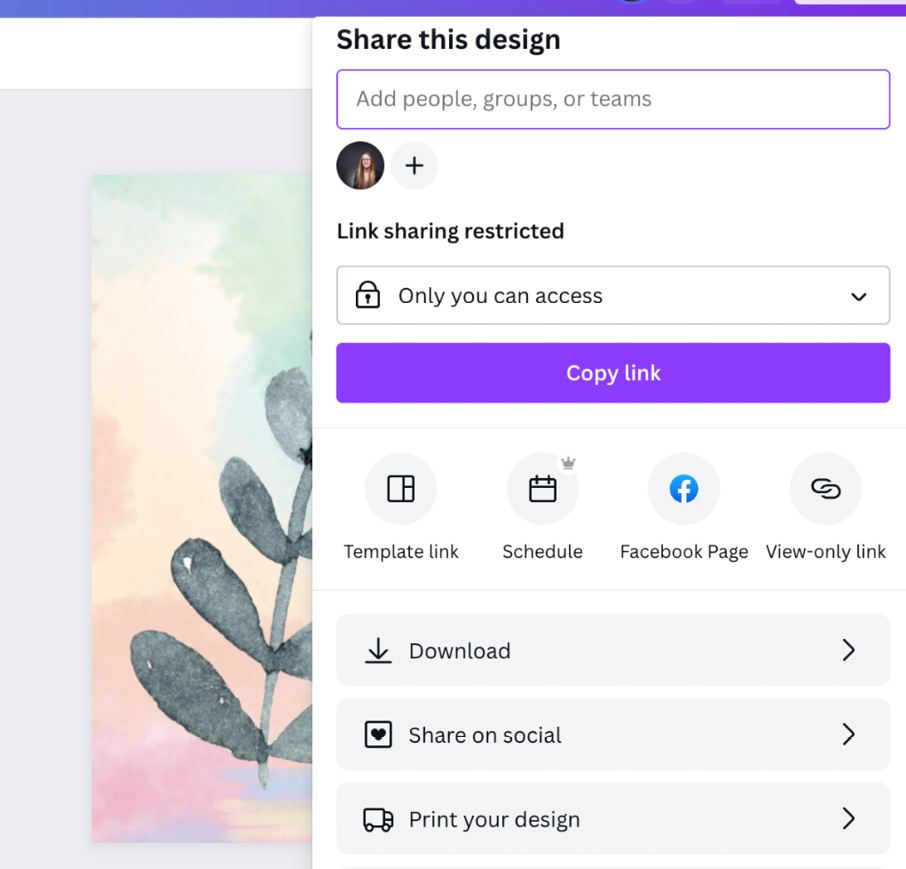
Figure 12.15 – Print your design button
Let’s go through how to print a design by selecting the Print your design button.
First of all, you’re shown a dropdown of different products. Here, there is a larger range of printable items. For example, you have coasters, stickers, notebooks, and tote bags, to name a few.
This results in a better option when wanting to print physical items:
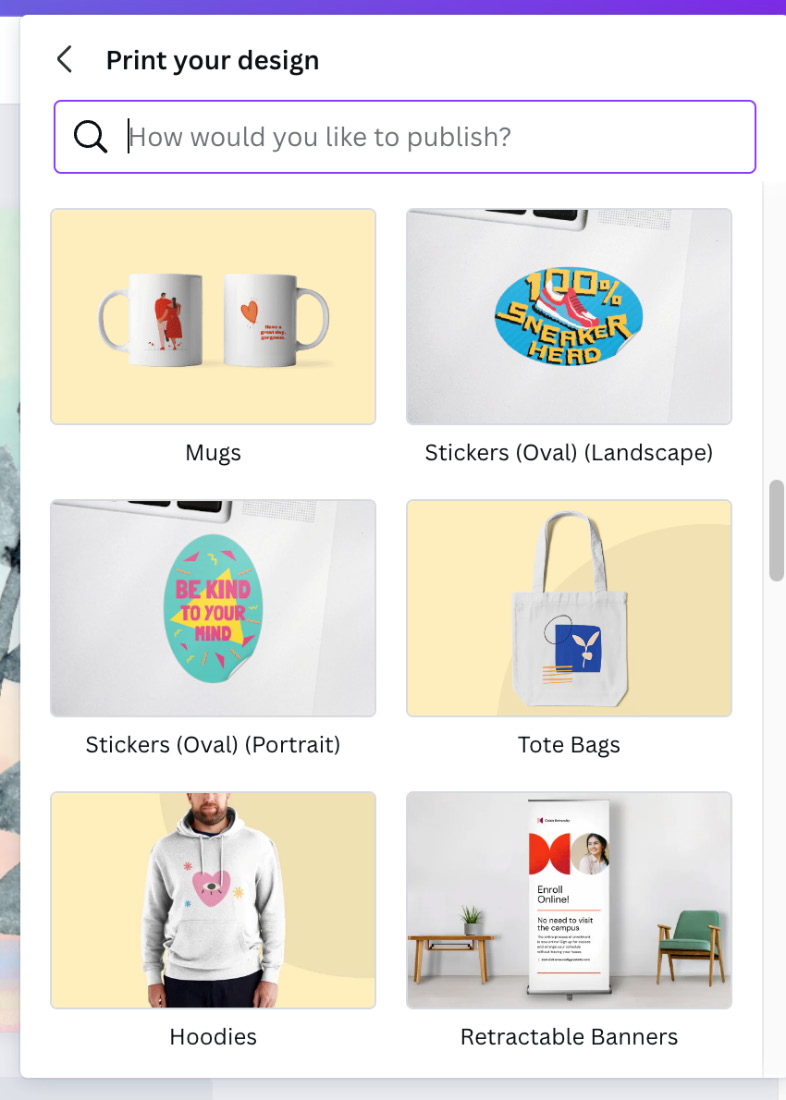
Figure 12.16 – Additional print products
Let’s say we wanted to print our design onto a sweater: Canva will automatically resize your design to fit this, and then it will bring up options specific to the product – in this case, sizes and colors.
It also gives you the option to have a front and back design for clothing, with a view of how both sides will look:
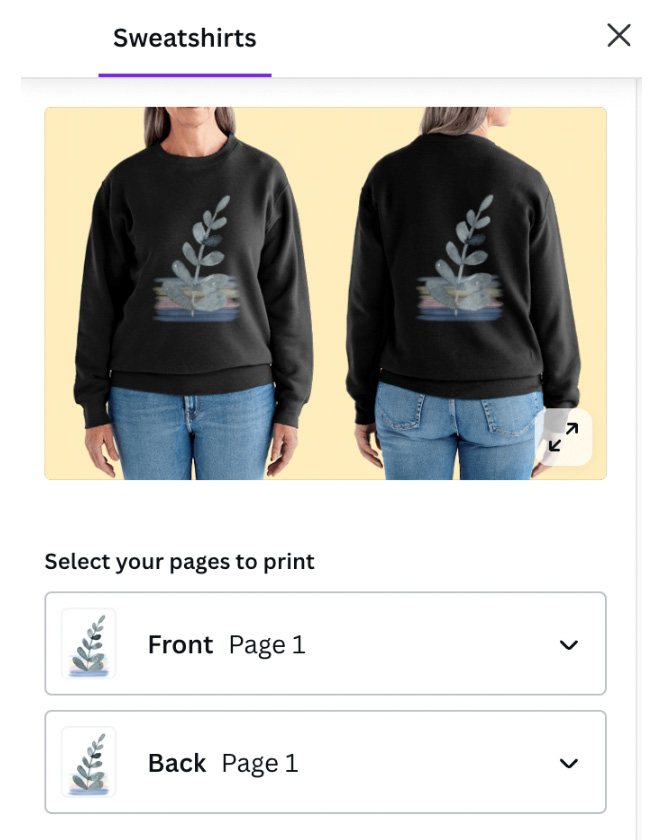
Figure 12.17 – Front and back options for printed sweaters
Top tip
If you would like to have a transparent background on your design so that there isn’t a square shape around it, just make sure you leave the background white. If you add a color or image into the background, the shape of the template will appear:

Figure 12.18 – Showing how adding a background to a design can look
Once you’ve selected the front and back designs, scroll down to the Sizing and Color options. With clothing, there are currently three color choices: Black, Gray, and Navy:
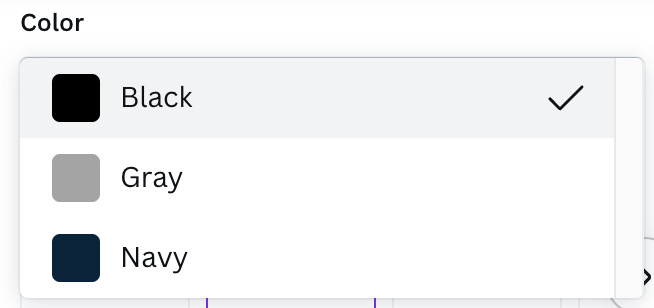
Figure 12.19 – Different color choices for printed clothes
Then, it’s on to Sizing – it ranges from S to XXL, and with each option, it gives you the size in centimeters so you can measure to see whether it will fit:
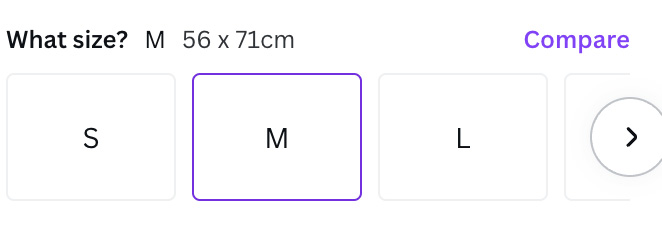
Figure 12.20 – Sizes for printed clothes
Lastly, the pricing – the more you purchase of the same item, the bigger the discount they give you. This example design is based on a double-sided sweater, which is £4 more expensive than the single-sided sweater:
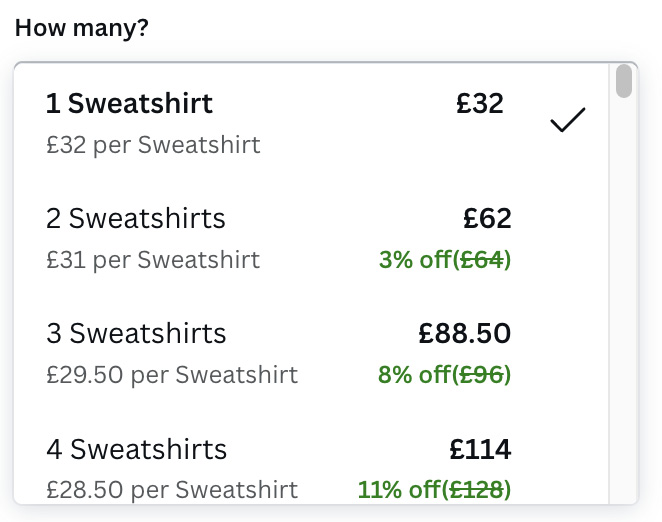
Figure 12.21 – Pricing structure for printed clothes
Your country of residence will determine the currency and delivery times. I’m based in the UK, so these are my delivery options. There is always a free standard delivery option, and then a charged, quick turnaround option. If you’re happy to wait a few days, go for the free option – I’ve found items often arrive quicker than expected.
Add in your delivery address and click Continue – it will then ask you to confirm and place your order.
Congratulations! You’ve created a product with your very own design.
Summary
What a fantastic journey we’ve been on throughout this book! In this chapter alone, you have learned how to set up a blank template for printing and understood what crop marks, print bleed, and margins are and how to add them to your design. You’ve discovered how to merge PDFs, upload and turn an existing PDF into an editable document, create multi-page documents, and print through Canva, creating your own designs and printing them directly onto products.
You have gone from being a Canva novice, getting set up and learning what Canva is all about, to becoming a Canva expert, and should now be able to create a multitude of designs, videos, and presentations, and create your own products.
Congratulations!