
2
Discovering and Editing Templates
Templates are the main draw of Canva – that and its ease of use. Canva has hundreds of thousands of templates for every aspect of business and home life, from social media posts to poster, logo, and t-shirt designs. Along with the templates, you also have elements and images that you can add to your template to help make it unique. These are available to both Free and Pro users and many of them are also editable, making Canva a very versatile platform.
In this chapter, we are going to cover the following main topics:
- Finding and editing your templates
- Starting and finding your designs
- Using lines and shapes
- Text effects and fonts
By the end of this chapter, you will have gained a good amount of knowledge on using and editing templates. You will know where to search for templates that are aligned with your business, how to create a design from scratch, and where to find and edit simple lines and shapes.
Finding and editing your templates
Canva templates have been designed with you in mind. They are easy to edit and constructed in a way that, in some instances, requires no editing at all, or you can create a design from scratch. But how do you find a template that’s suitable for your business needs? That is what we are going to find out in this section.
So, let’s head over to the Canva dashboard. From here, you have a couple of options to search for your template. Use either the Create a design button in the top-right corner or the search bar in the middle.
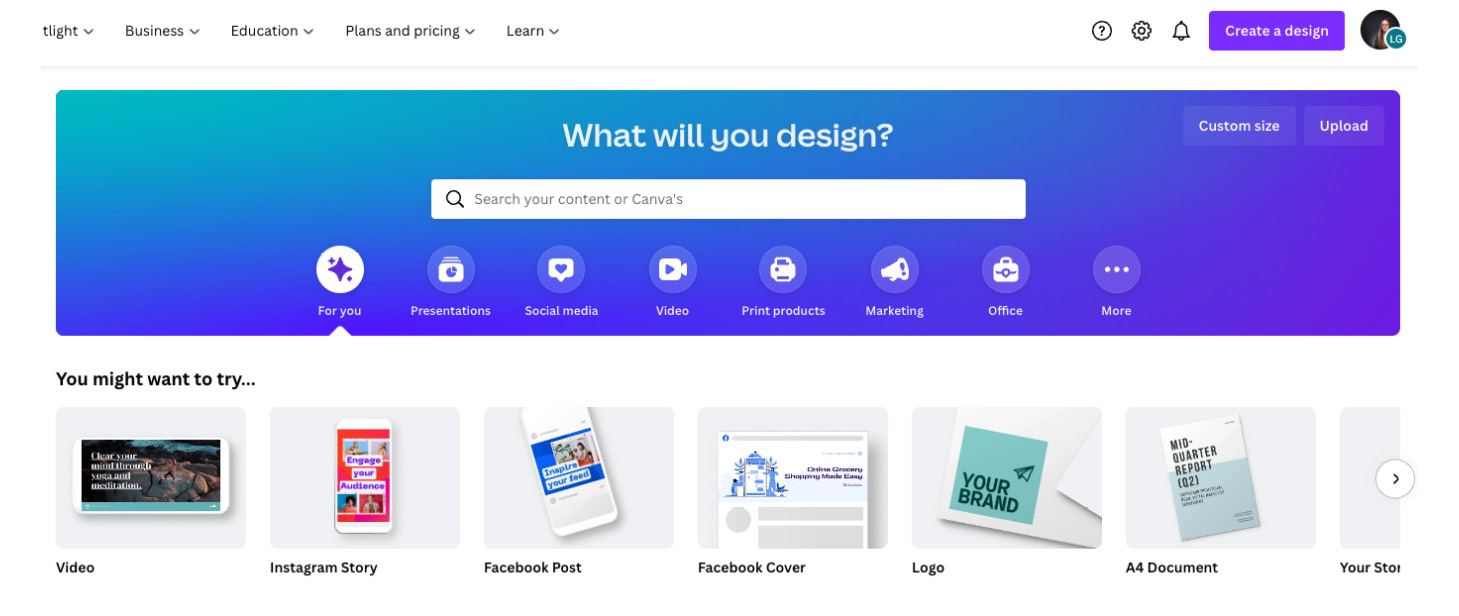
Figure 2.1 – Home page screen, showing the search bar and design buttons
If you know what you want to search for, for example, a Facebook story post, you can use the search bar, but if you’re not sure, select the Create a design button, and it will give you a dropdown to choose from, which is what we are doing here:
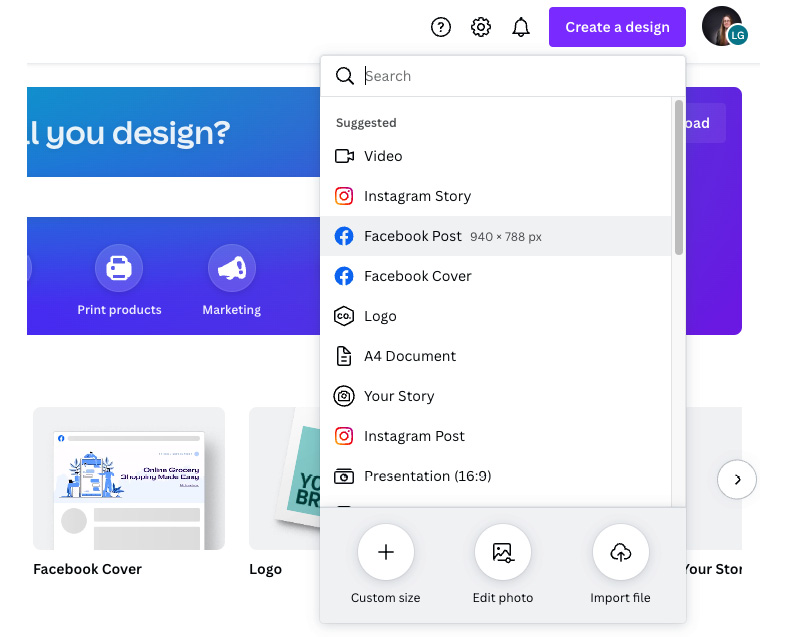
Figure 2.2 – Create a design dropdown
Here, we have several options. You can either search for a template, select an option in the dropdown, create a custom-sized template, or import a file directly into Canva. This option allows you to upload a PDF document, which will turn into a completely editable design.
For this example, we’re going to select a Facebook post from the dropdown. Facebook and Instagram posts are the most used templates in Canva.
Once selected, a new screen will open, giving you the option to create from scratch or select a template.
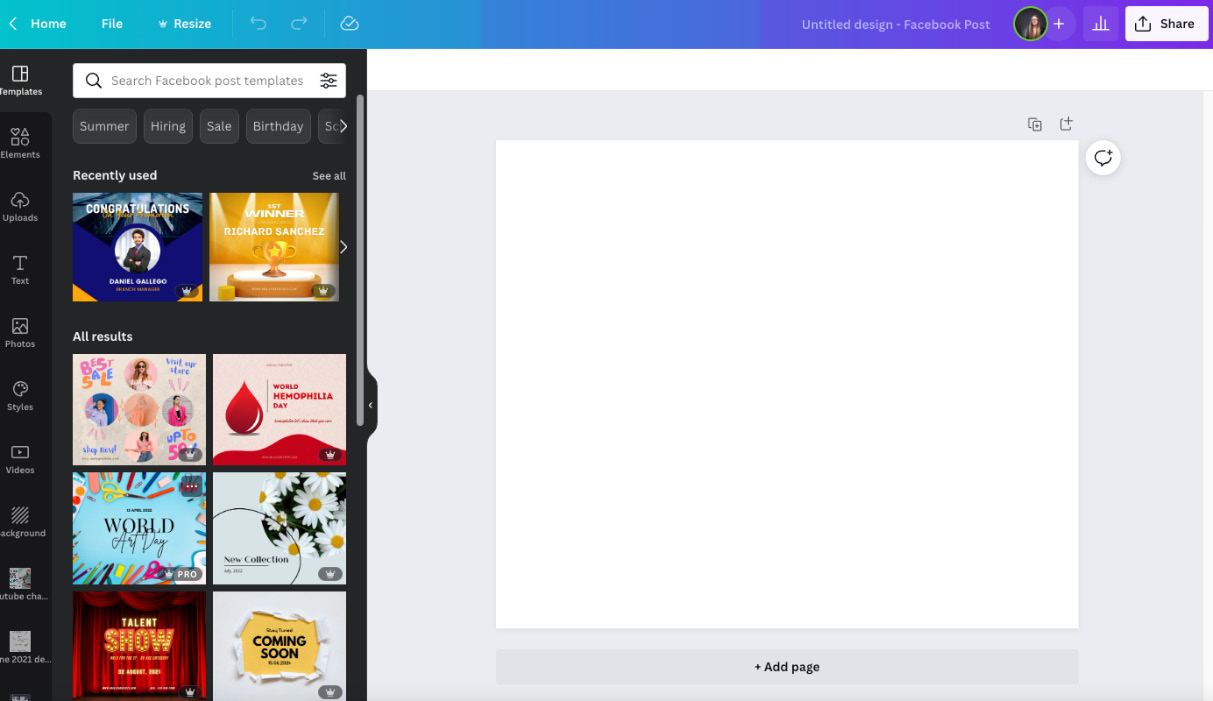
Figure 2.3 – Blank template
Click on the Template option in the top left corner and it will bring up the templates available, starting with any recently used ones, then all results sorted by most popular.
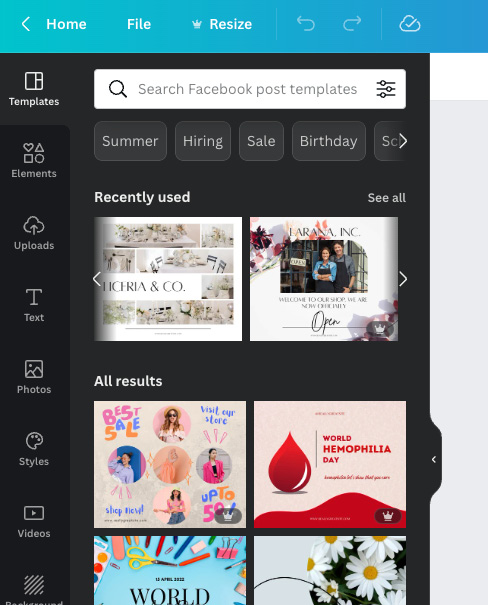
Figure 2.4 – Closeup of the template options
Scroll through these to get an idea of what’s available and see whether there are any that catch your eye. You can also choose a style of template using the options along the top; for example, we have Summer, Hiring, Sale, and Birthday.
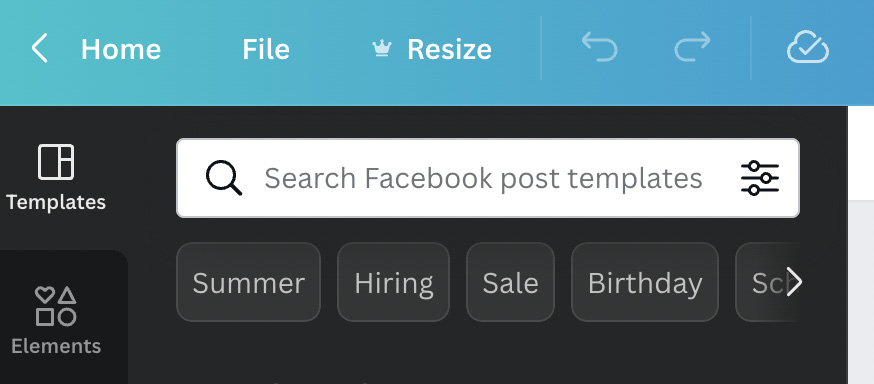
Figure 2.5 – Closeup of different style template buttons
Going back to the main page, I have selected a template from the options on the left that has caught my eye. For this example, my business is a social media manager, so I am looking for a template that is professional, clean, and clear to help promote my message. Canva will display the template automatically on the blank template screen. Now, I would like to edit it to suit my business.
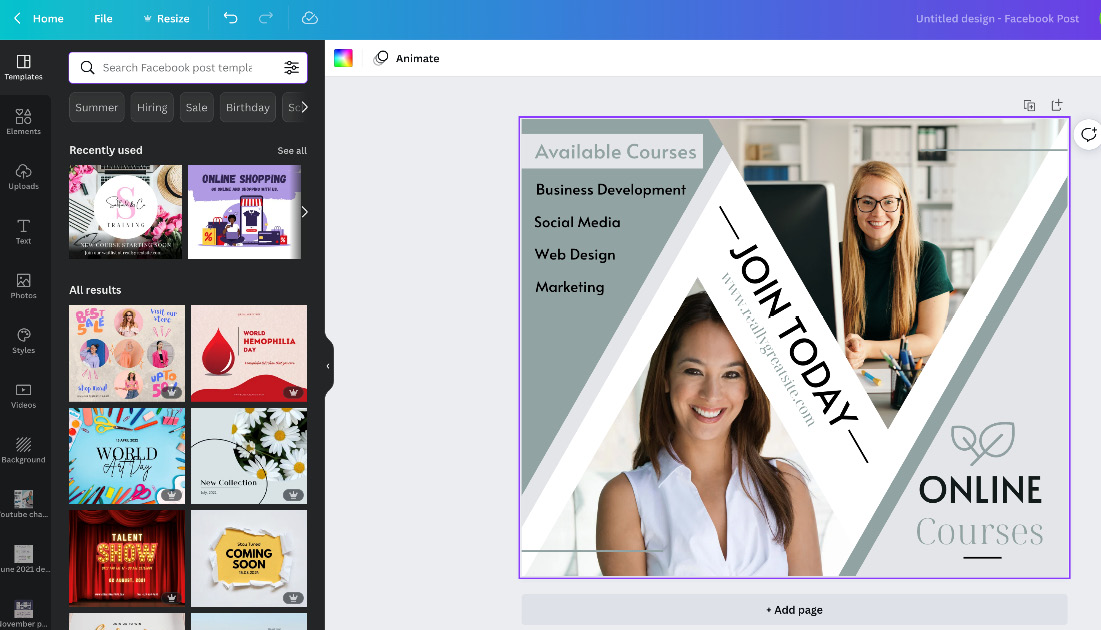
Figure 2.6 – Selected template ready for editing
I could use this template as is; it’s a lovely designed template and could only need minimal editing to suit my business. Hover your mouse over the template and you will see lots of purple squares appear. These represent every element, shape, image, and text block that is within your design. To change any of these, you need to highlight and then select the box in question.
Tip
Canva has an automatic save option so you don’t need to worry about saving your designs, but if you would like to, click on the File tab at the top and scroll down to Save.
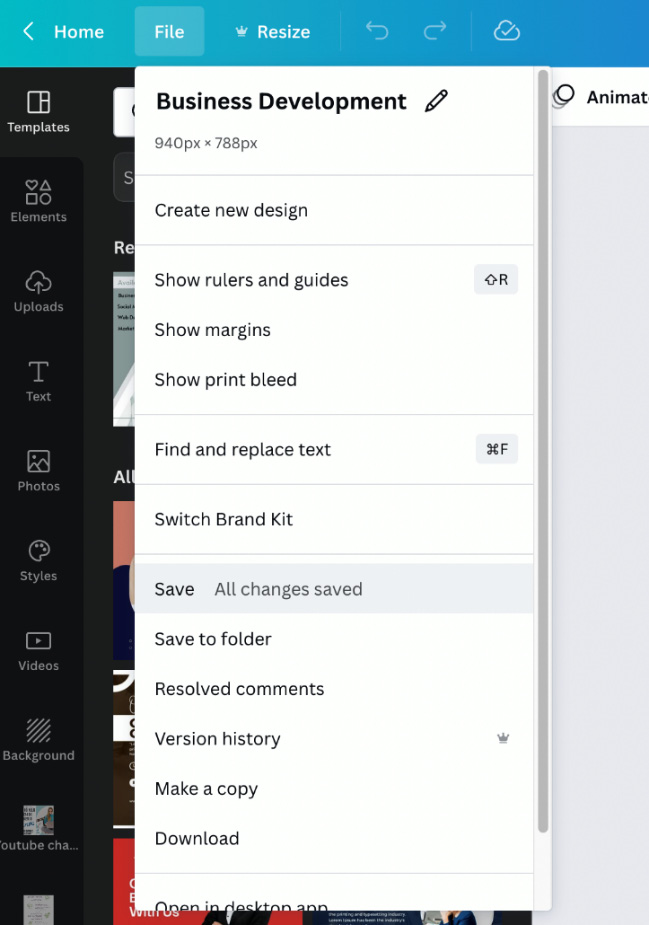
Figure 2.7 – File dropdown
Changing the colors
Follow along with these steps to edit a template in Canva:
- First of all, let’s start with the color choices; for example, I want my business brand colors to be cream, teal, and light gray, so I would want to change the ones on the template. I can do this by selecting a block of color and then clicking on the color block icon in the top-left corner.
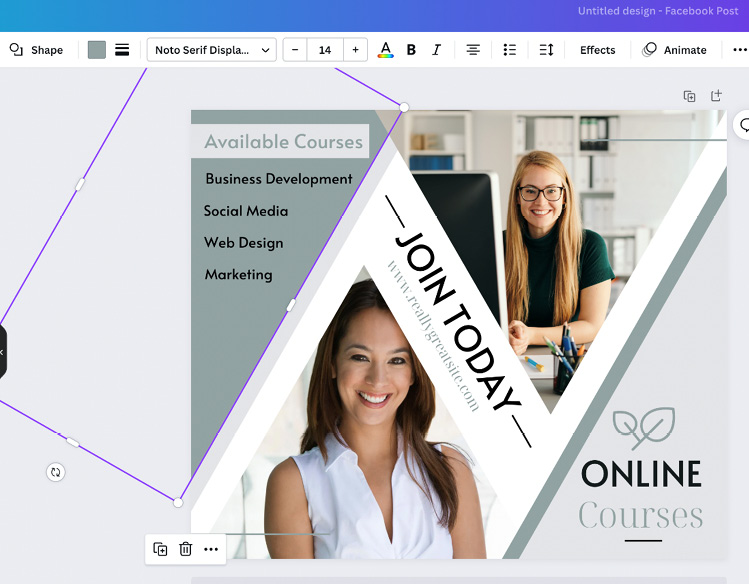
Figure 2.8 – Selecting a block of color to change
- This will bring up the color palettes, which includes your branding colors (we will cover this in Chapter 5, Exploring the Awesome Creative Tools for Branding), colors taken from the photos, default colors, and the option to create your own color.
- I’ve selected the cross icon under the Document Colors section, as this will let me choose my own color. I can now move the white circles around to find the ideal color for my shape.
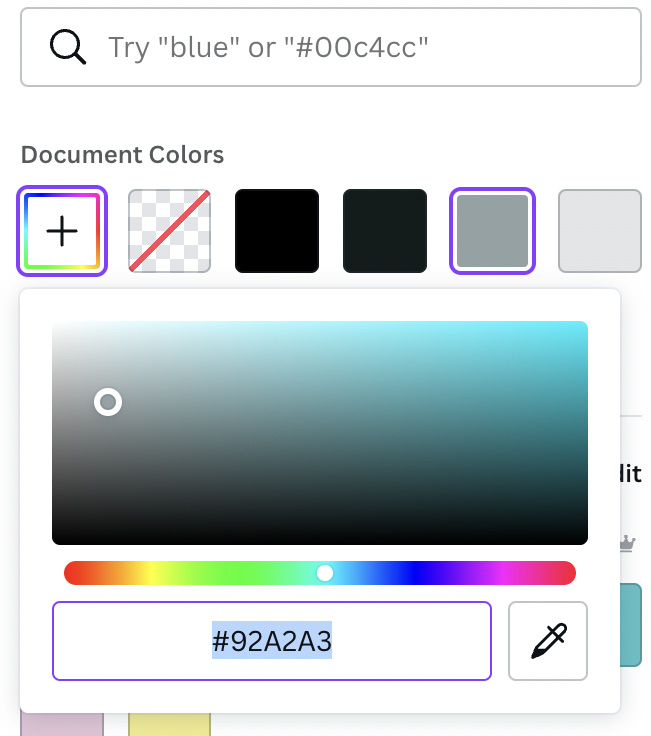
Figure 2.9 – Color option to select own color
- As you move the circles around, you will notice the color changing on your design, so you can see how it will look before selecting it.
- Once you have decided on the color, just take your cursor off of the color box and it will keep the option on your design.
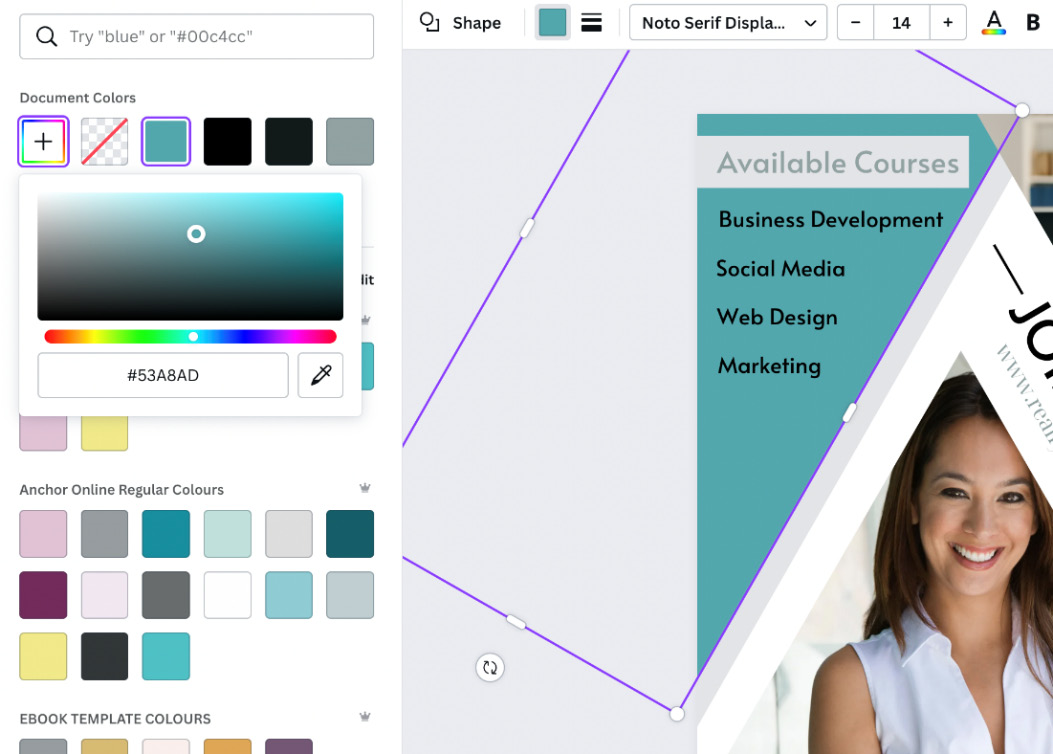
Figure 2.10 – Changing the color of blocks in Canva
You can now repeat the same steps for any other part of your design. This will also work for changing the color of fonts and icons.
Tip
If you have a lot of the same color on the template, a box will appear at the bottom of the color palette, to allow you to change all from one color to the next. This works on all pages within your design, saving you from changing the color individually.
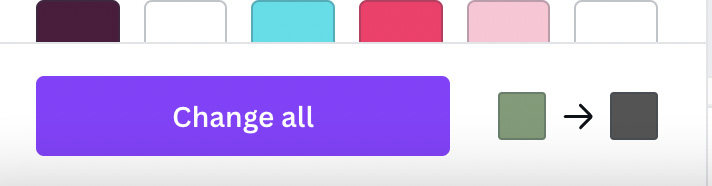
Figure 2.11 – The Change all color option
Let’s now look at how to change the images on the template.
Changing images on a template
Changing the images is a good idea as you can use ones to suit your branding. Canva has hundreds of thousands of images available in their library for you to use. Many of these are available to both Free and Pro accounts. You can work out whether an image is available for your plan by hovering over the image; it will show a crown icon at the bottom of the image if it’s available for Pro only, or nothing if it’s available on both Free and Pro.
Most templates will use grids and frames to change the shapes of images (we will look at grids and frames in Chapter 6, Expert Hacks to Create Your Own Professional-Looking Designs).
Here are the steps needed for you to change the images on templates using relevant keywords
- Select the Photos option in the menu and it will bring up all the available photos, including any recently used, recommended, and trending photos, so you can see which are most widely used.
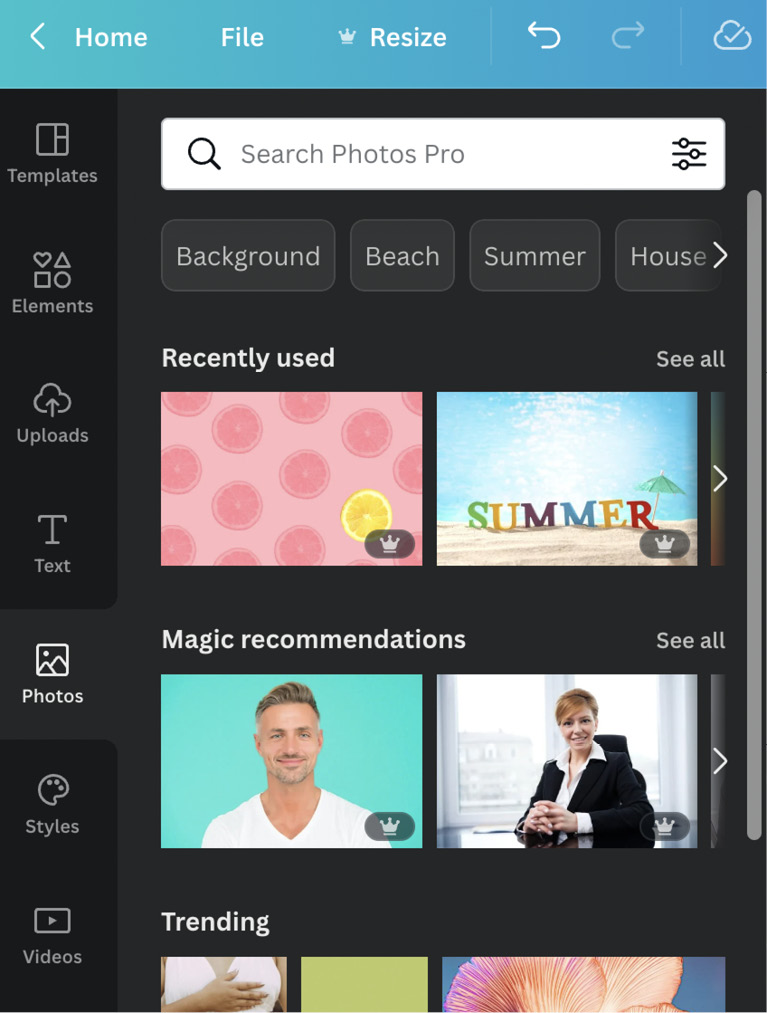
Figure 2.12 – Closeup of the images section
- Here, we can search for a photo; we use keywords in the search box. Every image has been submitted to Canva with a selection of keywords attached that describe the image: what is in it, the colors, and its use. These are designed to help bring up a suitable selection to choose from. I’m creating a post for my fictional social media business, so I’ll need photos of a computer or desk and someone working in the same environment, so I will search for the Social media flat lay keywords to get a range of images.
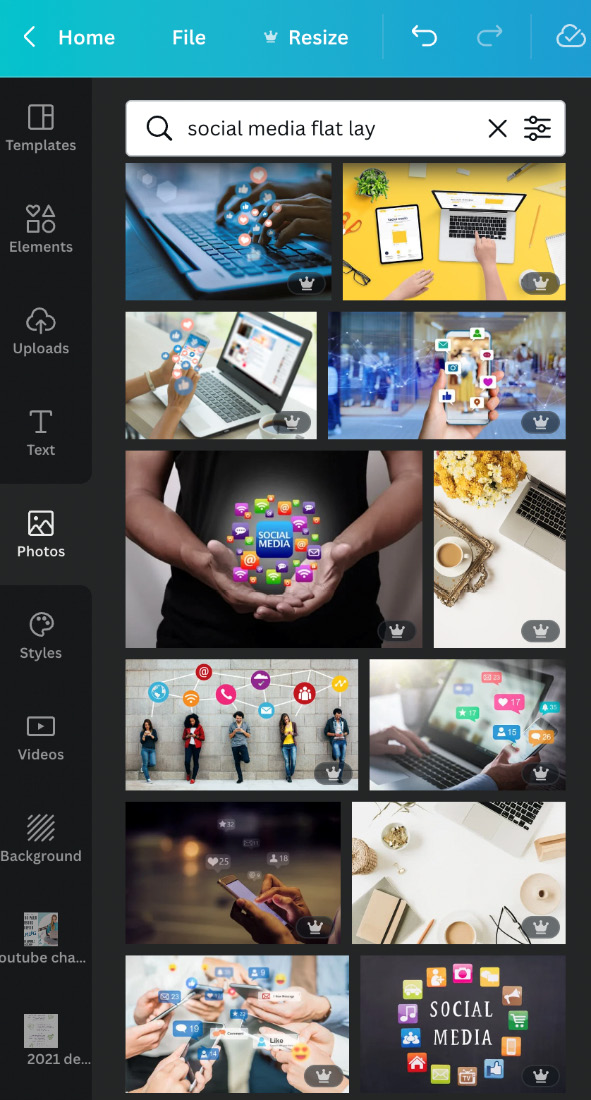
Figure 2.13 – Using a keyword to search for images
- So, now all I need to do is select the one I like for my design. It will be added to the template and I can drag and drop it into the box on top of the existing image to replace it, repeating this for any other images I would like to replace.
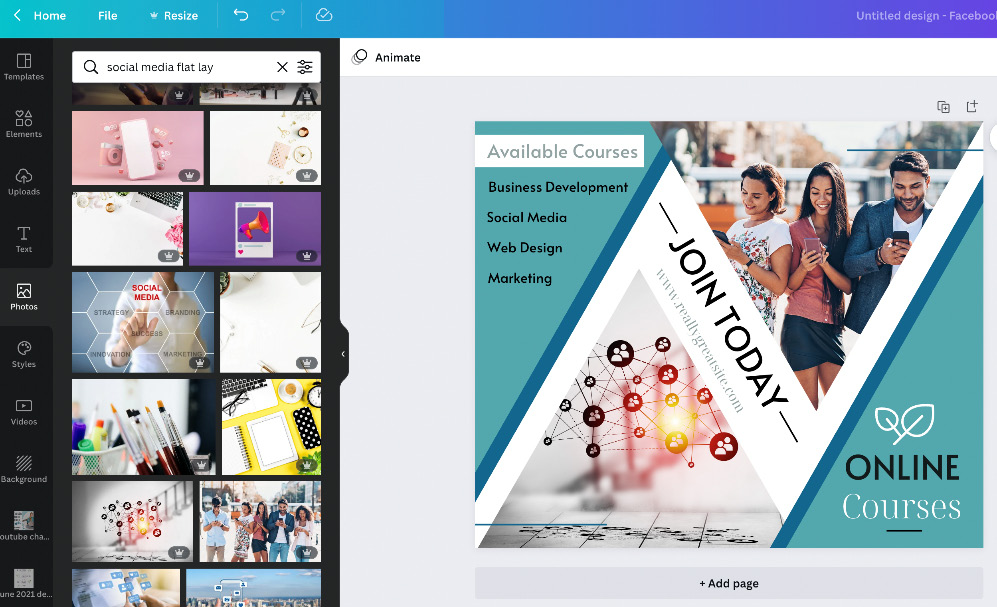
Figure 2.14 – Template with color and image changes
Changing the text and font
Canva has hundreds of fonts available. If you use a specific font that isn’t in Canva, you can upload the font file to give you access to your fonts on every design you create. However, this feature is a Pro-only feature, so if you are using the Free version, you will need to stick with the available fonts. Take the following steps:
- To change the information within a text box, just select the box in question, then click on it again and it will highlight the information in blue, meaning you can now directly type into the box.
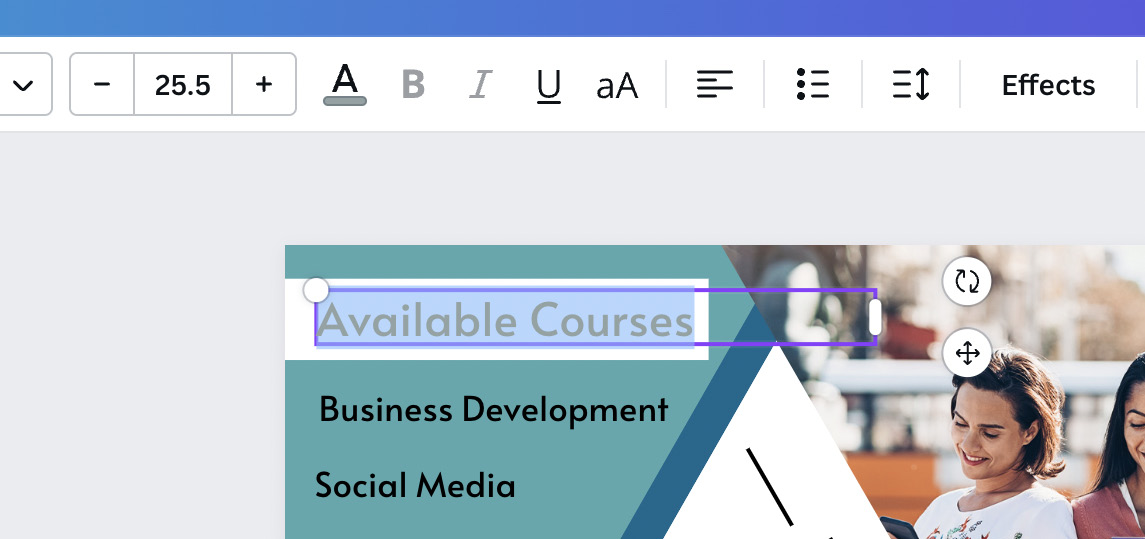
Figure 2.15 – Highlighted text box ready for editing
- To add a completely new text box, you can either press the T key on your keyboard or select the Text tab from the left menu, which will give you the option to add header text, subheading text, or body text to your template, with some recently used text combinations displayed in the following screenshot.
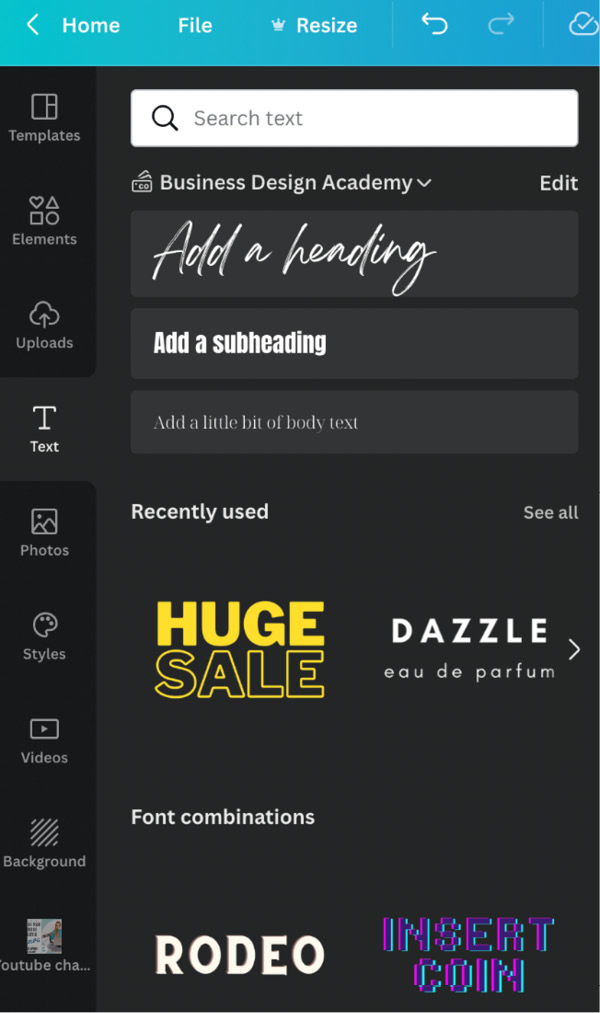
Figure 2.16 – Text menu, showing header, subheading, and body text options
- To change the font, select the text box in question, then at the top, there is a bar with different options and boxes. The first one will give you a dropdown of all fonts available, the second lets you change the size of the font, and the third option lets you change the color of your font.
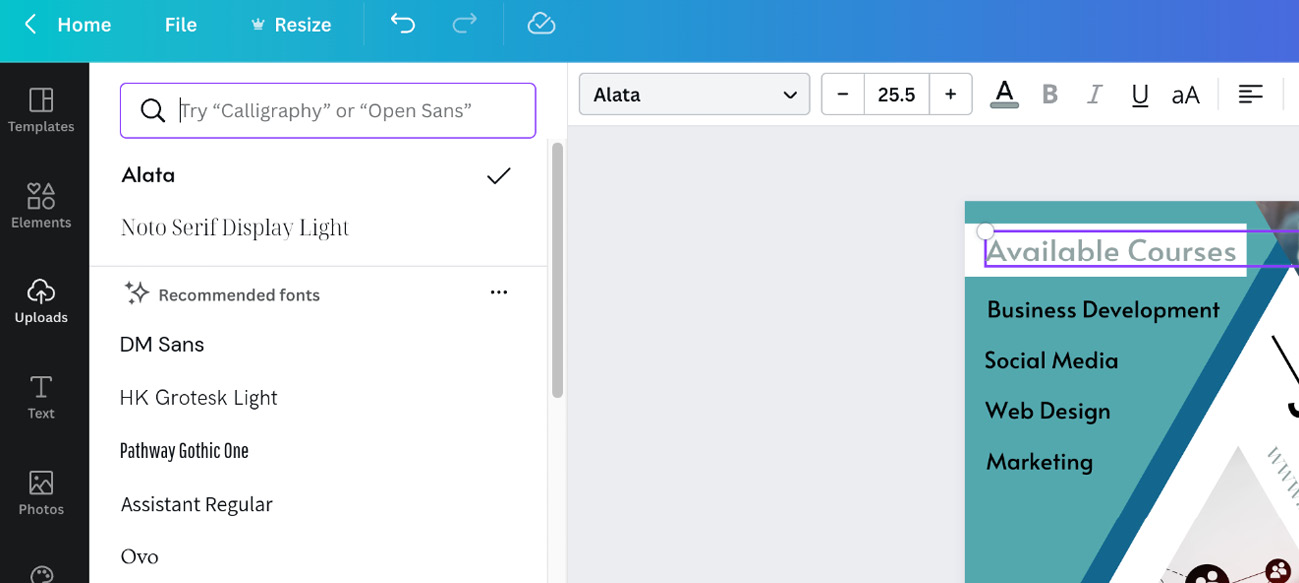
Figure 2.17 – Top bar of the text box, showing font, size, and color change options
If you know your font, you can search for it; otherwise, scroll through the options to find one that suits your design. I’ve gone for a more professional, corporate font, something that is clean, simple, and easy to read on this template.
We have now changed the color, images, and font. This is how the template looked before editing:

Figure 2.18 – Original template before editing
And after editing, it looks as follows:

Figure 2.19 – Finished edited template
So far in this chapter, we have covered how to find and edit pre-existing templates. We now know how to change the colors, images, text, and fonts. We’ve looked at where to find images and how to search for them using keywords, as well as where to find the color palettes and different fonts and how to add new text boxes. Next, let’s look at how to create a design from scratch and how to find your templates once they are saved.
Starting and finding your designs
Using a template is often the quickest and easiest way to create quick graphics in Canva, but sometimes, it’s necessary to create one from scratch, especially if we can’t find a template that matches what we are looking for. Starting a blank template is very similar to using a pre-made template. Click on the Create a design tab and search for the size you require. A blank template of the selected size will open up for you. Alternatively, you can click on the Custom size tab and you are given the following size options:
- px (pixels)
- in (inches)
- mm (millimeters)
- cm (centimeters)
These are useful if you are creating a banner, poster, book, or something else that has a specific size you need to work to.
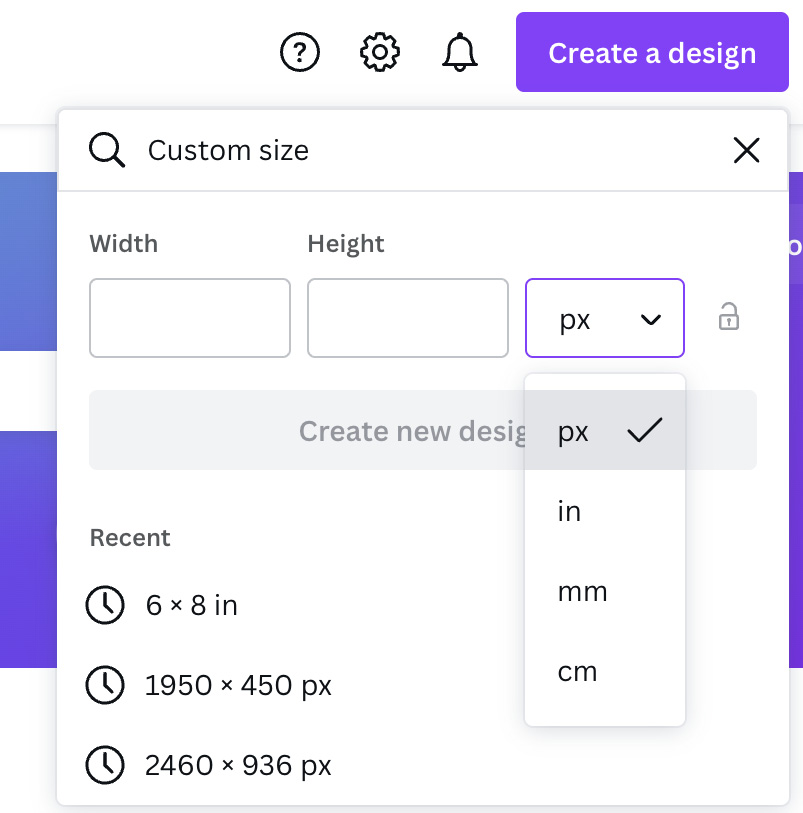
Figure 2.20 – Custom size options
Finding your designs
Every design in Canva is automatically saved as you go along, and they are all saved in your Projects tab in the left menu. Once you have finished creating your design, you can close the tab and come back to it later by navigating to the Projects tab and clicking on Designs, and everything will be there in order of when it was made, so the most recent will be displayed first.
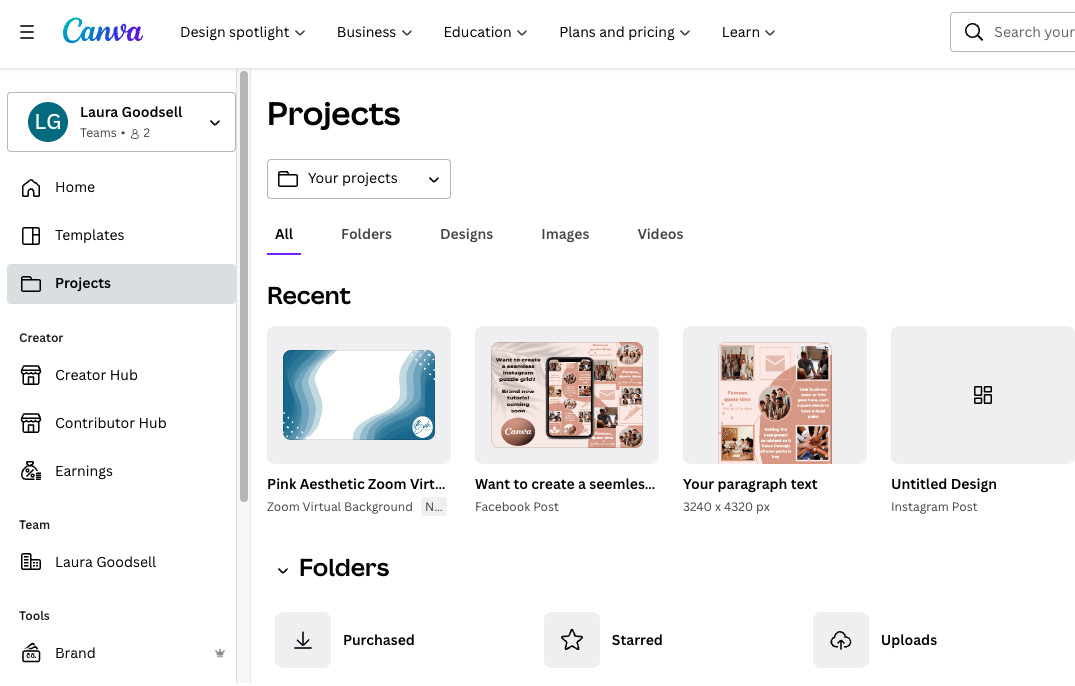
Figure 2.21 – Projects tab
You can also save designs into a folder for better organization, creating as many as you wish in both the Free and Pro accounts. We covered the use of folders in Chapter 1, Setting Up Canva on Desktop and Mobile.
Being able to start a design from scratch is something you can now do confidently. We’ve also looked at how to create a custom-sized template and where they are all stored, so you can find your designs quickly to use for your business. Let’s now look at how to add and edit lines and shapes.
Using lines and shapes
Lines and shapes in Canva are instrumental to your designs. You will find that you use them a lot more than you ever planned to; that’s because lines are brilliant at dividing and organizing information on a design and shapes are great at giving the design a sense of balance and can help to draw the viewer’s eye to important aspects.
Lines
Lines can be found in two places. The first is the simplest: all you need to do is press the L key on your keyboard and a line element will appear on your template. The second is to search for Lines in the Elements tab, which gives you more line elements, as well as images that have used the Lines keyword. But for this section, we are looking for a normal line, which comes up first in the list.
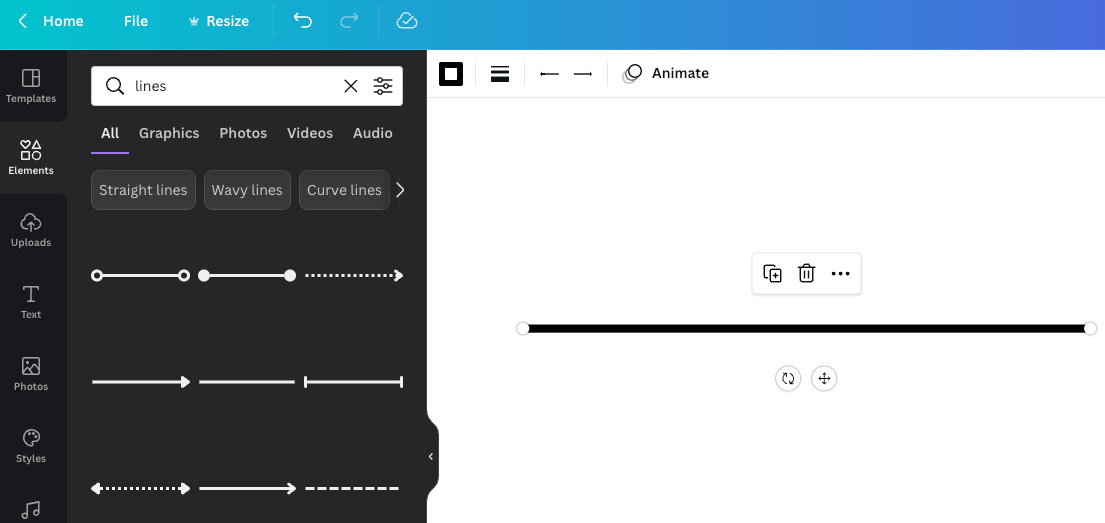
Figure 2.22 – The line element
We can now do more with lines in Canva. At the top of your template, you will see a selection of options. Hover over each one to see what it can do. They include the following:
- Line Color
- Line Style
- Line Start
- Line End
- Animate
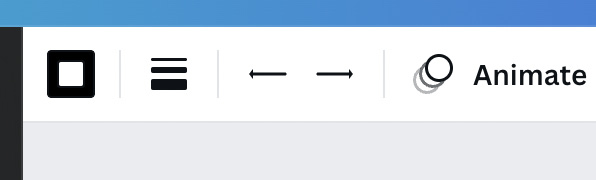
Figure 2.23 – Closeup of the line options
Line Color allows you to change the color of the line to any color you would like. It brings up all color palettes.

Figure 2.24 – Line Color closeup
The second option along is my favorite as it allows you to change the style of the line, so you can have a solid, dotted, or dashed line. It also has a checkbox for making the ends of the line rounded, and you can change the thickness of the line here.
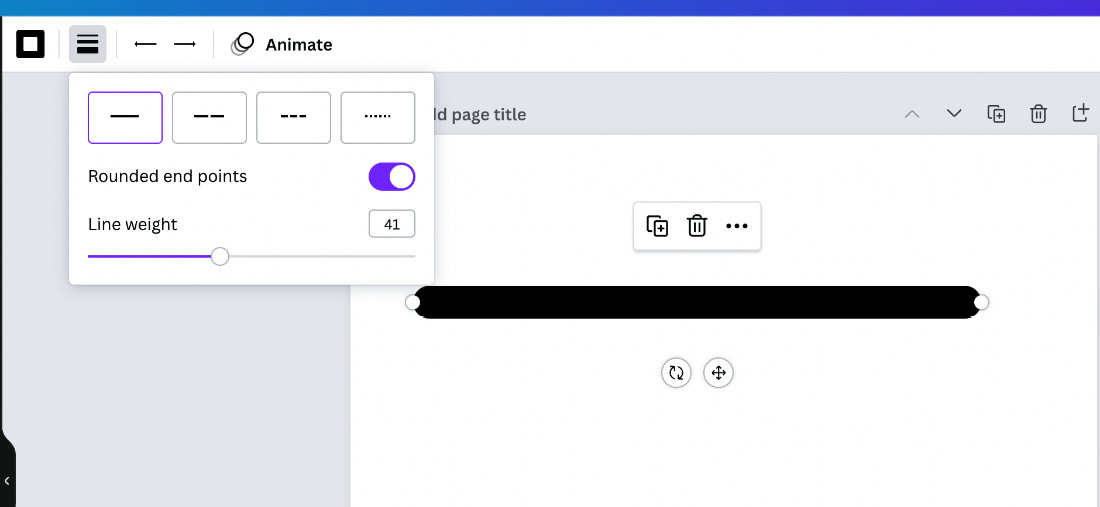
Figure 2.25 – Line Style
Next along, we have the option to change the ends of the line, giving it a more finished look. There is a separate dropdown for the start and end of the line, both of which have the same icons, but you can change either end, left and right independently, so you can mimic each end or have different ends.
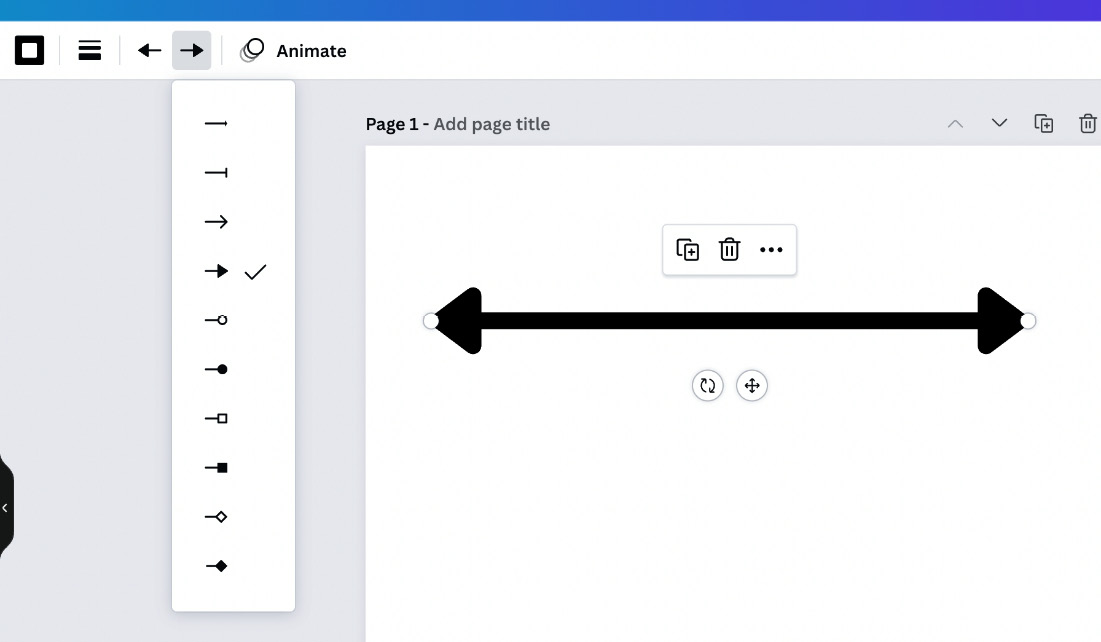
Figure 2.26 – Line End dropdowns
Lastly, you can animate your line as you can with every element, template, and image in Canva, but we will be looking at how to do this in Chapter 10, Leveraging Video and Animation within Your Business Marketing.
Shapes
Shapes in Canva are a staple part of most designs. You will find the majority of templates have made use of a shape or two, and there is more you can now do with shapes as Canva has added new features. You can find the shapes the same way you found the line element. There are two options: the first one is to use the C key on your keyboard for a circle, and the R key on your keyword will produce a rectangle. If you are looking for more or different shapes, you can find them in the Elements section by searching for the shapes keyword. Let’s take a look at them.
There are many different shapes. Some are simple block color squares, triangles, and circles.
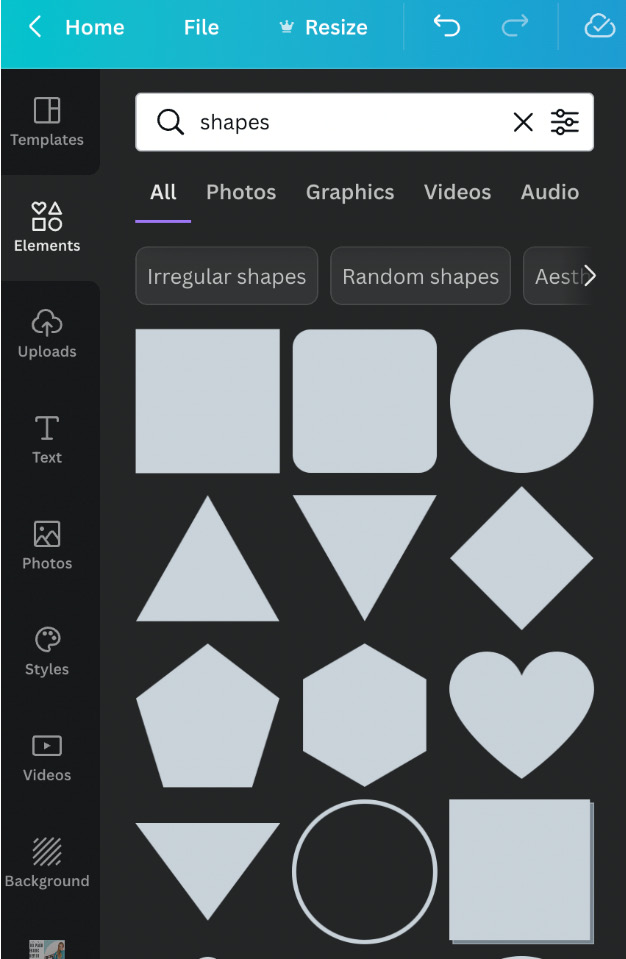
Figure 2.27 – Basic shape styles
Others are more complex, such as having fancy borders or multiple shades within them.
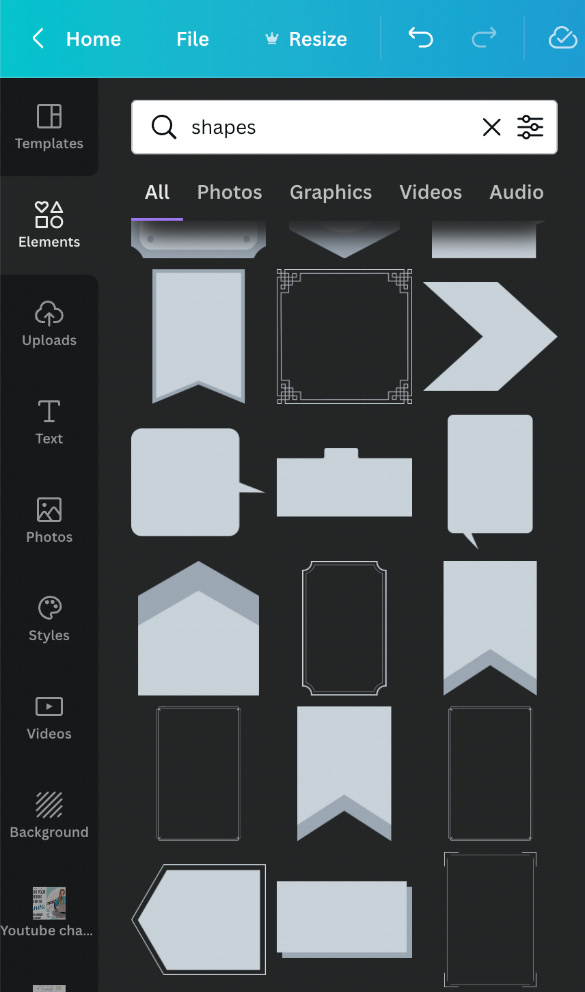
Figure 2.28 – Borders and different shape styles
The ones we are going to look at here have an extra level of features to them. They are the basic shapes, which include squares and circles. I have selected the plain square. When doing so, you may notice that a cursor appears in the center. We can now add text directly into the shape. If you don’t want to add text, click away from the square and the cursor will disappear.
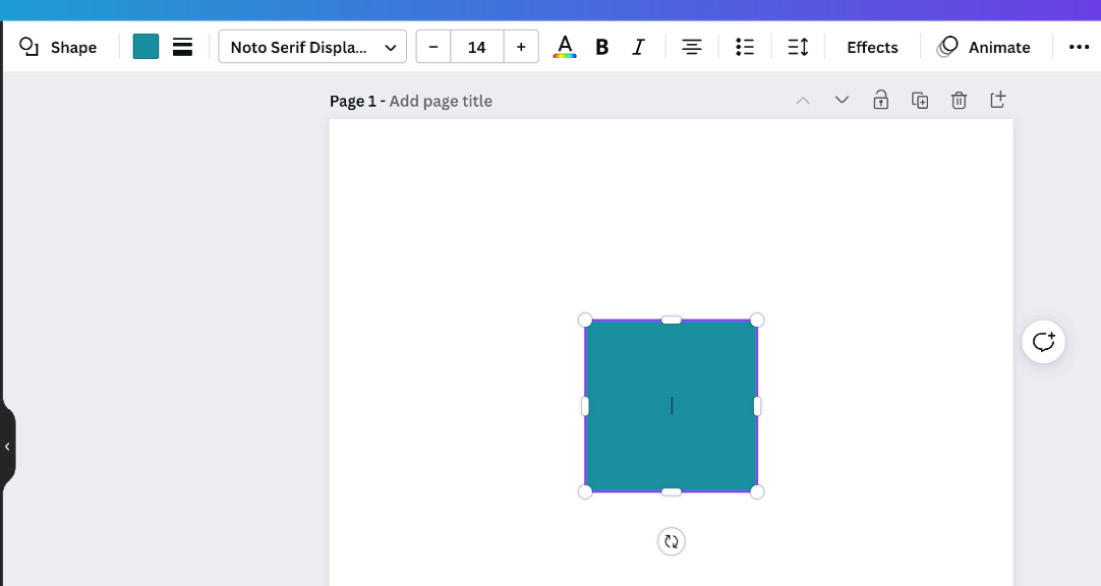
Figure 2.29 – Square shape added to template with cursor
As with the other elements we have looked at, the top bar shows us all the features of the shape. This bar will change depending on what element, text box, image, or shape you have selected. This shape now gives us a couple of features that are really useful. First of all, we can change the shape by selecting the first option on the bar, called Shape.
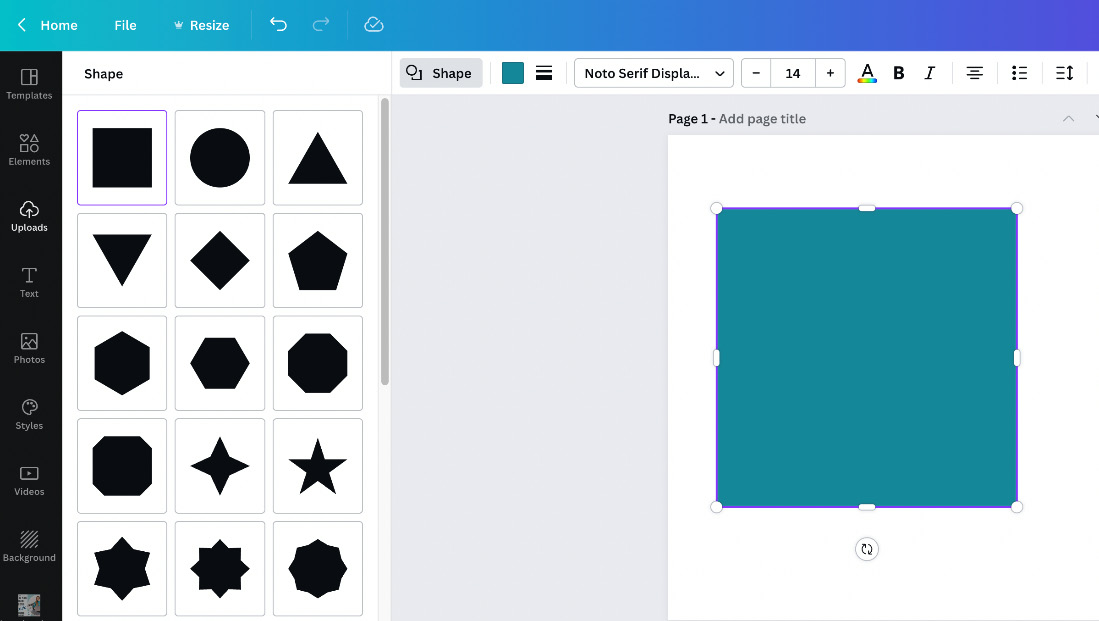
Figure 2.30 – Canva shapes
We can automatically change the shape to any of the suggested ones in the left column. I’ve changed the square to a star shape so I can show the next feature.
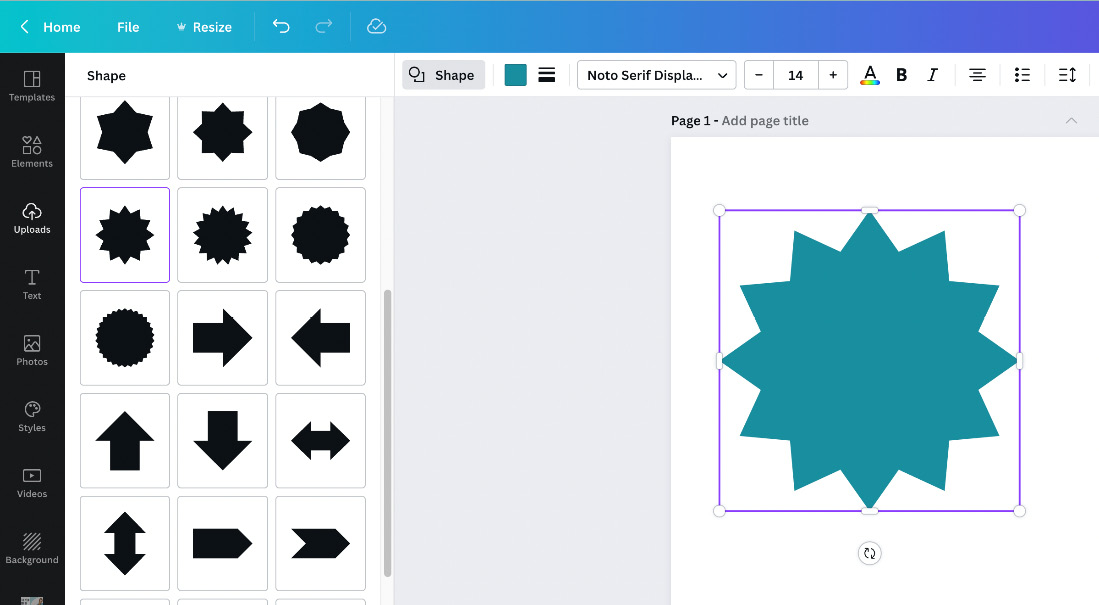
Figure 2.31 – Different shapes, including stars
This feature is the third icon along, the three lines next to the color block.

Figure 2.32 – Shape options
This is a great feature as you can give your shape a border. There are five options:
- No border
- Solid line border
- Large lined border
- Small lined border
- Dotted border
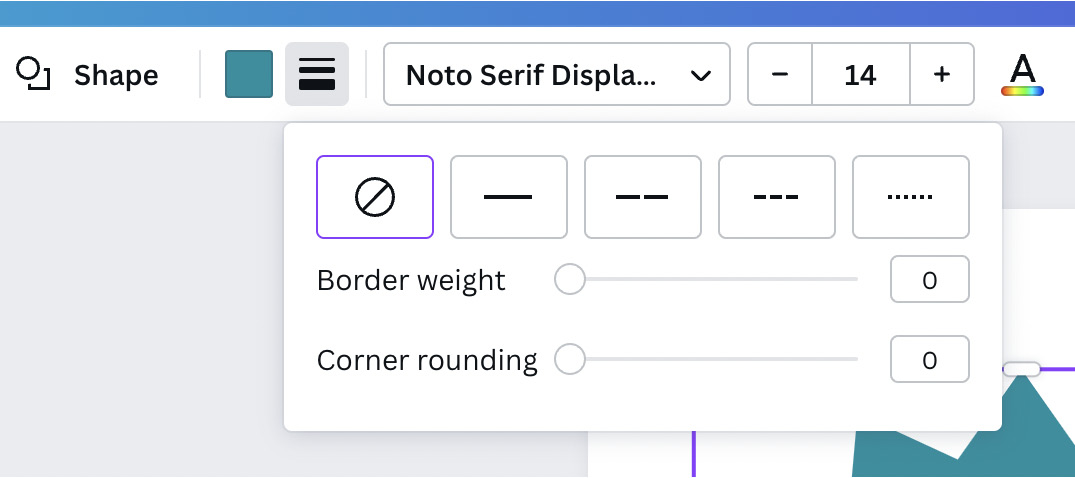
Figure 2.33 – Shape controls for border weight, style, and roundness
Once you select the border option, a new icon will appear in the top bar to allow you to change the color of your border.
Figure 2.34 – Closeup of the top bar shape options, including border color
Below the line options, you have controls to allow you to change the thickness of your border and round the corners of your shape.

Figure 2.35 – Shape controls for border weight, style, and roundness
In a few short clicks, I have changed my plain square into a star, given it a lined border, and changed the thickness and colors, and I can now use this within my design.
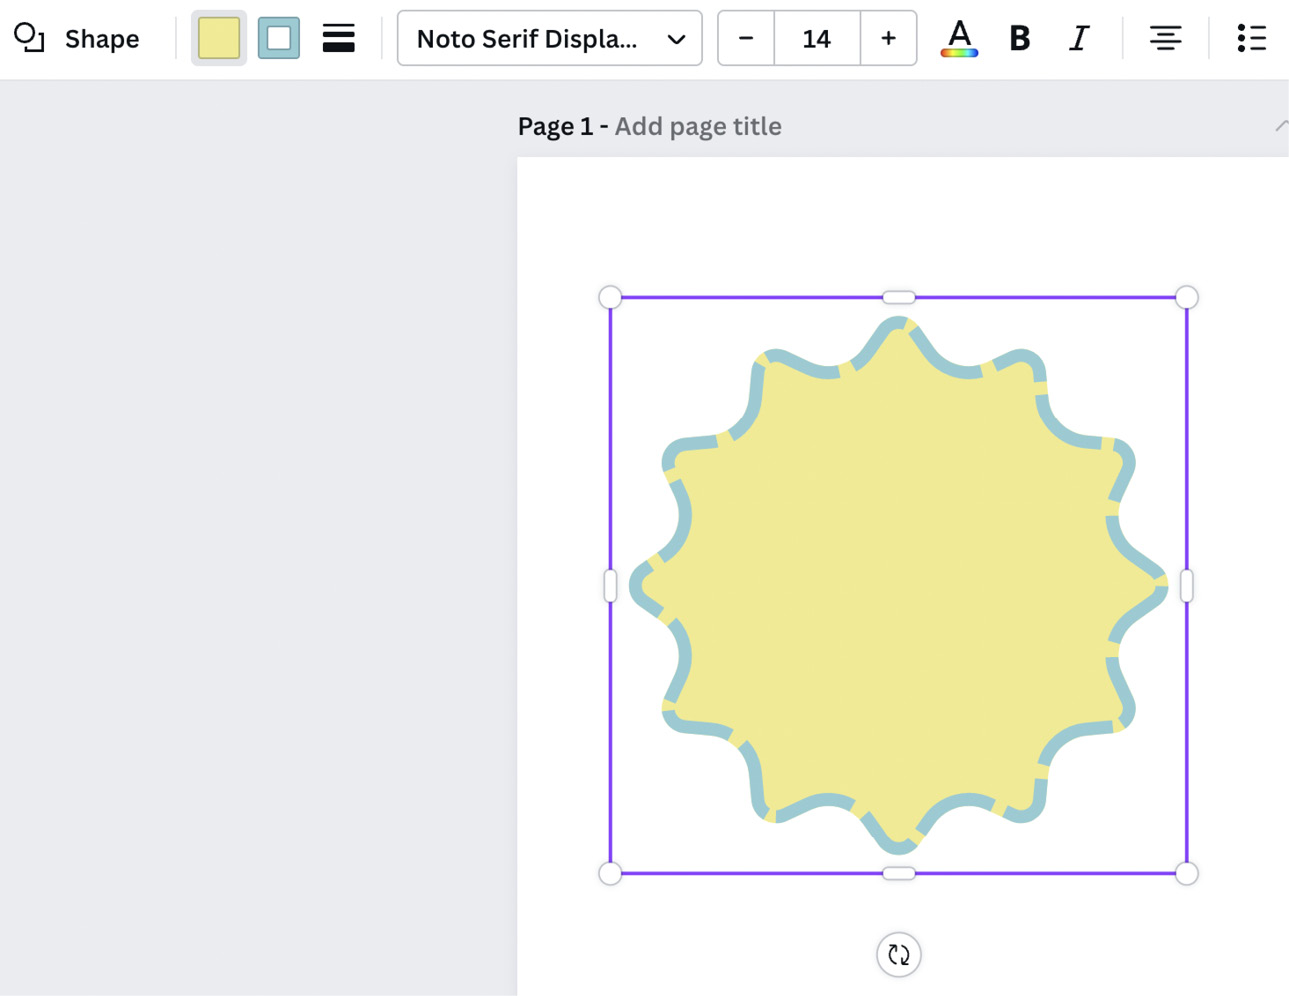
Figure 2.36 – Closeup of the final edited shape
Shapes may seem unexciting, but they are so versatile and useful in everyday design. Have a look around you and count how many shapes you can find. They work well in your business templates and it’s useful to know how to edit them to suit your brand.
You can even use shapes as a background for your text boxes, so next, let’s look at the different text effects and fonts.
Text effects and fonts
Canva is home to hundreds of different fonts, so whatever you are creating, you are sure to find a font to suit your design, but how do you find them and how can you make them stand out more? Well, that’s what we are going to find out in this section.
The dropdown for fonts appears once you have added a text box to your template. It’s the first option along the top bar. The fonts appear on the left side and you can choose one through search or scrolling as they’re shown in alphabetic order with recommended, recently used, and your brand fonts appearing first.
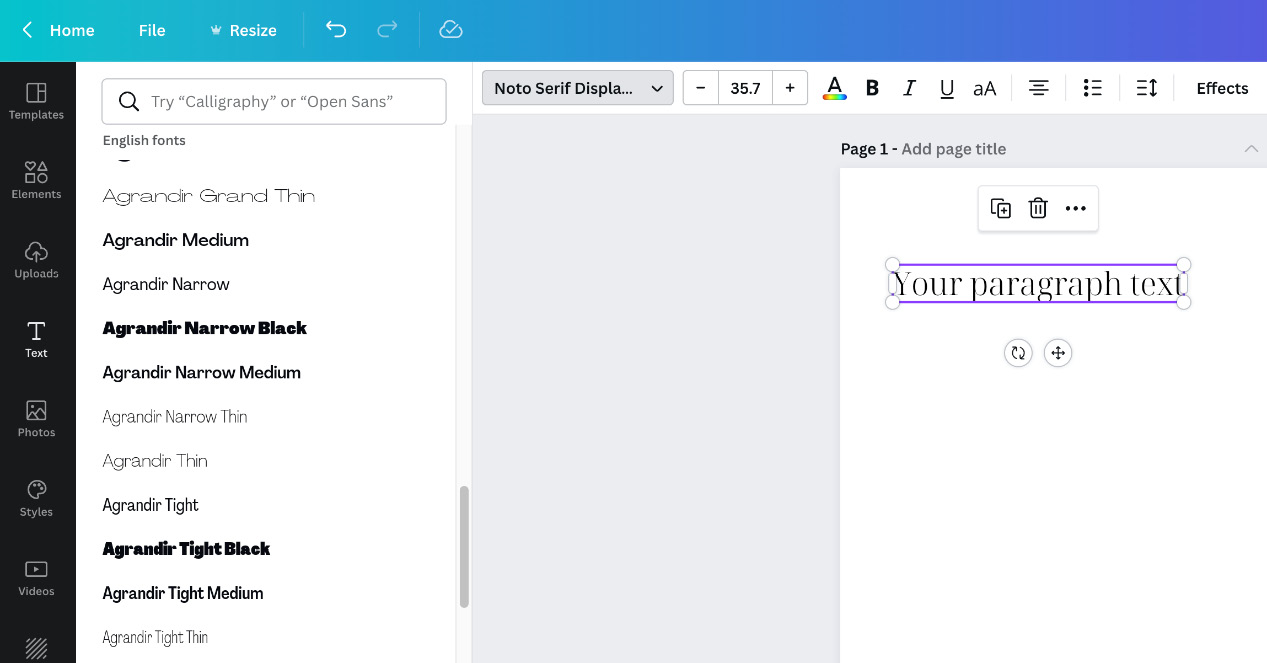
Figure 2.37 – Selection of fonts available in Canva
If by some chance you cannot find the font you want to use in Canva, you can also upload a font you have purchased or downloaded from the internet. As long as you have the OTF or TTF files, you can upload these to Canva. This is a Pro feature, and we will be looking at how to do this in Chapter 5, Exploring the Awesome Creative Tools for Branding.
But for now, we are going to find a font in Canva we can edit, I’m looking for a nice, easy-to-read font, as I may want to use this for a social media post, so using a sans serif font will help make it easier to read on screens.
The difference between sans serif and serif fonts
Sans serif fonts are fonts without the little feet or flicks at the end.
The following are examples of serif and sans serif fonts. Serif fonts have little feet at the end of each letter and are often used in print material, such as books, magazines, and newspapers:
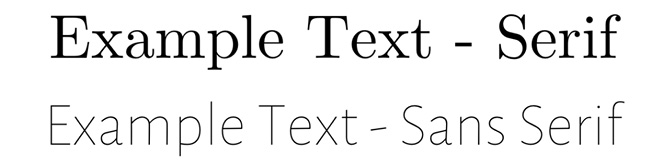
Figure 2.38 – Sample font styles
When you click on the search box, a selection of options will appear along the top. Here, you can choose a style of font. For example, if you require a fancy font for a business name, then you can select Handwriting, or if you need a more professional font for a CV, you could select Corporate.
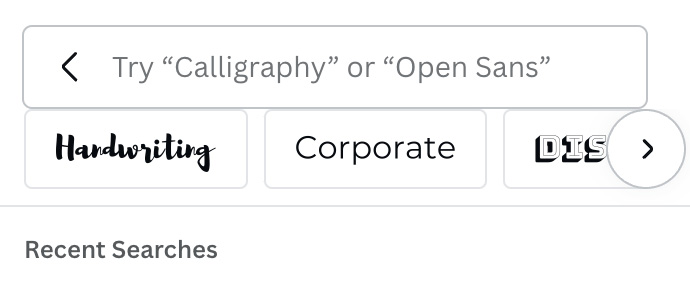
Figure 2.39 – Closeup of the font search bar
I’ve chosen the Agrandir Wide Black font, a nice, chunky, easy-to-read font.
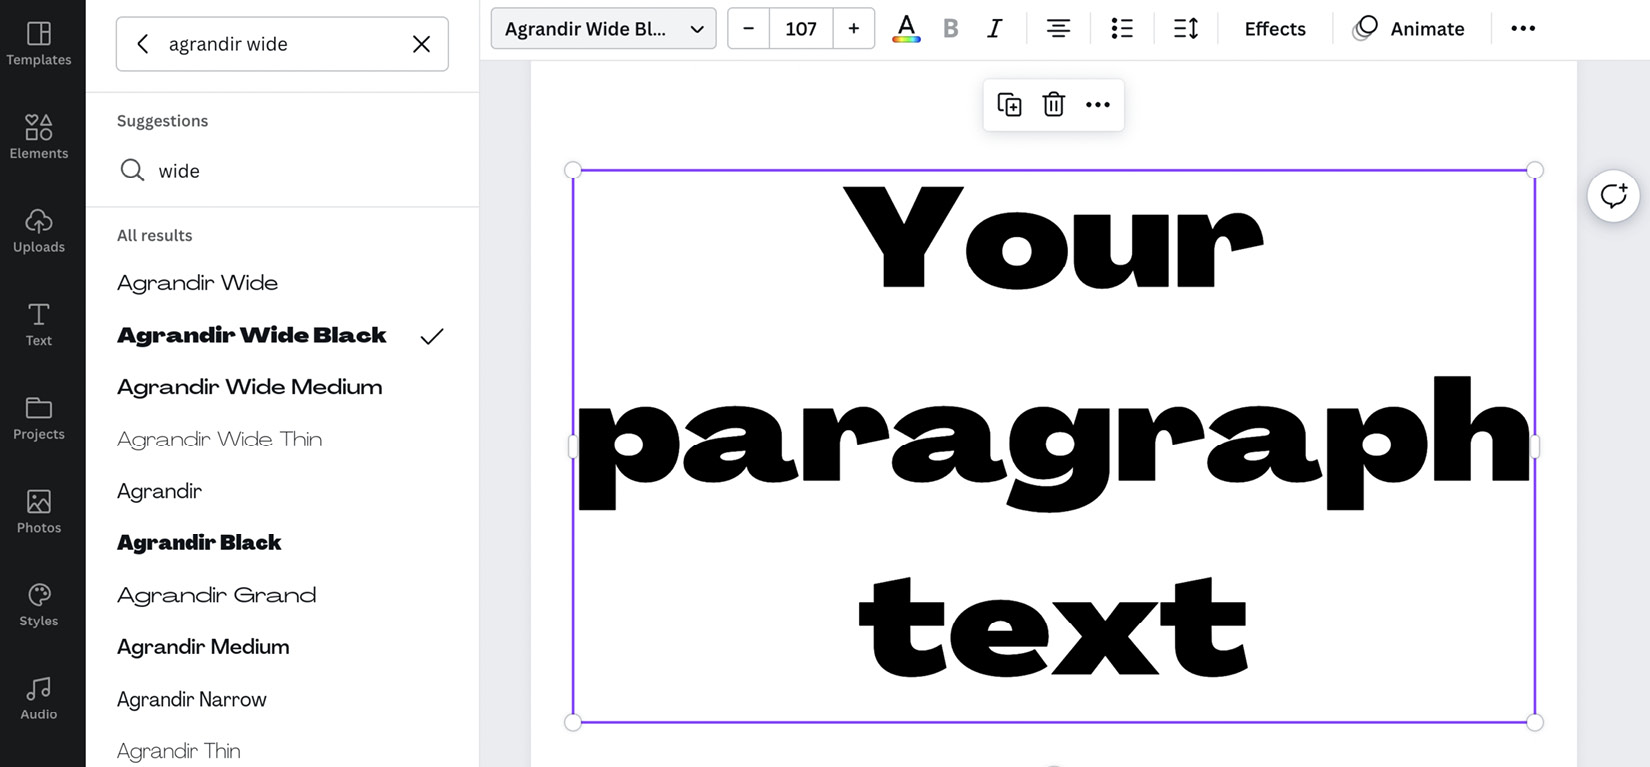
Figure 2.40 – Text box with chosen font
So, now we have a font we can use on our social post, let’s add some styling to it. This can be done through the Effects tab. Here, you can give your font a neon glow, background shadow, hollow effect, and more.
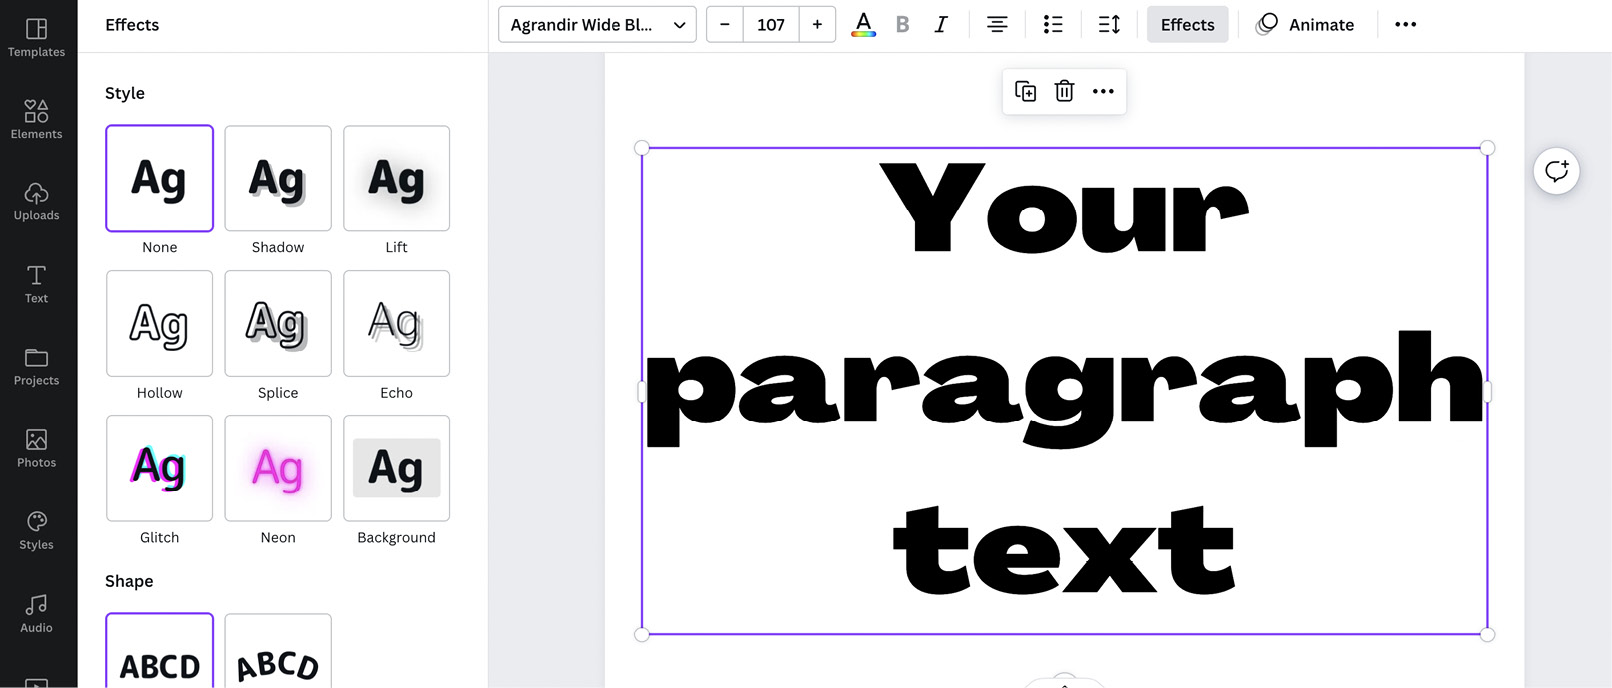
Figure 2.41 – Font effects
Each one of the effects has its own set of options, which you can adjust using the sliding bars. On the Shadow effect, we can change the offset of the shadow, the direction it flows, the blur and transparency, as well as the color of the shadow itself.
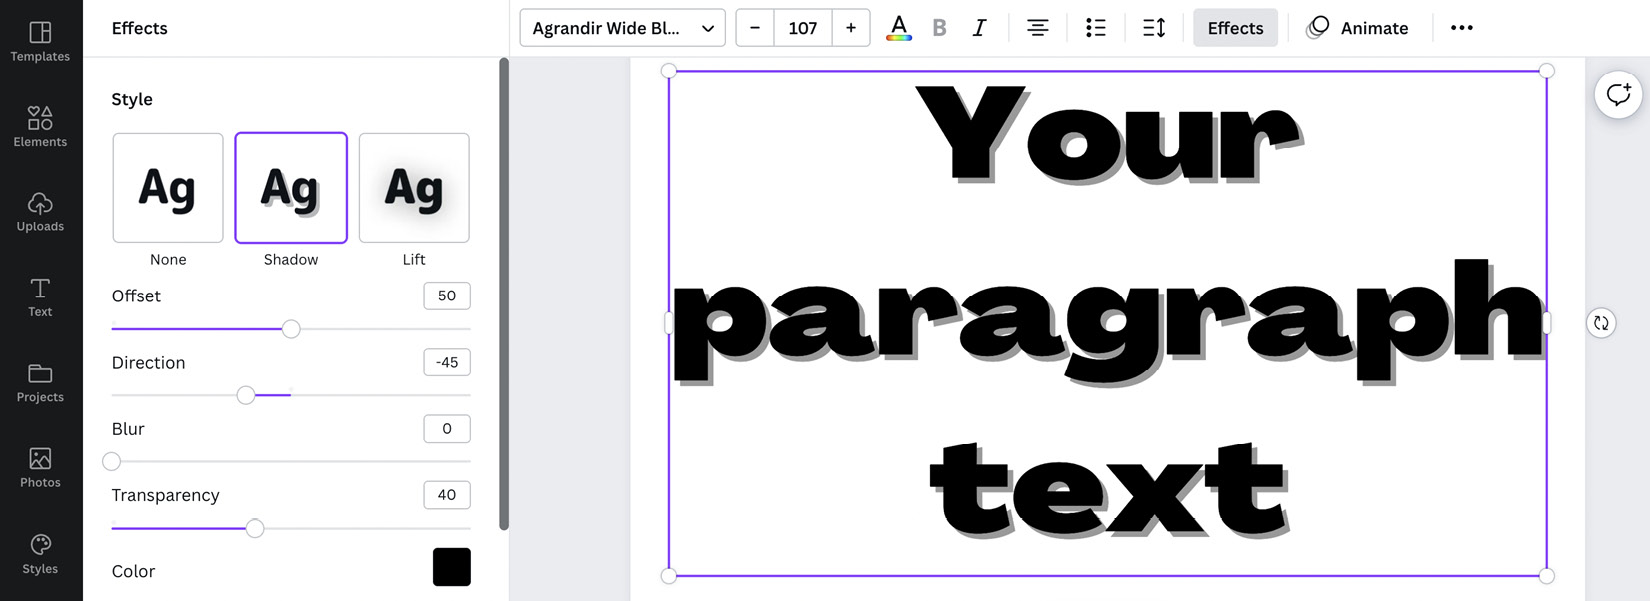
Figure 2.42 – Shadow font effect settings
In this example, I’ve increased the offset to make it appear like it’s popping out of the screen, left the direction where it was, increased the blur to soften the shadow, slightly increased the transparency, and changed the color of the font, leaving the shadow black.

Figure 2.43 – Closeup of font effect settings
This is the finished effect, achieved in under a minute:
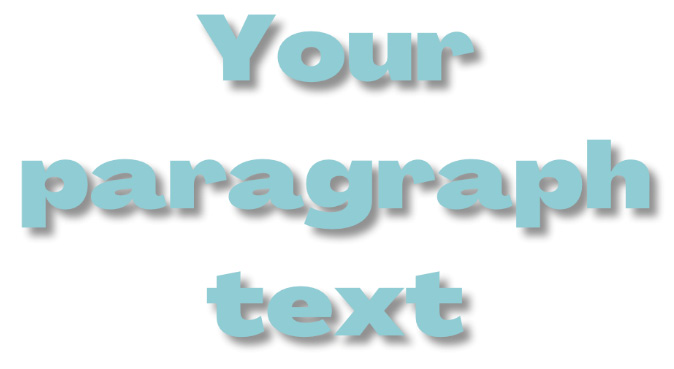
Figure 2.44 – Final version of fully edited text
Now, you can have text that will stand out more on your social posts.
Here are some of the other text effects:
- Hollow: Takes out the middle of your font and allows you to increase or decrease the thickness of the lines.
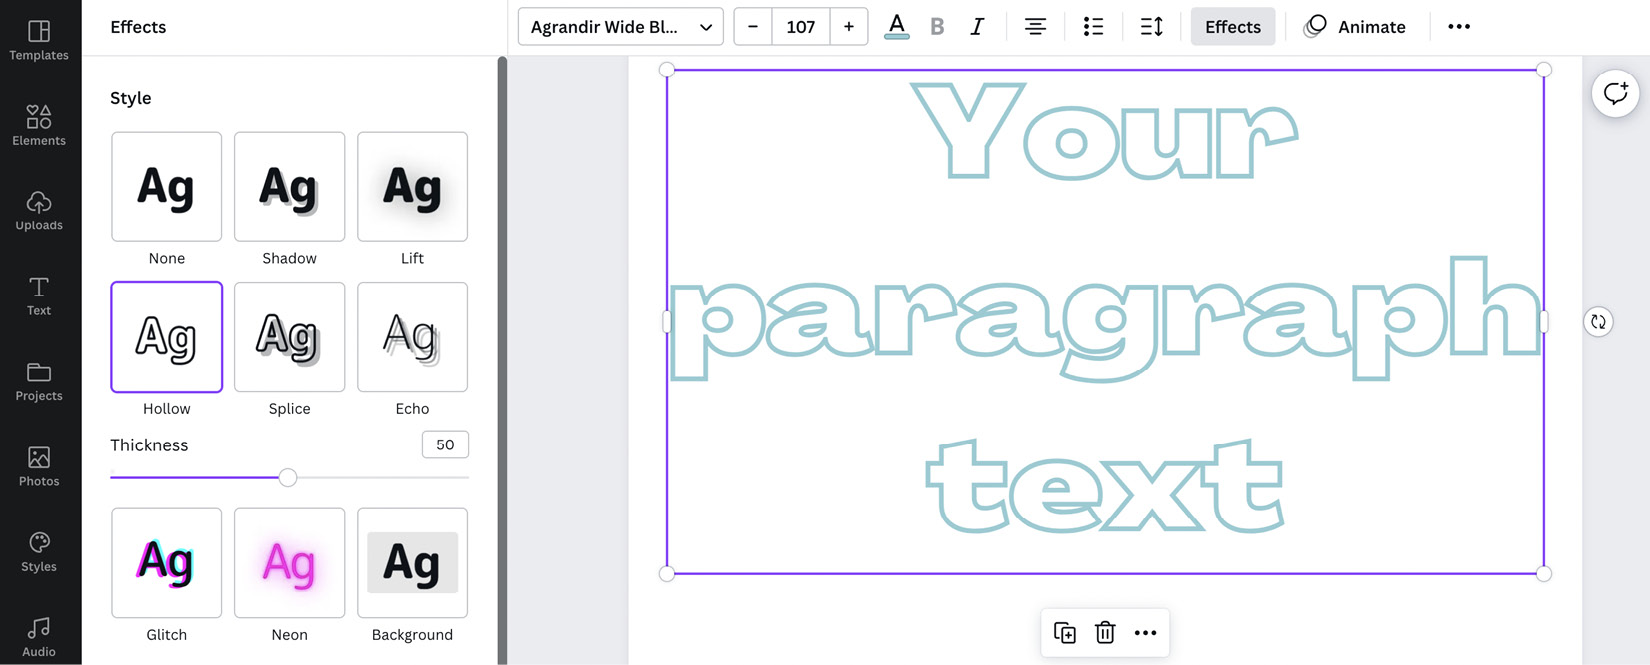
Figure 2.45 – Hollow text effect
- Splice: This is one of my favorites; it’s the hollow effect with the background displaced. You can change the color of the background as well.
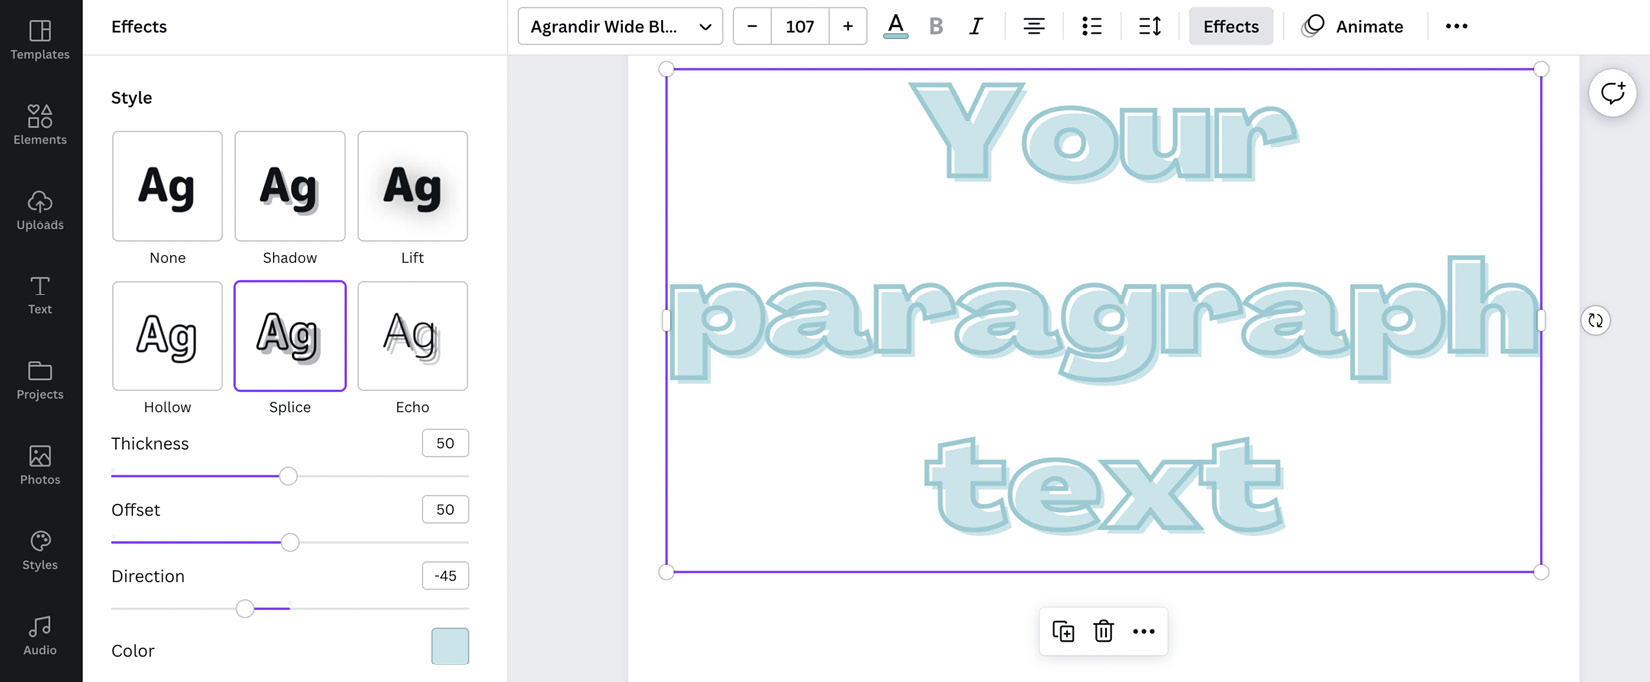
Figure 2.46 – Splice text effect
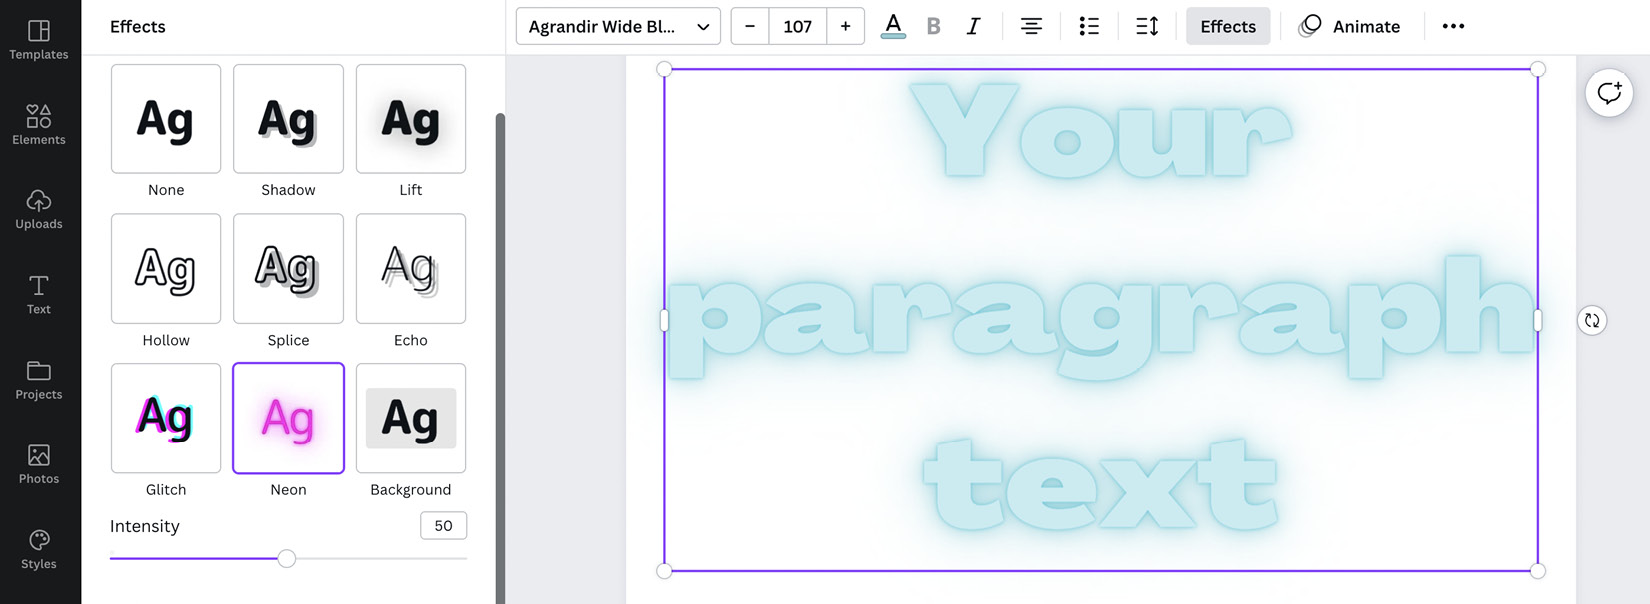
Figure 2.47 – Neon text effect
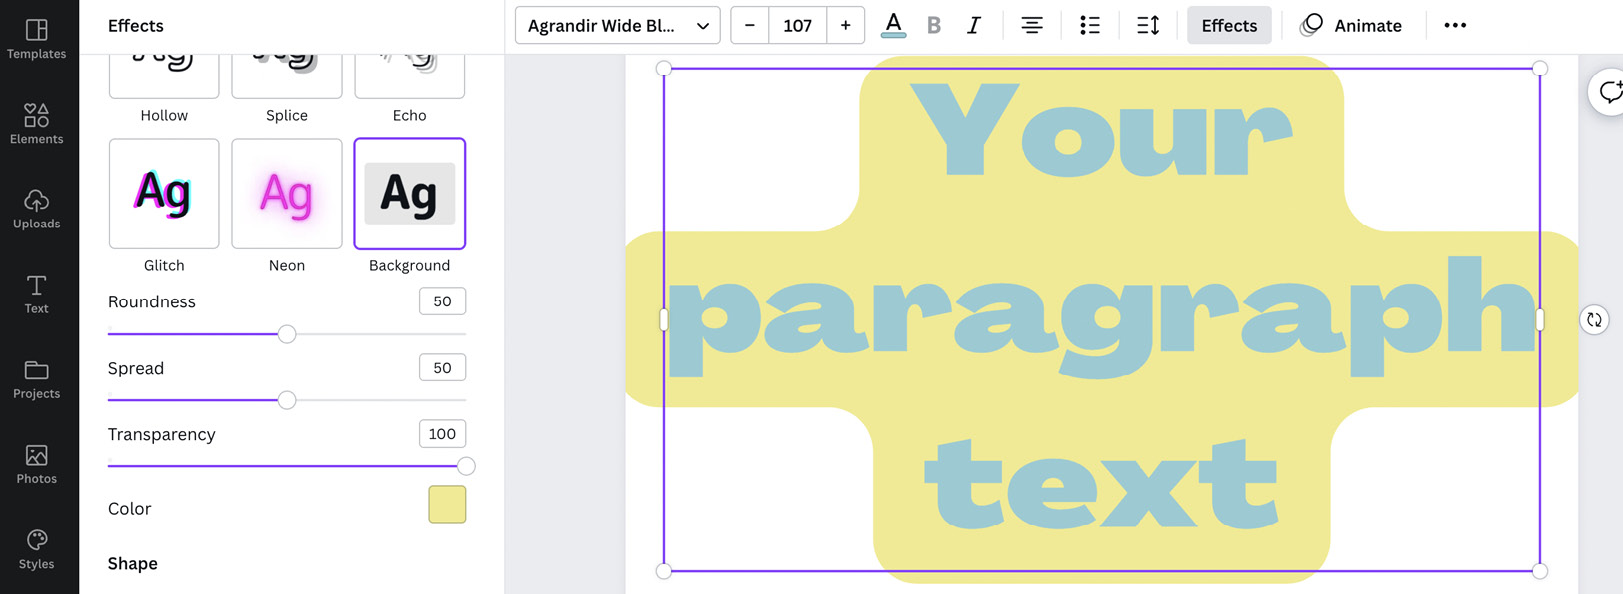
Figure 2.48 – Background text effect
The best way to discover what the effects can really do, and which one would work best for your design, is to have a look at all of them and have a play with each one and its different settings.
Curved text
Lastly, I’d like to show you a great feature that has saved me countless hours in Canva: the curved text feature. You can now curve your text with the click of a button. It can be found at the bottom of the font effects tab and allows you to curve the text either up or down, changing the ratio of the curve by using the scroll bar at the bottom.
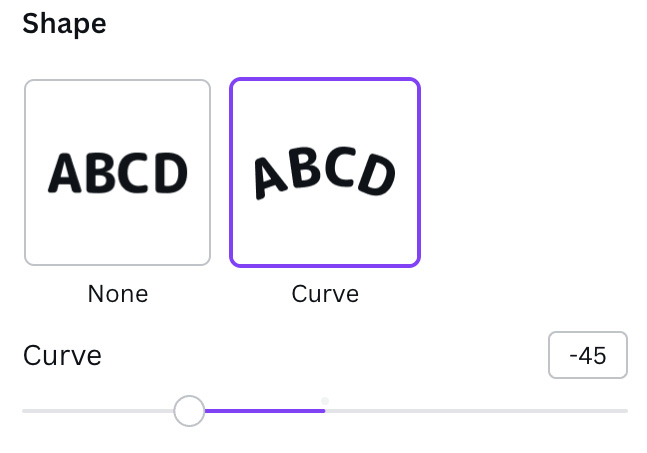
Figure 2.49 – Curved text feature
It’s a simple but effective feature, perfect for logos or wrapping text around an icon or website button.
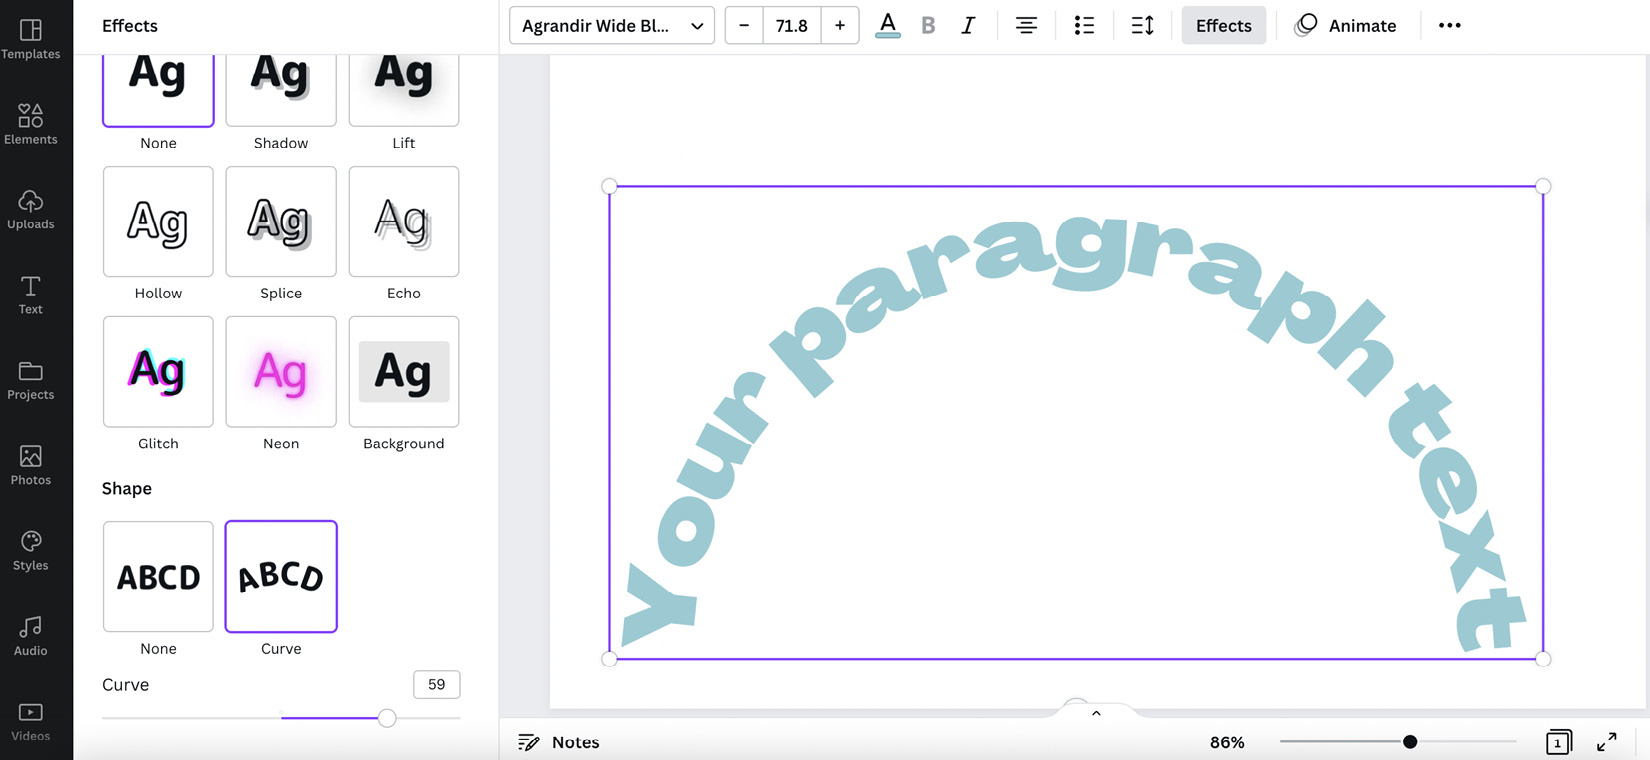
Figure 2.50 – Curved effect on text
I love the font effects in Canva and I hope you’ve found some you love too. They can really make your text pop on your design, drawing the eye of the viewer.
Summary
What have we learned in this chapter? Well, you’ll now know how to find and edit a template to suit the theme of your business and change out the colors, imagery, and fonts. You’ve also learned how to find your designs after saving them and how to create one from a blank page. We’ve also learned how to use the line feature and change and edit shapes to give our designs a consistent look and feel.
So, that’s it for this chapter. In the next chapter, we will be looking at how to search for and add different elements to your design, as well as how to find suitable images, the different image editing tools, and how to change backgrounds.