
Chapter 6: Setting Up the Environment and Tools – Frontend
This chapter describes the development environment and tools that are needed for React and are required so that you can start frontend development. In this chapter, we will create a simple starter React app by using the create-react-app starter kit, which is developed by Facebook.
In this chapter, we will cover the following topics:
- Installing Node.js
- Installing Visual Studio Code
- Visual Studio Code extensions
- Creating and running a React.js app using create-react-app
- Modifying the React app
Technical requirements
In this book, we are using the Windows OS, but all the tools we use are available for Linux and macOS as well.
The following GitHub link will also be required: https://github.com/PacktPublishing/Full-Stack-Development-with-Spring-Boot-and-React/tree/main/Chapter06.
Installing Node.js
Node.js is an open source, JavaScript-based server-side environment. Node.js is available for multiple operating systems, such as Windows, macOS, and Linux, and is required to develop React apps.
The Node.js installation package can be found at https://nodejs.org/en/download/. Download the latest Long-Term Support (LTS) version for your operating system. In this book, we are using the Windows 10 operating system, and you can get the Node.js MSI installer for it, which makes installation really straightforward.
When you execute the installer, you will go through the installation wizard, and you can do so using the default settings:
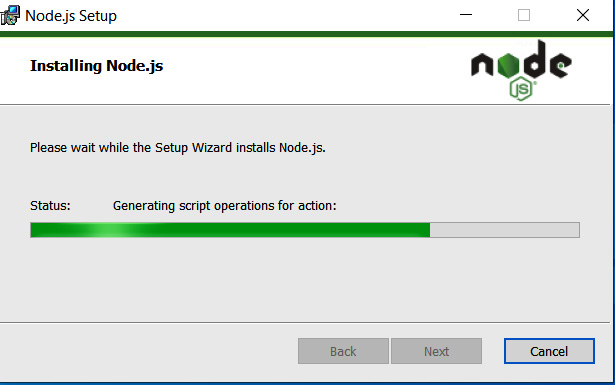
Figure 6.1 – Node.js installation
Once the installation is complete, we can check that everything proceeded correctly. Open PowerShell, or whatever terminal you are using, and type the following commands:
node -v
npm -v
These commands should show you the installed versions of Node.js and npm:
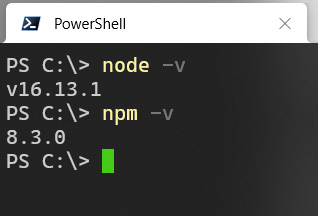
Figure 6.2 – Node.js and npm versions
npm comes with the Node.js installation and is a package manager for JavaScript. We will use this a lot in the following chapters when we install different node modules on our React app. There is also another package manager called Yarn that you can use as well.
Now, we have installed Node.js, and next, we will install a code editor that helps us to start coding.
Installing VS Code
Visual Studio Code (VS Code) is an open source code editor for multiple programming languages. VS Code was developed by Microsoft. There are a lot of different code editors available, such as Atom and Brackets, and you can use something other than VS Code if you are familiar with it. VS Code is available for Windows, macOS, and Linux, and you can download it from https://code.visualstudio.com/.
Installation for Windows is done with the MSI installer, and you can execute the installation with default settings. The following screenshot shows the workbench of VS Code. On the left-hand side is the activity bar, which you can use to navigate between different views. Next to the activity bar is a sidebar that contains different views, such as the project file explorer.
The editor takes up the rest of the workbench:
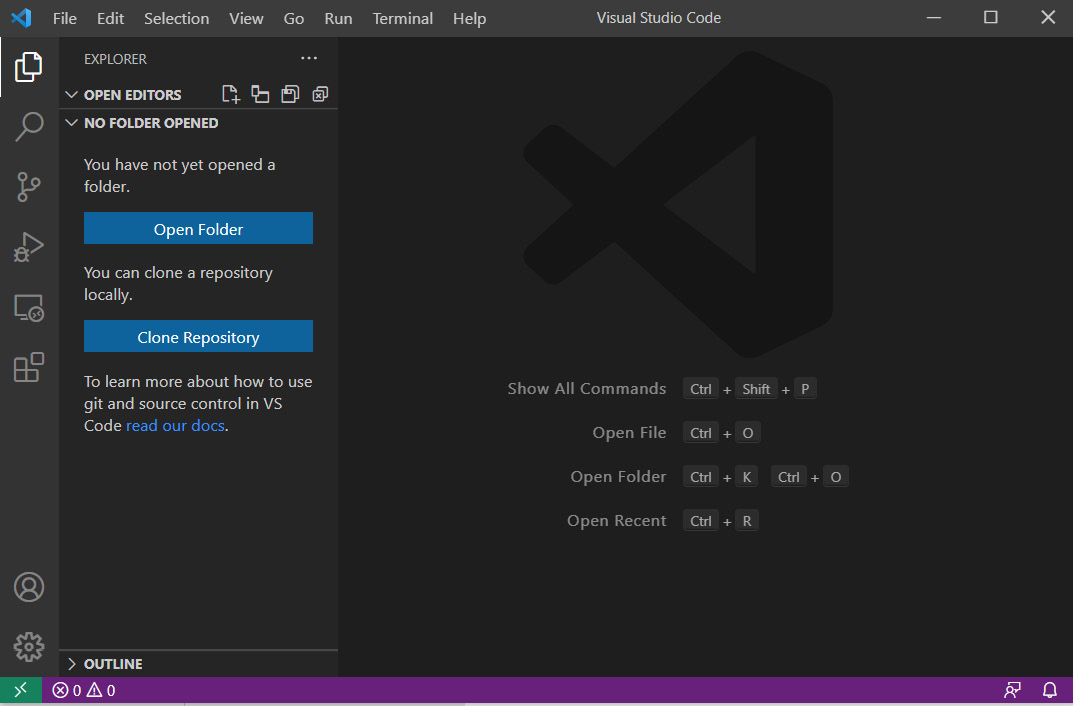
Figure 6.3 – VS Code workbench
VS Code provides an integrated terminal that you can use to create and run React apps. The terminal can be found in the View | Integrated terminal menu. You will use this in later chapters when we create more React apps.
VS Code extension
There are a lot of extensions available for different programming languages and frameworks. If you open Extensions from the activity bar, you can search for different extensions. One really useful extension for React development is React.js code snippets, which we recommend installing. It has multiple code snippets available for React.js apps, which makes your development process faster. We will show you how to use that extension later.
The following screenshot shows the React.js code snippets installation page:
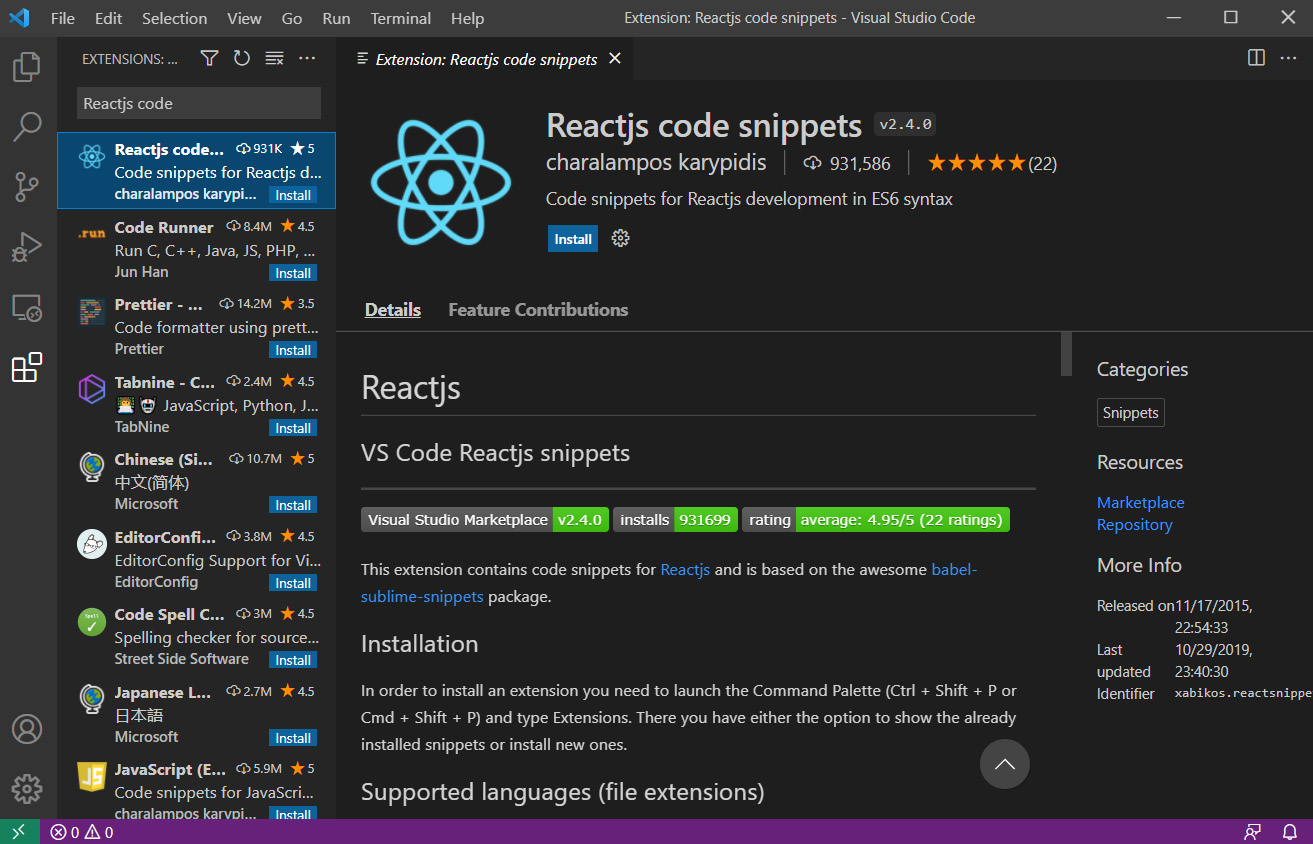
Figure 6.4 – React code snippets
The ESLint extension helps you find typos and syntax errors quickly and makes formatting the source code easier:
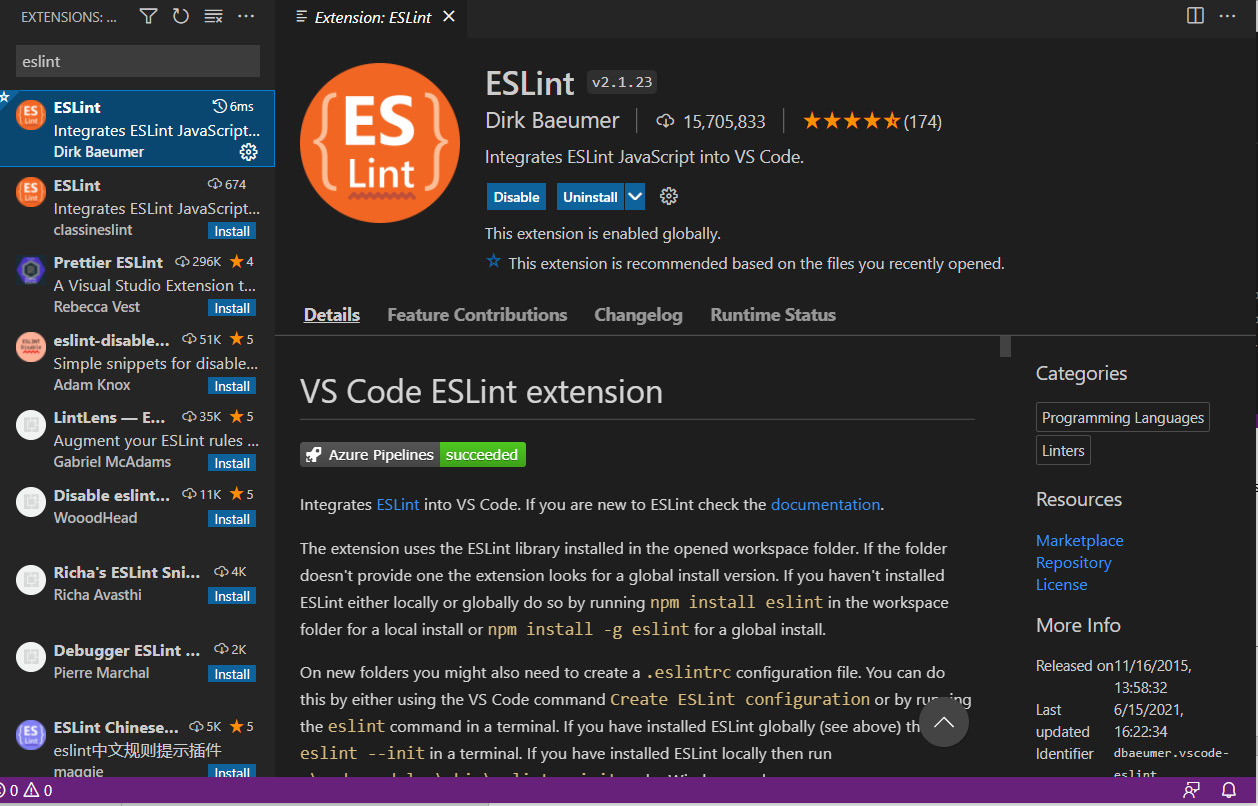
Figure 6.5 – ESLint enxtension
Prettier is a code formatter. With the Prettier extension, you can get automatic code formatting. You can also set this from the VS Code settings so that you can format code automatically after saving your code:

Figure 6.6 – Prettier extension
These are just a few examples of the great extensions you can get for VS Code. Next, we will create our first React app and learn how to run and modify it.
Creating and running a React app
Now that we have Node.js and the code editor installed, we are ready to create our first React.js app. We are using Facebook's create-react-app (https://github.com/facebook/create-react-app) kit for this. Here are the steps you need to follow in order to make your first app:
- Open PowerShell or a terminal that you use and type the following command:
npx create-react-app myapp
This command creates a React app named myapp. The npm package runner is npx and, when you're using it, you don't have to install the package before running it:
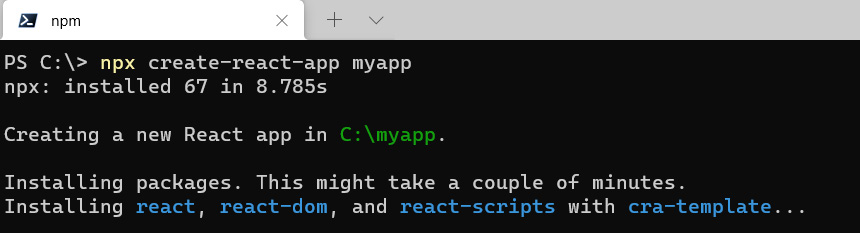
Figure 6.7 – create-react-app
cd myapp
- Then, we can run the app with the following command. This command runs the app in the 3000 localhost port and opens the app in a browser:
npm start
- Now, your app is running, and you should see the following page in your browser. The npm start command starts the app in development mode:
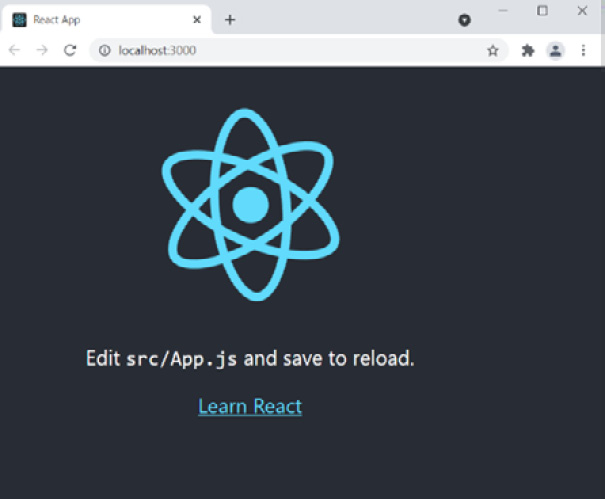
Figure 6.8 – React app
You can stop the development server by pressing Ctrl + C in PowerShell. To build a minified version of your app for production, you can use the npm run build command, which builds your app in the build folder.
Modifying a React app
Now, we learn how to modify our React app that we created using create-react-app. We will use VS Code, which we installed earlier:
- Open your React app folder with VS Code by selecting File | Open folder. You should see the app's structure in the file explorer. The most important folder in this phase is the src folder, which contains the JavaScript source code:
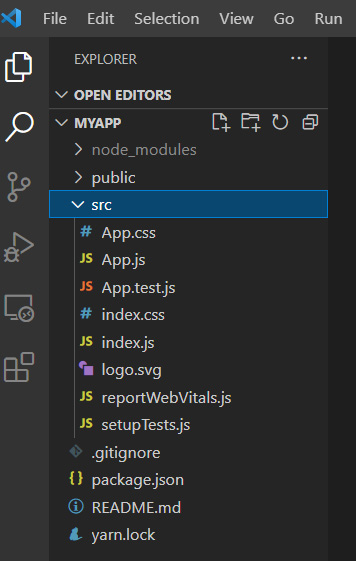
Figure 6.9 – Project structure
Important Note
You can also open VS Code by typing the code . command into the terminal. This command opens VS Code and the folder where you are located.
- Open the App.js file from the src folder in the code editor. Modify the text inside the link element to Hello React (an <a> element) and save the file. You don't need to know anything else about this file at the moment. We will go deeper into this topic in Chapter 7, Getting Started with React:
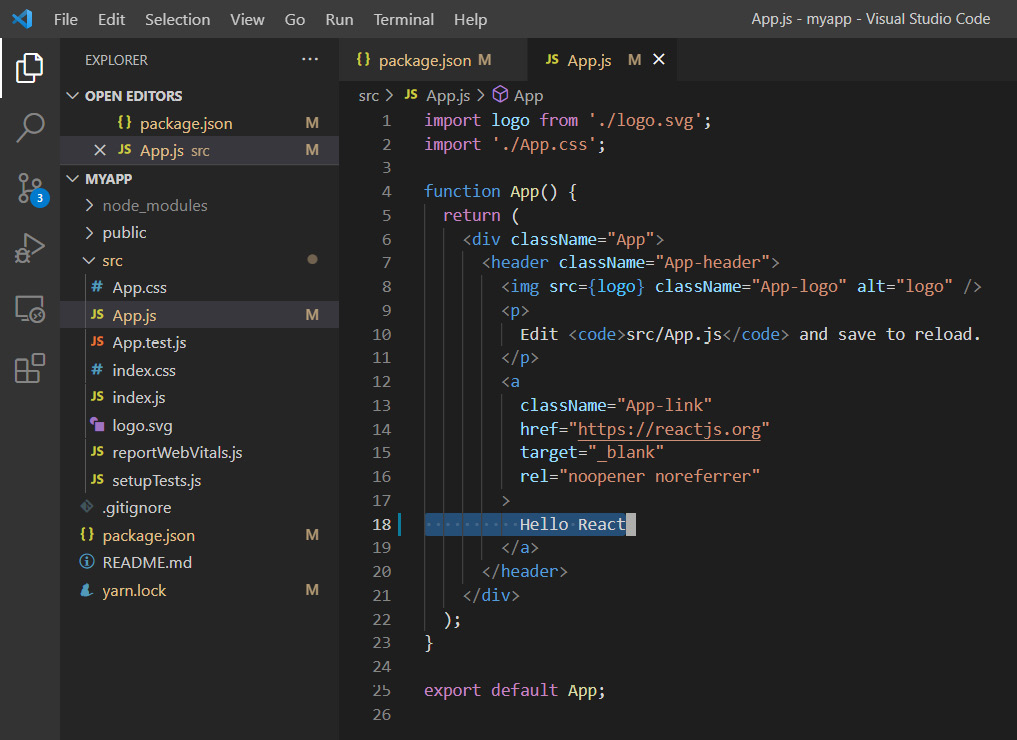
Figure 6.10 – App.js code
- Now, if you look at the browser, you should immediately see that the link text is changed. The browser is refreshed automatically when you modify and save JavaScript files in your React project:
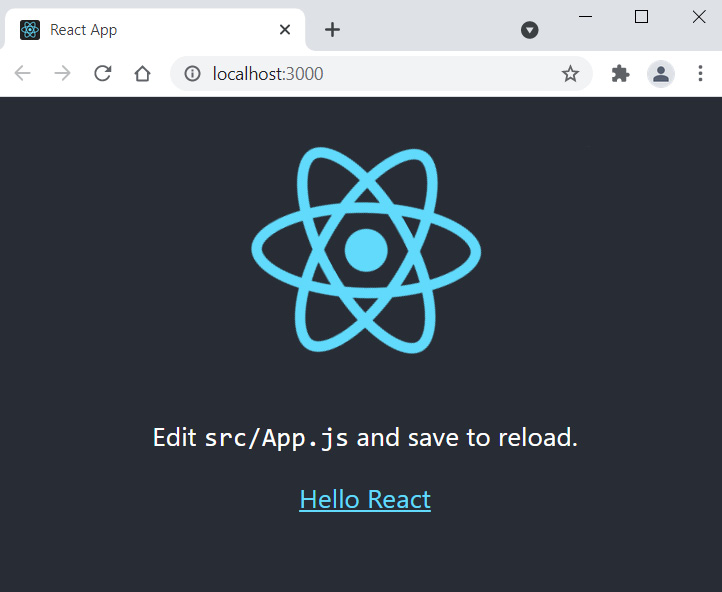
Figure 6.11 – Modified React app
To debug React apps, we should also install React Developer Tools, which is available for Chrome, Firefox, and Edge browsers. Chrome plugins can be installed from the Chrome web store (https://chrome.google.com/webstore/category/extensions), while Firefox add-ons can be installed from the Firefox add-ons site (https://addons.mozilla.org). After you have installed React Developer Tools, you should see a new Components tab in your browser's developer tools once you navigate to your React app.
You can open the developer tools by pressing the Ctrl + Shift + I (or F12) in the Chrome browser. The following screenshot shows the developer tools in the Chrome browser:
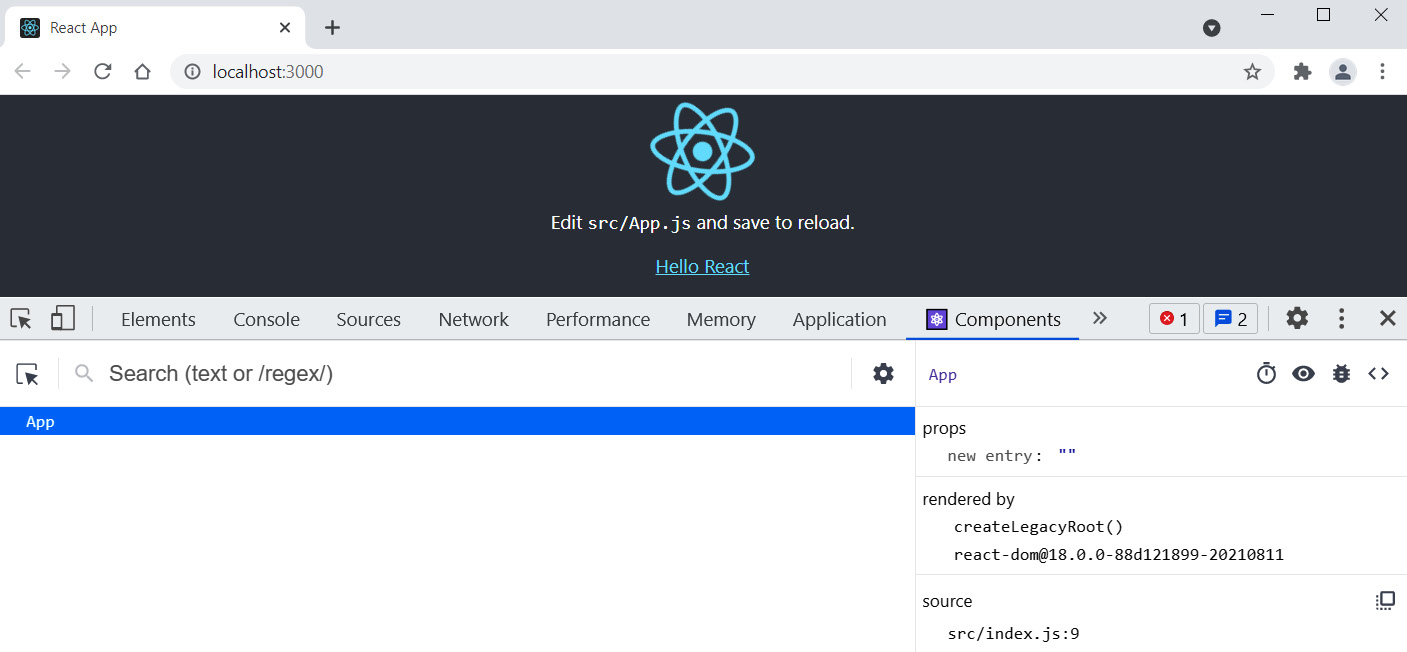
Figure 6.12 – React Developer Tools
The browser's developer tools are really important tools, and it is good to open them during development so that you can see errors and warnings immediately.
Summary
In this chapter, we installed everything that is needed to embark on our frontend development with React.js. First, we installed Node.js and the VS Code editor. Then, we used the create-react-app starter kit to create our first React.js app. Finally, we ran the app and demonstrated how to modify it. This is just an overview of the app's structure and modification, and we will continue this in the following chapters.
In the next chapter, we will familiarize ourselves with the basics of React programming. In JavaScript, we will be using ES6 syntax because it provides several features that make coding cleaner.
Questions
- What are Node.js and npm?
- How do you install Node.js?
- What is VS Code?
- How do you install VS Code?
- How do you create a React.js app with create-react-app?
- How do you run a React.js app?
- How do you make basic modifications to your app?
Further reading
Packt has other great resources available for learning about React. These are as follows:
- React 17 Design Patterns and Best Practices, Carlos Santana Roldán (https://subscription.packtpub.com/book/web_development/9781800560444)
- React Projects, Roy Derks (https://subscription.packtpub.com/book/programming/9781789954937)