
Using the Server
The pairing server will already be up and running once the provisioner is finished. Let’s run this command to log into it via SSH as we did earlier in the chapter:
| | $ vagrant ssh |
Now start a tmux session by running the tmux command. In the new session, change directories to the Fulcrum repository:
| | vagrant@precise32:~$ cd fulcrum |
Then start the application like this:
| | vagrant@precise32:~/fulcrum$ rails server |
Now open a browser on the host system and point it to http://localhost:3000. We’ll see Fulcrum’s login page, as Figure 27, The Fulcrum login page shows.
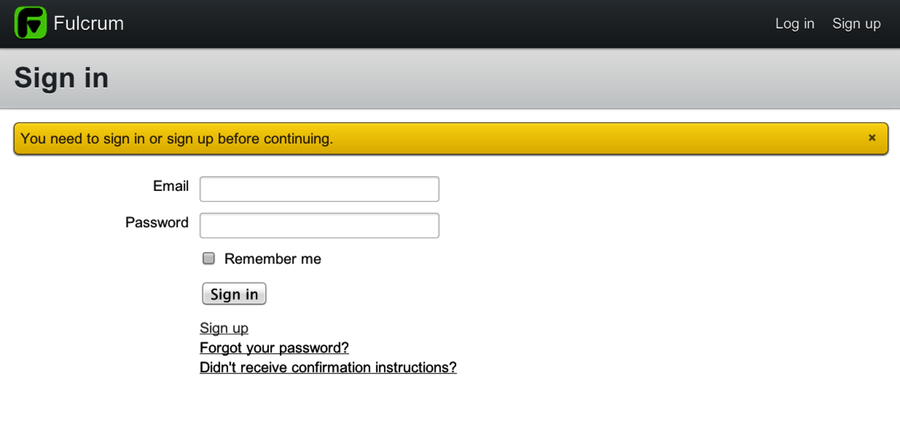
Figure 27. The Fulcrum login page
We’re ready to start hacking—let’s connect a second tmux client.
Open a second terminal window, change to the directory with our Vagrant configuration, and run vagrant ssh. Then run the following command to attach to the tmux session.
| | vagrant@precise32:~$ tmux attach |
We’ll see the same session as in the first terminal. Now we’ll explore how two developers might work on this code base.
Split the tmux window into two panes by pressing Ctrl-b %. In the new pane, open one of the application files in an editor by running this command:
| | vagrant@precise32:~/fulcrum$ vi app/models/changeset.rb |
Now return focus to the first pane (the one running the web server) by pressing Ctrl-b o. Then create a third pane by pressing Ctrl-b " (double quote), which will split the window horizontally. In the new pane, enter the following command to run the unit tests in the context of the Xvfb virtual screen:
| | vagrant@precise32:~/fulcrum$ xvfb-run bundle exec rspec |
| | .............................................................................. |
| | ..................QFont::setPixelSize: Pixel size <= 0 (0).................... |
| | .............................................................................. |
| | ........................................ |
| | |
| | Finished in 45.44 seconds |
| | 234 examples, 0 failures |
The tests will take a few minutes, and all of them will pass (you might see a few random failures because SQLite doesn’t handle database transactions well, but don’t worry about those).
In the second terminal session, switch focus to the text editor and type :5, which will move the cursor to line five. We’ll see this line of code:
| | validates :project, :presence => true |
Delete the line by typing dd. Then save the file by typing :w. Return to the pane with the tests and run the same command again:
| | vagrant@precise32:~/fulcrum$ xvfb-run bundle exec rspec |
| | .............................................................................. |
| | ..................QFont::setPixelSize: Pixel size <= 0 (0).................... |
| | .............................F................................................ |
| | ........................................ |
| | |
| | Failures: |
| | |
| | 1) Changeset validations associations must have a valid project |
| | Failure/Error: changeset.should have(1).errors_on(:project) |
| | expected 1 errors on :project, got 0 |
| | # ./spec/models/changeset_spec.rb:21:in `block (4 levels) in |
| | <top (required)>' |
| | |
| | Finished in 45.44 seconds |
| | 234 examples, 1 failures |
| | |
| | Failed examples: |
| | |
| | rspec ./spec/models/changeset_spec.rb:19 # Changeset validations |
| | associations must have a valid project |
A test failed this time. The deleted line in the changeset.rb file is the cause. Let’s replace it and fix the test.
In the first terminal session, switch focus back to the text editor and press u, which will undo the last change. Change focus to the terminal running the broken test, and run the entire test suite again. All tests will pass.
In this scenario, each of the two terminal sessions represents a pair-programming partner. The process of going back and forth, where one programmer runs the tests and one fixes them, is a common pattern, often called ping-pong. We’ll discuss this in more detail in Chapter 7, Remote Pairing in the Wild.
Now we can take this show on the road. Let’s deploy this configuration to our EC2 instance.