
Installing Saros and Eclipse
Eclipse runs on the Java Virtual Machine, which makes it cross-platform-friendly, but it isn’t just a tool for Java programmers. We can use Eclipse to write programs in C/C++, Ruby, Python, Erlang, and many other languages. Eclipse is also free, open source, and extensible, and its feature set can be enhanced by loading plug-ins that add new behavior. It’s common to install plug-ins for version-control systems like Git, or static analysis tools like FindBugs and Checkstyle. We’ll install the Saros plug-in, which adds the collaborative editing features described earlier.
To properly test Saros, you’ll need two computers. If possible, run the steps in this chapter on both machines. But if you have only one computer, continue to follow along, and you’ll get a feel for how Eclipse and Saros work. Let’s start by installing them.
Download Eclipse from the official download page.[81] Choose the Eclipse Classic 4.2.2 (Juno) package for your platform. Decompress the archive, and run the executable it contains. We’ll see the Eclipse launch page (shown in the following figure).
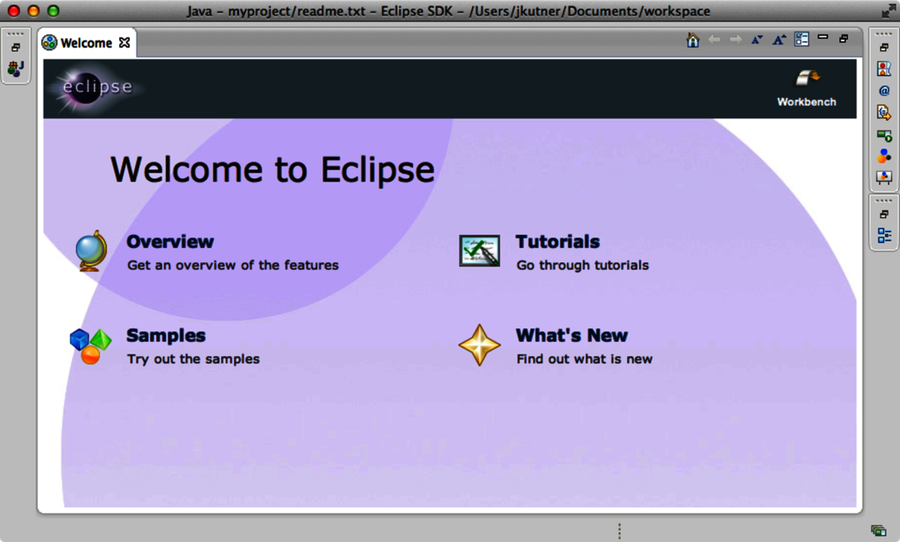
Figure 28. Eclipse welcome page
From the Eclipse menu bar, choose Help -> Install New Software, which opens the Available Software wizard. Select the Add button, and a dialog will prompt us for a name and location. Leave the name blank and enter the URL http://dpp.sourceforge.net/update in the location field. Then press the OK button.
The wizard will download a list of available software, which may take a few minutes. Expand the top node, named DPP, and check the box next to Saros, as the following figure shows.
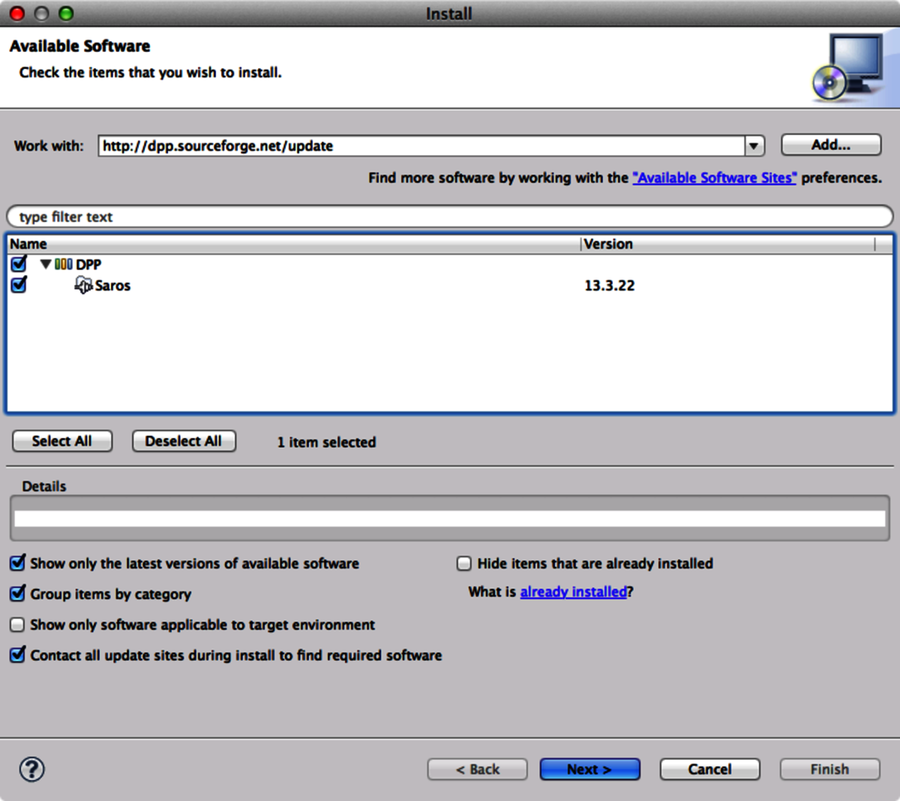
Figure 29. Installing Saros from the Available Software dialog
Press the Next button. Review the items to be installed and press Next again. Then accept the license agreement and press Finish. Finally, restart Eclipse when it asks you to do so.
Now we’ll configure Saros. From the menu bar, we see a new Saros option. Select it and then select Start Saros Configuration from the drop-down menu that appears. We need to enter the credentials for an XMPP account, as in Figure 30, Configuring Saros with an XMPP account.
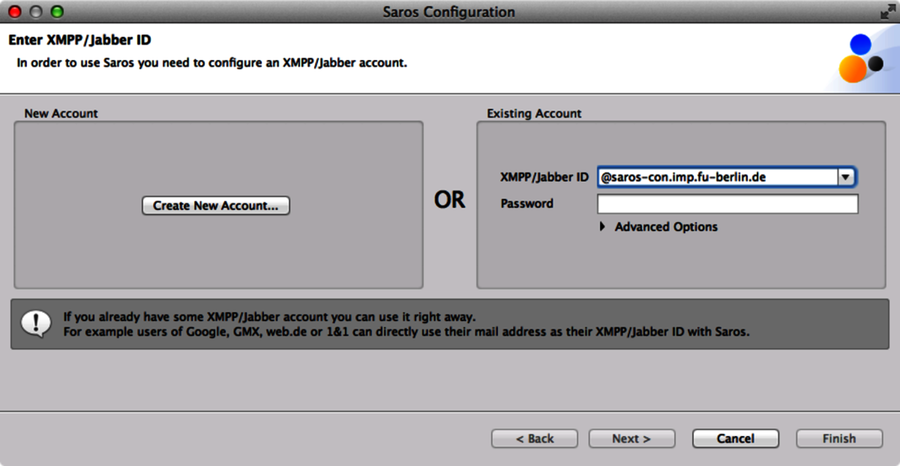
Figure 30. Configuring Saros with an XMPP account
Saros uses the XMPP/Jabber protocol to communicate between collaborating endpoints. If you don’t have an existing Jabber account (or don’t want to use the one you have), then you can use the free XMPP server that Saros provides. Select the Create New Account button in the dialog, and enter your preferred credentials.
Once an account is selected, press the Next button in the configuration dialog, use the default options, select a color theme, and then press Finish.
Next, open the Saros toolbox by selecting Window -> Show View -> Other from the menu bar, and then select Saros -> Saros from the Show View dialog. A Saros window will appear at the bottom of the IDE. Press the Connect button in the toolbox to make sure your account is connected. Now we’re ready to start sharing.
If you’re using two computers, then you’ll need to set up a different XMPP account on the other computer. If we use the same account it will kick the other instance offline. Do this now. Once we establish two working XMPP connections, we add the second computer as a buddy on the first computer.
Select the Add Buddies option from the Saros menu. Enter the account handle of the second XMPP account we created, and press Finish. Soon we’ll see a notification on the second computer (see Figure 31, Prompt to confirm a new buddy).
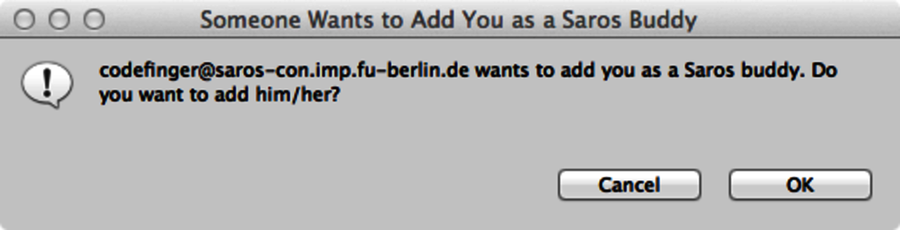
Figure 31. Prompt to confirm a new buddy
Before we can connect to the buddy, however, we need to create a project to work on.