Install and Use Windows
A popular use of high-performance Macs has been to run Windows. At times, the fastest machine that could run Windows was in fact a Mac. Apple even made this an authorized function way back in 2006, by adding Boot Camp, a utility that manages installing Windows and starting up your Mac into it.
With the first M-series Macs, that went out the window. There’s no Boot Camp, and no production release of Windows for M-series Macs.
That could change, however. Apple’s head of software engineering, Craig Federighi, told Ars Technica back in November 2020 that Microsoft could opt to license ARM-based Windows for Mac users. We’ve heard nothing more concrete in the year and a half since!
As of August 2022, only one shipping product exists that can run a version of Windows 11 on an M1 Mac: Parallels Desktop for macOS starting with version 16.5, which added native M-series support.
Start by obtaining the version of Windows 11 that works with ARM installations. It’s in beta, so you can’t simply purchase or download it. However, Microsoft makes it extremely easy to set up a free developer account and download it.
Here’s how to get the Windows 11 for ARM beta:
Start with the Windows Insider Preview Downloads page for “Windows 11 on ARM Insider Preview.” You will be prompted to login in. If you don’t have an Outlook.com or Live.com account, follow the steps offered to create one.
Return to the downloads page, if you aren’t automatically redirected. You should be prompted to agree to Windows Insider terms. Make sure you read what you’re agreeing to and then check the boxes offered.
Click “Windows Client ARM64 Insider Preview - Build xyz”; a build number appears in lieu of xyz, and will change over time. The download is roughly 9 GB and will be named something like
Windows11_InsiderPreview_Client_ARM64_en-us__22454.VHDX.
Set the file aside until you’ve completed one or both of the next two emulator installations.
Now purchase Parallels Desktop for macOS version 17, which costs $79.99 per year for a new license or $49.99 per year if you’re upgrading from a previous version or adding a license to run the software on an additional Mac.
After installing Parallels Desktop and entering the activation code provided on purchase, follow these steps:
Launch Parallels Desktop from the Applications folder.
Navigate to the Windows 11 Client ARM64 installer file or click Find Manually and drag and drop it into the window.
Follow prompts to create the virtual machine, which are quite straightforward. You can opt to configure some settings before launch, but those can also be changed afterwards.
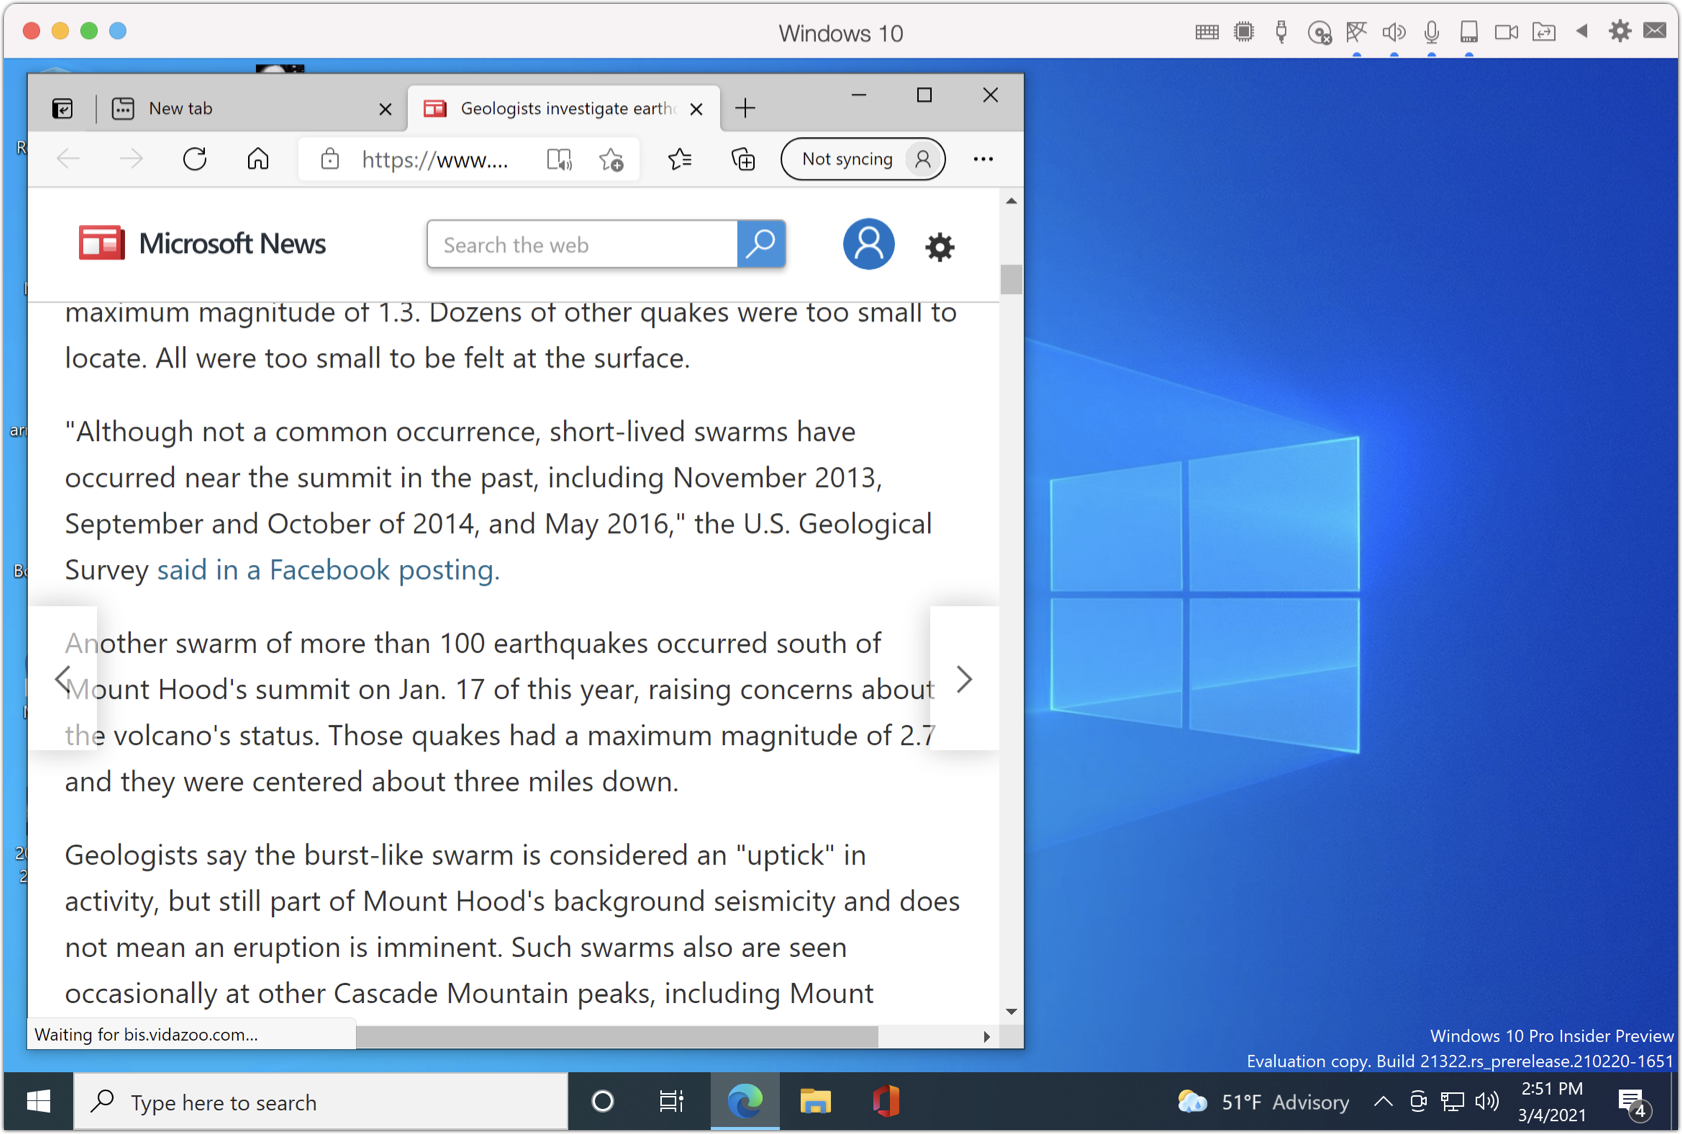
The Windows 11 virtual machine should now launch (Figure 28). (If you have problems, read this technical note at Parallels’s site.)