
Overview
In this chapter, you will learn how to work with remote APIs using the Axios library. You will make network calls and store results using Vuex. You will also see an example of how to store authentication tokens with Vuex and use it for further API calls.
By the end of this chapter, you will have a good idea of how Vuex can help abstract and create a wrapper for remote APIs, and ease their integration into a Vue application. This abstraction makes it easier to migrate to other APIs in the future, ensuring that the rest of your applications continue to work properly.
Introduction
In Chapter 9, Working with Vuex – State, Getters, Actions, and Mutations, you were introduced to Vuex and saw multiple examples of how to work with it to both read data from and write data to a store. We saw how multiple components could work with the store and all be kept in sync with little to no work at our end. In this chapter, we are going to expand our Vuex usage by integrating it with remote data by using Axios, a popular open source library that makes it easy to use network resources. Let's start off with a deeper look at Axios.
Axios (https://github.com/axios/axios) is a JavaScript library with both Node and browser support. It has a Promise-based API, which means you can use async and await if you wish. Other features include supporting default parameters (handy for APIs that require a key for every call) and the ability to transform your input and output data. We will not be covering every use case in this chapter, but you will get a good idea of how to work with Axios for your future projects.
To be clear, you need not use Axios if you do not like it. You can use any other library or no library at all. The Fetch API (https://developer.mozilla.org/en-US/docs/Web/API/Fetch_API) is a modern browser API for working with network requests that, while not as powerful as Axios, doesn't require an additional library.
In the next section, we will look at how to install Axios.
Installation of Axios
Much like Vuex, you have multiple ways of including Axios in your project. The simplest is pasting in a <script> tag pointing to the Content Delivery Network (CDN) for the library:
<script src="https://unpkg.com/axios/dist/axios.min.js"></script>
The other option is to use the Node Package Manager, npm. Within an existing Vue application, you can install Axios as follows:
npm install axios
Once you have done this, your Vue components can then import the library as follows:
import axios from 'axios';
How you use Axios will depend on the API you are interacting with. Here is a simple example of hitting an imaginary API:
axios.get('https://www.raymondcamden.com/api/cats')
.then(res => {
this.cats = res.data.results;
})
.catch(error => {
console.error(error);
});
In the preceding example, we are performing a GET request (GET is the default) against an imaginary API, https://www.raymondcamden.com/api/cats. Axios returns promises, which means we can chain results and errors with then and catch. The resulting JSON (again, this is an imaginary API) is automatically parsed so all that is left is to assign the result to a value, in this case, a value named cats used in my Vue application.
Let's now look at a step-by-step process of using Axios to load the data from an API.
Exercise 10.01: Using Axios to Load Data from an API
Let's look at a complex example using Axios. This example will make two different API calls against the Star Wars API and return two lists of information. For now, we will skip using Vuex to make this introduction a bit simpler.
To access the code files for this exercise, refer to https://packt.live/3kbn1x1.
- Generate a new Vue application and, after the CLI has completed, add Axios as an npm dependency:
npm install axios
- Open the App.vue page and add the import for axios:
import axios from 'axios';
- Open the App.vue page and add the data values for the films and ships arrays:
data() {
return {
films:[],
ships:[]
}
},
- Open App.vue and use the created method to load in films and starships from the API:
created() {
axios.get('https://swapi.dev/api/films')
.then(res => {
this.films = res.data.results;
})
.catch(error => {
console.error(error);
});
axios.get('https://swapi.dev/api/starships')
.then(res => {
this.ships = res.data.results;
})
.catch(error => {
console.error(error);
});
}
- Next, edit the template to iterate over the values and display them:
<h2>Films</h2>
<ul>
<li v-for="film in films" :key="film.url">
{{ film.title }} was released in {{ film.release_date }}
</li>
</ul>
<h2>Starships</h2>
<ul>
<li v-for="ship in ships" :key="ship.url">
{{ ship.name }} is a {{ ship.starship_class }}
</li>
</ul>
Note
Error handling is done using the catch handler but is just sent to the browser console. It would be better to tell the user something if the remote data did not load, but for now, this is acceptable. Another suggestion would be to handle a loading state, which you will see an example of later in this chapter.
- Start the application with the following command:
npm run serve
Opening the URL in your browser will generate the following output:
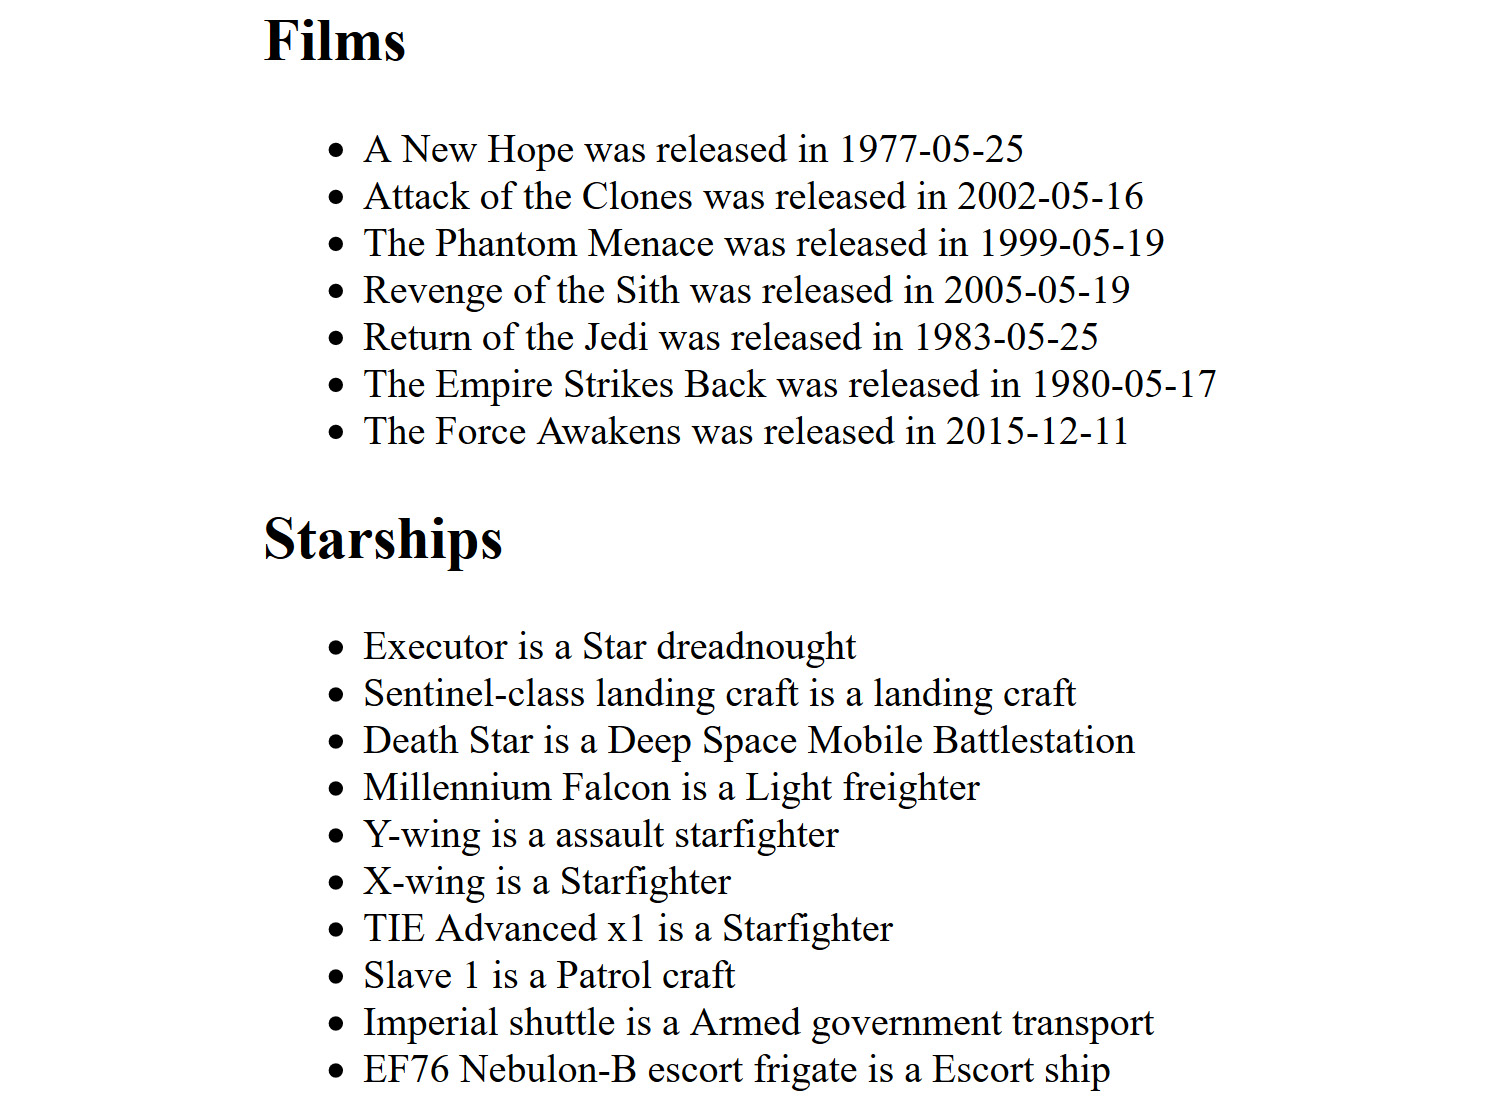
Figure 10.1: Results of the API calls rendered in the browser
This simple example shows how easy it is to add Axios to a Vue application. Remember that Axios is not required for Vue and you're welcome to use any library you want, or simply use the browser's native Fetch API.
Now that you have seen how to get Axios into a project, let's look at one of the cooler features of Axios: specifying default values.
Using Defaults with Axios
While the code in Exercise 10.01, Using Axios to Load Data from an API works well, let's consider a slightly more advanced example. One of the features of Axios is the ability to set up defaults that are used in future calls. If you look at the two calls made in the preceding code, you can see they are similar. You can update the created method to make use of this:
created() {
const api = axios.create({
baseURL:'https://swapi.dev/api/',
transformResponse(data) {
data = JSON.parse(data);
return data.results;
}
});
api.get('films')
.then(res => this.films = res.data);
api.get('starships')
.then(res => this.ships = res.data);
}
In this updated version, we switch to an instance of Axios. A default baseURL value is specified that saves on typing later. Next, the transformResponse feature is used to, well, transform the response. This lets us modify data before it is sent to the handler of our calls later. Since all the API calls return a results value and that is the only thing we are concerned with, we simplify things a bit by returning that instead of the rest of the result. Note that Axios lets you use an array of functions in transformResponse if you want to build a complex set of transformations.
In the next section, we will learn how to use Axios with Vuex.
Using Axios with Vuex
Now that you have seen the basics of working with Axios, it is time to consider how you could use it with Vuex. One way to do this simply is to just use Vuex to handle wrapping calls to the API, using Axios to perform the HTTP calls.
Exercise 10.02: Working with Axios in Vuex
We are going to take the previous functionality (loading the films and ships arrays) and rebuild it within the context of a Vuex store instead. As before, you will need to use the CLI to scaffold a new application and ensure you ask for Vuex to be included. When the CLI is done, you can then use the npm command to add Axios as well.
This exercise will be pretty much like the first application that we built in Exercise 10.01, Using Axios to Load Data from an API, but with some slight differences. Let's look at the UI first. On the initial load, both Films and Ships are empty:

Figure 10.2: Initial application UI
Notice that the Films portion has a loading message. As soon as the application loads, we will fire off a request to get that data. For Ships, though, we wait for the user to specifically request they want that data. Here is how it looks after the films array loads:

Figure 10.3: The application's rendered films
Finally, after clicking the Load Ships button, the button will disable (to prevent the user from requesting the data multiple times) and then the entire button is removed after the data is loaded:

Figure 10.4: The final view after everything is loaded
To access the code files for this exercise, refer to https://packt.live/32pUsWy.
- Start with the first component, App.vue. Write the HTML. Remember that the films are displayed in the component, but ships will be in their own component. Make use of v-else to add a loading message that will be shown while Axios makes the HTTP request:
<template>
<div id="app">
<h2>Films</h2>
<ul v-if="films.length">
<li v-for="film in films" :key="film.url">
{{ film.title }} was released in {{ film.release_date }}
</li>
</ul>
<div v-else>
<i>Loading data...</i>
</div>
<Ships />
</div>
</template>
- Now add the code necessary to load and register the Ships component:
import Ships from './components/Ships.vue'
export default {
name: 'app',
components: {
Ships
},
- Import mapState as well:
import { mapState } from 'vuex';
- Next, add code to map the films array from our store to a local computed value. Remember to import mapState:
computed: {
...mapState(["films"])
},
- Finally, the created method is used to fire off an action in our store:
created() {
this.$store.dispatch('loadFilms');
}
- Next, build the Ships component in components/Ship.vue. The Ships component also contains a list of data but uses a button so that the user can request the data to be loaded. The button should automatically be dismissed when done and be disabled during the loading process:
<template>
<div>
<h2>Ships</h2>
<div v-if="ships.length">
<ul>
<li v-for="ship in ships" :key="ship.url">
{{ ship.name }} is a {{ ship.starship_class }}
</li>
</ul>
</div>
<button v-else @click="loadShips" :disabled="loading">Load Ships</button>
</div>
</template>
- Add the code to handle mapping the ships state and fire off the action to Vuex to load the ships:
<script>
import { mapState } from 'vuex';
export default {
name: 'Ships',
data() {
return {
loading:false
}
},
computed: {
...mapState(["ships"])
},
methods:{
loadShips() {
this.loading = true;
this.$store.dispatch('loadShips');
}
}
}
</script>
- Now, build the store. First, define the state to hold both the films and ships arrays:
import Vue from 'vue'
import Vuex from 'vuex'
import axios from 'axios'
Vue.use(Vuex)
export default new Vuex.Store({
state: {
films:[],
ships:[]
},
- Next, add the actions to load ships and films data. They should both use mutations to assign values to the state:
mutations: {
setFilms(state, films) {
state.films = films;
},
setShips(state, ships) {
state.ships = ships;
}
},
actions: {
loadFilms(context) {
axios.get('https://swapi.dev/api/films')
.then(res => {
context.commit('setFilms', res.data.results);
})
.catch(error => {
console.error(error);
});
},
loadShips(context) {
axios.get('https://swapi.dev/api/starships')
.then(res => {
context.commit('setShips', res.data.results);
})
.catch(error => {
console.error(error);
});
}
}
})
- Run your application using the following command:
npm run serve
Your output will be as follows:

Figure 10.5: The final output
All in all, this is not a huge change from the initial version without Vuex (if we ignore the UI changes), but now all our API usage is handled by the store. If for some reason we decide to stop using Axios and switch to Fetch, it can be done here. Whether we decide to add a caching system or store the data for offline use, it can all be done in the store. Test this version yourself by running npm run serve and opening the URL in your browser.
Now it is time to put what you have learned into action with the next activity!
Activity 10.01: Using Axios and Vuex with Authentication
One of the more interesting things you can do with Vuex is manage authentication. What do we mean by that? In many APIs, authentication is required before the service can be used. After the user authenticates, they are given a token. On future calls to the API, the token is passed along, typically as a header, which lets the remote service know this is an authorized user. Vuex can handle all of this for you, and Axios makes it easy to work with headers, so let's consider an example of this in action.
Building a server with authentication and authorization is way outside the scope of this book, so instead, we are going to fake it. We will have two endpoints that are simple uses of JSONBin.io, a service we used in Chapter 9, Working with Vuex – State, Getters, Actions, and Mutations. The first endpoint will return a token:
{
"token": 123456789
}
The second endpoint will return an array of cats:
[
{
"name": "Luna",
"gender": "female"
},
{
"name": "Pig",
"gender": "female"
},
{
"name": "Cracker",
"gender": "male"
},
{
"name": "Sammy",
"gender": "male"
},
{
"name": "Elise",
"gender": "female"
}
]
In this activity, we will use Vue Router to handle representing two views of the application, the login screen and the cat display screen.
Steps:
- Present a login screen for the initial view of the application. It should prompt for a username and password.
- Pass the login credentials to an endpoint and get a token. This part will be faked as we are not building a full, real authentication system.
- Load the cats from a remote endpoint and pass the token as an authentication header.
You should get the following output initially:

Figure 10.6: Initial login screen
After logging in, you will then see the data, as follows:

Figure 10.7: Successfully displaying the data after login
Note
The solution for this activity can be found via this link.
Summary
In this chapter, you learned a pretty important use case for Vuex—working with remote APIs. Remote APIs can provide an incredible amount of additional functionality to your applications, sometimes for little to no additional cost to the developer. You saw how to use Axios to make network calls easier and how to combine that with the state management features of Vuex. Finally, you put it together with Vue Router to create a simple login/authorization demo.
In the next chapter, we are going to discuss how to build more complex Vuex stores using modules.