
2.2 MONITOR AND VIEWFINDER
Many recent X camera models feature a high-resolution electronic viewfinder (EVF) along with an LCD touchscreen. Both can be used for image composition and playback.
Make use of the eye sensor! |
If your camera has an electronic viewfinder (EVF), use the VIEW MODE button to activate the built-in eye sensor. The camera will now automatically switch to whichever view (viewfinder or LCD touchscreen) is in use when you are taking or reviewing images (or making changes to the camera menu).
When you are working with a tripod or holding the LCD display close to your body, the eye sensor can get confused. In such cases, use the VIEW MODE button to set the camera to LCD ONLY.
Instant review |
To instantly review an image right after you have taken it, you can select SET UP > SCREEN SET-UP > IMAGE DISP. and then set a display period (most models offer a selection of 0.5 SEC, 1.5 SEC, or CONTINUOUS). The image will always be displayed in the currently active view (LCD or viewfinder). Personally, I like to work with the shortest available time setting.
You can immediately cancel an ongoing image review and continue shooting by half-pressing the shutter button. With the CONTINUOUS option, you can also zoom into the image: pressing the rear command dial will directly zoom to the highest available magnification.

Fig. 84: I generally set IMAGE DISP. to 0.5 SEC. in order to get a glimpse at the final JPEG image result of each shot, including all JPEG, dynamic range, and exposure settings.
In situations that require you to take a series of shots in quick succession, it may be advisable to switch image review off. To do so, select SET UP > SCREEN SET-UP > IMAGE DISP. > OFF. You can still check your latest shot by pressing the playback button.
Please don’t forget that the maximum magnification (to check critical focus) is only available when the camera is set to record RAW and JPEG files in size L (with dual-slot models operating in sequential data save mode).
The DISP/BACK button can be tricky! |
The DISP/BACK button serves two different purposes:
- As a BACK button, it returns the camera to a higher menu or selection level without saving changes you may have made in the menu sub-level.
- As a DISPLAY button, it changes the display mode of the currently active view (LCD monitor or viewfinder).
Please keep in mind that changing the display mode only affects the currently active view. For example, to change the display mode of the EVF, the EVF must be in use when you press the DISP/BACK button. When you are using the eye sensor, you must look through the EVF while you are pressing the DISP/BACK button. If you don’t, you will only change the display mode of the (then active) LCD monitor.
When the camera is in shooting mode, the viewfinder and the LCD monitor can each use different display modes at the same time.
If you select a display with information overlays in shooting mode, you can choose which elements should appear in the viewfinder or on the LCD monitor. Select SET UP > SCREEN SET-UP > DISP. CUSTOM SETTING, and then check the items that you want displayed in the EVF and on the LCD.
WYSIWYG—What You See Is What You Get! |
The EVF and LCD monitor of mirrorless cameras normally operate in WYSIWYG mode [36]: What You See Is What You Get. This means that the viewfinder and monitor are always trying to display a live view [37] image that closely resembles how the resulting JPEG will look. The live view simulates exposure, colors, contrast, and white balance. When you half-press the shutter button, the camera will set the selected working aperture, so the live view will also display a preview of the depth of field.
The live view’s exposure simulation is quite helpful because it allows you to recognize exposure errors before you take the picture. Please note that the live histogram is always based on the current live view image.
The live view’s WYSIWYG simulation is available in all four of the camera’s exposure modes: program AE P, aperture priority A, shutter priority S, and manual exposure mode M.

Fig. 85: WYSIWYG: This X100F example illustrates how closely the live view (left) represents the actually taken JPEG from the camera (right). The live view doesn’t just simulate exposure, white balance, film simulation, and other JPEG settings, it also previews fixed dynamic range settings like DR400%.
In manual exposure mode M, most X cameras allow you to switch off the exposure simulation by selecting SET UP > SCREEN SET-UP > PREVIEW EXP./WB IN MANUAL MODE > OFF. That way, the camera will always display a bright live view image in manual mode, regardless of the actually selected exposure parameters (shutter speed, aperture, and ISO). This can be useful in a studio setting with flash photography. For example, you may want to eliminate the surrounding-light component by stopping down the aperture and fully illuminating your subject with strobes.
Please note that in this mode, both the live view and the live histogram aren’t representing the actual exposure of your image, so don’t forget to switch the exposure simulation back on if you want to work with a proper exposure simulation and live histogram in manual mode M.
The live view’s exposure simulation may be restricted in situations with very low light and slow shutter speeds of several seconds—the live view and the live histogram may appear darker than the actual result. In such scenarios, you should first take a test shot and review it in playback mode. The information display (which you can select with the DISP/BACK button) will show you a playback histogram of the recorded JPEG image. This includes a preview with “blinkies,” which indicate blown (overexposed) highlights.
Using the Natural Live View |
The so-called Natural Live View is a display mode that’s available in most X series cameras. It disables the WYSIWYG simulation of JPEG settings such as Film Simulation, Highlight Tone, Shadow Tone, or Color. Instead, it will display a rather flat live view image with increased dynamic range in the highlights and shadows, and with colors that are supposed to resemble what our eyes would see through an optical viewfinder. It will also set the live view to Auto white balance, so there will be no simulation of any white balance custom settings or presets. However, all current JPEG and white balance settings will still be applied to the actual image that’s recorded.
Depending on your camera, select either SET UP > SCREEN SET-UP > PREVIEW PIC. EFFECT > OFF or SET UP > SCREEN SET-UP > NATURAL LIVE VIEW > ON to set the camera to Natural Live View mode. This setting enables generic-looking previews for color, black-and-white, and sepia shots that do not reflect the look of the actual JPEG results. This makes Natural Live View particularly useful: you can see what’s going on in the dark parts of a high-contrast scene while composing the shot.
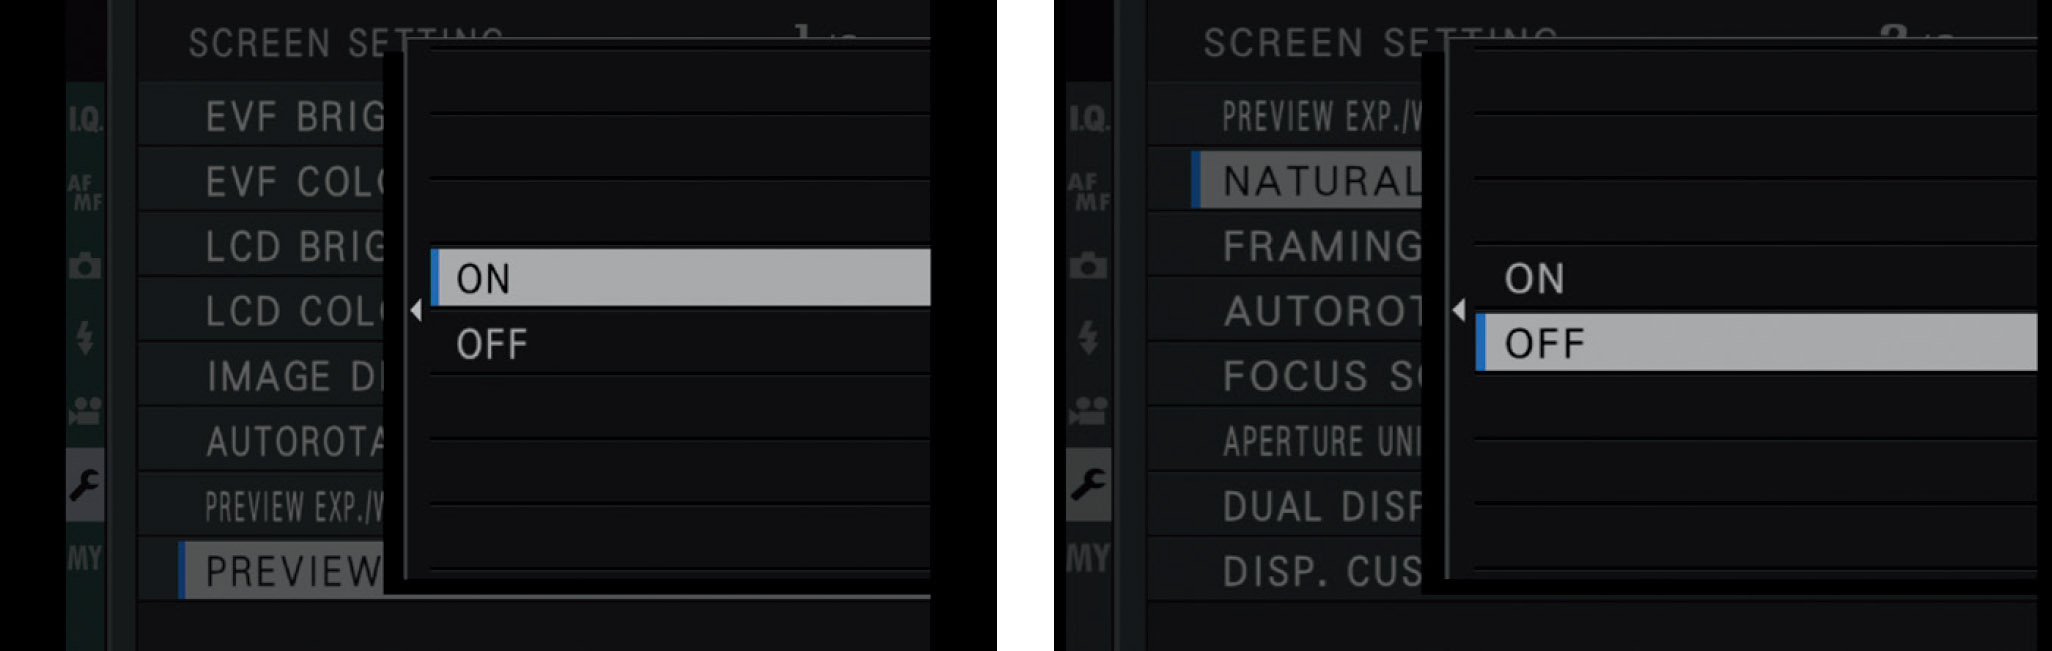
Fig. 86: PREVIEW PIC. EFFECT ON (left) equals NATURAL LIVE VIEW OFF (right). They are the same setting. With the X-H1 and X-T3, Fujifilm has changed the name of the function in the menu.
Important: The Natural Live View of the X30, X100T, X100F, X-Pro2, X-H1, X-T2, X-T3, X-T20, X-E3, GFX 50S, and GFX 50R extends highlight dynamic range by two stops in the live view image (but not in the final RAW or JPEG), rendering the live histogram inaccurate when shooting with DR100%, DR200%, or DR-Auto dynamic range settings. Do not set PREVIEW PIC. EFFECT to OFF (or NATURAL LIVE VIEW to ON) if you want to use the live view and/or live histogram to determine the correct exposure of a shot.
Using the LCD touchscreen |
All recent X cameras feature a touchscreen that can perform several functions in shooting mode and playback mode. To use the touchscreen, make sure that SET UP > (BUTTON/DIAL SETTING >) TOUCH SCREEN SETTING > ON is selected.
In shooting mode, you can use the touchscreen to pick a focus frame or zone; to autofocus with the selected focus frame or zone; or to autofocus and shoot with the selected focus frame or zone.
- AREA: Select a focus frame or zone by tapping once on the LCD touchscreen.
- AF: Tap on the LCD touchscreen to pick a focus frame or zone and trigger the autofocus. In MF mode, this option will focus the camera using Instant-AF.
- SHOT: Tap on the touchscreen to select a focus area or zone, trigger the autofocus through this frame or zone, and take a picture without further delay. In MF mode, this option will immediately take a shot without (re-) focusing.
- OFF: Temporarily disable shooting with the touchscreen. This prevents you from accidentally triggering any of the three other touchscreen functions.

Fig. 87: This screenshot of the X-T100 LCD monitor illustrates how Fujifilm increasingly moves functions to the touchscreen. At the top right, there’s a touch button for controlling the touchscreen focus mode (here set to AREA). Below, there’s another touch button to change the film simulation mode (here set to STD Provia). In the lower-right corner, you can see a touch button to set the focus mode (here set to MF). In addition to that, you can double-tap to magnify the live view image or flick your finger in all four directions to access the four Touch-Fn buttons.
In playback mode, you can use the touchscreen like a smartphone to browse through images. You can also zoom in and out of an image by double-tapping, or by pinching the image with two fingers.