
In this chapter, we'll start thinking about how to support multiple levels that the player can choose from when they first load the game. We’ll make separate scenes for each level and position a camera in each one that views the level from above as a sort of “sneak peek” when choosing levels.
Prefabs and Variants
Before getting into designing levels for your game, you ought to consider how you’ll go about making little tweaks in the balance as you go along. We discussed the purpose of prefabs and their variants early on. This is one of those moments where you’ll want to give them some thought – it might save you some heartache down the road.
We can always perform overrides on prefab instances to make, for example, superfast patrollers, shooters that fire more or less often, or projectiles that move faster or slower or are bigger or smaller.
However, if at any point you need to make a change, you’ll end up with scattered overrides across various instances and scenes.
A smarter alternative might be to make prefab variants for the slightly different versions of your obstacles. If you stick to this, you can have consistent variations across your levels that the player will recognize. Make a fast and slow variant for the projectile prefab. Make a slow, large patroller variant. Make a quick, tiny wanderer variant.
This not only regulates your game design to make it easier for the player to predict and adapt to situations, but it gives you a clean setup that can be changed across all your levels just by tweaking the prefabs and/or their variants. If you overrode 50 different shooter instances across 15 different levels, you couldn’t change them all at once if you ever decided to make the player move a little faster or slower and found that your shooters now needed to be tweaked in comparison.
Part of the fun of making games is playing with the numbers and tweaking things until they’re just right, so I’m not going to tell you how to design the game yourself. That’s not really in the scope of a book about game programming, after all. I will, however, teach you how to create a simple variant of a Shooter that fires faster than the normal prefab.
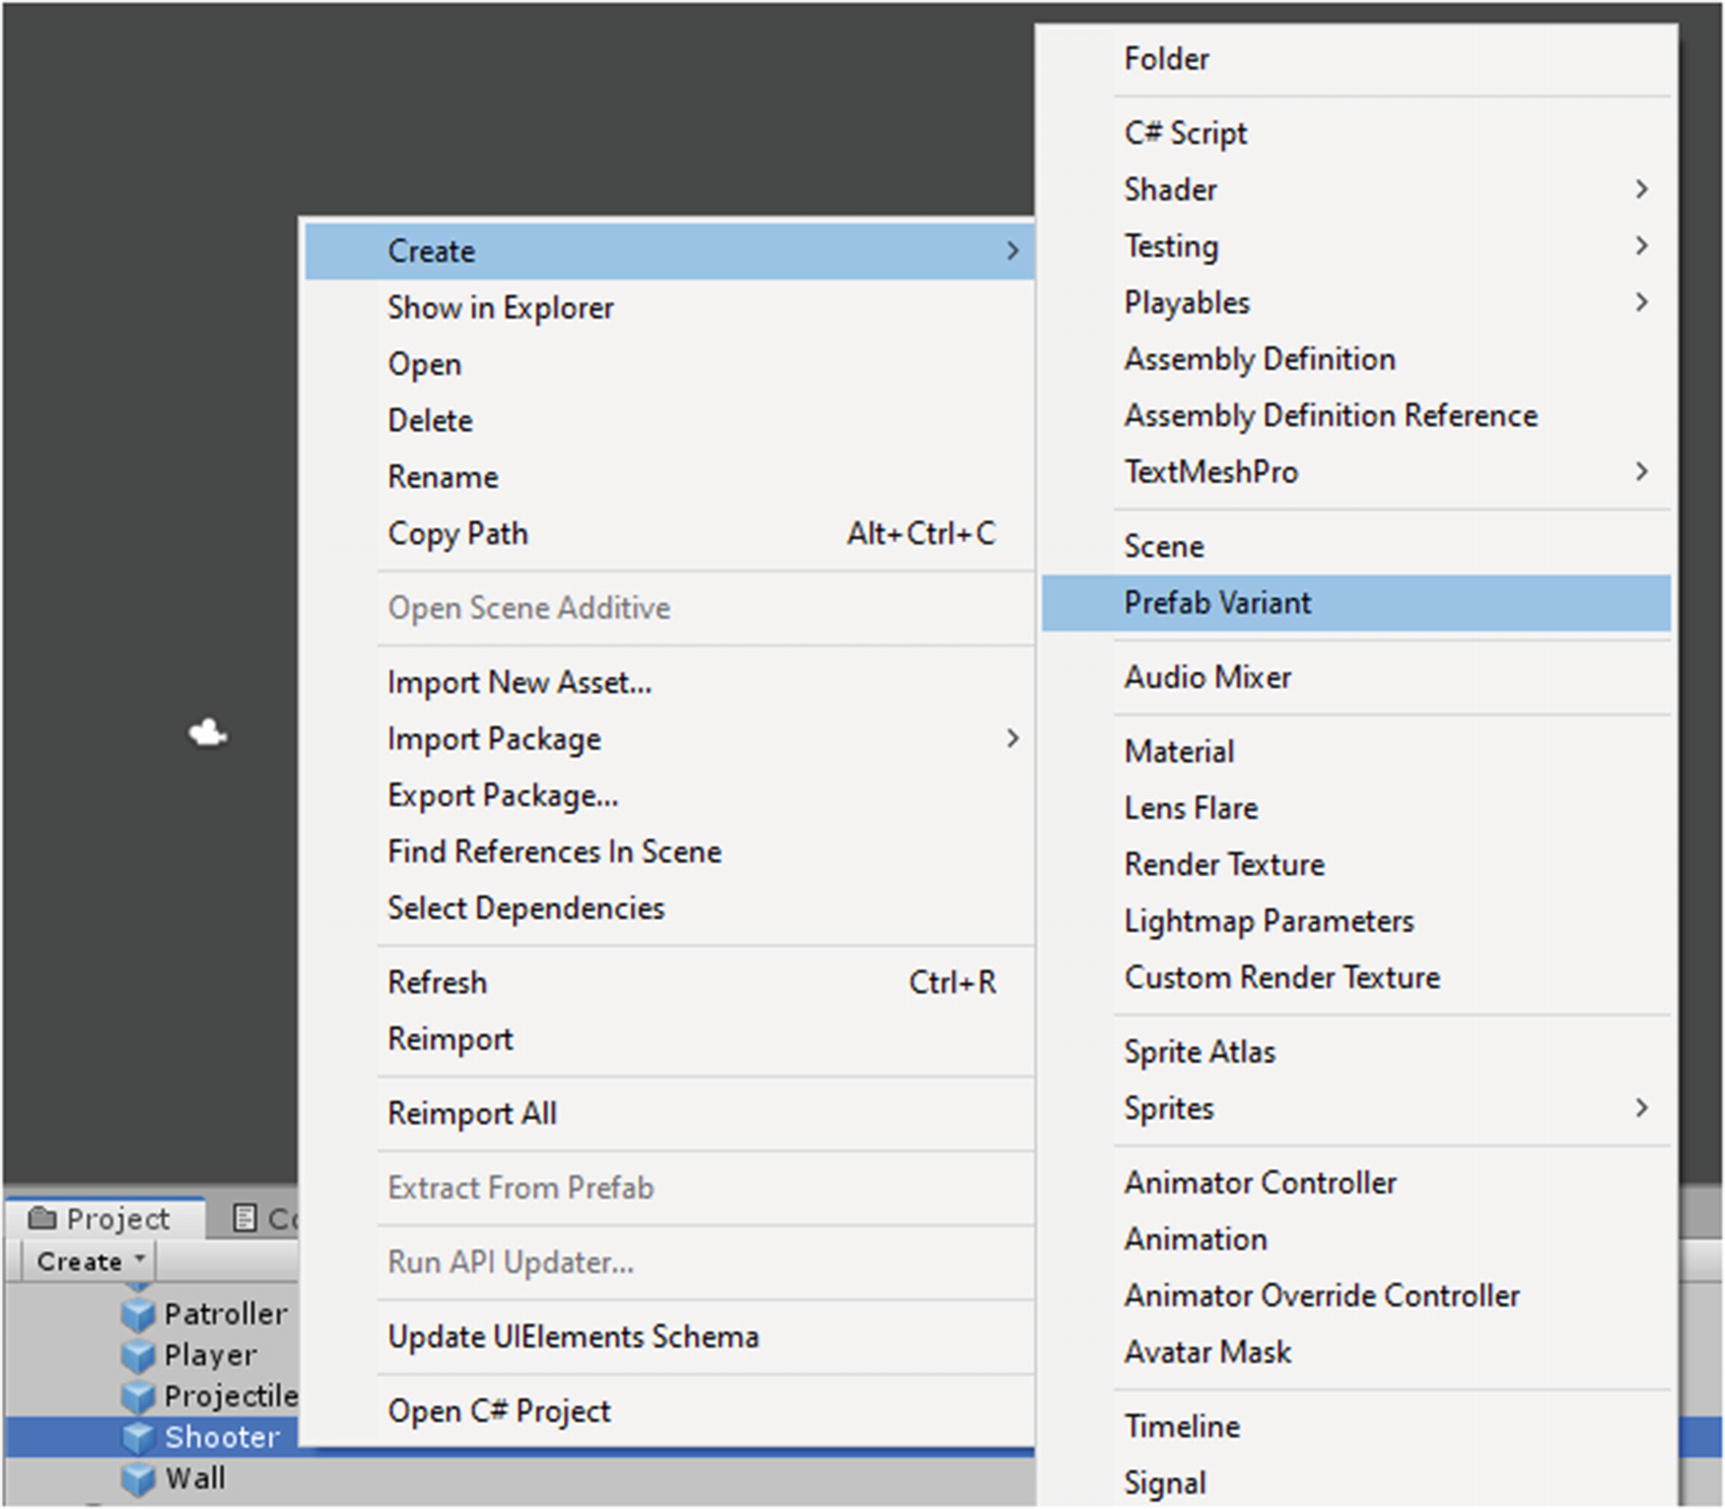
The right-click context menu leading us to create a prefab variant for our Shooter prefab
This will create a new asset acting as a variant to the Shooter prefab, and you can type whatever name you want for it. Let’s name it “Shooter (Fast)”. If you’re going to have variants for many of your obstacle prefabs, you may want to consider ways to ensure that your assets remain tidy. For example, by naming it “Shooter (Fast)” instead of “Fast Shooter”, we ensure that the variant remains next to the original Shooter in the Project view – since the names are sorted alphabetically, we want a name that’s similar enough to the base prefab to keep both assets sorted together. If you’d rather, you could also put all prefabs and variants for each type of obstacle in a dedicated folder, such as “Shooters” or “Patrollers.”
The variant works like a prefab, so you can open it by double-clicking it in the Project view if you need to make edits to child GameObjects. We just need to change how frequently our shooter fires, so we can just select the “Shooter (Fast)” in the Project and use the Inspector to change its Fire Rate to a lower value, like .5.
After that, you can drag and drop the “Shooter (Fast)” into the Scene and test it out. If you want visual indication of which shooters are faster, you can use a separate material for them. Remember to open up the variant asset and apply the material to it there, rather than applying it only to the instance you’ve placed in the scene.
Projectiles that move faster or slower and are larger or smaller. You can then create Shooter variants that use different types of projectiles.
Wanderers that are smaller, but retarget more frequently, move quicker, and don’t take as long to start moving after retargeting.
Larger or smaller patrollers with varying movespeed.
Shooters that spin in circles. Remember that Rotating script we made before this project? Copy that over, throw it on a shooter, and have it spin while it fires projectiles.
Making Levels
I’m not going to try to guide you through the creation of a full level and all of its obstacles, because that would be a lot of tedious work for you, and it probably wouldn’t be very fun for you to spend time recreating my idea of a level anyway. You have the tools to make your own levels now, so I’ll leave you to it. Instead, I’ll give you some tips on how to start, and we’ll start thinking about what needs to go in each level to make the whole process come together.
Before we begin, let’s create a material for the floor Plane we’ve been using. It’s a somewhat stale gray by default, and with the way our camera is positioned, it’s filling any space that isn’t covered by walls, obstacles, or the player. Let’s make it a bit more appealing. Create a material named Floor and apply it to your Floor GameObject (or Plane if you never renamed it). I find that a dark-blue color with a hex value of 1D2A36 works well with the color of our walls, and the darkness makes the pale yellow of our Player stand out.
Moving on, let’s make a new scene. To do so, just use the Ctrl+N hotkey (Cmd+N for Mac users), or navigate to File in the top-left corner of Unity and select New Scene.
Once you’ve made the new scene, use the Hierarchy to select and delete the Main Camera that comes with it by default.
A Plane positioned at the world origin (0, 0, 0) and scaled on the X and Z axes so it’s large enough to cover the whole screen at all times. Just go crazy and give it 1000 scale on both axes if you want. And don’t forget to apply your Floor material to it.
A Goal prefab instance somewhere the player can reach it. What’s a level you can’t win, after all? If you never made a prefab out of your Goal, you can go back to your “main” scene and make one real quick. If you’ve deleted your Goal and never made a prefab, you’ll have to recreate it (look over Chapter 17 again).
A Directional Light to make sure there’s a global source of light for the scene. We’ve just been using the default light that comes with a new scene, but you can change the settings of the Light component in the Inspector for the Directional Light if you want to play around with it. The most notable settings would be the color of the light (a pale yellow by default, to somewhat mimic the sun) and the intensity value, which determines how brightly the light shines.
A Player prefab instance at the location you want the player to spawn. You can start it out at position (0, 0, 0) and move it if you ever find a need to.
If your scene looks too dark, it could be due to the “Auto Generate Lighting” option being off by default in new scenes.

The Auto Generate Lighting option is shown in the bottom-right corner of the Unity editor. Here, it is off

The bottom of the Lighting window, where the Auto Generate checkbox has been ticked
Adding Walls
With that sorted, you can place an instance of your Wall prefab down to begin blocking out the level so the player can’t just go wherever they want. Once you place it, move it up so its bottom is aligned with the floor correctly. You can do this by setting its Y position to half of its Y scale.
So you don’t have to fix the Y position every time you want a new wall, just copy-paste that wall from here on out.
As we mentioned before, the rect transform tool (hotkey T) can be quite useful for moving and sizing these walls. The tool tends to work best when viewing the walls from above. Remember, you can use the gizmo in the top-right corner of the Scene view to quickly assume a top-down view on the level – just click the green cone.
As you add walls, you can fill the space you block out with obstacles. Use your imagination and come up with some trials for the player. Or don’t – you don’t have to be a level designer to be a programmer, after all.
Level View Camera
Next, we’re going to make a means of previewing the level before playing it. This will be done with a simple Camera GameObject. We’ll set it up to view the level from whatever vantage point we agree with for our preview. In the following chapter, we’ll make use of this camera when the player is viewing the level before deciding if they want to play it or not.
If you haven’t already, delete the preexisting camera in the scene and make a new one. Rename it to “Level View Camera” (without the quotes). Make sure you get the name exactly right, because we’re going to be finding it by name with our code later!
To easily position the camera how you like, just move your Scene camera to view the level from a nice angle by holding right-click and using the WASD keys. Then, select the Camera in the Hierarchy and, using the top menu, select GameObject ➤ Align with View, or use the hotkey Ctrl+Shift+F. This will place the Level View Camera right where your Scene view camera is currently positioned and even point it in the same direction too. This beats dragging and rotating the camera around with the transform tools.
Summary
This chapter shed some light on the process of designing levels by adding walls, using our prefabs, and creating variants to spice up the gameplay and how a new scene should be set up for a level.
A plane for the floor
A camera named “Level View Camera” positioned where you want the level to be previewed from
A Directional Light (the default one will do)
A Player prefab instance where you want the player to start the level
A Goal prefab instance wherever you like
In the next chapter, we’ll set up the flow from one scene to another so we can preview levels and properly implement menus that let the player get to all of the different levels we make. If you’re having fun designing levels, don’t let all this talk about progress stop you, though – knock yourself out.