Continuous integration (CI) is a development practice that requires the developers in a team to integrate their work regularly, often multiple times per day. Every push to the main repository is verified by an automated build. This practice helps with detecting problems as soon as possible, thereby speeding up development, and increasing the quality of the code. The great Martin Fowler wrote an article about the subject that explains the concepts and describes the best practices (http://martinfowler.com/articles/continuousIntegration.html)
There are several options to set up CI for Android. The most widely used are Jenkins, TeamCity, and Travis CI. Jenkins has the biggest ecosystem, with around a thousand available plugins. It is also an open source effort with a lot of contributors. TeamCity is a product from JetBrains, the company that also created IntelliJ IDEA. Travis CI is a relatively new player, and is mostly focused on open source projects.
We will look at these CI systems and how to make Gradle work on them. At the end of the chapter, we will mention some Gradle tricks to make CI easier, regardless of the chosen CI system.
In this chapter, we will cover the following topics:
- Jenkins
- TeamCity
- Travis CI
- Further automation
Jenkins was originally released as Hudson in 2005 by Sun Microsystems. Over the years, it grew to become the most popular CI system in the Java community. Shortly after Sun Microsystems was acquired by Oracle, there was a conflict between Oracle and the Java community regarding Hudson. When that could not be resolved, the community continued to work on the project under the name Jenkins because the name Hudson is owned by Oracle.
The power of Jenkins lies in its plugin system. Everyone who has a need for new functionality in the build system can create a new plugin that extends the capabilities of Jenkins. This is also why setting up an automated build for Android apps or libraries is quite straightforward.
If you do not already have Jenkins installed and running on your build machine, download it from the website (https://jenkins-ci.org) and follow the steps.
Before you can get started with the actual Jenkins setup, you need to make sure you have all the required libraries for building Android apps and libraries. To build anything in Java, you need to download and install the JDK first, which can be downloaded from the Java website (http://www.oracle.com/technetwork/java/javase/downloads/index.html).
You also need to make sure you have the Android SDK and build tools installed. It is not necessary to install an IDE on your build server, unless you plan on opening the project on the build machine. If you just want to install the SDK tools, you can download those from the Android developer website (https://developer.android.com/sdk/index.html#Other). Once you have downloaded and installed the package, you need to run the android executable in the SDK directory, so you can install the APIs and build tools you need.
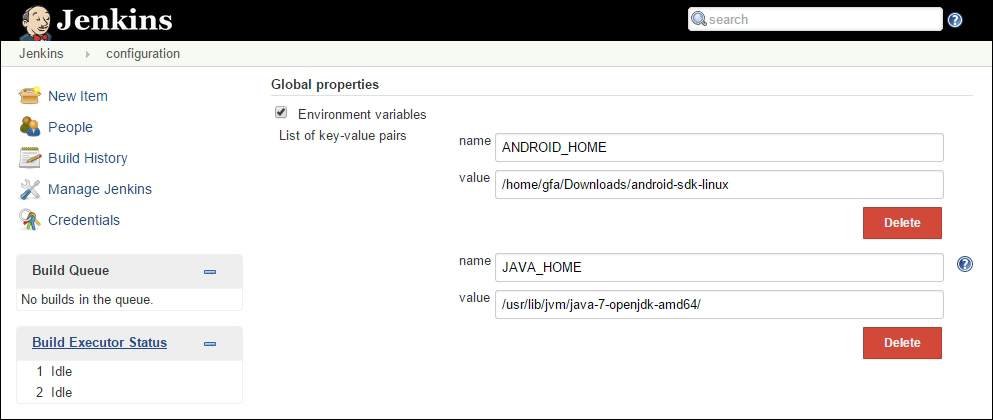
Once Java and the Android SDK are installed, you need to configure these in Jenkins. Start by opening your web browser and navigating to Jenkins' home page on your build server. Go to Manage Jenkins | Configure System and scroll to Global properties. Add two environment variables, ANDROID_HOME and JAVA_HOME, and set their values to the correct directories, as shown in this screenshot:
You also need to install the Gradle plugin. Go to Manage Jenkins | Manage Plugins, navigate to the Available tab, and search for Gradle. When you locate the Gradle plugin, simply check the box and click on Download now and install after restart. This plugin makes it possible to create build steps that involve Gradle.
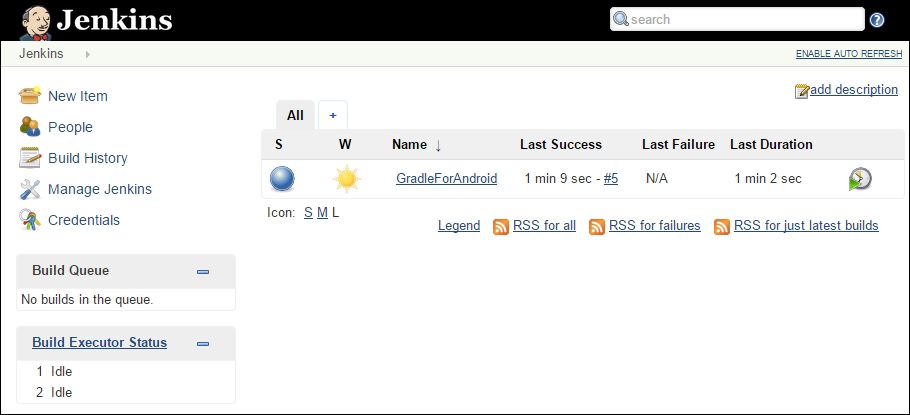
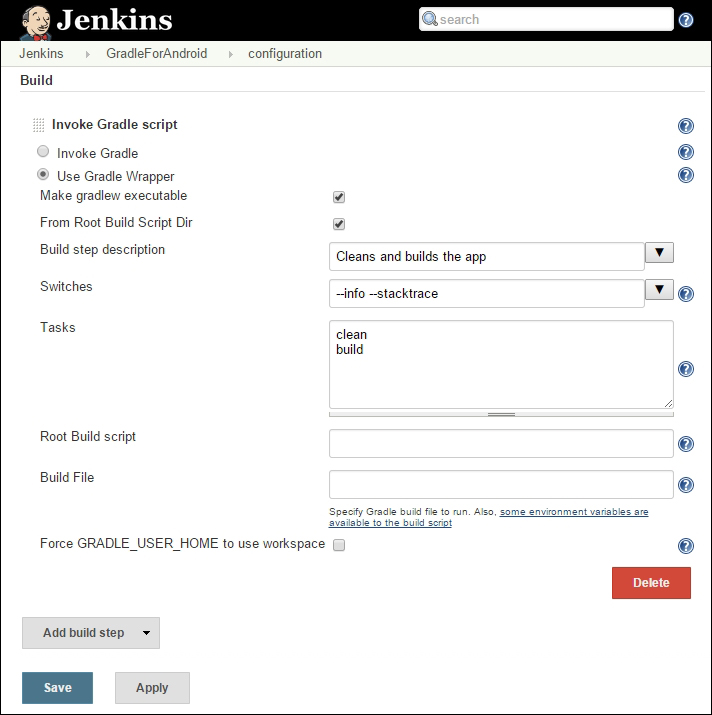
Once you have installed everything you need, you can create a CI project in Jenkins. The first thing you should do is to set up the VCS repository, so that Jenkins knows where to get the source code for your project. You can set up Jenkins to build your app or library automatically based on repository activity, using build triggers, or you can choose to only do manual builds. To perform the actual build, you need to add a new build step that invokes a Gradle script. You can configure Jenkins to use the Gradle Wrapper, which is present by default in Android projects. Using the Gradle Wrapper not only eliminates the need for manually installing Gradle on your build server, it also makes sure that any updates of Gradle are handled automatically. It is a good idea to also check the Make gradlew executable box. This solves an issue with permission for executing the Gradle Wrapper, when the project is created on a Microsoft Windows machine.
You can enter a nice description for the build step, and optionally add two switches info and stacktrace. The info switch is used to print out more information of the build process, which can be useful in case something goes wrong. If the build causes an exception, the stacktrace switch prints out the stack trace of this exception. Sometimes you might need more detailed information, in which case you can use the full-stacktrace switch instead.
To finalize the configuration, specify the Gradle tasks you want to execute. First, execute the clean task, to make sure there is no output left from any previous builds. Second, execute the build task, which triggers a build of all variants. The Jenkins configuration should look like this:
Once you have saved the project configuration, you can run the build.
Note
If your build server is installed on a 64-bit Linux machine, you might run into this exception java.io.IOException: Cannot run program "aapt": error=2, No such file or directory. This is because AAPT is a 32 bit application and needs some extra libraries in order to run on a 64 bit machine. To install the necessary libraries, use this command:
$ sudo apt-get install lib32stdc++6 lib32z1
If the build finishes without any issues, it creates APKs for all your build variants. You can use specific Gradle tasks to distribute these APKs. We will mention automatic distribution at the end of the chapter, as it is not specific to any build system.