The heart of documents on macOS is the NSDocument class. Like UIDocument in iOS, it is an abstract class that you subclass for your own app. Three classes interact to provide document functionality in your app. They are the following:
NSDocument is the abstract class that you subclass for your app.
NSDocumentController is the app-specific class that manages the opening and closing of your document.
NSWindowController is the class that manages the window in which your document is displayed.
There isn’t a one-to-one mapping of these classes between macOS and NSDocument and iOS and UIDocument; however, the similarities between NSDocument and UIDocument as well as the similarities between NSDocumentController and UIDocumentController are important (but they are no more than similarities).
Differences Between iOS UIDocuments and macOS NSDocuments
The biggest difference between iOS documents and macOS documents is that on macOS, the documents are part of the system environment and on iOS, they are part of each app’s environment. There are reasons for this (many of which reflect the evolution of the two operating systems), but what matters is this aspect of the environment in which your app runs and your document exists.
Putting it another way, the tools that let you manage documents (creating and saving them, for example) are part of macOS and, on iOS they are part of tools such as UIDocumentBrowserViewController rather than iOS.
Creating a Document-Based App on macOS
As is usually the case, the simplest way to start building a new app is to use one of the built-in Xcode templates. Creating a document-based macOS app is no different. Start by creating a new project using the macOS Cocoa App template, shown in Figure 5-1.
Figure 5-1.
Creating a new Cocoa app for macOS
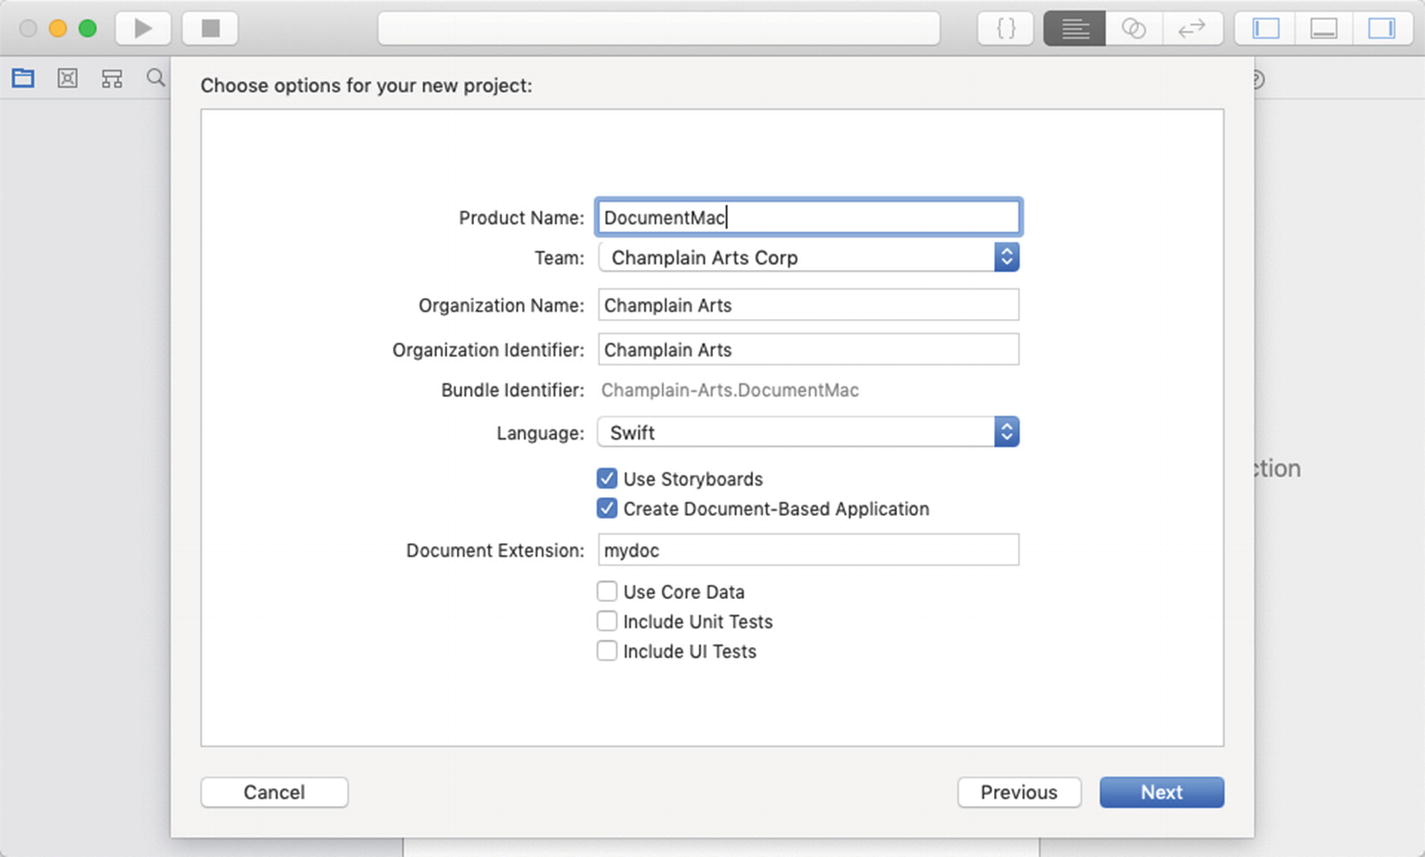
As you do with an iOS project, name the macOS project and provide optional information, as shown in Figure 5-2.
Figure 5-2.
Information for a macOS app
By contrast, Figure 5-3 shows the options for an iOS app.
Figure 5-3.
Information for an iOS app
There are some options for macOS projects that you won’t find for iOS apps. In particular, for macOS project templates, you’ll see options to use storyboards and documents. For iOS project templates, you have a template for documents, and storyboards are assumed.
As is always the case when you create a new project from a template, try to run it as you see in Figure 5-4 at the top left with the right-pointing arrow. (Some projects, particularly those that require an iCloud account, may not run, but this one should run for you.)
Figure 5-4.
Running the app
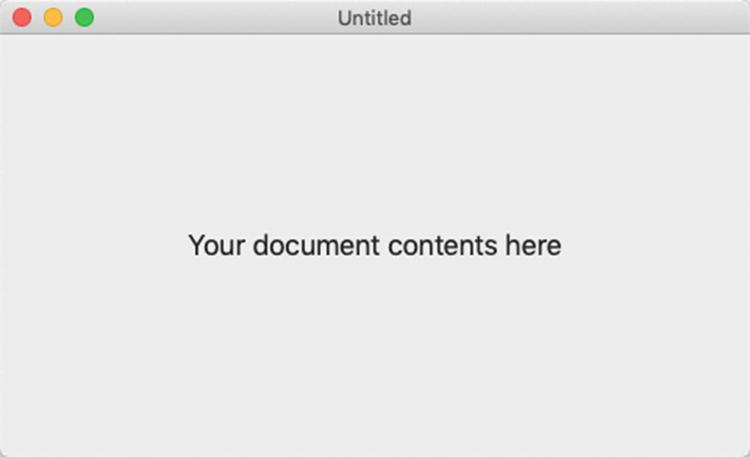
As the project runs, it will use your Mac to run it instead of an iOS simulator. The basic app should show you a screen such as the one shown in Figure 5-5.
Figure 5-5.
Running your new macOS app
Adding Code to Your macOS App
It is a good idea to look inside the app that you’ve created to see how it works. (This will help you make changes to it as you develop your app.)
The main components of your app when you start out from the project template are as follows:
AppDelegate: This is functionally similar to the AppDelegate that you use for iOS apps.
ViewController: This is a view controller (named ViewController) that works similarly to a view controller in an iOS app.
Document: This is a subclass of the NSDocument class.
The following sections show you the code for this project.
AppDelegate
As you can see in Figure 5-6, this is similar to app delegates in iOS apps (but it’s much shorter, in part because the operating system has much of the document work built into it).
Figure 5-6.
Using AppDelegate
The basic code that is part of the project template is shown in Listing 5-1. The comments in the code explain what you can add to it. The project template will run without any customization but you should implement the commented-out code or a variation of it before releasing an app even just for testing.
import Cocoa
@NSApplicationMain
class AppDelegate: NSObject, NSApplicationDelegate {
func applicationDidFinishLaunching(_
aNotification: Notification) {
// Insert code here to initialize your application
}
func applicationWillTerminate(
aNotification: Notification) {
// Insert code here to tear down your application
}
}
Listing 5-1
AppDelegate Template Code
ViewController
ViewController is the instance of NSViewController that will let you manage objects in the view. The basic ViewController is shown in Figure 5-7 and Listing 5-2. It will be modified in the "Document" section later in this chapter.
Figure 5-7.
Creating the ViewController
//
// ViewController.swift
// Document2A
//
//
import Cocoa
class ViewController: NSViewController {
override func viewDidLoad() {
super.viewDidLoad()
// Do any additional setup after loading the view.
}
override var representedObject: Any? {
didSet {
// Update the view, if already loaded.
}
}
}
Listing 5-2
ViewController Code
Document
Document is the subclass of NSDocument that manages the document and its data. The basic code is shown in Figure 5-8 and Listing 5-3. It is important to note that the document subclass makeWindowControllers method includes the code for matching the storyboard to the Document class.
Figure 5-8.
Managing your document
//
// Document.swift
// Document2A
//
//
import Cocoa
class Document: NSDocument {
override init() {
super.init()
// Add your subclass-specific initialization here.
}
override class var autosavesInPlace: Bool {
return true
}
override func makeWindowControllers() {
// Returns the Storyboard that contains your
Document window.
let storyboard = NSStoryboard(
name: NSStoryboard.Name("Main"), bundle: nil)
let windowController =
storyboard.instantiateController(
withIdentifier:
NSStoryboard.SceneIdentifier(
"Document Window Controller"))
as! NSWindowController
self.addWindowController(windowController)
}
override func data(ofType typeName: String) throws -> Data {
// Insert code here to write your document to data of the
// specified type, throwing an error in case of failure.
// Alternatively, you could remove this method and override
// Insert code here to read your document from the
// given data of
// the specified type, throwing an error in case of failure.
// Alternatively, you could remove this method and override
// read(from:ofType:) instead.
// If you do, you should also override isEntireFileLoaded to
// return false if the contents are lazily loaded.
throw NSError(domain: NSOSStatusErrorDomain,
code: unimpErr, userInfo: nil)
}
}
Listing 5-3
Document Code
Storyboard
Figure 5-9 shows how you can modify the storyboard in the template to add a text view (you do this just as you do it in iOS). In Document, you can use the text view to collect the data and then process it.
Figure 5-9.
Overview of macOS and iOS Development
Note that the details of managing the data in the text views differ between macOS and iOS. Among the differences are that in macOS, functions expose scrolling behaviors that in iOS are properties of the views.
Keep in mind the history of Cocoa on macOS. In the earliest documentation, OpenStep and its precursor, NeXTSTEP, were designed for use in a world of business apps that were running on early personal computers. Even the earliest versions had functions for managing formatted tables and strings. The development path for Cocoa and Cocoa Touch differs in large part because the target platform for Cocoa Touch was at first the iPhone. Although there were (and are) business apps, the apps and users of iOS devices are very different from the apps and users of NeXTSTEP at its launch (September 18, 1989).
The basic mechanism for reading and writing data is the same for macOS and iOS: you use objects in a storyboard to receive and send that data.
Note that storyboards are a relatively new addition to macOS, so you may not find them in old code samples. Note, too, that you may find references to binding in old code. Although it is not deprecated, it is not used frequently in modern macOS code.