
In previous chapters, you saw how to implement documents on iOS and macOS to save data and share it across your apps. In this chapter, you’ll see another way to share data using the Share button so that you can dynamically share data from one app to another without using a document to store and share the data.
Using Share buttons (as a user)
Using Share buttons (as a developer)
Managing the shared data
Using Share Buttons (As a User)
To share data, you need one app to share the data (sometimes this process is called vending the data) and another app (or several apps) to receive the data and use it as the receiving app wants. Note that, just as is the case with documents and their types, the connection between sender and receiver (or vendor and receiver) is dynamic. Neither app needs to know about the other. The document type or sharing information lets each app function on its own so that you don’t need to build enormous multi-purpose apps that require substantial development and maintenance costs.
Sharing is part of Cocoa and Cocoa Touch (and it has been since the beginning of the original NeXTSTEP and Rhapsody versions of the operating systems). In order to share data, a common format needs to be available to the sender and receiver. Here is an example of the basic structure.
Creating a Sharing Example
Note
Remember that you can add apps to the simulator. Mail may not be configured for you. If you have a device you can use for testing, it’s best to use it. You can test the ShareApp by downloading it as described in Chapter 1. Look for the Chapter 8 version.

Creating a new timestamp record
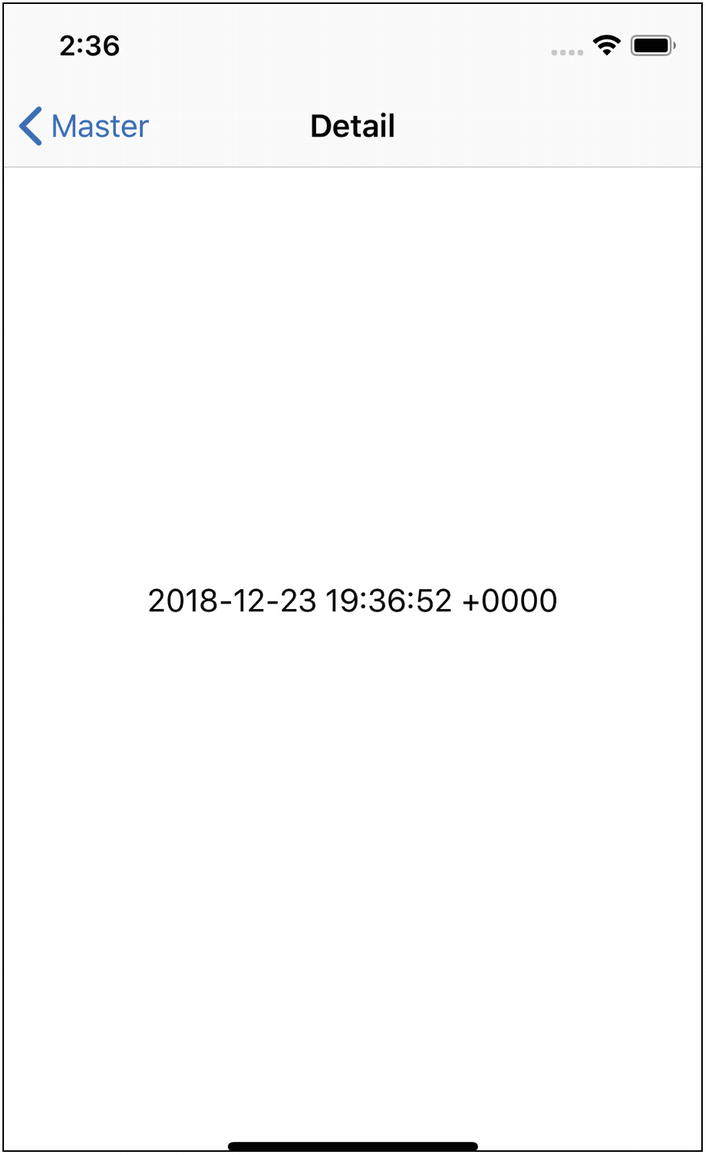
Detail view

Adding an action button to share the data

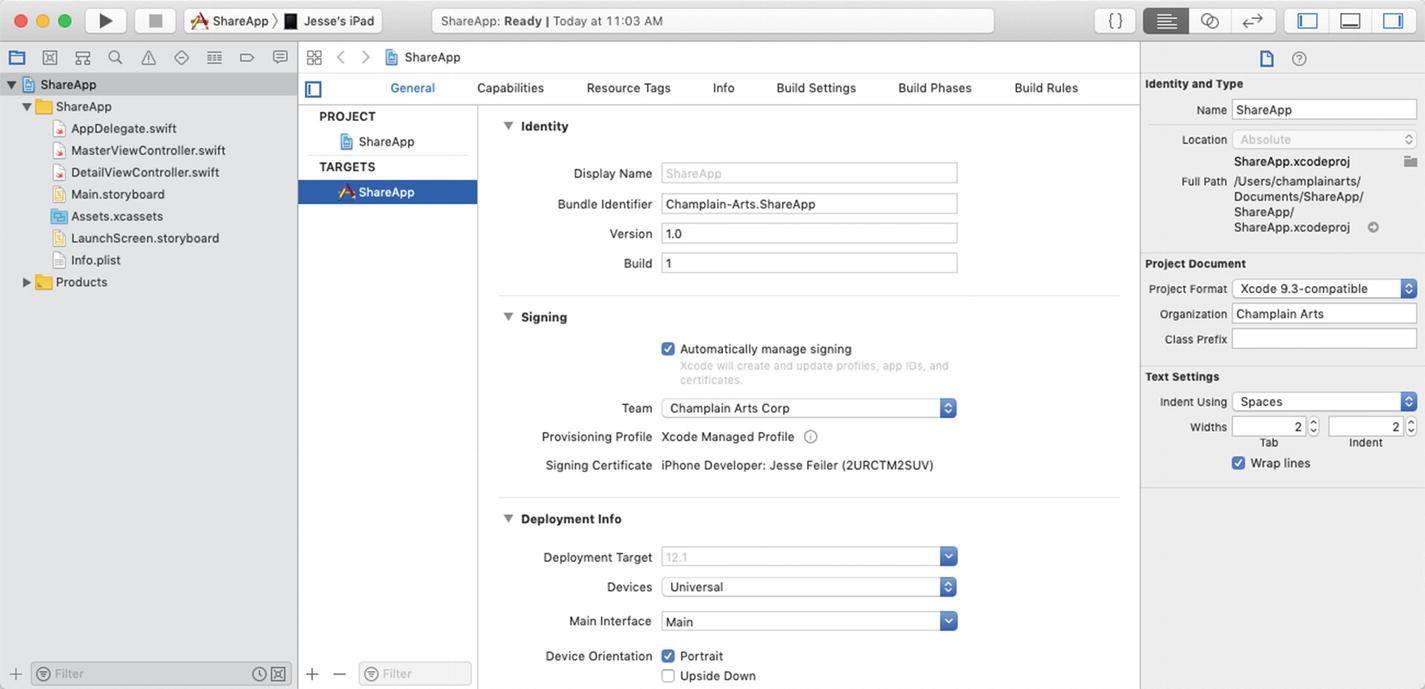
Starting from the Master-Detail App project template
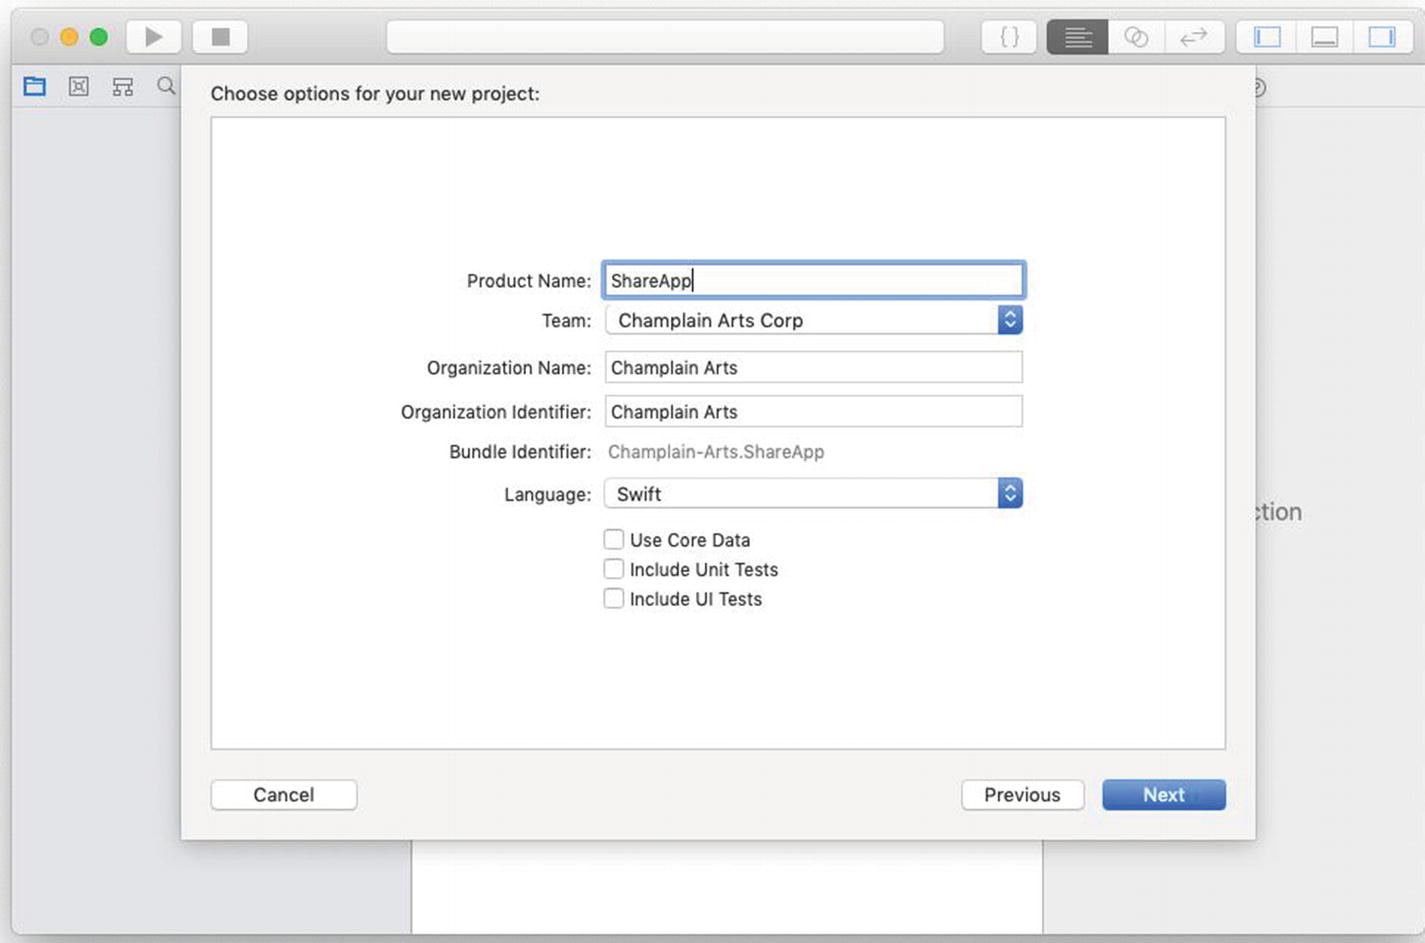
Building your own project
Using the default Master-Detail App settings
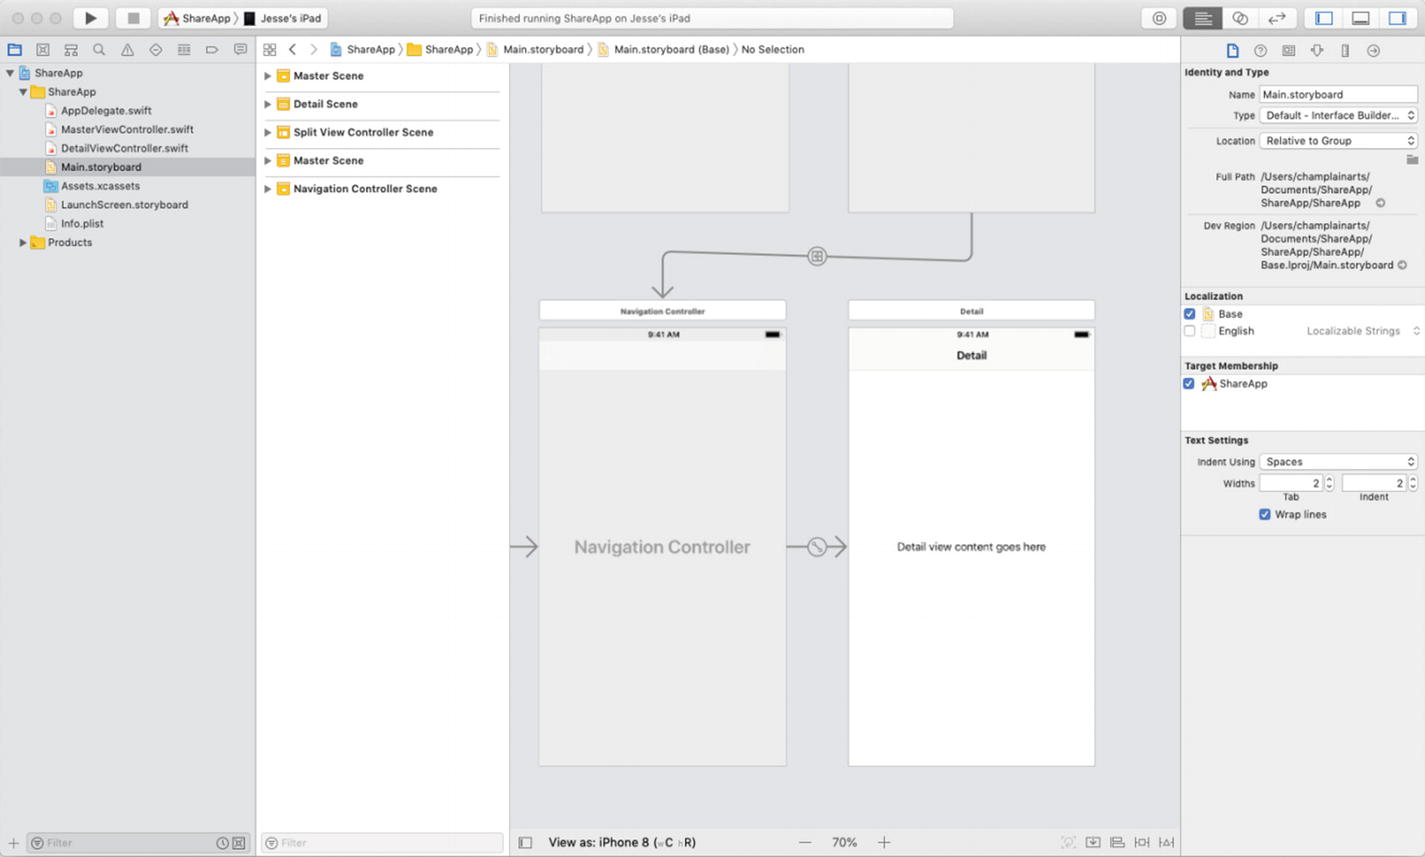
Opening the storyboard

Selecting a bar button item to add

Adding a bar button item

Choosing the action button

Connecting the outlet for actionButton

Preparing the button and action
Set a breakpoint in the actionButtonAction function and test that your action button now works.
All that’s left to do is to implement the sharing.
Sharing the Data
The objective at this point is to share the timestamp data in a format that other apps can recognize. This is done by implementing a UIActivityViewController , as you will see in this section. The activity view controller that you present will reflect the type of data that you have available to share and the possible receivers of that data. Because of this dynamic functioning, you can’t be certain what you should be seeing, so the first example in this section will use a very basic type of sharing: the activity view controller will share text that is included in this section. For most users, this text will be able to be received by built-in apps such as Mail, Notes, and Messenger.
actionButtonAction
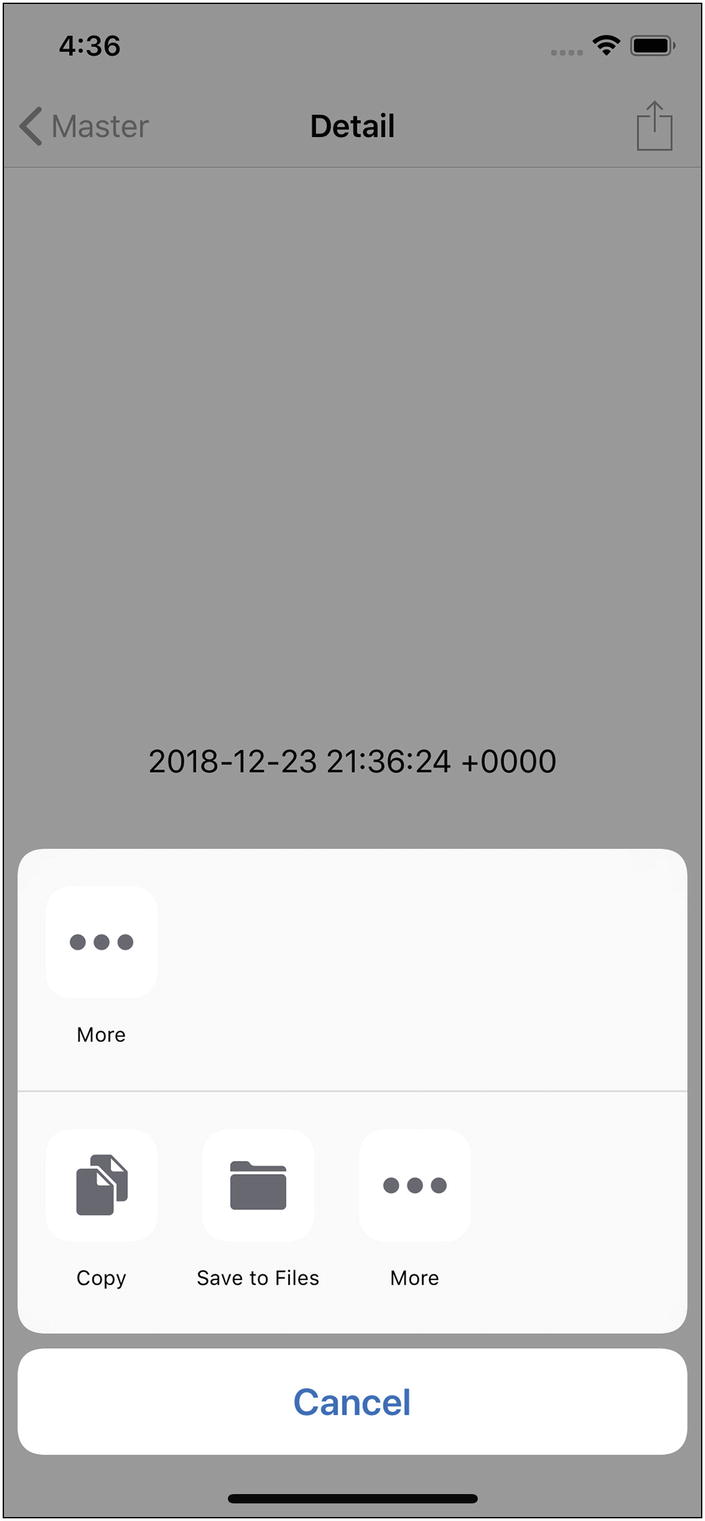
Experimenting with an activity view controller
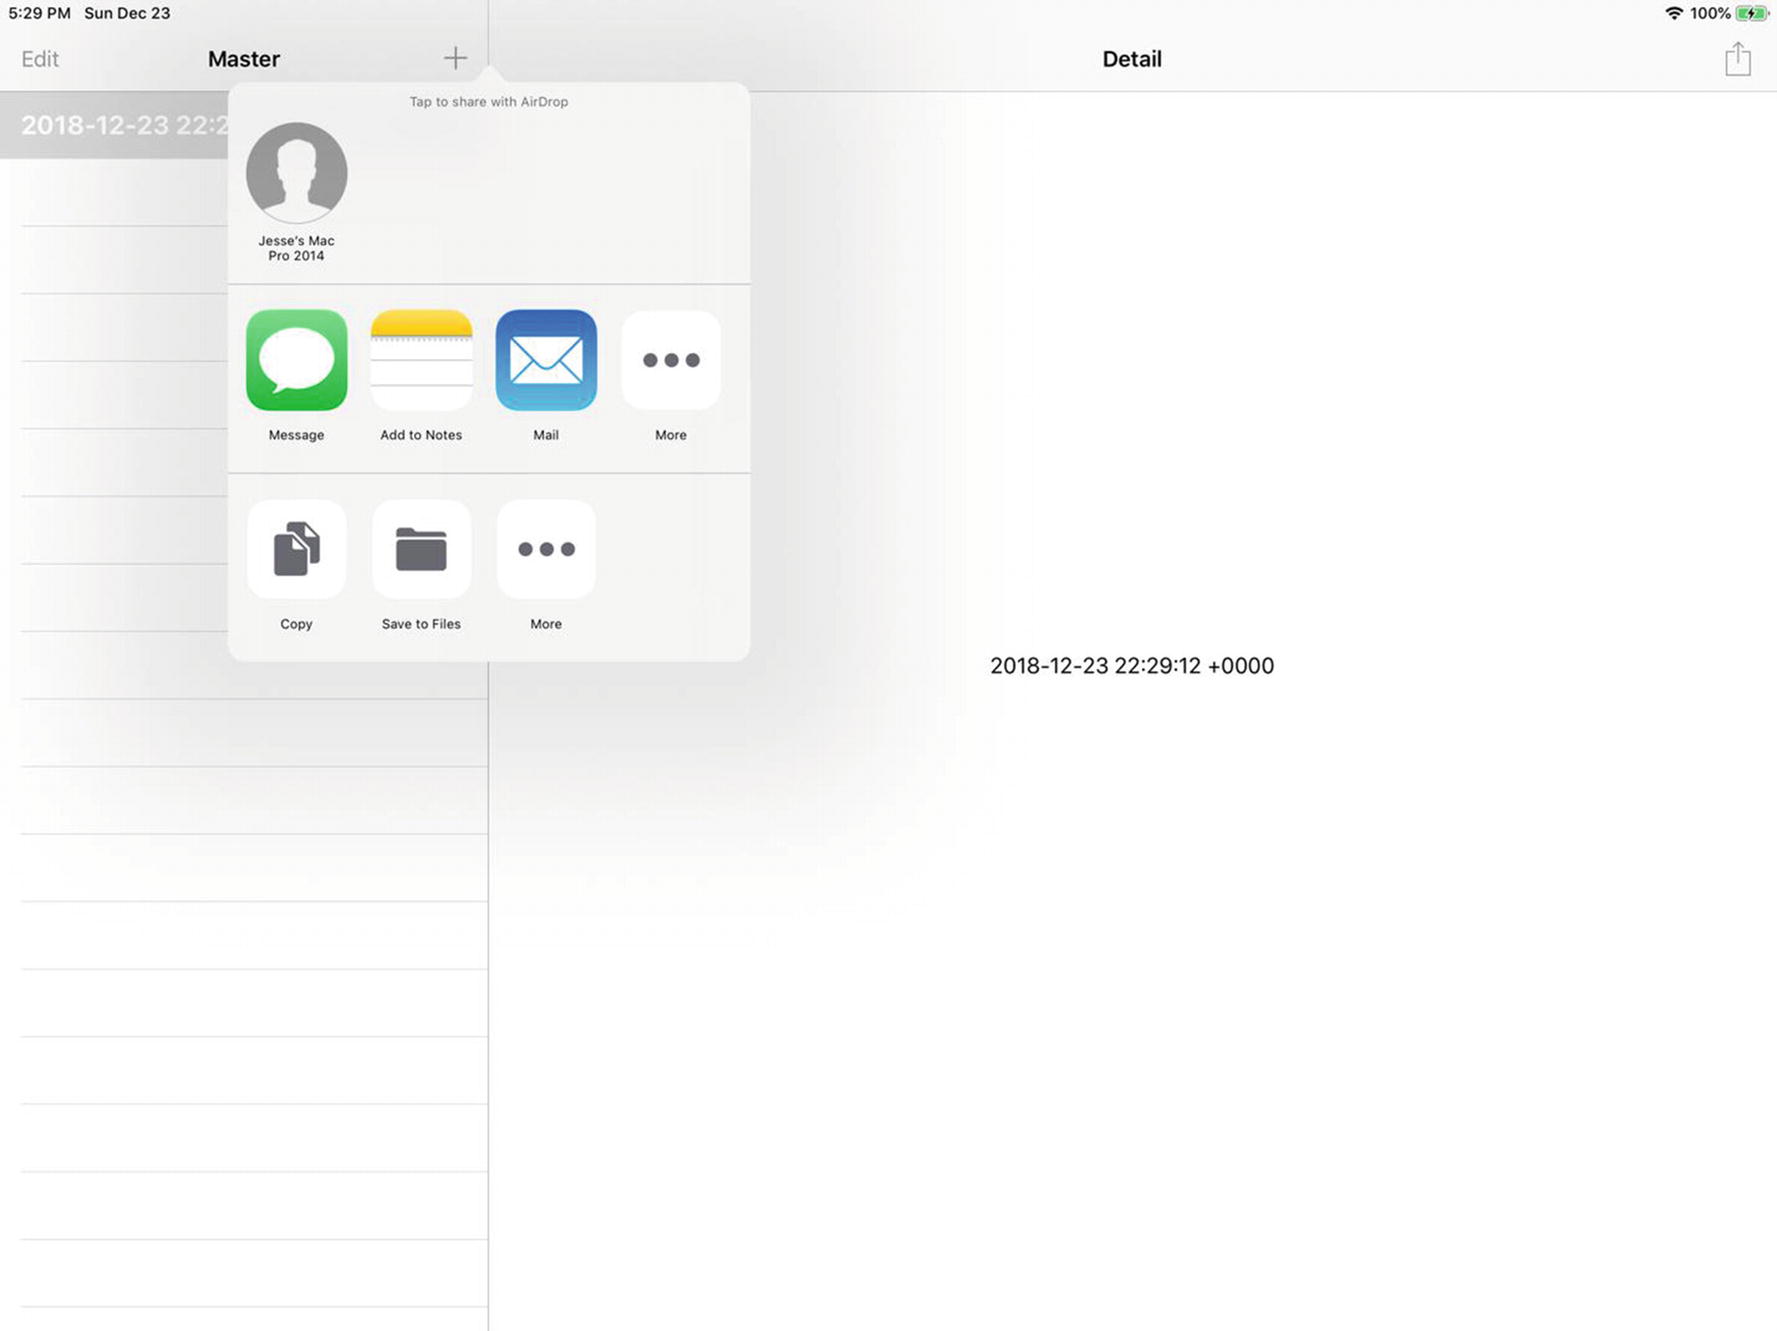
Using the activity view controller
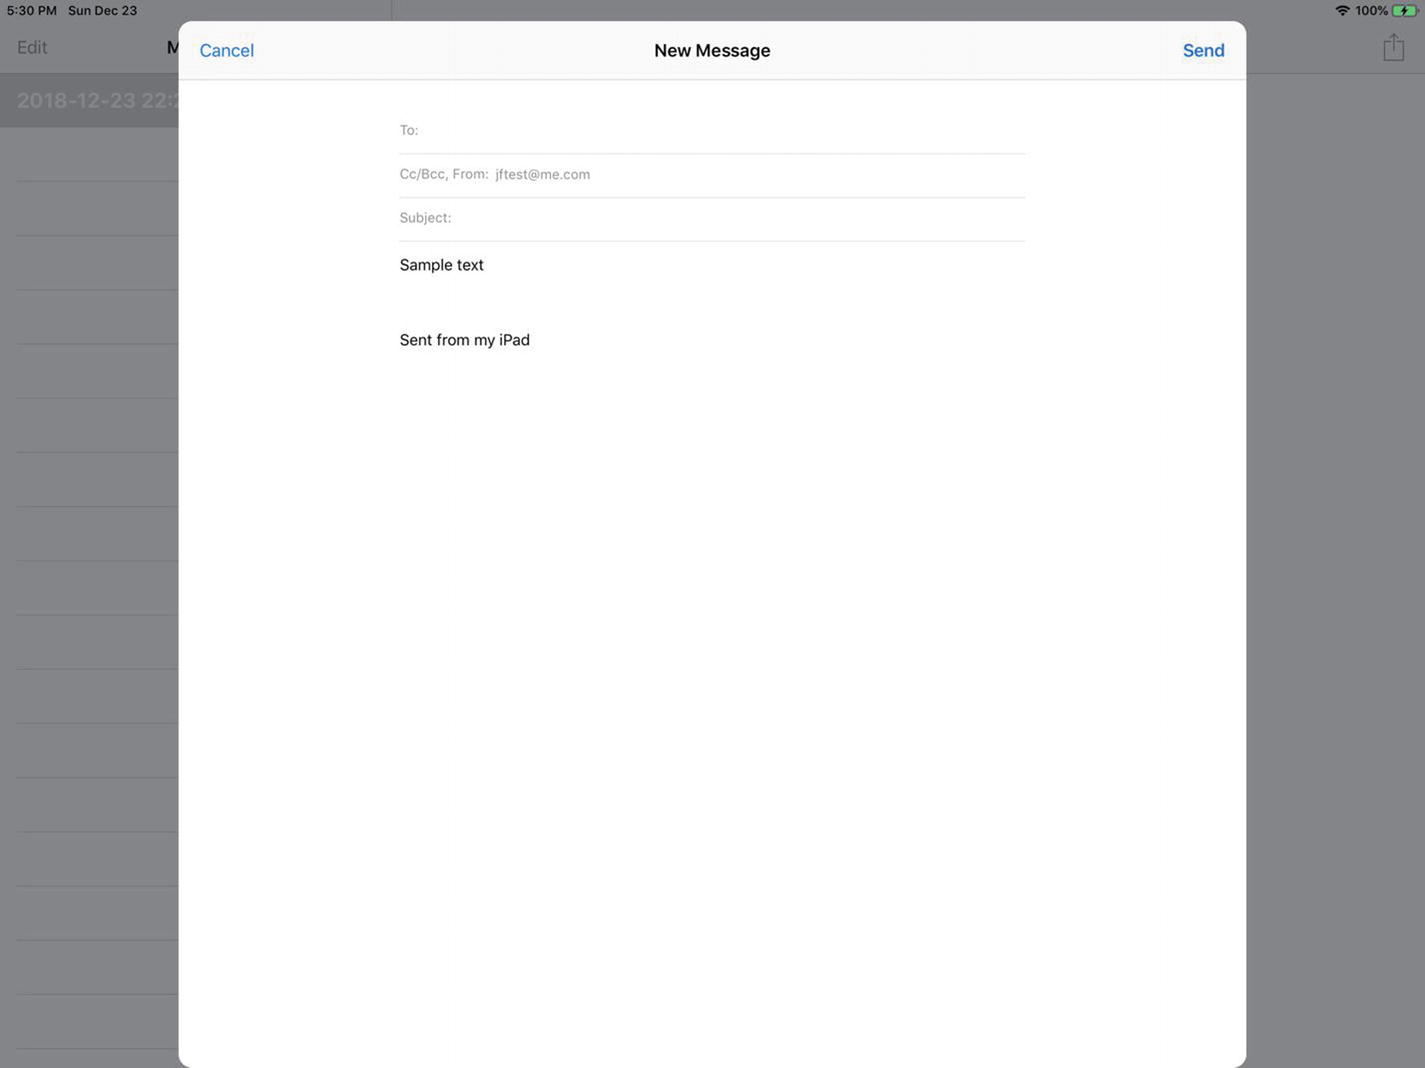
You can email text from the activity view controller
Summary
You’ll notice that you can specify activities as an optional; there is more information on them in the documentation.