
This task will describe how to install PiSNES through the Raspberry Pi Store, and how to install PiSNES from the Google Code site. It will go on to explain how to run it from both the Graphical User Interface (GUI) and the Command Line Interface (CLI), and how to add games.
You will need:
- A Raspberry Pi
- An SD card with the official Raspberry Pi OS, Raspbian, properly loaded
- A USB keyboard
- A USB mouse
- A 5V 1A power supply with Micro-USB connector
- A network connection
- And a screen hooked up to your Raspberry Pi
For installing PiSNES from the Pi Store, perform the following steps:
- From the command line, enter
startxto launch the desktop environment. - From the desktop, launch the Pi Store application by double-clicking on the Pi Store icon.
- At the top-right of the application, there will be a Log In link. Click on the link and log in with your registered account.
- Type
pisnesin the search bar and press Enter. - Click on the
PiSNESresult. - At the application info page, click on the Download button on the right-hand side of the screen.
- PiSNES will automatically start the download process, and a window will appear showing the installation process.
- Press any button to close the window once it has finished installation.
- PiSNES will look for your game files in the
/usr/local/bin/indiecity/InstalledApps/pisnes/Full/romsdirectory.
For running PiSNES from the Pi Store, perform the following steps:
- From the desktop, launch the Pi Store application by double-clicking on the Pi Store icon.
- At the top right of the application, there will be a login link. Click on the link and log in with your registered account.
- Click on the My Library tab.
- Click on PiSNES and then click on Launch.
For running PiSNES from the command line, perform the following steps:
- Type
cd /usr/local/bin/indiecity/InstalledApps/pisnes/Fulland press Enter. - Type
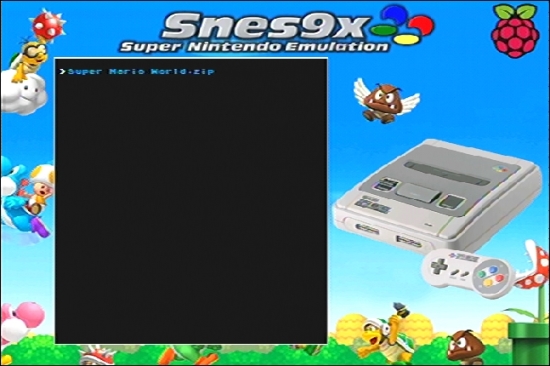
./snes9x.guiand press Enter to launch PiSNES.
For installing and running PiSNES from Google Code, perform the following steps:
- At the command line, type
wget https://pisnes.googlecode.com/files/pisnes%202013-05-25.zip -o pisnes.zip. - Type
unzip pisnes.zipand press Enter. - Type
cd pisnesand press Enter to enter the PiSNES directory. - Move your game files into the
romfolder in thepisnesdirectory. - Type
./snes9x.guiand press Enter to launch PiSNES.
PiSNES is a Super Nintendo Entertainment System emulator, based on the SNES9x project, and optimized to use the Raspberry Pi graphics processor. PiSNES uses an older version of the SNES9x codebase, which means that games which require emulation of the SuperFX will not run. The reason for this is that the newer versions of SNES9x have sacrificed speed for accuracy. When emulators are written, it usually starts off by getting a system running well enough to play, and as new versions are released, bugs are squashed, accuracy is improved, and more computing power is needed to emulate the hardware at full speed. By using an older version of SNES9x code, PiSNES is able to play a large amount of games at full speed, with a small chance that the audio and graphics may be a bit on the lower side.
The default controls for PiSNES are:
- Arrow Keys: These are equal to the D-pad
- return: This is equal to the start button
- Tab: This is equal to the select button
- Esc: This is equal to quit
- D: This is equal to the a button
- C: This is equal to the b button
- S: This is equal to the x button
- X: This is equal to the y button
- A: This is equal to the left bumper button
- F: This is equal to the right bumper button
You can modify these keys and other configuration options by editing the snes9x.cfg file.
A few useful reference links:
- For PiSNES project go to http://code.google.com/p/pisnes/
- For SNES9x project go to http://www.snes9x.com/