
Chapter 11. User Interfaces and React
In 1979 Steve Jobs famously visited Xerox Parc, where he saw a demo of the Xerox Alto personal computer. While other computers at the time were controlled by typed commands, the Alto utilized a mouse and featured a graphic interface of windows, which could be opened and closed. Jobs went on to borrow these ideas in the creation of the original Apple Macintosh. The popularity of the original Mac led to the proliferation of computer UIs. Today, in a typical day we may interact with dozens of graphic user interfaces, which may include personal computers as well as smartphones, tablets, ATMs, game consoles, payment kiosks, and many more. UIs now surround us, working across all sorts of devices, content types, screen sizes, and interaction formats.
As an example, I recently traveled to a different city for a meeting. That morning, I woke up and checked my flight status on my phone. I drove to the airport in my car, where a screen showed a map and allowed me to choose the music that I was listening to. On the way, I stopped at an ATM to retrieve some cash, punching in my PIN and tapping out instructions on a touchscreen. When I arrived at the airport, I checked in to my flight at a flight kiosk. As I waited at the gate, I responded to a few emails on my tablet. On the flight, I read a book on an e-ink display device. Once I landed, I summoned a ride through an application on my phone and stopped for lunch, tapping out my custom order on a display screen. In the meeting, a slide deck was projected onto the screen, while many of us took notes on our laptops. Back at my hotel, later that evening, I browsed the television and movie offerings found through the hotel’s television on-screen guide. My day was full of many UIs and screen sizes used to complete tasks related to core elements of life such as transportation, finance, and entertainment.
In this chapter we’ll take a brief look at the history of JavaScript user interface development. With that background knowledge, we’ll then explore the basics of React, the JavaScript library that we’ll be using throughout the remainder of the book.
JavaScript and UIs
Originally designed in the mid-1990s (infamously, in 10 days) to enhance web interfaces, JavaScript provided an embedded scripting language in the web browser. This allowed web designers and developers to add small interactions to a web page that weren’t possible with HTML alone. Unfortunately, browser vendors each had varying implementations of JavaScript, making it difficult to rely on. This is one of the factors that led to the proliferation of applications designed to work in a single browser.
In the mid-2000s jQuery (as well as similar libraries, such as MooTools) took off in popularity. jQuery allowed developers to write JavaScript with a simple API that worked well across browsers. Soon we were all removing, adding, replacing, and animating things on our web pages. Around the same time, Ajax (short for “asynchronous JavaScript and XML”) allowed us to fetch data from a server and inject it into the page. The combination of these two technologies provided an ecosystem to create powerful interactive web applications.
As the complexity of these applications grew, the need for organization and boilerplate code grew in parallel. By the early 2010s frameworks such as Backbone, Angular, and Ember came to dominate the JavaScript application landscape. These frameworks worked by imposing structure and implementing common application patterns into the framework code. These frameworks were often modeled after the Model, View, Controller (MVC) pattern of software design. Each framework was prescriptive about all of the layers of the web application, providing a structured way to handle templating, data, and user interactions. While this had many benefits, it also meant that the effort of integrating new or nonstandard technologies could be quite high.
Meanwhile, desktop applications continued to be written in system-specific programming languages. This meant that developers and teams were often forced to make either/or style choices (either a Mac app or a Windows app, either a web app or a desktop app, etc.). Mobile applications were in a similar position. The rise of responsive web design meant that designers and developers could create truly incredible sites and applications for the mobile web browser, but choosing to build a web-only application locked them out of the mobile platform app stores. Apple’s iOS applications were written in Objective C (and more recently Swift), while Android relied upon the Java programming language (not to be confused with our friend JavaScript). This meant that the web, consisting of HTML, CSS, and JavaScript, was the only truly cross-platform user interface platform.
Declarative Interfaces with JavaScript
In the early 2010s developers at Facebook began to face challenges in the organization and management of their JavaScript code. In response, the software engineer Jordan Walke wrote React, inspired by Facebook’s PHP library, XHP. React differed from other popular JavaSript frameworks in that it focused solely on the rendering of the UI. To do this, React took a “declarative” programming approach, meaning that it provides an abstraction that allows developers to focus on describing what the state of the UI should be.
With the rise of React, and similar libraries such as Vue.js, we have seen a shift in the way that developers are writing UIs. These frameworks provide a means to manage the state of a UI at the component level. This allows applications to feel smooth and seamless to users, while providing an excellent development experience. With tooling such as Electron for building desktop apps and React Native for cross-platform native mobile applications, developers and teams are now able to leverage these paradigms in all of their applications.
Just Enough React
Throughout the remaining chapters, we’ll be relying on the React library to build our UIs. You do not need to have any prior experience with React to follow along, but it may help to get a sense of the syntax before jumping in. To do this, we’ll use create-react-app to scaffold out a new project. create-react-app is a tool developed by the React team that allows us to quickly set up a new React project and helpfully abstracts away the underlying build tooling, such as Webpack and Babel.
In your terminal application cd into your projects directory and run the following commands, which will create a new React application in a folder named just-enough-react:
$npx create-react-app just-enough-react$cdjust-enough-react
Running these commands will output a directory in just-enough-react, which contains all of the project structure, code dependencies, and development scripts to build a full-featured application. Start the application by running:
$ npm startOur React application will now be visible in our browser at http://localhost:3000 (Figure 11-1).
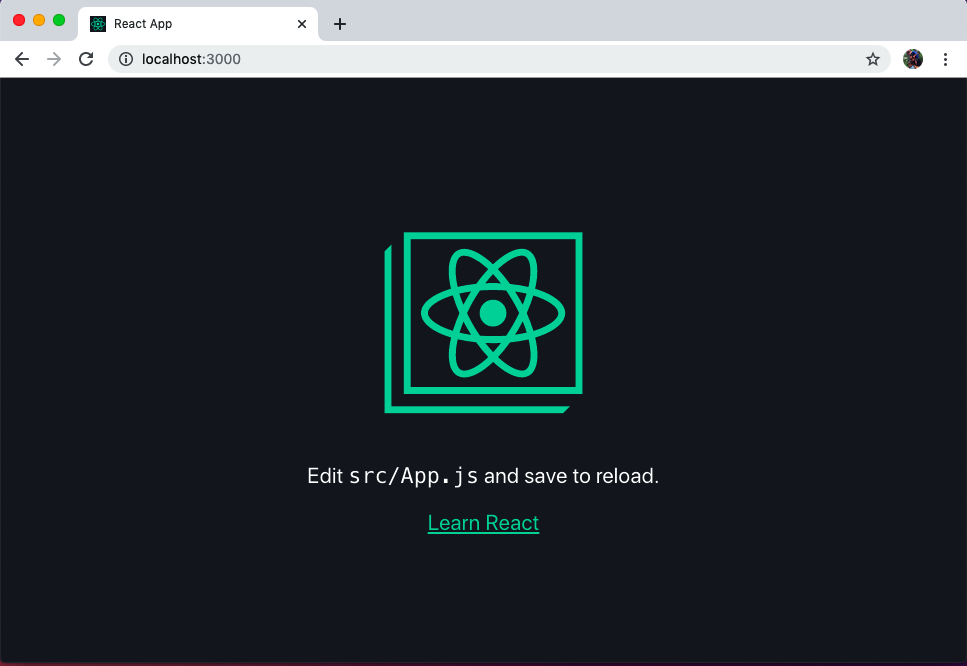
Figure 11-1. Typing npm start will launch the default create-react-app in the browser
We can now begin to edit our application by making changes to the src/App.js file. This file contains our primary React component. After requiring some dependencies, it consists of a function that returns some HTML-like markup:
functionApp(){return(// markup is here)}
The markup used within the component is something called JSX. JSX is an XML-based syntax, similar to HTML, which allows us to precisely describe our UI and couple it with user actions within our JavaScript files. If you know HTML, picking up JSX is a matter of learning a few minor differences. The big difference in this example is that HTML’s class property is replaced by className to avoid collisions with JavaScript’s native class syntax.
JSX? Yuck!
If, like me, you come from a background of web standards and a strict decoupling of concerns, this may feel very icky to you. I admit that the first time that I encountered JSX, I immediately took a strong disliking to it. However, the coupling of UI logic with the rendering output presents many compelling advantages that may grow on you over time.
Let’s begin to customize our app by removing most of the boilerplate code and reducing it to a simple “Hello World!”:
importReactfrom'react';import'./App.css';functionApp(){return(<divclassName="App"><p>Helloworld!</p></div>);}exportdefaultApp;
You may notice the enclosing <div> tag that wraps all of our JSX content. Each React UI component must be contained within a parent HTML element or use a React fragment, which represents a non-HTML element container, such as:
functionApp(){return(<React.Fragment><p>Helloworld!</p></React.Fragment>);}
One of the most powerful things about React is that we can use JavaScript directly within our JSX by enclosing it within curly brackets, {}. Let’s update our App function to make use of some variables:
functionApp(){constname='Adam'constnow=String(newDate())return(<divclassName="App"><p>Hello{name}!</p><p>Thecurrenttimeis{now}</p><p>Twoplustwois{2+2}</p></div>);}
In the preceding example, you can see that we’re making use of JavaScript directly in our interface. How cool is that?
Another useful feature of React is the ability to turn each UI feature into its own component. A good rule of thumb is if an aspect of the UI behaves in an independent manner, it should be separated out into its own component. Let’s create a new component. To begin, create a new file at src/Sparkle.js and declare a new function:
importReactfrom'react';functionSparkle(){return(<div></div>);}exportdefaultSparkle;
Now let’s add some functionality. Whenever a user clicks a button it will add a sparkle emoji to our page (critical functionality for any application). In order to do this, we’ll import React’s useState component and define some initial state for our component, which will be an empty string (in other words, no sparkle).
importReact,{useState}from'react';functionSparkle(){// declare our initial component state// this a variable of 'sparkle' which is an empty string// we've also defined an 'addSparkle' function, which// we'll call in our click handlerconst[sparkle,addSparkle]=useState('');return(<div><p>{sparkle}</p></div>);}exportdefaultSparkle;
What Is State?
We’ll cover state in more detail in Chapter 15, but for now it may be helpful to know that the state of a component represents the current status of any information that may change within the component. For example, if a UI component has a checkbox, it has a state of true when checked and false when it is not checked.
Now we can complete our component by adding a button with onClick functionality. Note the camel casing, which is required within JSX:
importReact,{useState}from'react';functionSparkle(){// declare our initial component state// this a variable of 'sparkle' which is an empty string// we've also defined an 'addSparkle' function, which// we'll call in our click handlerconst[sparkle,addSparkle]=useState('');return(<div><buttononClick={()=>addSparkle(sparkle+'u2728')}>Addsomesparkle</button><p>{sparkle}</p></div>);}exportdefaultSparkle;
To use our component we can import it into our src/App.js file and declare it as a JSX element as follows:
importReactfrom'react';import'./App.css';// import our Sparkle componentimportSparklefrom'./Sparkle'functionApp(){constname='Adam';letnow=String(newDate());return(<divclassName="App"><p>Hello{name}!</p><p>Thecurrenttimeis{now}</p><p>Twoplustwois{2+2}</p><Sparkle/></div>);}exportdefaultApp;
Now if you visit our application in the browser, you should see our button and be able to click it to add sparkle emojis to the page! This represents one of the true superpowers of React. We’re able to re-render individual components, or elements of components, in isolation from the rest of our application (Figure 11-2).
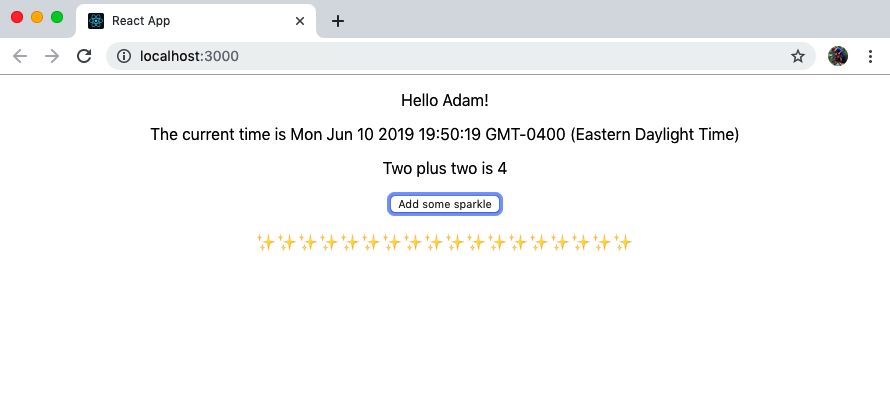
Figure 11-2. Clicking the button updates the component state and adds content to our page
We have now created a new application using create-react-app, updated our Application component’s JSX, created a new component, declared a component state, and dynamically updated a component. With a basic understanding of these fundamentals, we are now prepared to develop declarative UIs in JavaScript using React.
Conclusion
We are surrounded by user interfaces across a wide variety of devices. JavaScript and web technologies present an unparalleled opportunity to develop these interfaces across the multitude of platforms, using a single set of technologies. Meanwhile, React and other declarative view libraries allow us to build powerful, dynamic applications. The combination of these technologies enables developers to build amazing things without requiring specialized knowledge for each platform. In the coming chapters we’ll put this into practice by utilizing a GraphQL API to build interfaces for web, desktop, and native mobile applications.