
In this chapter we are going to learn how to use the Android Studio integrated development environment (IDE) to write and execute a first simple Kotlin program.
Setting Up an IDE: Android Studio
Although computer programs could be written in simple text editors and then prepared and executed by some system-level commands entered in a system terminal, using an IDE helps in keeping project files together and also simplifies various development-related activities.
Note
Computer languages come in two flavors: Either you have some program code that by some execution engine gets interpreted while the program is running and then executed on the CPU, or you have a compiling language with a special preparatory system command first translating the program code into a compiled program that can be directly executed by the operating system or by some specially tailored execution engine. Kotlin is such a compiling language. If you use an IDE like Android Studio, the compilation step usually is automatically done for you.
- 1.
Download the installer for your operating system. There are installers for Linux (tested for Ubuntu 14.04; higher versions should work as well), Windows (starting from version 7), and MacOS (starting from MacOS X 10.10).
- 2.
Start the installer. For Linux, unpack the installer ZIP, then navigate to the bin folder and start studio.sh in a terminal. On Windows systems, start the .exe file. On MacOS X systems, launch the .dmg file and then drag and drop Android Studio to the Applications folder. Launch it again from there.
Note
To open a terminal in Ubuntu Linux press Ctrl+Alt+T. Inside the terminal, commands need to be entered using the keyboard. To change to a directory enter cd /path/to/directory. To start a .sh file enter ./name.sh
The details of the installation depend on your operating system specifics, including the operating system version, and also the version of your Android Studio download. The page where you downloaded Android Studio will give you more details and even present videos for the installation procedure.
In any case the installer for Android Studio will download additional components. The same holds for the Project Wizard when you create new projects, depending on the features needed for the project and also depending on the components already installed. You thus need to have some patience before you can start your first project; subsequent startups will, of course, be faster.
The Project Creation Wizard
Connecting Your Android Device
First it is important to say that for developing Android apps you don’t necessarily need to have a real hardware device at hand. In the section “Setting Up and Using Emulators” later in this chapter, we talk about how to use emulators to simulate Android devices. For professional apps, however, it is a good idea to have at least one Android hardware device at hand.
Android Studio allows for working with both real and simulated devices. To work with only a real device like a smartphone obviously can give you the most profound assurance your app is running. However, it will tell you only your smartphone can operate your app; you cannot be sure other devices will be just as happy with it. You certainly don’t want to buy dozens of different smartphones and other Android devices. Likewise, though, working only with simulated devices and not with a real device cannot give you 100 percent assurance your app works on any real devices.
The suggested development technique therefore is to use both real and simulated devices. You don’t have to check each and every development step in both worlds, but once you reach a milestone you should do a double check. Of course, before you publish your app and make it available to a broader audience, you should test it on both real and simulated devices.
- 1.
To make your smartphone debuggable, for Android version 4.2 or higher, open the Settings dialog box, go to About phone, and tap seven times on the build number. For versions prior to that, you might instead have to go to Settings ➤ Develop Option ➤ Check “USB debugging.”
- 2.
Connect the smartphone to your laptop or PC via USB cable.

A hardware Android device
Starting Your First Kotlin App
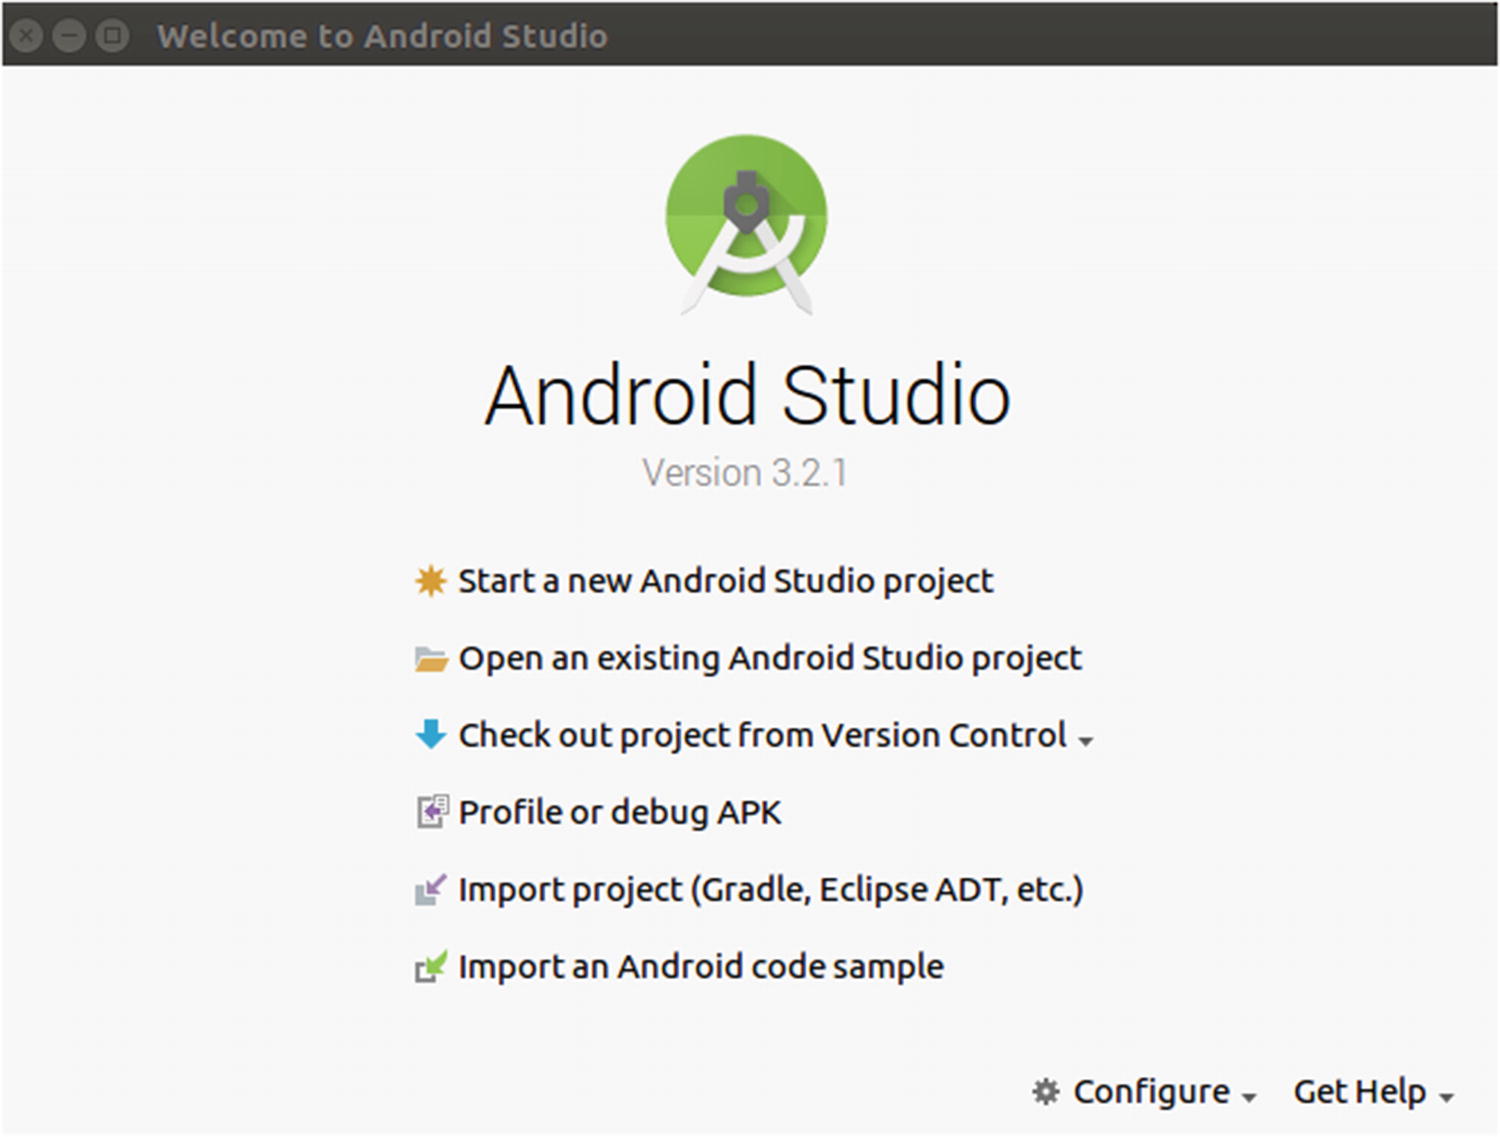
- 1.
Select or click Start a New Android Studio Project.
- 2.
Inside the Project Wizard, as the application name, enter HelloKotlin. Although not strictly necessary, it is better to avoid space characters inside the name.
- 3.
For company domain, enter example.com. Aside from not using spaces, what you enter here is up to you. It is, however, good practice to enter a real domain name you or your company owns. For projects you know you will never publish, choose whatever you like.
- 4.
The project location that Android Studio suggests is decent enough, but if you like you can choose a different one.
- 5.
Make sure Include Kotlin support is selected.
- 6.
Choose Phone and Tablet as a form factor.
- 7.
Choose API 19 as a minimum software development kit (SDK).
- 8.
Choose Empty Activity. As Activity name, use the suggested MainActivity. Make sure Generate Layout File is selected, and as a layout name, accept the suggested activity_main. Make sure Backwards Compatibility is selected as well.
The first time you create a project Android Studio will automatically download and install any additional components it needs, and then it also performs an initial build. This will take several minutes, so be patient here.
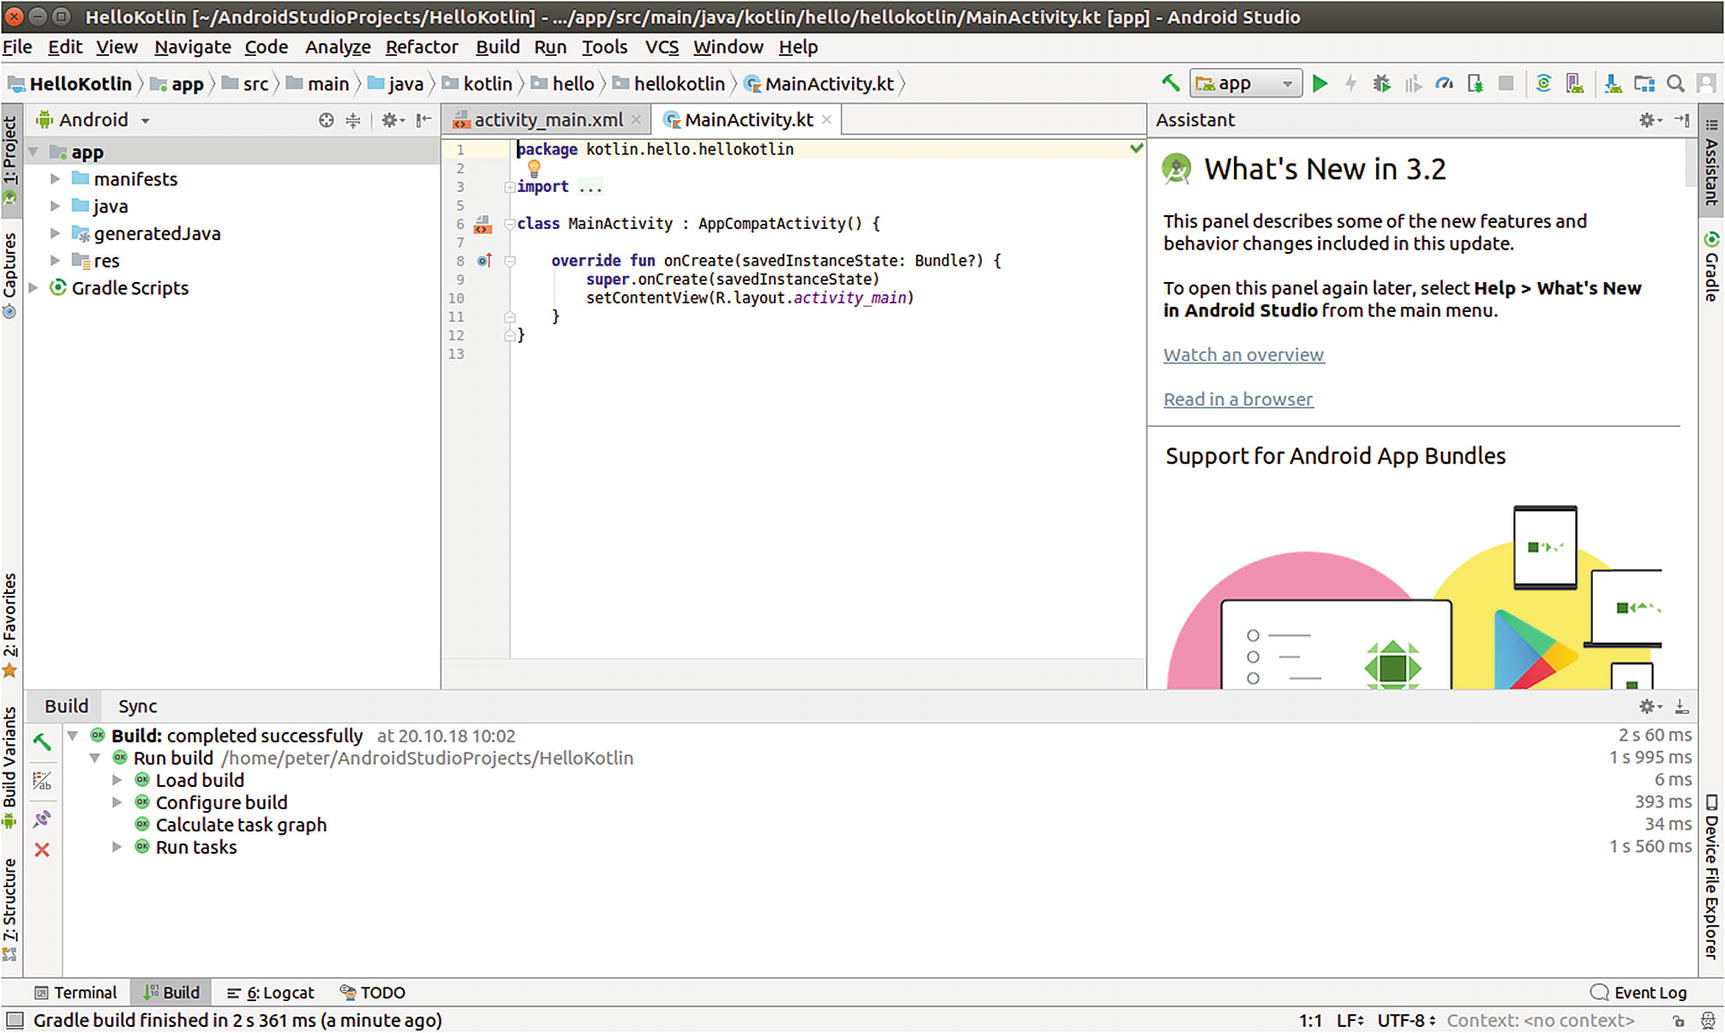
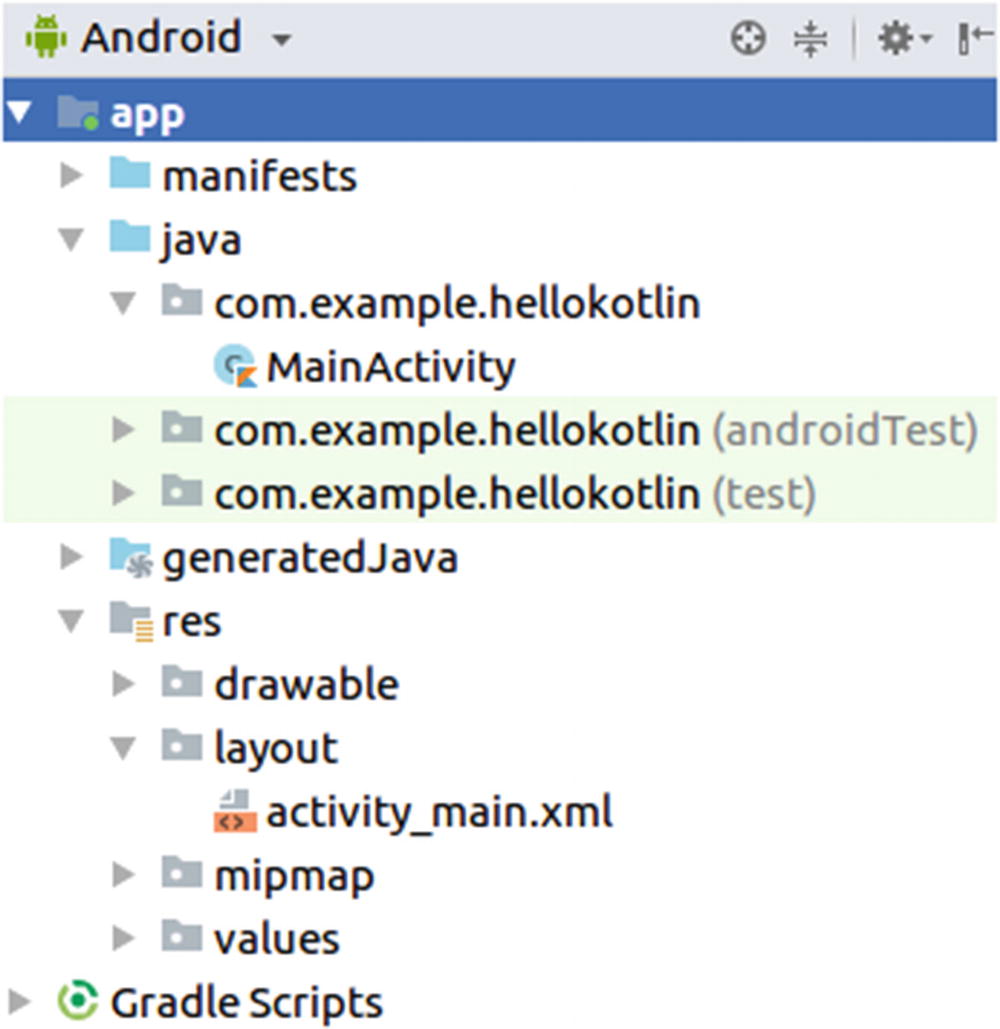
The Android Studio main window
Setting Up and Using Emulators
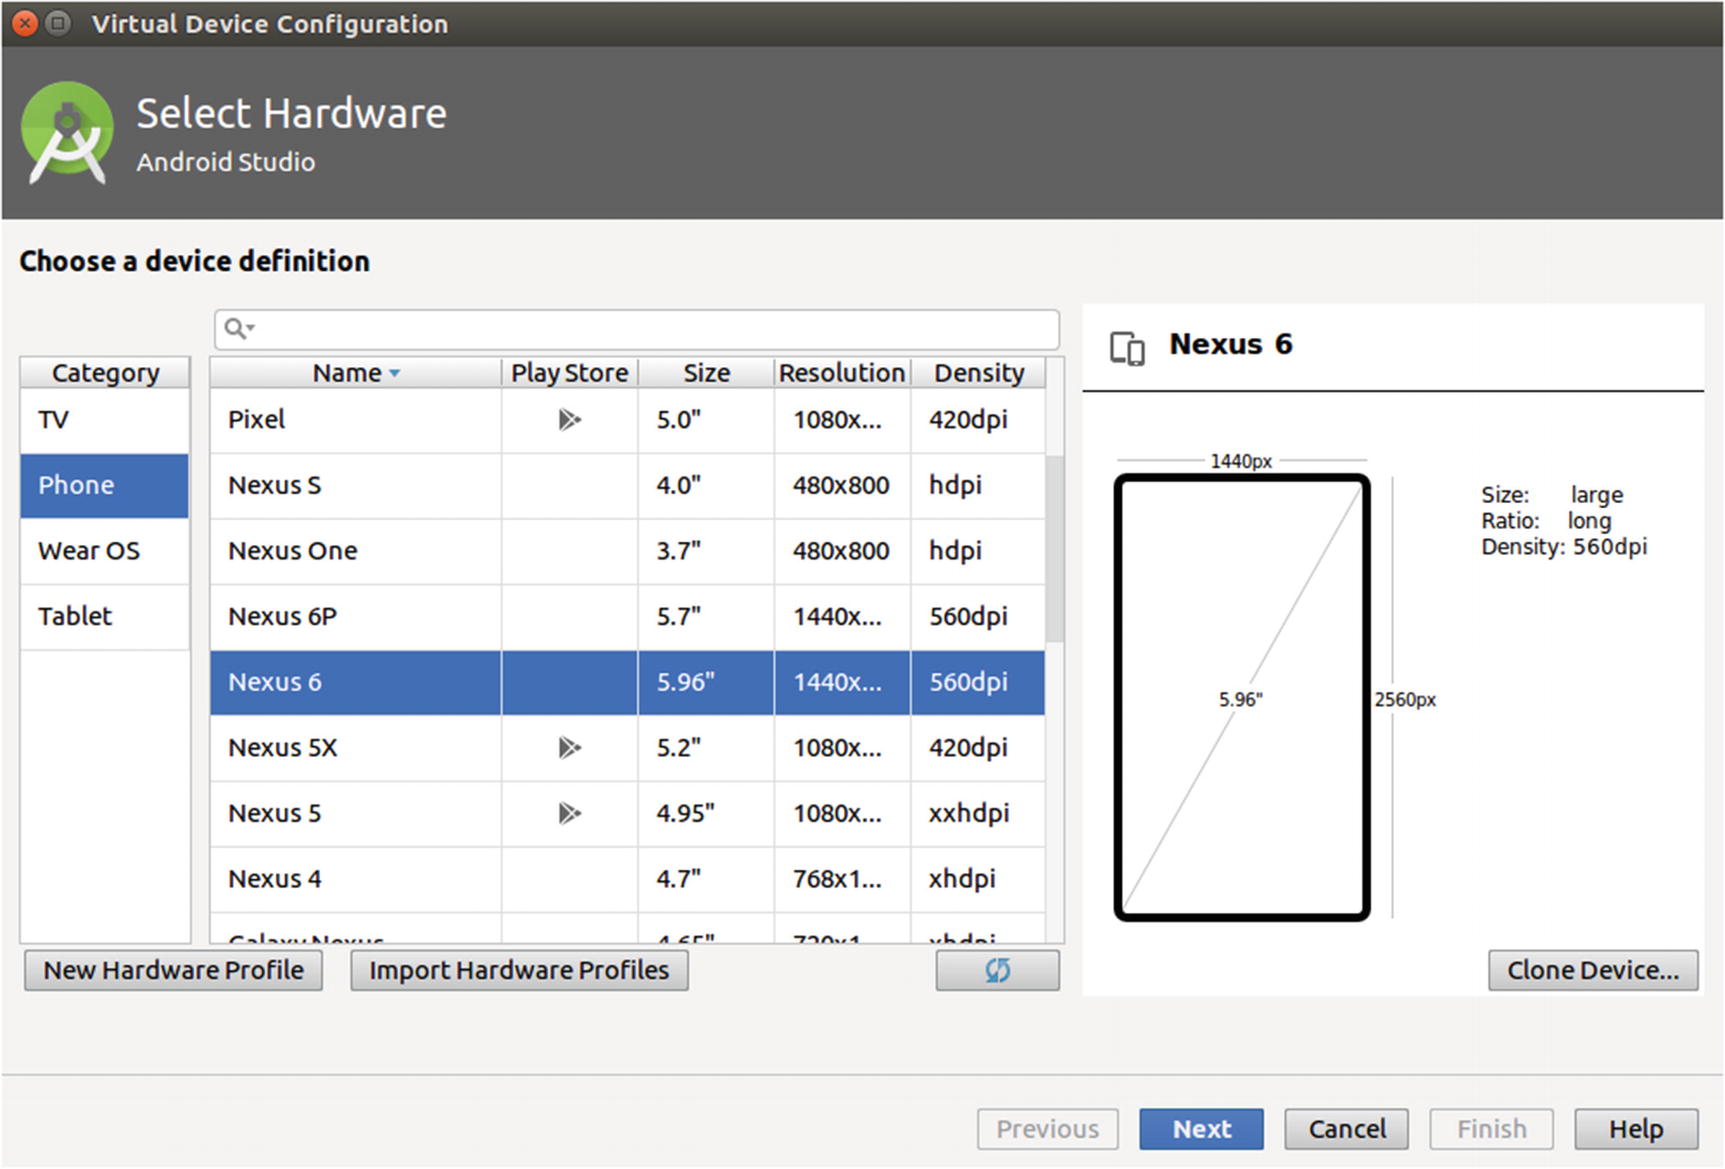
Emulated devices
Under Category, make sure you select Phone. In the middle pane, select the Nexus 6 entry. Click Next. On the next screen, click the Download link for Oreo, API 27. Go through the subwizard that then appears. Here a system image gets downloaded; this is something like the operating system for the emulator device. Back on the System Image screen, the Oreo, API 27 item now gets selected and it is possible to click Next. Click Next, and on the next screen click Finish.

Emulated devices with an entry
Continuing with the HelloKotlin App
The HelloKotlin app
So much for the graphical design. The program goes into the MainActivity.kt file . Open this one in the editor by double-clicking the name.
Start the app by clicking the green triangle in the task button bar on top of the window. From the Available Virtual Devices list, choose Nexus 6 API 27, then click OK. The first time you might be asked whether you want to install a feature called Instant Run. If so, click Install and Continue.
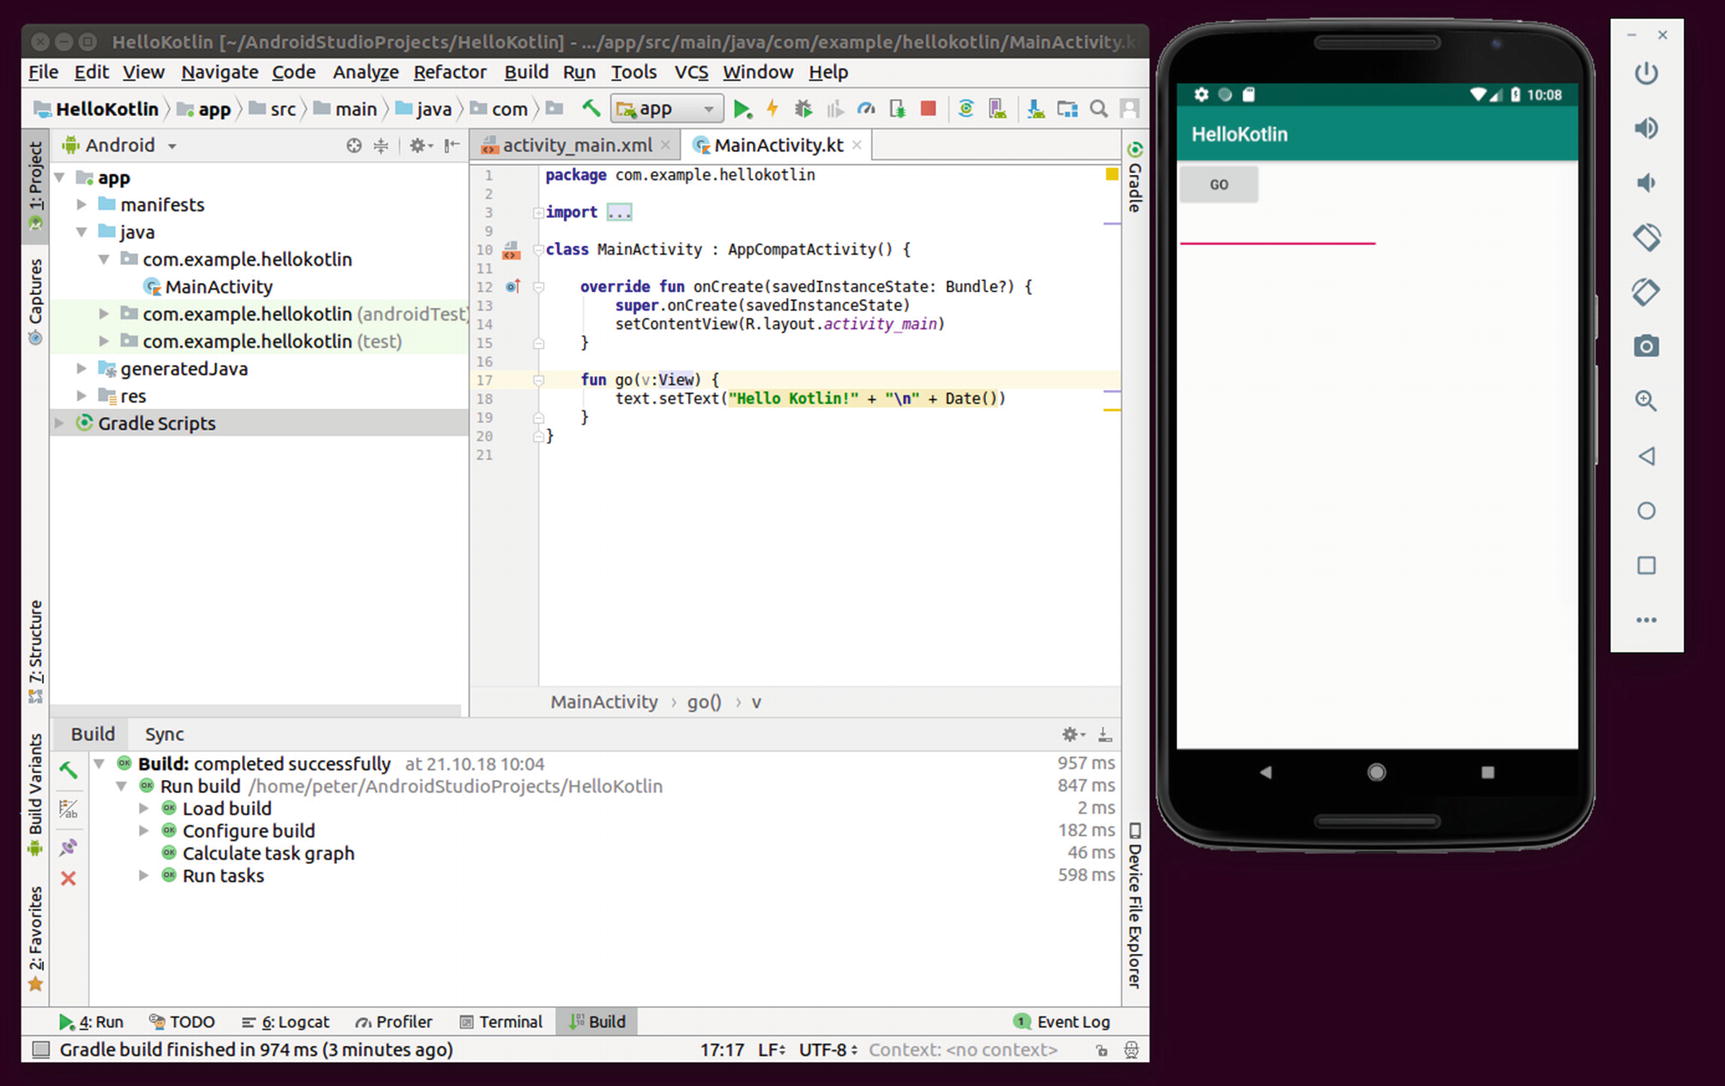
HelloKotlin app started

HelloKotlin app on the device
Congratulations! You just wrote, compiled, and ran your first Kotlin application!
Using the Command Line
Although you can continue using Android Studio for working on projects to any depth, it is also possible to use the command line in a terminal to build and run apps. If you want to continue using Android Studio, you can safely skip this section. For all others, I want to describe how to use a terminal to build apps, and more precisely the HelloKotlin app we created in the last section.
Note
Using the command line helps, for example, in cases where you don’t have a desktop environment, like on servers. You can also use it in an automated build environment where developers provide the code, but the program to be executed on Android devices is generated automatically.
Interestingly, Android Studio helps us to get rid of itself. For any project you have successfully built inside Android Studio, the folder containing the project files also will contain specially tailored build scripts that you can use to build apps without using Android Studio.
where [USER] is your logon username. If you used a custom project location instead, you have to use that one.
Note
The gradlew command belongs to the Gradle build system. Gradle gets used throughout Android Studio for building executable apps.
For the tasks command to specifically show the app’s tasks, you have to prepend app:, which we saw earlier for the build task.
Note
Describing what you can do with such an APK file resulting from a build is left to an Android book. As a hint to get you started, learn how to use the tools provided in the SDK, especially the adb platform tool.