Comments in computer language files are text that does not belong to the computer language itself and thus have no influence over the program execution, but provide a textual description of elements and constructs used in the program. Comments help the reader to understand your program.
Everything starting with a double slash // (not inside a string literal) to the end of the line is a comment.
Everything starting with a /* and ending with a */ (both not inside a string literal) is a comment, no matter how many lines are spanned by this.
Writing no comments at all: For short programs and those that are extremely well structured and self-explanatory, it is a valid, although arguable position to write no comments at all. The advantages of such an approach are obvious: You have to write less, there is no danger of confusing comments and source code, and following the approach properly will result in comprehensive code of high quality. There are disadvantages as well, though: You might be wrong in your assessment of whether your code is self-explanatory, tools depending on comments do not provide output, or your company’s quality assurance guidelines might get violated.
Verbose commenting : On the other hand, if you verbosely comment each and every bit of your program, you will have to write a lot, and you might neglect code quality because ambiguous or confusing constructs in the program are clarified by the comments.
The best approach lies somewhere between these limits. As a rule of thumb, you should write comments for classes, interfaces, and singleton objects, explaining what they are good for, and you should comment public functions in them, including description of their parameters.
Note
I owe you a confession here. The NumberGuess game app from the previous chapters did not contain any comments in the sources I provided. Comments were left out to keep the listings small, and the floating text around those listings serves as a substitute for the reader. After you’ve read this chapter, feel free to remedy this and add appropriate comments to the classes, interfaces, and singleton objects there.
In this chapter we cover exactly how comments should be added to Kotlin files, including what can be done with them.
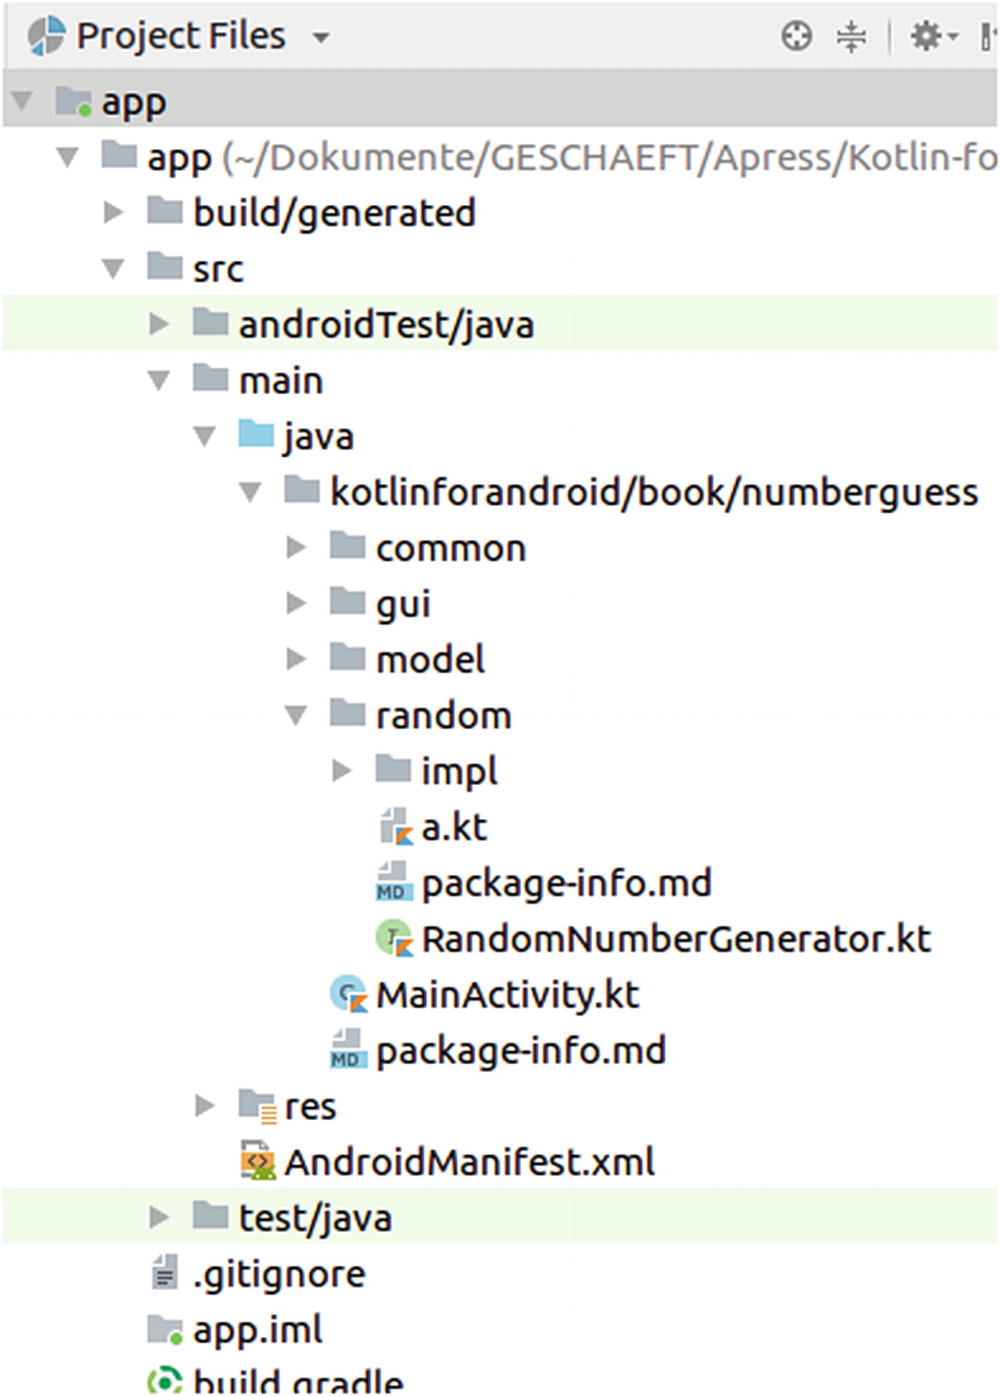
Package Comments
We learned that packages correspond to files with a strong cohesion of their purpose and functioning. From a technical point of view, each package also corresponds to a directory in the operating system’s file hierarchy.
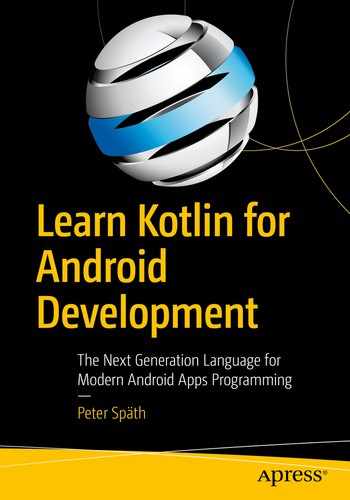
It makes sense to describe packages through appropriate commenting, and the way we do this in Kotlin is as follows: For each package, that is to say inside each folder, create a file package-info.md. To do this inside Android Studio, you must switch to the Project Files view type in the project explorer (see Figure 6-1). Click the small gray downward-pointing rectangle next to Android to switch the view type. You can then right-click on one of the packages and from the shortcut menu select New ➤ File. Enter the complete file name package-info.md.
Project Files view

The Android Studio trying to open a Markdown file
Click the Install plugins link. On the subsequent screens accept any license declaration, and if asked, select Use markdown support by JetBrains.
where for full.name.of.the.package you substitute the name of each package. The line starting with a single # actually stands for a level 1 heading.
Translated Markdown code
Markdown
Markdown Syntax
Style | Markdown Syntax | Hints |
|---|---|---|
Heading Level 1 | # Heading | The package-info.md file must not contain more than one level 1 heading. You can add a # at the end of the header line. |
Heading Level 2–6 | ## Heading ### Heading … | The number of # determines the level. You can improve readability by appending the same number of # at the end of the header. |
Unordered List | - Item1 - Item2 … | You could also use + or * as an item indicator. |
Ordered List | 1. Item1 2. Item2 … | The consecutive numbering will be assured automatically, so you could write any number (write always “1.” or whatever). |
Emphasis | *some text* or _some text_ | If you need an asterisk (*) or underscore (_) in your text, write * or \_. |
Strong Emphasis | **some text** or _ _some text_ _ | If you need an asterisk (*) or underscore (_) in your text, write * or \_. |
Block Quote | > some text | You can increase the level by using more > characters at the line beginnings. Block quotes can contain other Markdown elements. |
Paragraph Delimiter | <empty line> | A line break at the end of some text will not end a paragraph. |
Link | See below | — |
Inlined Code | 'some text' (backticks) | If you need a backtick (‘) in your text, write '. |
Block Code | ⊔⊔⊔⊔ code line 1 ⊔⊔⊔⊔ code line 2 … | This must be surrounded by empty lines. ⊔ is a space character (you could also use one tab character instead). |
Rules | - - - * * * | You can also use more of these, and use space characters as delimiters. |
Escapes | Prepend a "" | Use this to avoid characters doing something special, as described earlier in the table. Eligible characters are * _ [ ] ( ) # + - . ! ' |
For long URLs or long titles, the optional "Title" can also be put in the next line. Note that the link definitions do not produce any output, they just make the text in the Markdown file easier to read.
If you don’t need a link text but just want to tell the URL, you should convert the links to automatic links by surrounding them with angle brackets as in < http://www.apress.com >. The URL then gets printed as is, but is clickable in addition.
If the element being documented might address classes, interfaces, or singleton objects by their simple name because they have been imported, the package specifier can be omitted and you can directly write [TheClass], [TheClass.property], and [TheClass.method].
Class Comments
This is still a multiline comment that happens to start with an asterisk, but the tool that knows how to extract the documentation from the code recognizes this as something that needs to be handled. You can still use normal multiline comments /* ... */ at will, but the documentation tool will just ignore them.
Class comments are written just in front of the class ... declaration, as such an adapted multiline comment /** ... */. The content of the class description comment is Markdown code, as described earlier.
@param <name> description: Describes a type parameter <name> of the class. Class type parameters are described later in the book. You can also write @param[name] description.
@constructor description: Describes the primary constructor of a class.
@property <name> description: Describes a parameter of the primary constructor.
@sample <specifier>: Inserts the specified function’s code.
@see <specifier>: Adds a link to the specified identifier (a class, interface, singleton object, property, or method).
@author description: Adds authoring information.
@since description: Adds information about how long the documented element has existed (version info, etc.).
@suppress: Excludes the class, interface, or singleton object from the documentation.
An example of documentation for class MainActivity of the NumberGuess

Documentation for the NumberGuess activity
Function and Property Comments
As for classes, interfaces, and singleton objects, the first paragraph of such documentation should provide a short summary, as tools might use it for listings.
@sample <specifier>: Inserts the specified function’s code.
@see <specifier>: Adds a link to the specified identifier (a class, interface, singleton object, property, or method).
@author description: Adds authoring information.
@since description: Adds information about how long the documented element has existed (version info, etc.).
@suppress: Excludes the property from the documentation.
@param <name> description: Describes a function parameter.
@return description: Describes what the function returns.
@receiver description: Describes the receiver of an extension function.
@throws <specifier>: Indicates that the function might throw the exception designated by the specifier. We cover exceptions later in the book.
@exception <specifier>: Same as @throws.
@sample <specifier>: Inserts the specified function’s code.
@see <specifier>: Adds a link to the specified identifier (a class, interface, singleton object, property, or method).
@author description: Adds authoring information.
@since description: Adds information about how long the documented element has existed (version info, etc.).
@suppress: Excludes the property from the documentation.
Exercise 1
Add comments to all packages, classes, and public functions of the NumberGuess game app.
Generate Your Own API Documentation
With all elements of a program properly documented, we now need to find a way to extract the documentation for creating, for example, a collection of interlinked HTML documents. The generated documentation should describe all classes, interfaces, and singleton objects, as well as all public methods and properties. Because these elements are enough for a client software to know how to interact with your program, such documentation is commonly referred to as application programming interface (API) documentation .
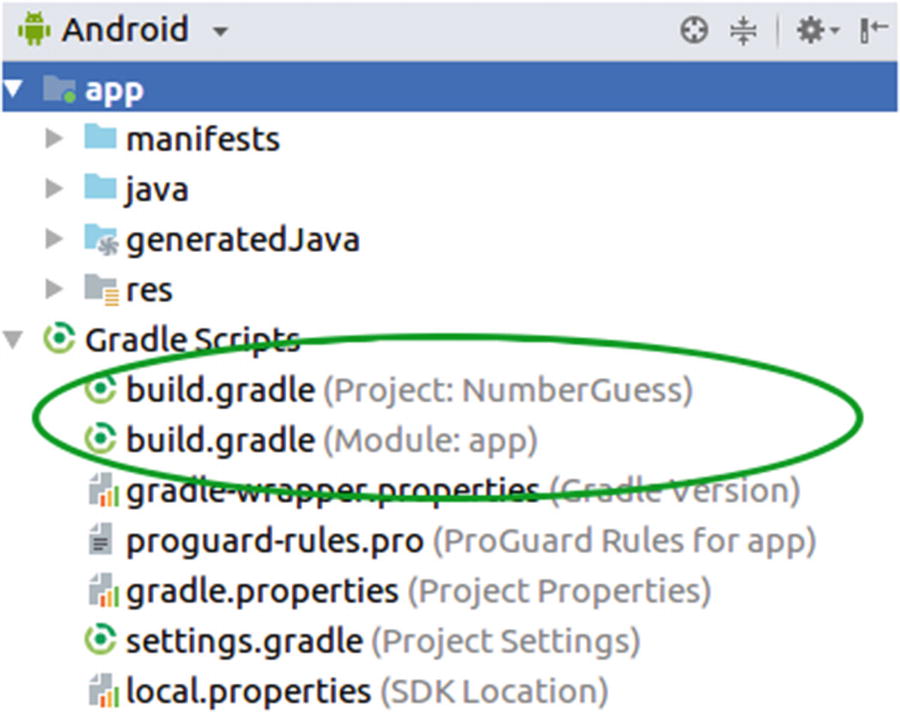
Build scripts
Note
The term library commonly refers to programs built by others, from which parts get used by your app to perform certain tasks. You’ll very often add libraries to your projects so you can benefit from the work others have made available to the public.
This ensures the Dokka library gets added to the project.
This configures Dokka and adds a preparation step.
Note
Dokka by default doesn’t know how to handle our package-info.md files. It instead expects a single file packages.md. The preparation step gathers all package- info.md files and builds a packages.md file. By the way, this little script is written in Groovy, the language on which the Gradle build system relies.

Dokka build task
You’ll now find the API documentation as a collection of interlinked HTML files inside the folder dokka (switch to the Project Files view type to see it inside Android Studio).