
While tcpdump is a cool tool to capture network traffic, Wireshark is widely used when it comes to network forensic investigations. In this section, we will focus on installing and using Wireshark to capture network traffic.
Wireshark is available for most of the OS, including Windows, Mac OS, and most flavors of Linux.
It is available for free download at https://www.wireshark.org/download.html.
Install Wireshark using the Ubuntu Software Center, as shown in the following screenshot:

Run Wireshark with network privileges either directly or using the terminal to start capturing packets, as shown in the following screenshot:

Configure according to network topology and other specific details using the Capture Options, as shown in the following screenshot:
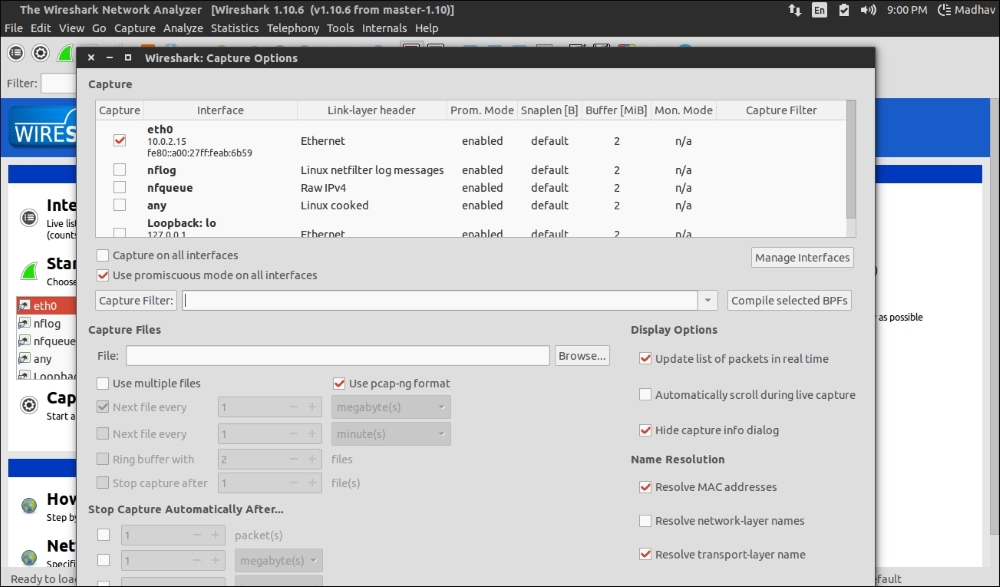
To get started, all we need to do is select an interface to start capturing packets from. Let's select eth0, as follows:

When we select an interface to start capturing packets (eth0), the output is as shown in the following screenshot:

To save the raw data in a file, click on the save to file button and choose the required directory, as shown in the following screenshot:

That's it! Nice and easy. In the future chapters, we will analyze the captured data.