
Chapter 5. Incorporating external data
The previous chapter prepared you for the essentials of working with components, including passing data between components and handling data changes and events within components. You are now ready to use Vue components to incorporate and represent your application’s data on the screen to your users.
In most cases, an application will not have data available within the application itself. Instead, we usually request the data from an external server or database, then populate the proper UI with the received data for our application. This chapter covers this aspect of developing a robust Vue application - how to communicate and handle external data from an external resource using Axios as the HTTP request tool.
What is Axios?
For making HTTP requests to external resources, various options are available for Vue developers, including the built-in fetch method, the classic XMLHttpRequest, and third-party libraries such as Axios. While the built-in fetch is a good option for making HTTP requests for fetching data only, Axios, in the long term, provides extra functionalities that come in handy when working with more complex external resources API handling.
Axios is a JavaScript open-source lightweight library for making HTTP requests. Like fetch, it is a promise-based HTTP Client and isomorphic, supporting both Node (server-side) and browser side.
Some significant advantages of using Axios are the ability to intercept and cancel HTTP requests and its built-in Cross-Site Request Forgery protection for the client side. Another advantage of Axios is that it automatically transforms the response data to JSON format, giving you a better developer experience in working with the data than using the built-in fetch.
The official website for Axios is Axios Website, including API documentation, installation, and primary use cases for reference (Figure 5-1).
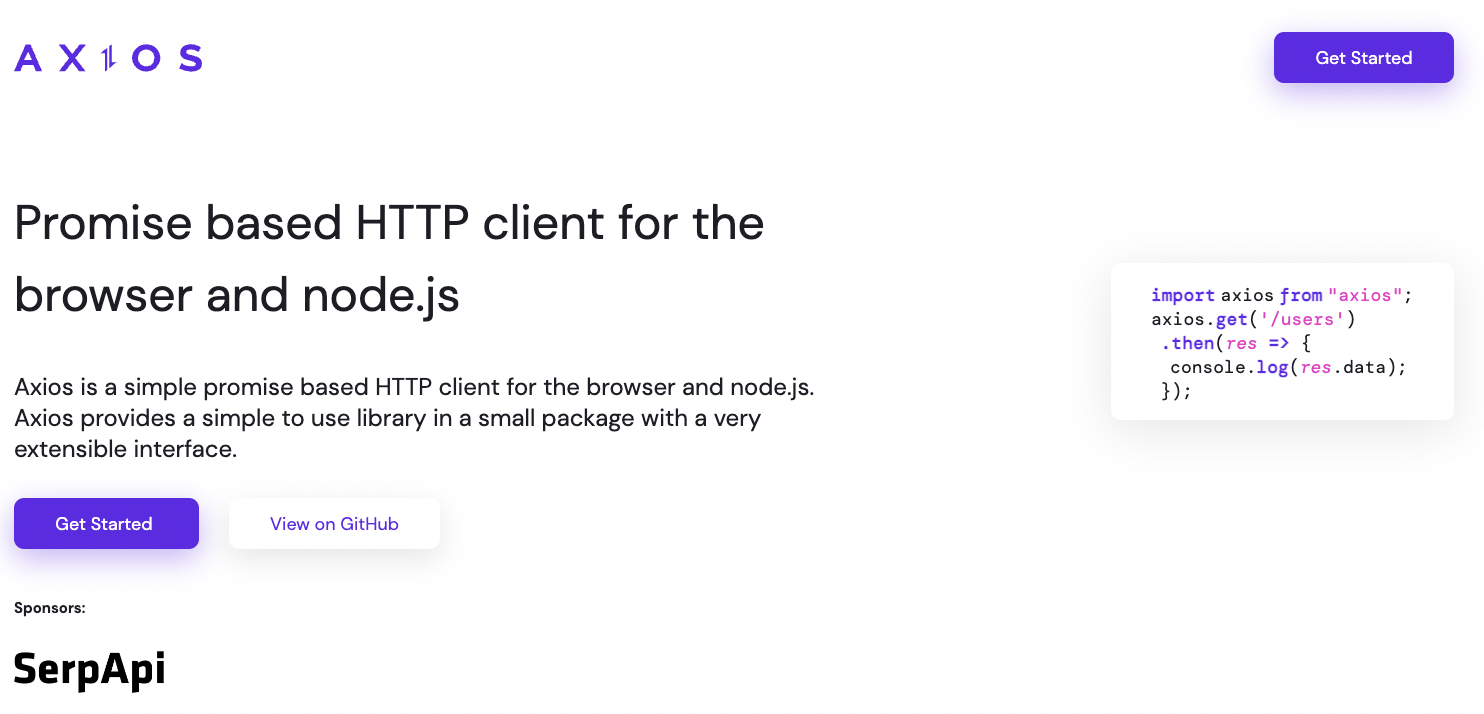
Figure 5-1. Axios Official Website
Installing Axios
To add Axios to your Vue project within your project’s root directory, use the following command in your terminal:
yarnaddaxios
Once installed, you can import the Axios library into your component where needed with the following code:
importaxiosfrom'axios';
You then can use axios to start querying for your application’s data. Let’s explore how we can combine Axios with our lifecycle hooks to load and display data.
Load data with lifecycle hooks and Axios
As learnt in Chapter 3, we can use the beforeCreate, created, beforeMounted lifecycle hooks to perform side call such as data fetching. However, in such a scenario where you need to load external data and use it within the component, beforeCreate is not an option. Vue ignores any data assignment using beforeCreate since it hasn’t initialized any reactive data yet. Using created and beforeMounted is a better choice in this case.
Note
Another better option for loading external data is to use setup() with Composition API (we will cover in Chapter 6).
This chapter’s example uses the created hook to fetch the data using a GET request, mainly because the beforeMounted hook is not available for server-side rendering (SSR) applications.
Let’s make an asynchronous request to get the public information about my GitHub profile through the URL: https://api.github.com/users/mayashavin by using the axios.get() method, as seen in the following code:
importaxiosfrom'axios';exportdefault{name:'UserProfile',data(){return{user:null,};},created(){axios.get('https://api.github.com/users/mayashavin').then(response=>{this.user=response.data;});},}
axios.get() returns a Promise, which we can use the Promise chaining method then() to handle the response data when it resolves. Axios automatically parsed the response data from the HTTP response body into the appropriate JSON format. In our example, we assign the received data to the user data property of the component. We can also rewrite the above code to use await/async syntax:
importaxiosfrom'axios';exportdefault{name:'UserProfile',data(){return{user:null,};},asynccreated(){constresponse=awaitaxios.get('https://api.github.com/users/mayashavin');this.user=response.data;},}
We also should wrap the code in a try/catch block to handle any errors that may occur during the request. Hence our code becomes:
importaxiosfrom'axios';exportdefault{name:'UserProfile',data(){return{user:null,error:null,};},asynccreated(){try{constresponse=awaitaxios.get('https://api.github.com/users/mayashavin');this.user=response.data;}catch(error){this.error=error;}},}

Add an
errordata property to store any error received from the request.
Wrap the code in a
try/catchblock to handle any errors that may occur during the request.
Assign the error to the
errordata property, for displaying an error message to the user in the browser.
GitHub responds to our request with a JSON object containing the following primary fields:
Example 5-1. UserProfile Type
typeUser={name:string;bio:string;avatar_url:string;twitter_username:string;blog:string;//...};
With this response data, we now have the necessary information to display the user’s profile on the screen. Let’s add the following code to our component’s template section:
<divclass="user-profile"v-if="user"><img:src="user.avatar_url"alt="`${user.name} Avatar`"width="200"/><div><h1>{{ user.name }}</h1><p>{{ user.bio }}</p><p>Twitter: {{ user.twitter_username }}</p><p>Blog: {{ user.blog }}</p></div></div>
Note here we add v-if="user" to ensure the Vue only renders the user profile when user is available. We also need to add the type declaration for our component’s data - UserProfileData, as below:
Example 5-2. UserProfileData Type
typeUserProfileData={user?:User;error?:Error;};
Finally, we need to add some modifications to our component’s script section to have the code fully TypeScript compatible, including mapping the response data to be User data type before assigning it to the user property, as well as the error:
Example 5-3. User Profile component
<template><divclass="user-profile"v-if="user"><!-- ... --></div></template><scriptlang="ts">importaxiosfrom'axios';import{defineComponent}from'vue';typeUser={/**... */}typeUserProfileData={/**... */}exportdefaultdefineComponent({name:'UserProfile',data():UserProfileData{return{user:null,error:null,};},asynccreated(){try{constresponse=awaitaxios.get('https://api.github.com/users/mayashavin');this.user=response.dataasUser;}catch(error){this.error=errorasError;}},})</script>
Add the
UserProfileDatatype declaration to thedata()method.Cast the response data to be
Usertype before assigning it to theuserproperty.Cast the error to be
Errortype before assigning it to theerrorproperty.
When the request is successful resolved, you can see my GitHub profile information displayed on the screen, as shown in Figure 5-2.

Figure 5-2. Sample output for a successful GitHub profile information request
Similarly, you can also add a section with v-else-if="error" condition to display an error message to the user when the request fails.
<template><divclass="user-profile"v-if="user"><!--...--></div><divclass="error"v-else-if="error">{{ error.message }}</div></template>
At this point, you may wonder what happens behind the scene when we perform an asynchronous request while the component is in the middle of creation. The component’s lifecycle operates synchronously, meaning Vue still proceeds in creating the component despite the status of the asynchronous request. That brings us to the challenge of handling different data requests in various components during run time, which we will explore next.
Async data request in run time - the challenge
Similar to how the JavaScript engine works, Vue also works synchronously. If there is any asynchronous request along the way, it will not wait for it to complete before proceeding to the next step. Instead, it finishes the component’s creation process, then returns to handle the asynchronous request when it resolves/rejects according to the execution order.
Let’s add some console logs to the mounted, created, and updated hooks in our component and see the order of execution:
exportdefault{//...asynccreated(){console.log('created')try{constresponse=awaitaxios.get("https://api.github.com/users/mayashavin");(thisasUserProfileData).user=response.dataasUser;console.log('User',(thisasUserProfileData).user?.name)}catch(error){(thisasUserProfileData).error=errorasError;}},mounted(){console.log("mounted");},updated(){console.log("updated")}};
When looking at the browser’s console log, we see the order displayed as in Figure 5-3.

Figure 5-3. order of execution when there is an asynchronous request
Once the asynchronous request is resolved/rejected and there are component data changes, the Vue renderer will trigger the update process for the component. The component is not yet with the response data when Vue mounts it to the DOM. Thus, we still need to handle the component’s loading state before receiving the server’s data.
To do so, we can add another loading property to the component’s data and disable the loading state after the request is resolved/rejected, as in the code below:
Example 5-4. User Profile component with loading state and error state
typeUserProfileData={//...loading:boolean;};exportdefault{name:"UserProfile",data():Data{return{user:undefined,error:undefined,loading:true,};},asynccreated(){try{constresponse=awaitaxios.get("https://api.github.com/users/mayashavin");(thisasData).user=response.dataasUser;}catch(error){(thisasData).error=errorasError;}finally{(thisasData).loading=false;}},};
Add a
loadingfield to theUserProfileDatatypeAdd a
loadingproperty to the component’s data with the initial value oftrueSet the
loadingproperty tofalseafter the request is resolved/rejected
And then add a v-if="loading" condition to the component’s template section for a loading message, as follows:
Example 5-5. User Profile component template with loading state and error state
<template><divv-if="loading">Loading...</div><divclass="user-profile"v-else-if="user"><!--...--></div><divclass="error"v-else="error">{{ error.message }}</div></template>
The above code renders a loading message while the asynchronous request is in progress and displays the user’s profile information when the request resolves or an error message otherwise.
You can also create your reusable wrapper component to handle different states for components with the asynchronous data request, such as a Skeleton placeholder component when a list of components is loading (Figure 5-4) or a Fetch Component (see “Creating your reusable Fetch Component”).

Figure 5-4. An example of a skeleton component for loading state
Creating your reusable Fetch Component
Handling states in a Vue component for its asynchronous data request is a common challenge. The UI for these states usually follows the same pattern: a spinner or loading message for the loading state, an error message, or a more stylish error component when a data request rejects. Thus, we can create one common component for handling such cases, which we call FetchComponent.
Our FetchComponent component has a template section divided into three main areas using slot and v-if:
-
#loadingslot for displaying a loading message. The condition for this slot to render is if the component is in theisLoadingstate. -
#errorslot for displaying an error message. We also pass theerrorobject as the slot props for customization if needed while ensuring Vue only renders this slot iferroris available. -
#defaultslot for displaying the component’s content, when there isdatareceived. We also pass thedatato the slot as props.
We also use named slot to allow customizing the error and loading component instead of the default messages, as seen in the code below:
<template><slotname="loading"v-if="isLoading"><divclass="loadin-message">Loading...</div></slot><slot:data="data"v-if="data"></slot><slotname="error":error="error"v-if="error"><divclass="error"><p>Error: {{ error.message }}</p></div></slot></template>
In our script section, first we need to declare our data type FetchComponentData for the component to contains the isLoading, the error, and the data properties, and make sure the data() function property returns this type.
typeFetchComponentData<T>={isLoading:boolean;error?:Error;data?:T;};exportdefaultdefineComponent({name:"FetchComponent",data():FetchComponentData<Object>{return{isLoading:false,error:undefined,data:undefined,};},});
Declare the
FetchComponentDatatype with a generic typeTas its argumentUse
Tfor thedataproperty and make it optional
The component receives two props: an url for the request URL and a method for the request method with the default value of GET:
//...props:{url:{type:String,required:true,},method:{type:String,default:"GET",},},//...
Finally, we add a created() hook to the component to make the asynchronous request and update the component’s state when Vue creates the component.
asynccreated(){try{constresponse=awaitaxios(this.url,{method:this.method,headers:{'Content-Type':'application/json',},});this.data=response.data;}catch(error){this.error=errorasError;}finally{this.isLoading=false;}}
Note
If you know the types of data in advance, you should use it instead of any or Object to ensure the full TypeScript type check coverage. I don’t recommend using any unless there is no other way.
Now we can rewrite our Example 5-3 to use the new FetchComponent component as below:
Example 5-6. User Profile component using the FetchComponent
<template><FetchComponenturl="https://api.github.com/users/mayashavin"><template#default="defaultProps"><divclass="user-profile"><img:src="defaultProps.data.avatar_url"alt="`${defaultProps.data.name} Avatar`"width="200"/><div><h1>{{ defaultProps.data.name }}</h1><p>{{ defaultProps.data.bio }}</p><p>Twitter: {{ defaultProps.data.twitter_username }}</p><p>Blog: {{ defaultProps.data.blog }}</p></div></div></template></FetchComponent></template><scriptlang="ts">exportdefault{name:'UserProfile',}</script>
We use the
FetchComponentcomponent and pass theurlprop as the target URL for the request (https://api.github.com/users/mayashavin).We wrap the main content of the component inside the
templatefor main slot#default. We also bind the props this slot receives to thedefaultPropsobject.We use the
defaultProps.datato access the data received from the request and display it on the UI.
We remove the
created()hook and the related original data properties
Here we know we pass data to this slot from our FetchComponent implementation, which in our case, stands for our original user property. Thus we replace the occurrences of user from the previous implementation with defaultProps.data. The output remains the same.
Implementing FetchComponent with Composition API
You can create a custom composable useFetch using ref() from Composition API for data, defineProps for declaring props, and rewrite the FetchComponent with useFetch() in setup() function (or <script setup> tag) instead.
Now you understand how to create a simple FetchComponent to fetch and handle data request states on the UI for your Vue components. You may want to extend it to handle more complex data requests, such as POST requests. By isolating the data request and controlling logic in a single place, you can reduce the complexity and reuse it in other components more quickly.
Connect your application with an external database
At this point, you can handle external data requests and error handling on the UI of your Vue components. Fetching data every time Vue creates a component may not be the best practice, especially if the component’s data is not likely to change frequently.
A perfect scenario is switching between pages in a web application, where we only need to fetch the page’s data once when loading the view for the first time. In this case, we can cache the data using the browser’s local storage as an external local database or using a state management service such as Vuex and Pinia (we will cover more in Chapter 8).
To use local storage, we can use the built-in browser localStorage API. For example, to save the user’s GitHub profile data to local storage, we can write the following code:
localStorage.setItem('user',JSON.stringify(user));
Note here browser’s localStorage save the item as a string, so we need to convert the object to a string before saving it. And when we need it, we can use the following code:
constuser=JSON.parse(localStorage.getItem('user'));
You can add the above code to your UserProfile component (Example 5-3) as below:
<scriptlang="ts">importaxiosfrom'axios';import{defineComponent}from'vue';//...exportdefaultdefineComponent({//...asynccreated(){try{constuser=JSON.parse(localStorage.getItem('user'));if(user)returnthis.user=user;constresponse=awaitaxios.get('https://api.github.com/users/mayashavin');this.user=response.dataasUser;localStorage.setItem('user',JSON.stringify(this.user));}catch(error){this.error=errorasError;}},})</script>
It will only trigger the asynchronous call when loading the page for the first time. When the page is loaded again, if we have the data saved successfully, it will load it directly from local storage.
Warning
I don’t recommend this approach for a real-world application. It has several limitations, such as your browser will reset any local storage data for private/incognito sessions, or users can disable the use of local stage on their end. The better approach is to use State Management like Vuex or Pinia (see Chapter 8).
Summary
This chapter introduced techniques for handling asynchronous data in a Vue component, with the help of the Axios library and essential component life cycle hooks. We learned how to create a reusable component to fetch and handle data request states on the UI for your Vue applications while keeping the code clean and readable. We also explored connecting your application to an external database service such as local storage.
In the next chapter, we will explore more on Composition API and how to use it to compose Vue components together.