Chapter 10. Beacons
BLE beacons broadcast data using the Generic Access Profile (GAP). A BLE observer does not need to connect to beacons to receive the broadcasted data, it only needs to scan for advertisements.
Beacons are intended to be used for proximity-based applications. For example, your smartphone can use the signal strength of a detected beacon to estimate how close you are to it, and react accordingly by alerting you or providing more relevant content to the beacon you are closest to. The closer you are to a beacon, the more accurate the proximity estimate becomes. Keep in mind that the proximity is just an estimate based on the received signal strength of the beacons; interference from other devices and objects can radically change this value depending on the environment.
What You’ll Need
We’ll use the following hardware to create beacons and detect them:
-
One of the following:
-
Bluetooth-4.0-enabled Mac
-
Linux PC (includes Raspberry Pi or Beagle Bone Black) with a Bluetooth 4.0 adapter, such as the Bluetooth 4.0 USB Module available on Adafruit
-
-
Bluetooth-4.0-enabled smartphone or tablet running iOS or Android (for testing)
Node.js, PhoneGap, and bleno also need to be set up; see “Installing Node.js”, “Installing PhoneGap”, and “Platform Tools”.
iBeacon
In June 2013, at the annual Worldwide Developers Conference (WWDC) in San Francisco, Apple quietly announced iBeacon. It was not mentioned during the keynote, and only appeared on a single slide about “some other features in the SDK” for iOS 7. At the time, for hardware folks, it was one of the most prominent features of the latest Apple iOS. The high-tech community is always looking for new features that allow apps to do new things.
iBeacon is a technology that allows you to add real-world context to smartphone applications, such as proximity-based alerts or content in applications. It has been integrated into iOS since version 7, both inside the Core Location and the Passkit frameworks, to enable indoor micro-location and geofencing.
What Data Does an iBeacon Advertise?
The iBeacon standard uses the optional manufacturer data (Extended Inquiry Response data type 0xFF) section of the GAP advertising specification to broadcast 25 bytes of data. More information on the manufacturer data section and GAP can be found in the Bluetooth Core Specification.
Here is an example of the data advertised followed by a description of each part:
4C00 02 15 B9407F30F5F8466EAFF925556B57FE6D ED4E 8931 B6
-
The first two bytes are the Apple Company Identifier (little-endian) 0x004C.
-
The third byte has a value of 2, which specifies that the data type is iBeacon.
-
The fourth byte, 0x15, specifies the remaining data length, which is 21 (0x15) bytes.
-
The next 16 bytes contain the iBeacon UUID, B9407F30-F5F8-466E-AFF9-25556B57FE6D.
-
The two bytes after the iBeacon UUID are the iBeacon Major (big-endian); i.e., 0xED4E, 60750.
-
The two bytes after the iBeacon Major are the iBeacon Minor (big-endian); i.e., 0x8931, 35121.
-
The final byte is the measured received signal strength indication (RSSI) at 1 meter away; i.e., 0xB6, -74. You need to take its 2’s complement to convert the byte value into a signed number.
Three of the properties create the beacon’s identity. These are:
- UUID
-
This is a property that is unique to each company; in most use cases, the same UUID would be given to all beacons deployed by a company (or group).
- Major
-
The property you use to specify a related set of beacons (e.g., all the beacons in one store would share the same Major value).
- Minor
-
The property that you use to specify a particular beacon in a location.
The measured RSSI at 1 meter away is used by the central to estimate proximity to the beacon. This value is used with the RSSI measured by the central when it detects the iBeacon’s advertisement. A beacon with a lower (more negative) value further away than a beacon with a larger (less negative) RSSI value.
Building and Detecting a Beacon
Let’s create an iBeacon with Node.js and use a smartphone to detect it.
Note
The Nordic nRF8001 chip used by the Adafruit Bluefruit LE module is only capable of advertising 20 bytes of manufacturer data; 25 bytes are needed to create an iBeacon, so we cannot use this module for it. See “Hardware Suggestions” for Nordic nRF51822-based boards that are capable of advertising as an iBeacon.
We’ll use the node-bleacon module using Node.js. It uses bleno for the BLE layer.
The source code and documentation for node-bleacon can be found on GitHub.
First, make a new directory for the project, and change the current directory to it:
$mkdir make-bluetooth-ibeacons$cdmake-bluetooth-ibeacons
Next, install the bleacon module from npm:
$ npm install bleaconThis command will create a node_modules folder in the current directory and pull the bleacon module, along with its dependencies including bleno, down from npm.
Now create a new file called advertise.js and open it using your favorite text editor.
At the start of the file, require the bleacon module:
varBleacon=require('bleacon');
Next, set up some variables to store the iBeacon’s UUID, major, minor, and measure-powered values:
varuuid='E2C56DB5-DFFB-48D2-B060-D0F5A71096E0';varmajor=1;varminor=2;varmeasuredPower=-59;
Now we can use the startAdvertising provided by Bleacon to start advertising:
console.log('starting advertising ...');Bleacon.startAdvertising(uuid,major,minor,measuredPower);
We are all set to run the advertise.js script now.
On a Mac:
$ node advertise.jsOn Linux, sudo is needed:
$ sudo advertise.jsTo detect the beacon, we need an application on our BLE-equipped smartphone. Go ahead and install the Locate Beacon app by Radius Networks on your smartphone:
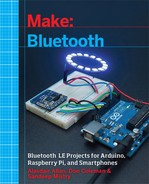
Once you open the app on iOS, you will be prompted for permission to access your location (as shown in Figure 10-1, left); make sure to select Allow. This prompt will not be present when using an Android device.
Now a prompt for sharing iBeacon data will appear (Figure 10-1, right). Select NO.
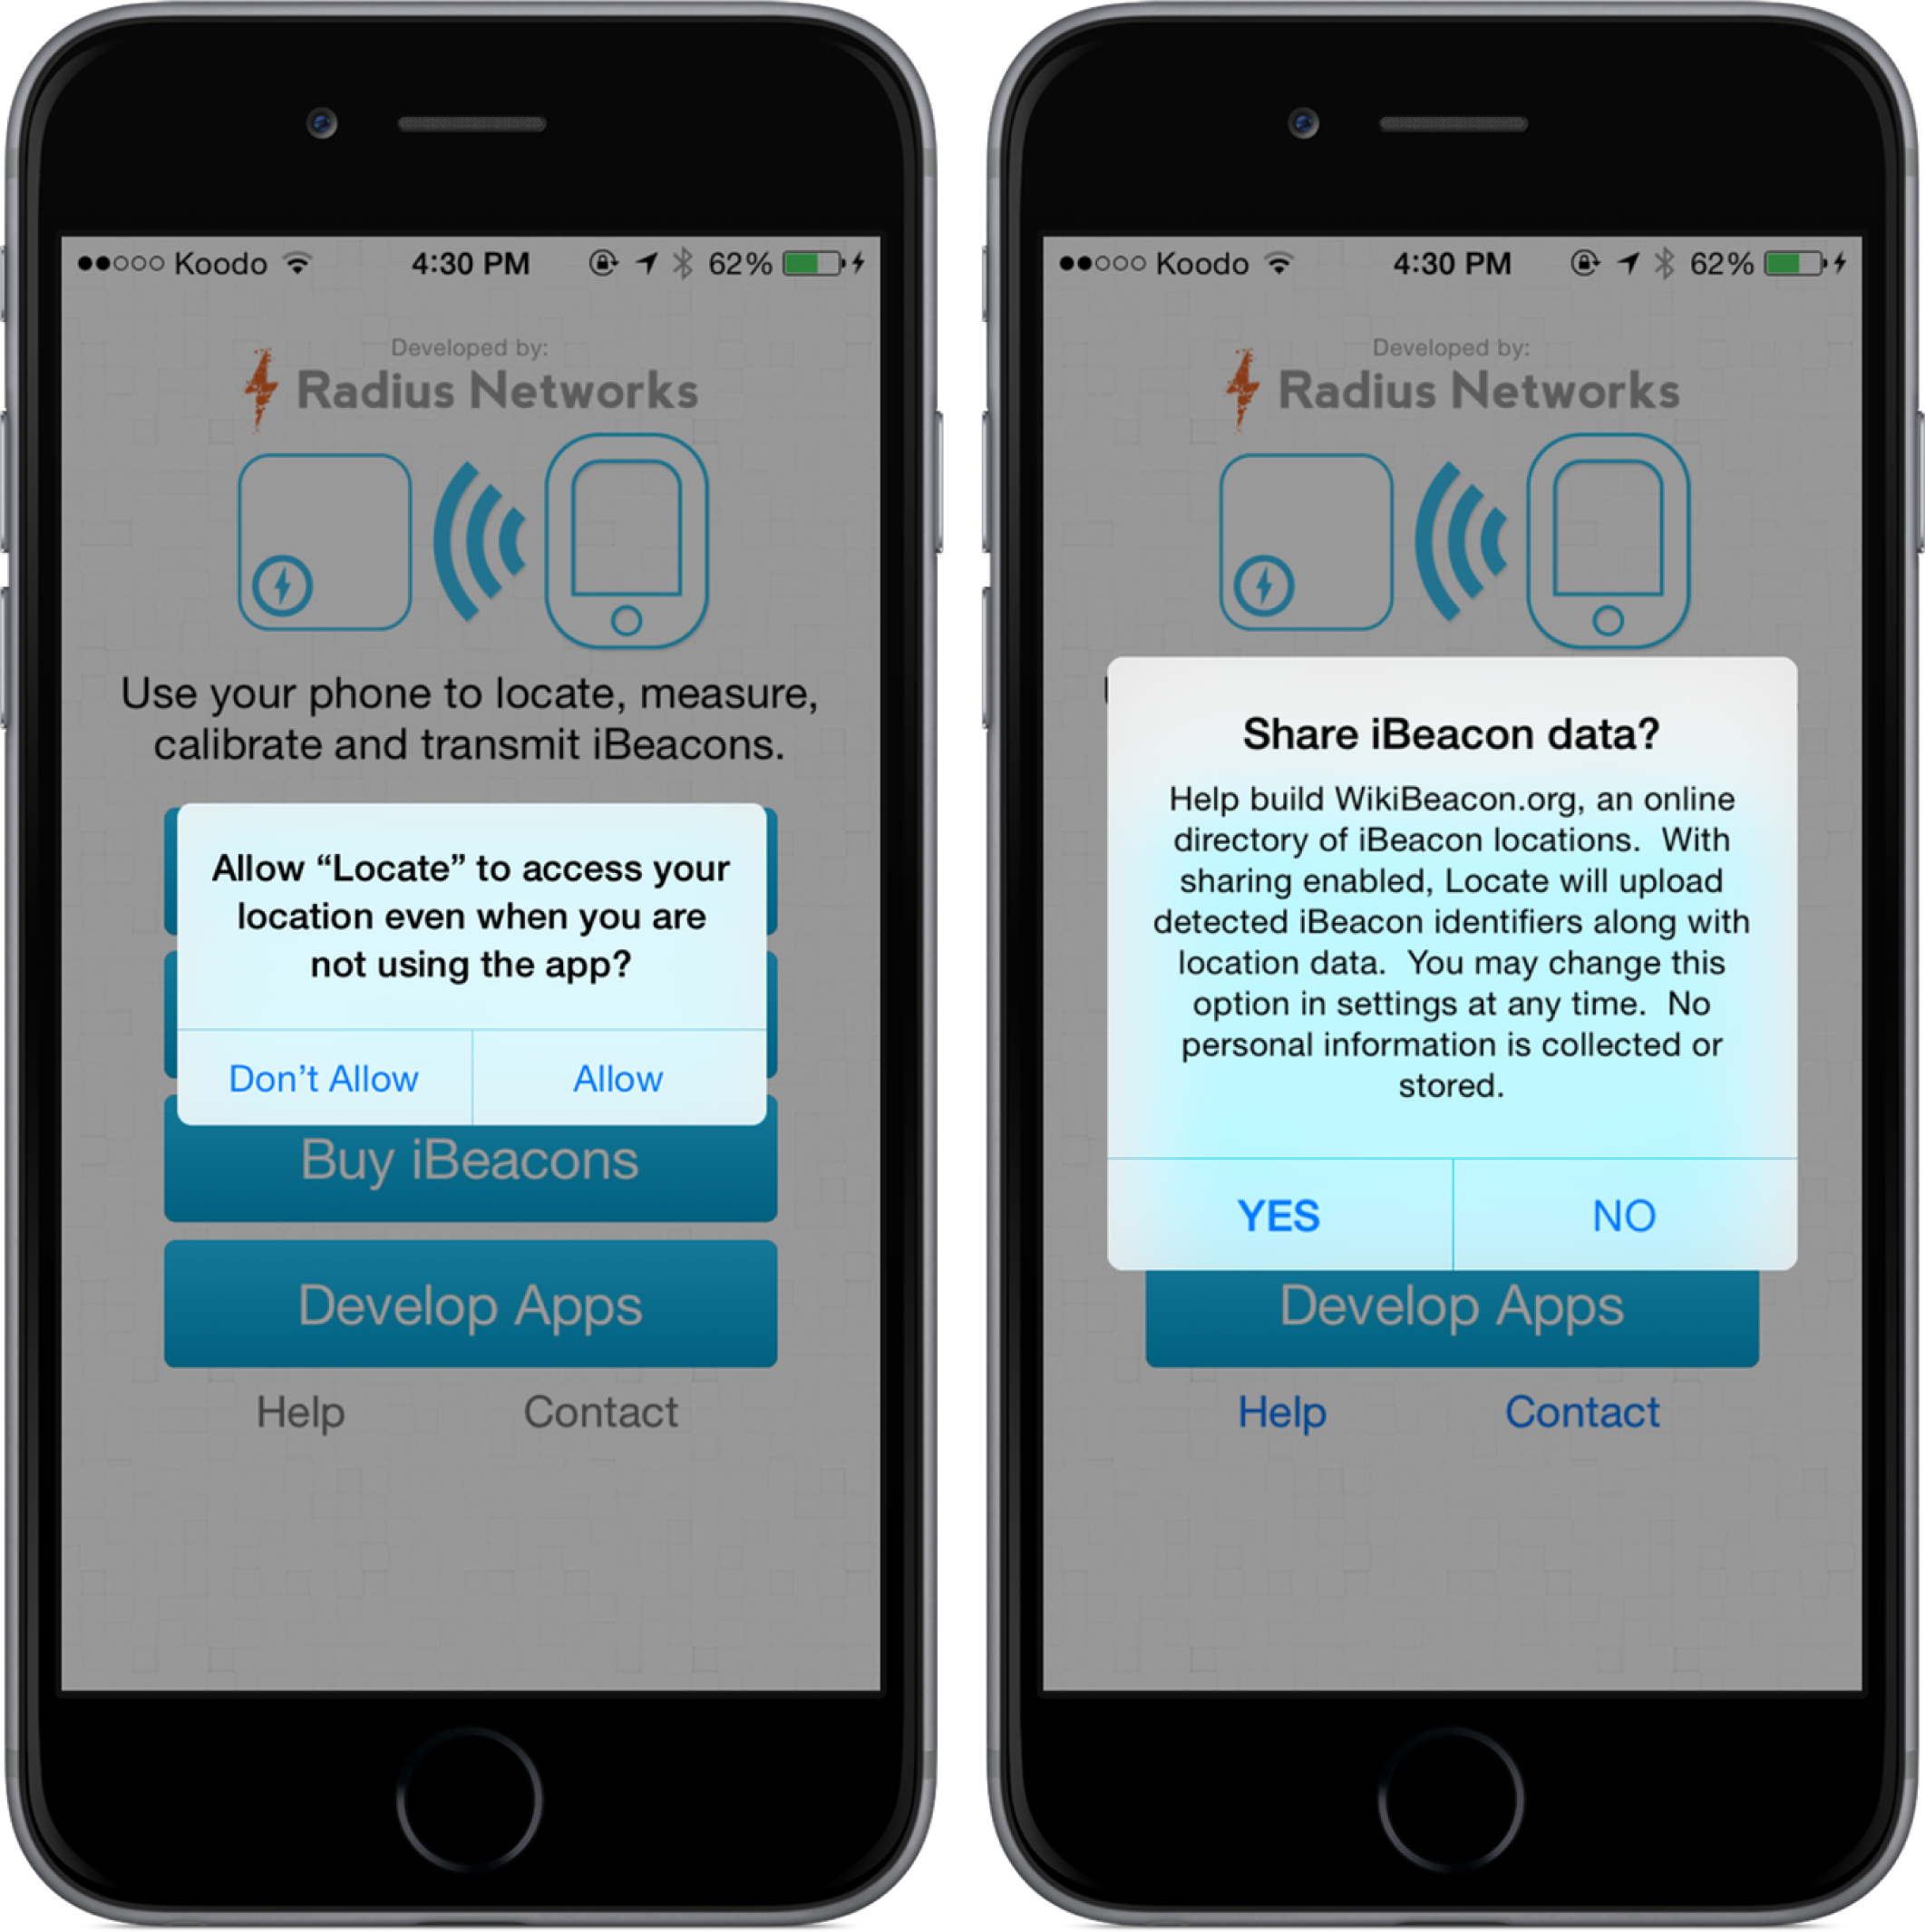
Figure 10-1. Left: Location permissions screen of the Locate Beacon app; Right: Share iBeacon data screen of the Locate Beacon app
The Main screen for the app is shown (Figure 10-2, left). Press the Locate iBeacons button to start the beacon-scanning process.
A screen showing that no beacons are in range will appear next (Figure 10-2, right), followed by a beacon being detected (Figure 10-3).

Figure 10-2. Left: Main screen of the Locate Beacon app; Right: A screen showing that no beacons were found
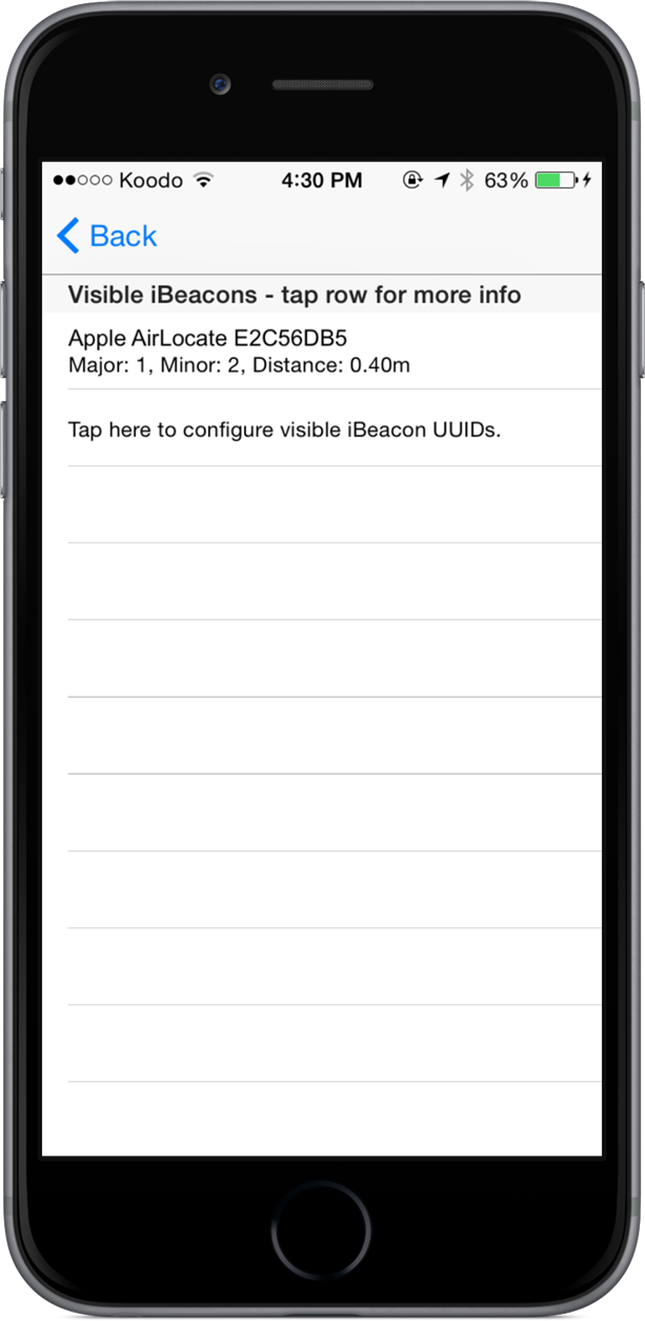
Figure 10-3. Main screen of the Locate Beacon app
Tip
The UUID we selected, E2C56DB5-DFFB-48D2-B060-D0F5A71096E0, has been preconfigured in the Locate Beacon app. If a different UUID is used, the app would have to be configured to detect iBeacons using that UUID. This is only an issue on iOS, as the CoreLocation framework does not allow you to detect any iBeacon; Android does not have this issue.
Tap the row for a beacon to select it. You will see the iBeacon’s RSSI and proximity (Figure 10-4, left). The proximity field can have one of the following values: immediate, near, and far. Walk further and closer to your iBeacon to see the proximity value change.
The measure-powered value for our beacon was arbitrarily selected. We can use the calibration feature of the Locate Beacon app to get a more accurate reading. Press the Calibrate button (Figure 10-4, right).
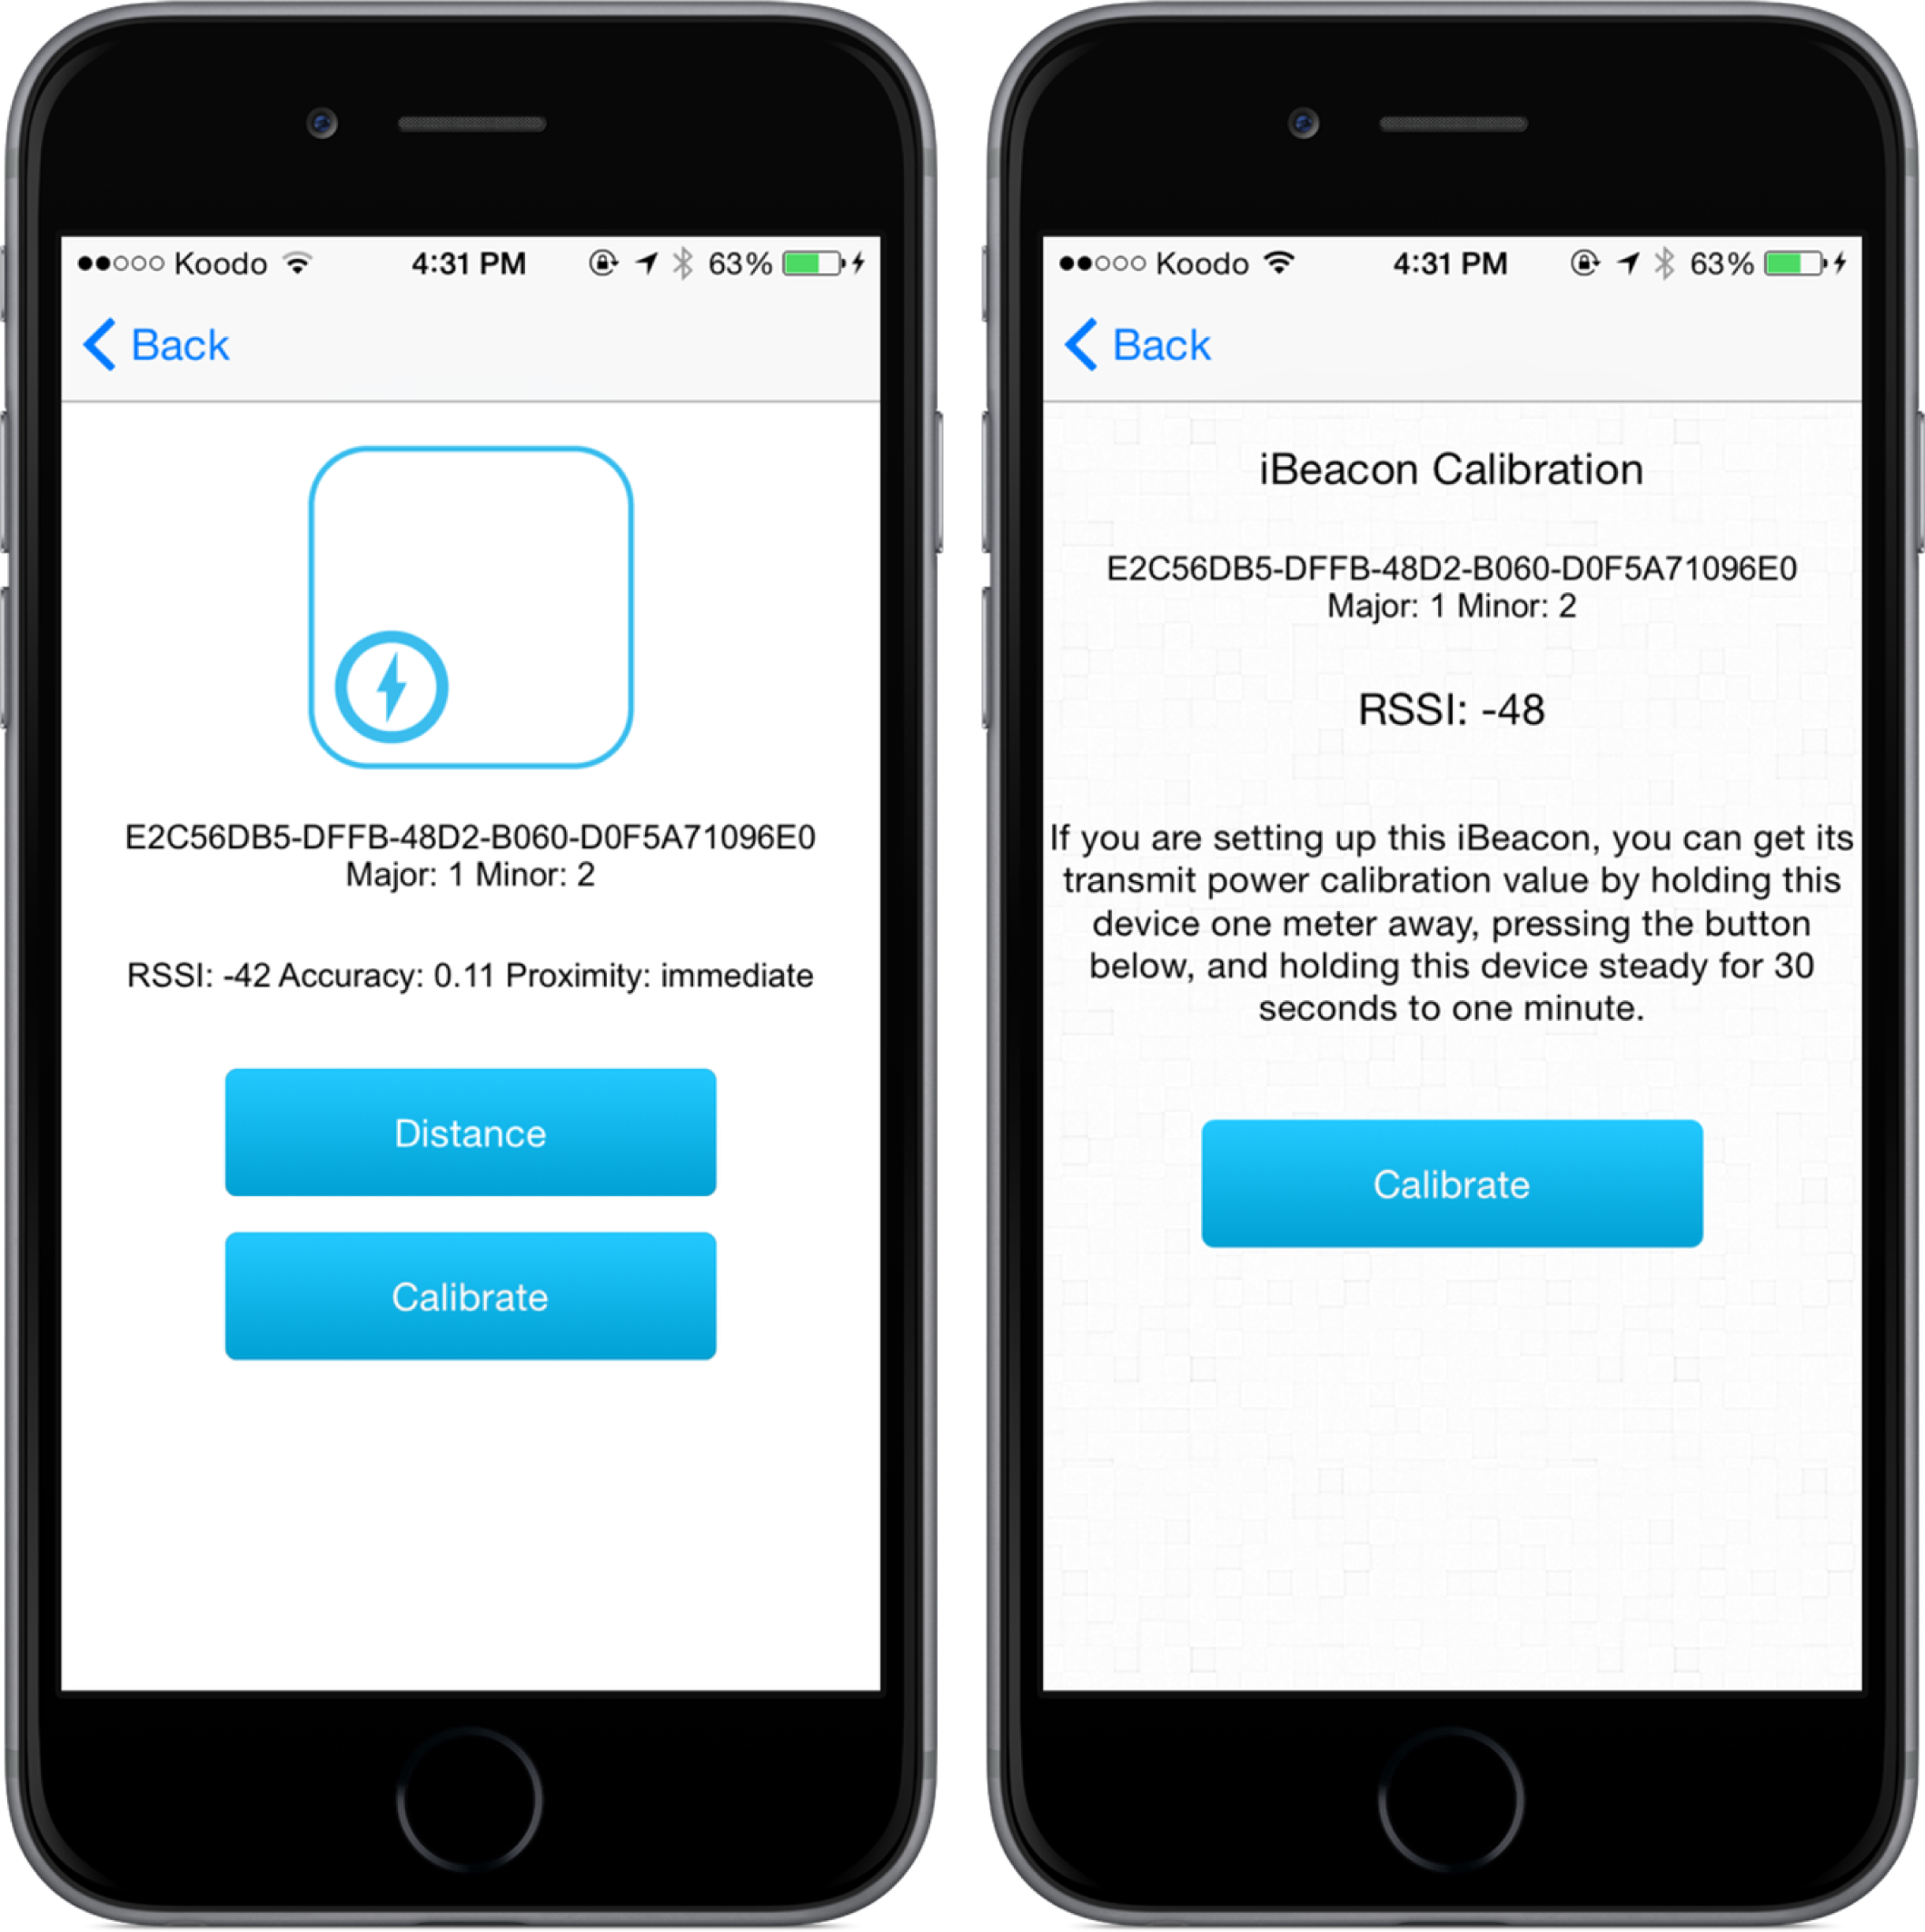
Figure 10-4. Left: The iBeacon details screen of the Locate Beacon app; Right: The iBeacon Calibration screen of the Locate Beacon app
Once you are about one meter away from your iBeacon, press the Calibrate button again to start the calibration progress, as shown in Figure 10-5 (left).
After 30 to 60 seconds, the app will recommend a measured-power value to use. In this particular session (Figure 10-5, right), -49 was recommended. Go ahead and update your advertise.js file with the recommended value. Then exit and rerun the script.

Figure 10-5. Left: Screen showing that the iBeacon is calibrating; Right: Screen showing that the iBeacon was calibrated
Creating a Mobile App that Uses iBeacons
Let’s create a mobile app that detects the specific iBeacon we created earlier. We will use PhoneGap with an iBeacon plugin named cordova-plugin-ibeacon.
Source code and documentation for the cordova-plugin-ibeacon can be found on GitHub.
There are two modes to detect iBeacons:
- Ranging
-
Used to detect iBeacons in range and periodically get their proximity (immediate, near, far). Ranging can only be used when the app is running in the foreground.
- Region monitoring
-
Used to detect if you are inside or outside an iBeacon region. Region monitoring can be used when the app is running in the foreground, as well as in background mode.
On iOS, both modes require the user to grant your app access to your location. Android apps only require permissions to access Bluetooth hardware.
The cordova-plugin-ibeacon plugin maps the modes to the following APIs for starting and stopping:
-
cordova.plugins.locationManager.startMonitoringForRegion(beaconRegion) -
cordova.plugins.locationManager.stopMonitoringForRegion(beaconRegion) -
cordova.plugins.locationManager.startRangingBeaconsInRegion(beaconRegion) -
cordova.plugins.locationManager.stopRangingBeaconsInRegion(beaconRegion)
Both APIs require a beaconRegion parameter, which can be constructed from a UUID, identifier, optional major value, and optional minor value. If the major and/or minor is not provided, they are set to wildcard values so that any iBeacon with the UUID or UUID and major in range is reported.
varuuid='E2C56DB5-DFFB-48D2-B060-D0F5A71096E0';varidentifier='region';varmajor=1;varminor=2;varbeaconRegion=newcordova.plugins.locationManager.BeaconRegion(identifier,uuid,major,minor);
You also need to set up and assign a delegate to receive updates from the location manager. You have the option of overriding any of the default delegate methods.
A new location manager delegate can be created by using new cordova.plugins.locationManager.Delegate(). Then the default delegate methods for ranging and region monitoring can be over-ridden by setting the didRangeBeaconsInRegion and didDetermineStateForRegion properties. The setDelegate method of the location manager is then used to assign the delegate to the location manager.
vardelegate=newcordova.plugins.locationManager.Delegate();delegate.didRangeBeaconsInRegion=function(pluginResult){// ...};delegate.didDetermineStateForRegion=function(pluginResult){// ...};cordova.plugins.locationManager.setDelegate(delegate);
Let’s create a region timer app to track how long we are in a beacon region. This could be used as a desk timer, for example. We only need to use the region-monitoring APIs for this app.
Start off by creating a new PhoneGap app, which we’ll call Region Timer:
phonegap create regiontimer"com.makebluetooth.regiontimer""Region Timer"
Then change directories to a newly created folder:
cd regiontimerIf you have an iOS device, add iOS as a platform using the following command:
phonegap platform add ios
To use with an Android device, use the following command:
phonegap platform add android
For Android, you will also need to update the config.xml file to update the android-minSdkVersion from 7 to 10 by changing the following line from:
<preferencename="android-minSdkVersion"value="7"/>
to:
<preferencename="android-minSdkVersion"value="10"/>
Now add the plug in to the PhoneGap app:
phonegap plugin add phonegap plugin add https://github.com/petermetz/cordova-plugin-ibeacon.git#3.3.0
Open up www/index.html in a text editor and change the contents for the <div class="app"> tag to:
<divid="totalTimeInRegion"></div>
We will use this div to display the total time spent in the region.
We are done with editing index.html for now. Now, to work on the JavaScript side, open www/js/index.js in a text editor.
Let’s remove some of the code that we don’t need anymore. Delete the app.receivedEvent( line in the deviceready);onDeviceReady function, as well as the entire receivedEvent function.
We need to create and set up a location manager as we did earlier. Create a new function named setupLocationManager:
setupLocationManager:function(){}
The first thing we need to do is create a beacon region to monitor for the iBeacon UUID, major, and minor we created. We will use region as the identifier.
varuuid='E2C56DB5-DFFB-48D2-B060-D0F5A71096E0';varidentifier='region';varmajor=1;varminor=2;varbeaconRegion=newcordova.plugins.locationManager.BeaconRegion(identifier,uuid,major,minor);
Now create and assign a delegate to the Location Manager:
vardelegate=newcordova.plugins.locationManager.Delegate();cordova.plugins.locationManager.setDelegate(delegate);
On iOS 8 and above, we need to request authorization, including for background mode:
cordova.plugins.locationManager.requestAlwaysAuthorization();
Now we can start region monitoring:
cordova.plugins.locationManager.startMonitoringForRegion(beaconRegion);
The onDeviceReady also needs to be updated to call app.setupLocationManager to set up the location manager:
// ...onDeviceReady:function(){app.setupLocationManager();},// ...
We don’t have anything to handle iBeacon region events, so we’ll create a new function called didDetermineStateForRegion. We can assign it to the delegate in the setupLocationManager function:
setupLocationManager:function(){// ...vardelegate=newcordova.plugins.locationManager.Delegate();delegate.didDetermineStateForRegion=app.didDetermineStateForRegion;// ...}
Let’s create the didDetermineStateForRegion function now. It will have one argument, pluginResult, which is a state property that contains the state of the region. When it is set to 'CLRegionStateInside', the device is in the beacon region; otherwise, the device is outside the region. We’ll update the app.insideRegion value accordingly.
didDetermineStateForRegion:function(pluginResult){varregionState=pluginResult.state;if(regionState==='CLRegionStateInside'){app.insideRegion=true;}else{app.insideRegion=false;}}
Now the app.insideRegion property reflects whether we are inside the iBeacon region. Let’s create another function named updateTotalTimeInRegion that uses this property. It will first get the current time, and check if the user is in the region. When the user is in the region, it will update the total time in the region since the last update. The last update date will also be set to the current time.
updateTotalTimeInRegion:function(){varnow=newDate();if(app.insideRegion){varsecondsSinceLastUpdate=(now.getTime()-app.lastUpdateDate.getTime())/1000.0;app.totalTimeInRegion+=secondsSinceLastUpdate;}app.lastUpdateDate=now;}
We also need to initialize the app properties in the initialize function:
// ...initialize:function(){this.bindEvents();this.insideRegion=false;this.lastUpdateDate=null;this.totalTimeInRegion=0;},// ...
Then we need to update onDeviceReady to set up a timer to call the new app.updateTotalTimeInRegion function every second (1,000 milliseconds). We can use setInterval for this.
// ...onDeviceReady:function(){app.setupLocationManager();setInterval(app.updateTotalTimeInRegion,1000);},// ...
This will ensure the total time in the region is updated every second, based on the value of app.insideRegion. If the user is not in the region, the app.totalTimeInRegion will remain the same. However, when the user is in the region, the value of app.totalTimeInRegion will be updated based on the time that has passed since the last update (usually one second).
We also need to update both onDeviceReady and didDetermineStateForRegion to call the app.updateTotalTimeInRegion when the app starts.
// ...onDeviceReady:function(){// ...app.updateTotalTimeInRegion();},// ...didDetermineStateForRegion:function(pluginResult){// ...app.updateTotalTimeInRegion();},// ...
This will initialize things on app start and immediately update the time whenever the beacon region is entered or exited. Without this change, it would take about a second for the value to be updated.
Now app.totalTimeInRegion will be updated every time we enter and exit the beacon region. We need to display the total time in the app, so create a new function named displayTotalTimeInRegion.
The displayTotalTimeInRegion function will first split up totalTimeInRegion from seconds to hours, minutes, and seconds. Then create a string to display in the app, in the totalTimeInRegion element.
displayTotalTimeInRegion:function(){varhours=Math.floor(app.totalTimeInRegion/3600);varminutes=Math.floor((app.totalTimeInRegion%3600)/60);varseconds=Math.floor(app.totalTimeInRegion%60);vartotalTimeInRegionText='Hours: '+hours+' '+'Minutes: '+minutes+' '+'Seconds: '+seconds;document.getElementById('totalTimeInRegion').textContent=totalTimeInRegionText;}
We are all set to run the initial version of our region timer app. Plug your iOS or Android device into your computer using a USB cable, and run the following command:
phonegap run --device
On iOS when the app launches, you will be prompted to allow location access (Figure 10-6). Press Allow to grant access; pressing Don’t Allow will cause our app to not work.
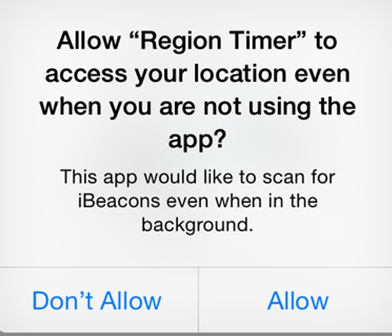
Figure 10-6. Location permissions screen of the Region Timer app
The app will then go the the main screen, showing 0 time in the region (Figure 10-7).
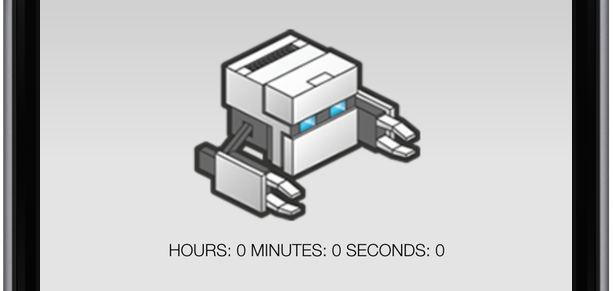
Figure 10-7. The Region Timer app showing that our device is idle
Once you start the Node.js iBeacon advertise.js script, the mobile app will start updating the time spent in the region (Figure 10-8).
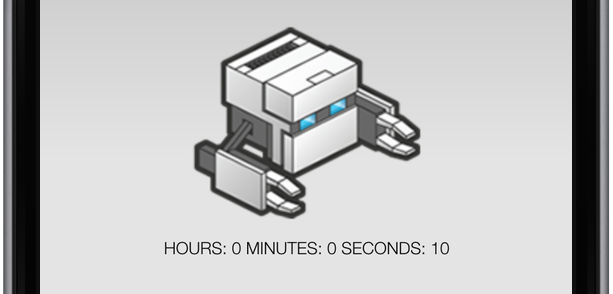
Figure 10-8. The Region Timer app showing that our device is running
After you stop advertise.js, it will take about 30 seconds for the location manager to report that you are no longer in the region. This is because of the built-in debounce logic.
You can restart advertise.js and experiment with the distance limits by walking further away from your beacon to get a better idea of the area that the iBeacon region covers. When you’re far enough away, the timer will stop.
The app will also continue to work when it’s running in the background. Go to the homescreen after launching the app, and walk in and out of the region. When you foreground the app, the time value will be updated accordingly. Keep in mind that it is only an estimate.
Let’s add one final feature to the app, a reset button, to reset the time to zero.
Update the <div class="app"> in www/index.html so it looks like the following:
<divclass="app"><divid="totalTimeInRegion"></div><buttonid="reset">Reset</button></div>

New reset button
Then update the onDeviceReady function in www/js/index.js and add a click event listener for the reset button. We’ll make a new function named onResetClick to handle the event. The onResetClick will reset app.totalTimeInRegion to 0, and then call app.updateTotalTimeInRegion.
// ...onDeviceReady:function(){// ...document.getElementById('reset').addEventListener('click',app.onResetClick,false);},// ...onResetClick:function(){app.totalTimeInRegion=0;app.updateTotalTimeInRegion();}
When you run the updated app, a reset button will be displayed under the timer value (Figure 10-9).

Figure 10-9. The main screen of the Region Timer app with a reset button
The time in the region will be reset back to 0 when the button is tapped.
Eddystone Beacons and the Physical Web
Eddystone is cross-platform and open-source beacon specification for the BLE proximity beacon and is distributed under the Apache v2.0 license. On Android, it is built into the Google Play Services Nearby API. On iOS, Eddystone beacon support is added using a library.
Eddystone supports multiple message types, including:
- Eddystone-UID
-
Broadcasts a 16-byte beacon ID, which contains a 10-byte namespace ID and a 16-byte instance ID. The namespace ID is intended to be used to group a set of beacons, and the instance ID identifies individual devices in the group. This is a similar concept to iBeacon, which we covered earlier in the chapter.
- Eddystone-URL
-
Broadcasts a compressed URL, which is needed because of the limited space available in an advertisement packet. Once a central discovers a beacon, it has to uncompress the URL before it is of any use.
- Eddystone-TLM
-
Broadcasts telemetry data about the beacon. This includes battery voltage and device temperature.
The full Eddystone specification can be found on GitHub.
The Physical Web’s project slogan is “Walk up and use anything.” The goal of the project is to enable frictionless discovery of web content that is related to your surroundings. You should be able to walk up to any smart device, such as a vending machine or toy, and not have to download an app to use it. It is based on Eddystone-URL’s beacons and existing web technologies. Each smart device broadcasts a URL, which provides the UI to interact with that device.
For example, a Physical-Web–enabled parking meter would broadcast a URL for a cloud-based web application. Your smartphone would scan for all beacons in range, and display a list of them, sorting by the ones in closest proximity. When the parking meter is in range and you decide to interact with it, you would visit the URL it broadcasts in a mobile web browser, and pay for your parking—all without downloading a specific mobile app!
You will still need an app installed on your smartphone to use the Physical Web.
What Data Does an Eddystone Beacon Advertise?
Unlike iBeacon, Eddystone beacons use the service data type to broadcast information during advertisement.
The specification requires the following to be broadcasted:
-
GAP flags with a value of
0x06 -
A service UUID of
0xFEAA -
Service data for the
0xFEAAUUID
The service data has a different format for each sub-beacon type.
Eddystone-UID
For Eddystone-UID beacons, service data contains the following 20-byte structure:
-
The first byte is the frame type, which has a value of
0x00 -
The second byte is the calibrated TX power at 0 meters
-
The next 10 bytes contain the Namespace ID
-
The next 6 bytes contain the Instance ID
-
The final 2 bytes must be
0x00, and are reserved for future use
Here’s an example of service data for an Eddystone-UID beacon, followed by a description of each of its parts:
00 EC 01020304050607080910 AABBCCDDEEFF 0000
-
The first bytes are the frame type of 0x00 for the UID
-
The next 2 bytes are the calibrated TX power at 0 meters over -20 dBm (0xEC)
-
Next is the namespace ID of
01020304050607080910 -
The fourth set of bytes contains the instance ID of
AABBCCDDEEFF -
Reserved bytes of 0000
Eddystone-URL
For Eddystone-URL beacons, service data contains the following byte structure, which can be up to 20 bytes in length:
-
The first byte is the frame type, which has a value of
0x10 -
The second byte is the calibrated TX power at 0 meters
-
The third byte contains the encoded URL scheme
-
The remaining bytes contain the encoded URL
Values for the encoded URL scheme are:
| Value | Expansion |
|---|---|
0x00 |
|
0x01 |
|
0x02 |
http:// |
0x03 |
https:// |
The encoded URL value can uses the following codes to reduce its size:
| Value | Expansion |
|---|---|
0x00 |
.com/ |
0x01 |
.org/ |
0x02 |
.edu/ |
0x03 |
.net/ |
0x04 |
.info/ |
0x05 |
.biz/ |
0x06 |
.gov/ |
0x07 |
.com |
0x08 |
.org |
0x09 |
.edu |
0x0a |
.net |
0x0b |
.info |
0x0c |
.biz |
0x0d |
.gov |
Here’s an example of service data for an Eddystone-URL beacon, followed by a description of each of its parts:
10 EE 0061626307
-
The first 2 bytes are the frame type of 0x10
-
The next 2 bytes are the calibrated TX power at 0 meters over -18 dBm (0xEE)
-
The third set of bytes contains the encoded URL scheme of
http://www.(0x00) -
abcencoded as ASCII (616363) -
.comextension (0x07 from the preceding table)
This creates an Eddystone-URL beacon that broadcasts http://www.abc.com.
Building and Detecting Your Own Beacon
We’ll be focusing on Eddystone-URL beacons for the remainder of the chapter.
Let’s create an Eddystone-URL beacon using Node.js and use a smartphone to detect it.
We’ll use the node-eddystone-beacon module using Node.js. It uses bleno for the BLE layer.
The source code for node-eddystone-beacon can be found on the following GitHub repo.
First, make a new directory for the project, and change the current directory to it:
$mkdir make-bluetooth-physical-web$cdmake-bluetooth-physical-web
Next, install the eddystone-beacon module from npm:
$ npm install eddystone-beaconThis command will create a node_modules folder in the current directory and pull the eddystone-beacon module along with its dependencies, including bleno, down from npm.
Now create a new file called advertise.js and open it using your favorite text editor.
At the start of the file, we need to require the eddystone-beacon module:
varEddystoneBeacon=require('eddystone-beacon');
Next, let’s create a variable for the URL we wish to broadcast using the Eddystone-URL format:
varurl='http://example.com';
Now we can use the advertiseUrl API provided by EddystoneBeacon to start advertising the URL:
EddystoneBeacon.advertiseUrl(url);
We are all set to run the advertise.js script now.
On a Mac:
$ node advertise.jsOn Linux, sudo is needed:
$ sudo node advertise.jsTo detect the beacon, we need an application on our BLE-equipped smartphone. Go ahead and install the Physical Web app on your smartphone:
When you first open the Physical Web application, a brief welcome screen is shown (Figure 10-10, left). Tap the Proceed button to continue.
When no Eddystone-URL beacons are in range, Figure 10-10 (right) is displayed.

Figure 10-10. Left: Welcome screen for Physical Web app; Right: Physical Web app screen showing no beacons in range
Since we are running advertise.js, at least one beacon will be in range. If multiple beacons are in range, they will all be displayed in the list and sorted by signal strength (Figure 10-11, left).
Go ahead and tap the Example Domain beacon item. This will open a web browser to http://example.com (Figure 10-11, right), the URL that our Eddystone-URL beacon is configured to advertise.
Unlike iBeacon, which we tried out before, you do not need a specific app to utilize Eddystone-URL beacons; the Physical Web app scans for all Eddystone-URL beacons in range. Then it uses a mobile web browser to provide the UI to interact with the device, once you select a URL you are interested in. Our simple example doesn’t provide any interaction as the example.com website is very static. However, we were able to create a beacon that advertises the URL physically, allowing anyone with an app like Physical Web to detect the beacon when they are in range.
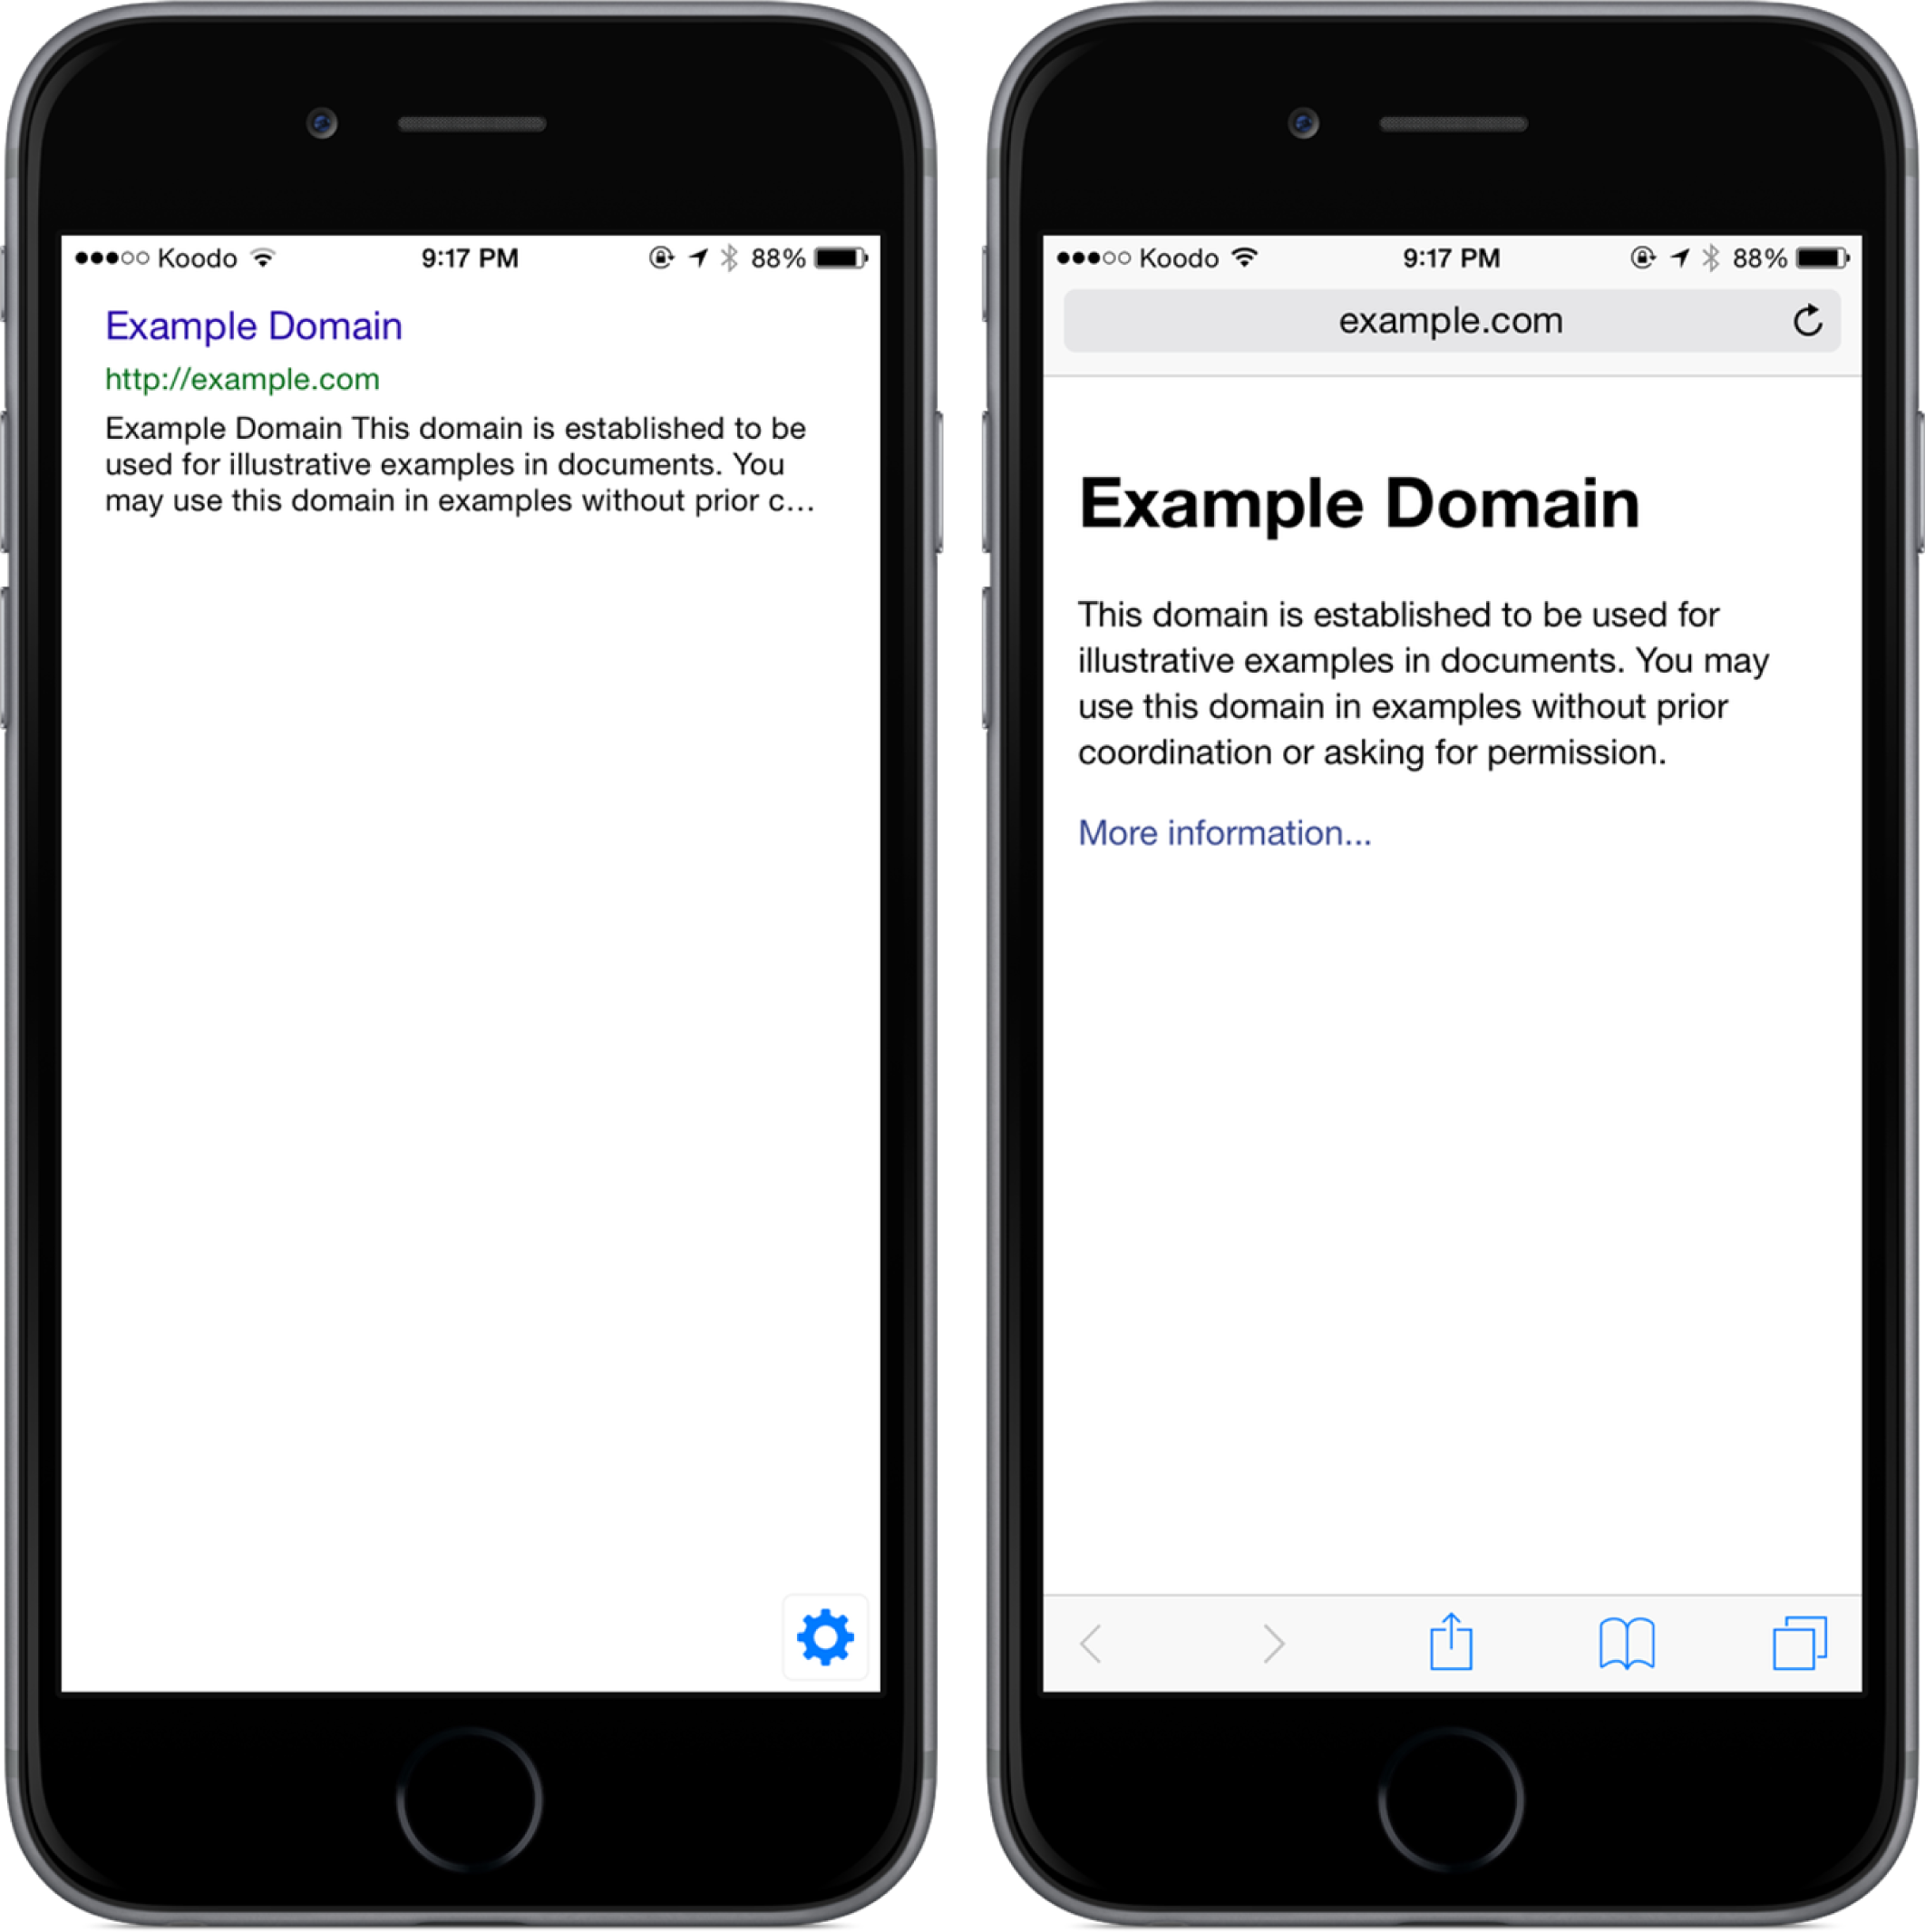
Figure 10-11. Left: Physical Web app showing beacon in range; Right: Physical Web app displaying http://example.com
Conclusion
In this chapter, we created two beacons using Node.js, and used a BLE-enabled smartphone with the appropriate app installed to detect the beacon we created. We used the iBeacon and Eddystone-URL beacon format, which both rely on the GAP portion of the BLE standard.
We also created a custom region timer mobile app using PhoneGap and an iBeacon plugin that measures the time spent in an iBeacon region.