Chapter 11. Drones
In this chapter, we will control a Parrot Rolling Spider drone using a computer.
The Rolling Spider is a BLE-controlled ultra-compact drone, which is part of Parrot’s Mini Drone product line. It is lifted and propelled by four rotors, which classifies it as a quadcopter. See Figure 11-1 for a photo of a Rolling Spider with wheels attached.
The NodeCopter community initially started off using the Parrot AR.Drone 2.0 for hackathon events around the world. Participants would create Node.js applications to control the drone using node-ar-drone. Unlike the Rolling Spider, the AR.Drone 2.0 is a much larger drone, that is controlled over WiFi.
We will be using the node-rolling-spider module to control the Rolling Spider. It offers a similar API as node-ar-drone, but supports the Rolling Spider.
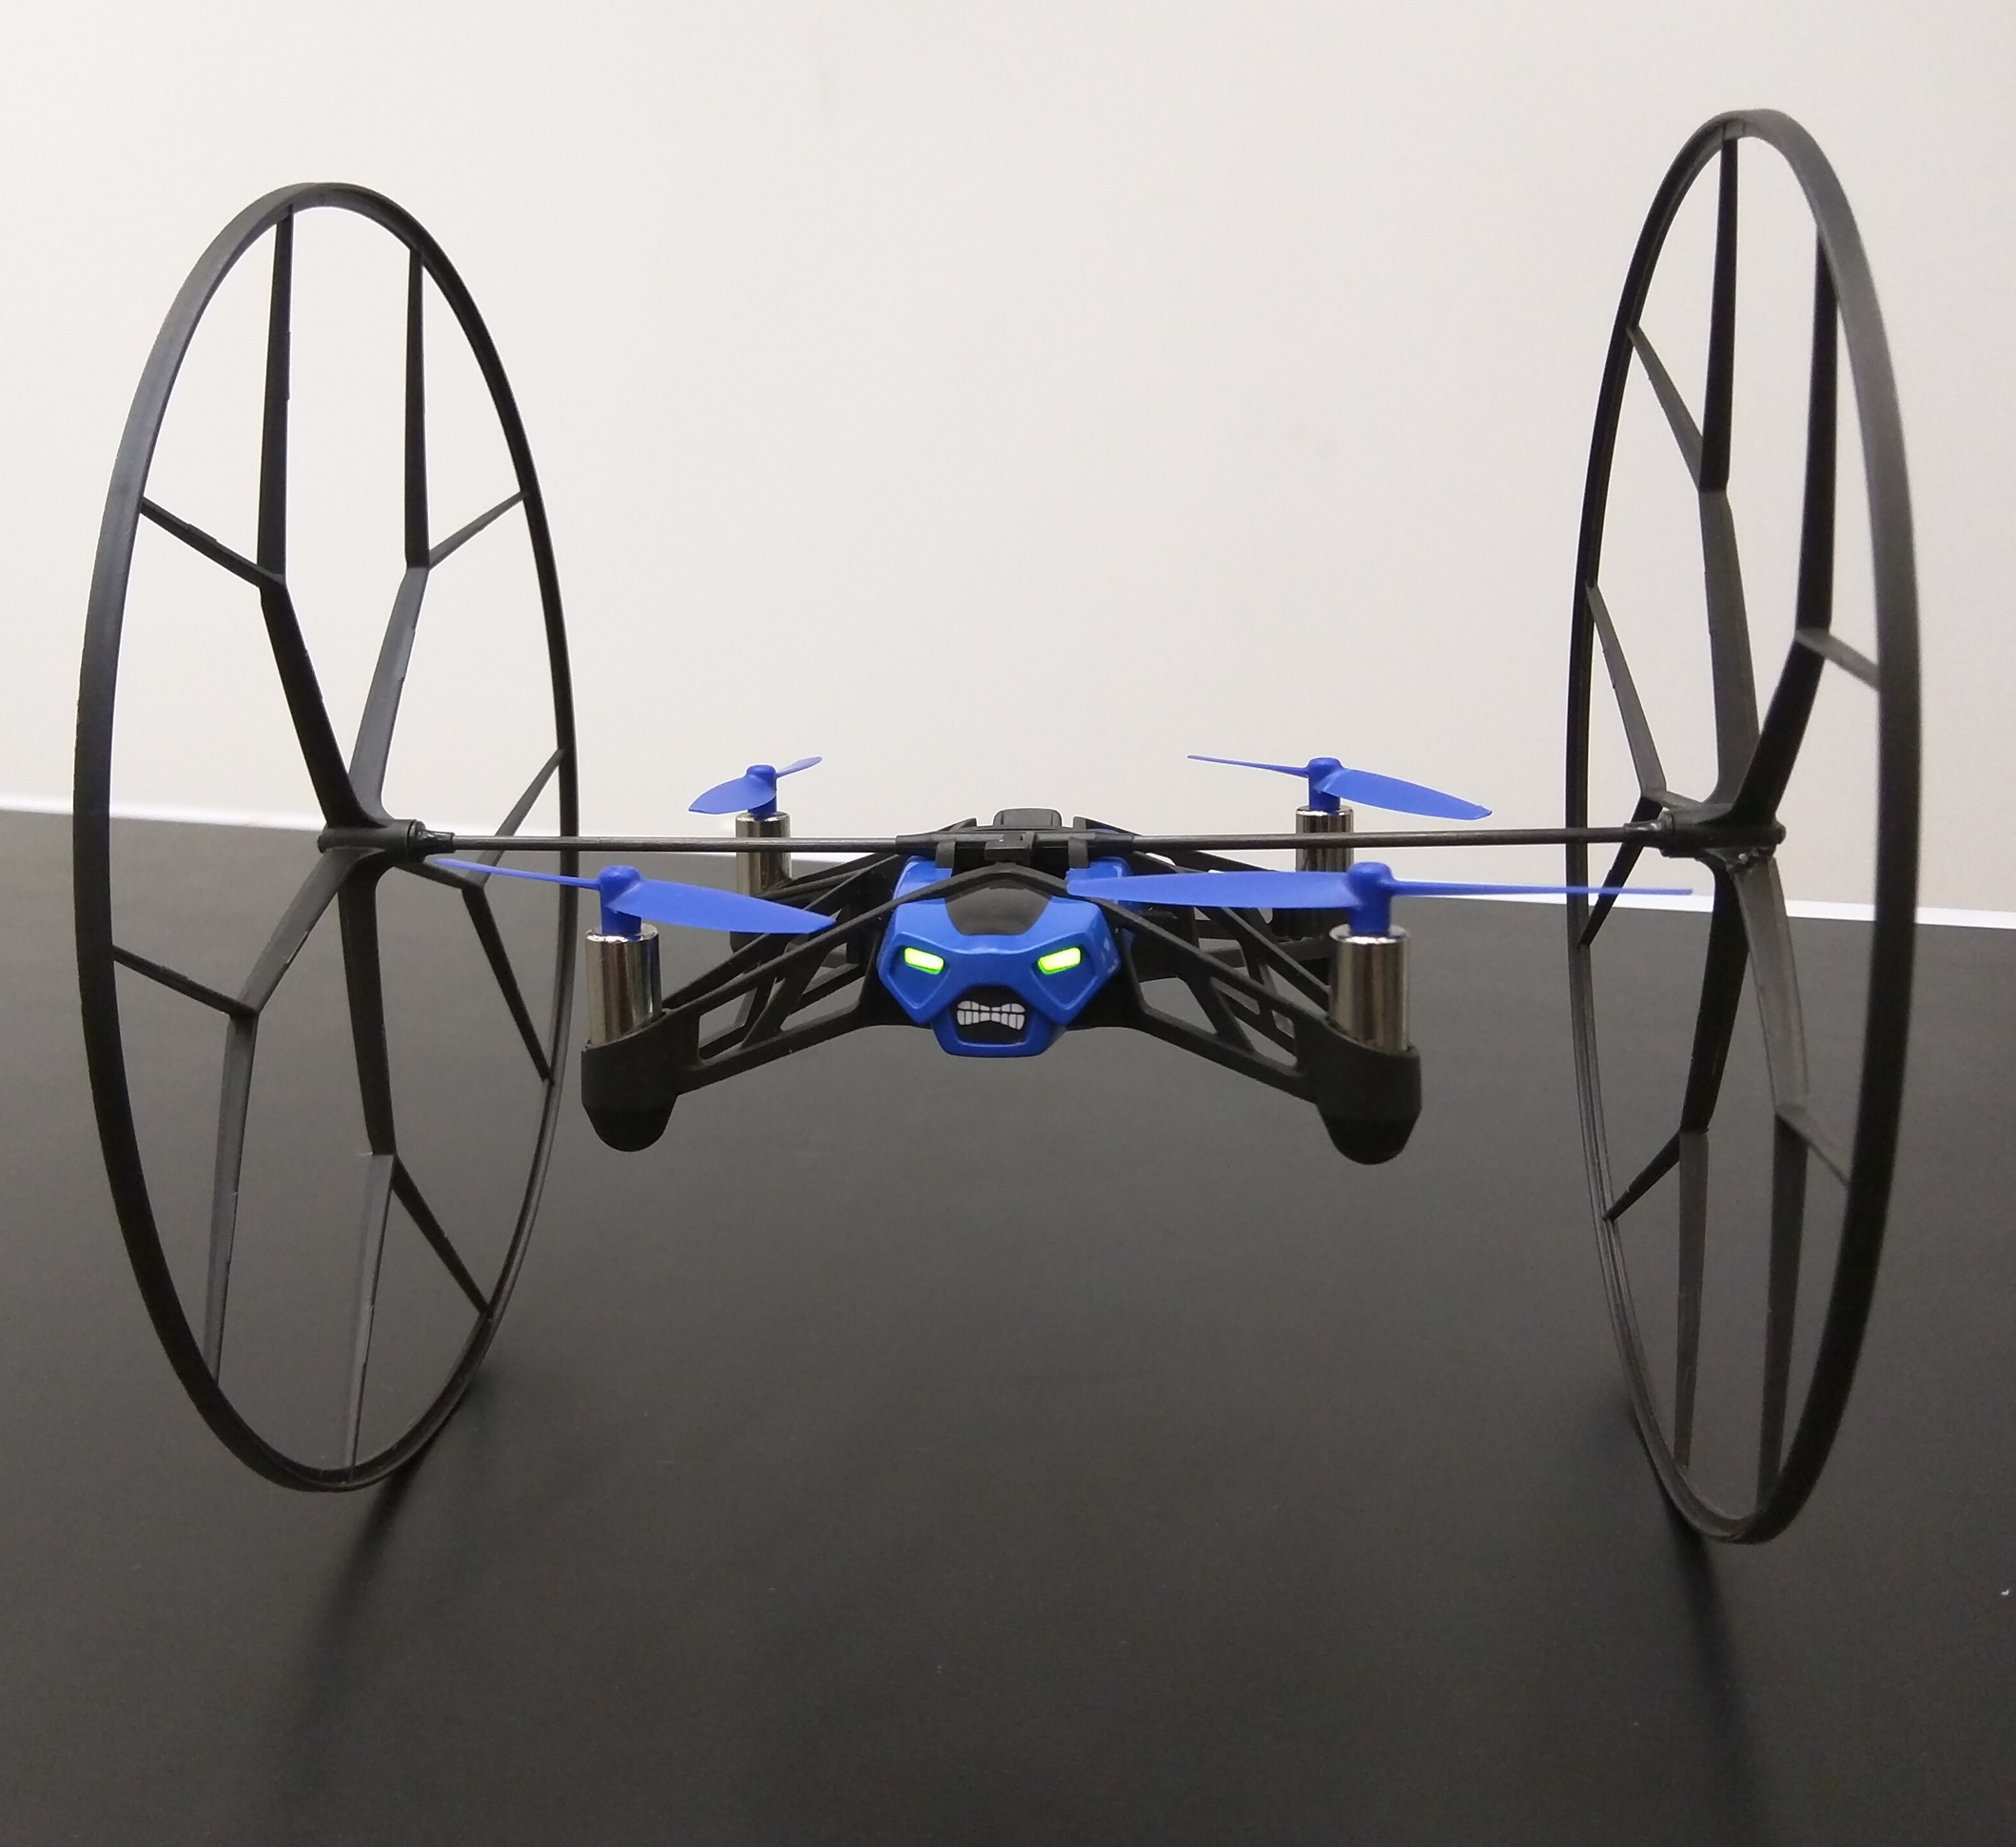
Figure 11-1. Parrot Rolling Spider with wheels on
What You’ll Need
-
Parrot Rolling Spider, available at the MakerShed store
-
One of the following:
-
Bluetooth-4.0–enabled Mac
-
Linux PC (includes Raspberry Pi or Beagle Bone Black) with a Bluetooth 4.0 adapter, such as the Bluetooth 4.0 USB Module available on Adafruit
-
-
Bluetooth-4.0–enabled smartphone or tablet running iOS or Android (for testing)
Node.js and noble will also need to be set up; see “Installing Node.js” in Chapter 2 for instructions.
Testing Out the Drone
Follow the instructions supplied by Parrot to assemble your Rolling Spider drone and charge the battery. We highly recommend using the drone with the wheels on!
Then test it out by installing and using the Parrot FreeFlight 3 app from the App Store or Google Play Store on your BLE-equipped smartphone.
Controlling the Rolling Spider with Node.js
We’ll use the node-rolling-spider module to control the Rolling Spider drone from Node.js. It uses noble for the BLE communication layer. The module was started by Jack Watson-Hamblin (@FluffyJack). Chris Williams (@voodootikigod) is now the active maintainer of the project.
The source code for node-rolling-spider can be found at GitHub repo.
Setting Up the Project
Now that we have played with the smartphone app, let’s move on to controlling the drone with Node.js.
First, make a new directory for the project, and change the current directory to it:
$mkdir make-bluetooth-rolling-spider$cdmake-bluetooth-rolling-spider
Next, install the rolling-spider module from npm:
$ npm install rolling-spiderThis command will create a node_modules folder in the current directory and pull the rolling-spider module, along with its dependencies including noble, down from npm.
Discovering the Drone
node-rolling-spider includes an example discovery.js file we can use to verify that everything is set up correctly.
On a Mac:
$ node node_modules/rolling-spider/eg/discover.jsOn Linux, sudo is needed:
$ sudo node node_modules/rolling-spider/eg/discover.jsIf your system is set up correctly, something similar to the following will be output to the command line.
On a Mac:
1: RS_W169095(39d6c56f47824599b3a1b89274d99630), RSSI -50
On Linux:
1: RS_W169095(e014b1ae3d4e), RSSI -93
The script searches for Rolling Spider drones in range and outputs the info the drone is advertising:
- local name
-
Can be set via the smartphone app. The default local name indicates the color of the drone; see the first letter after the
RS_section: W(hite), R(ed), or B(lue) - id (in brackets)
-
ID of the drone, as reported by
noble - RSSI
-
Signal strength of the drone; a larger number (closer to zero) indicates the drone is closer than a smaller number (more negative)
Getting Started: Basic Takeoff and Landing
Create a new file named takeoff-land.js using your favorite text editor in the project directory you set up earlier.
The first thing you need to do is require the rolling-spider module:
varRollingSpider=require('rolling-spider');
Next, create an new instance of RollingSpider:
varrs=newRollingSpider();
Note
The default behavior of the module is to connect to the first Rolling Spider discovered. If more than one Rolling Spider is in range, you can pass the id of the drone in; for example:
var rs = new RollingSpider('e014b1ae3d4e');
The id can be determined using the discover.js example script we used earlier.
Now we need to get our RollingSpider instance, rs, to connect. Let’s create a new function named connect and call the connect method on our Rolling Spider instance, passing in a callback function named connectCallback, which we will create next. We can then call connect to start the connection sequence.
functionconnect(){console.log('connecting ...');rs.connect(connectCallback);}connect();
Now to implement the connectCallback function, it has an error parameter that indicates if there was an error while trying to connect to the Rolling Spider. When an error occurs, we will just exit. If the connection was successful, we then need to call the setup method of our Rolling Spider instance. Again, we’ll pass a callback named setupCallback, which we need to create next.
functionconnectCallback(error){if(error){console.log('error connecting: '+error);process.exit(-1);}console.log('connected, setting up ...');rs.setup(setupCallback);}
In the setupCallback function, we need to call the flatTrim and startPing methods. The flatTrim API calibrates the drone’s sensors so it knows what the level/flat value is before takeoff. It should always be called before taking off.
functionsetupCallback(){console.log('set up, flat trimming and starting ping ...');rs.flatTrim();rs.startPing();rs.flatTrim();}
We are all set to take off, but we must add a delay for the Rolling Spider to proccess the flatTrim and startPing commands. We use setTimeout to delay calling the new takeOff function by 1000ms, or 1 second.
functionsetupCallback(){// ...setTimeout(takeOff,1000);}
In the takeOff function, call the takeOff method on our Rolling Spider instance, passing in the takeOffCallback function. For now, the takeOffCallback function will only log to console.
functiontakeOff(){console.log('taking off ...');rs.takeOff(takeOffCallback);}functiontakeOffCallback(){console.log('taken off');}
We have almost finished a basic takeoff and landing sequence. After the Rolling Spider has taken off, we need to land it after a delay. Let’s update the takeOffCallback by adding code for landing.
We use setTimeout again to call the land function after a two-second delay.
functiontakeOffCallback(){// ...setTimeout(land,2000);}
In the land function, call the land method on the Rolling Spider instance, with the landCallback as a parameter. The landCallback will be executed when the Rolling Spider has landed, and we can exit when this occurs.
functionland(){console.log('landing ...');rs.land(landCallback);}functionlandCallback(){console.log('landed')process.exit(0);}
Now we are ready to try out our basic takeoff and land script:
On a Mac:
$ node takeoff-land.jsOn Linux, sudo is needed:
$ sudo node takeoff-land.jsWhile the Rolling Spider takes off and lands shortly thereafter, the script will output the following:
connecting ...
connected, setting up ...
set up, flat trimming and starting ping ...
taking off ...
taken off
landing ...
landed
Keyboard Control
Now that we are familiar with the node-rolling-spider APIs, let’s create a Node.js application to control the Rolling Spider using keyboard input.
Handling keypress events
The Node.js keypress module allows you to easily listen to keyboard events from the stdin input stream. Nathan Rajlich (@TooTallNate) wrote the keypress module.
Source code for keypress can be found here on GitHub.
Let’s install the module using npm:
$ npm install keypressNow create a new file named keypress-test.js.
The first step is to require the keypress module:
varkeypress=require('keypress');
Then we can set up the keypress module on the stdin stream:
keypress(process.stdin);
We also need to enable raw mode on the stdin stream. Without raw mode, the keyboard input will be buffered so you would not get the keypress event immediately.
process.stdin.setRawMode(true);
The last step is to attach an event handler for the keypress event. First, we need to check if the key argument is provided; if it isn’t, we can stop processing the event and return. The key argument is not present for some keys, like number keys. Then we can check if Ctrl-C was entered. This is usually handled for you, but since we’ve set up the keypress module, we need to handle it ourselves. Otherwise, we will print the keypress event key to the console.
process.stdin.on('keypress',function(ch,key){if(!key){return;}if(key.ctrl&&key.name==='c'){process.exit();}console.log('got "keypress"',key);});
Now we can run the application:
$ node keypress-test.jsWhen you press the up arrow key on your keyboard, the test application will output the following:
got"keypress"{name:'up', ctrl:false, meta:false,shift:false, sequence:'u001b[A', code:'[A'}
The name property of the key has the value of up; we can ignore the other properties.
You can try other key presses and see the key event output. Press the Ctrl-C at the same time to exit.
Let’s update the keypress event handler to only log the name of the key that was pressed:
process.stdin.on('keypress',function(ch,key){// ...console.log('got "keypress"',key.name);});
When we run the application again:
$ node keypress-test.jsYou will see a simplified output of key events, like the following for the up arrow key:
got "keypress" up
If you hold a key down many events are received, this will cause issues when you map keypress events to Rolling Spider actions. Too many commands will be sent to the drone when a key is held down.
Let’s add a debouncing mechanism to the keypress event handler to throttle out event handling. We start by adding a global variable to track the state at the top of the file:
varactive=false;
Then we check the value in the keypress event handler. If active is true, we abort processing the event. Otherwise, we can set active to true.
process.stdin.on('keypress',function(ch,key){// ...if(active){return;}active=true;// ...});
Now we need to set the value of active to false after a delay. We can use the setTimeout function to accomplish this, with a delay of 100 milliseconds.
Create a new function named clearActive that sets the active variable value to false. At the end of the keypress event handler, use setTimeout to call clearActive after 100 ms.
functionclearActive(){active=false;}process.stdin.on('keypress',function(ch,key){// ...setTimeout(clearActive,100);});
Now when we run the test application again, and hold a key down, there will be a 100-ms delay between events when they are logged to the console.
$ node keypress-test.jsPutting it all together
Now that we have familarized ourselves with the node-rolling-spider and keypress modules, we can combine them.
The code from earlier can be reused with a few changes. We don’t want to automatically have the Rolling Spider take off and land.
Create a new file named keyboard.js with the following starter code:
varRollingSpider=require('rolling-spider');varrs=newRollingSpider();functionconnect(){console.log('connecting ...');rs.connect(connectCallback);}functionconnectCallback(error){if(error){console.log('error connecting: '+error);process.exit(-1);}console.log('connected, setting up ...');rs.setup(setupCallback);}functionsetupCallback(){console.log('set up, flat trimming and starting ping ...');rs.flatTrim();rs.startPing();rs.flatTrim();setTimeout(ready,1000);}functionready(){// ...}connect();
When the Rolling Spider is ready to receive commands, we’ll call a new function named ready. Previously, we had code to take off and land. Now let’s add the keypress functionality. At the start of the file, add the following:
varkeypress=require('keypress');varRollingSpider=require('rolling-spider');keypress(process.stdin);varactive=true;
This is similar to what we used earlier when trying out the keypress module. We’ll also set up a variable named active with an initial value of true to ignore keypress events until the Rolling Spider is ready to receive commands.
Now we can add the remaining keypress handling at the end of the file. Again, this is similiar to what we tried out before.
// ...process.stdin.setRawMode(true);functionclearActive(){active=false;}process.stdin.on('keypress',function(ch,key){if(!key){return;}if(key.ctrl&&key.name==='c'){process.exit();}if(active){return;}active=true;setTimeout(clearActive,100);});connect();
Now we will fill in the ready function we created earlier. We’ll print a message to the console to let the user know things are ready. Then we will clear the active flag to enable keypress event handling.
functionready(){console.log('ready to receive commands!');console.log();clearActive();}
Now let’s add some code to map keypress events to Rolling Spider commands. We’ll map the t key to takeOff and l to land.
process.stdin.on('keypress',function(ch,key){// ...if(key.name==='t'){console.log('taking off');rs.takeOff();}elseif(key.name==='l'){console.log('landing');rs.land();}setTimeout(clearActive,100);});
Now we are ready to try taking off and landing using keyboard controls.
On OS X:
$ node keyboard.jsOn Linux, sudo is needed:
$ sudo node keyboard.jsWait for the following output:
connecting ...
connected, setting up ...
set up, flat trimming and starting ping ...
ready to receive commands!
Now press the t key to make the Rolling Spider take off. Once the Rolling Spider is in the air, wait a few seconds, and then press l to initiate landing. Then use Ctrl-C to exit the application.
Let’s map the keyboard arrow keys to Rolling Spider commands. The APIs we’ll use for this take an options parameter, which can contain the following properties:
speed-
The speed to use for the drive or rotation; a number between 0 and 100 inclusively
steps-
The step (time) to use for the drive or rotation; a number between 0 and 100 inclusively
We’ll use a step size of 2 and a default speed for the new commands so we need to create an options variable that will be passed into the action functions. The up and down keys will be mapped to up and down, respectively. The left and right keys will make the Rolling Spider turn left and right.
process.stdin.on('keypress',function(ch,key){// ...varoptions={steps:2};if(key.name==='t'){console.log('taking off');rs.takeOff();}elseif(key.name==='l'){console.log('landing');rs.land();}elseif(key.name==='up'){console.log('up');rs.up(options);}elseif(key.name==='down'){console.log('down');rs.down(options);}elseif(key.name==='left'){console.log('turn left');rs.turnLeft(options);}elseif(key.name==='right'){console.log('turn right');rs.turnRight(options);}// ...});
Now let’s add some commands for moving forward, backward, left, and right. The w key will be used for forward, s for backward, a for left, and d for right.
process.stdin.on('keypress',function(ch,key){// ...// ...}elseif(key.name==='w'){console.log('forward');rs.forward(options);}elseif(key.name==='s'){console.log('backward');rs.backward(options);}elseif(key.name==='a'){console.log('left');rs.left(options);}elseif(key.name==='d'){console.log('right');rs.right(options);}// ...});
See Table 11-1 for a summary of the key mappings we implemented.
| Key | Action |
|---|---|
t |
take off |
l |
land |
up arrow |
up |
down arrow |
down |
left arrow |
turn left |
right arrow |
turn right |
w |
forward |
s |
backwards |
a |
left |
d |
right |
Time to try out the commands!
Like before, wait for the “ready to receive commands!” message. Then press t to take off, and once you’re in the air, use the keys you mapped to actions to move the Rolling Spider around. Press l to land the drone.
Additional Rolling Spider commands, such as tilt left/right, can also be mapped to keypress events, but we will stop here.