Appendix A. Installing and Configuring Visual Studio LightSwitch
Installing and configuring Visual Studio LightSwitch and required components is a key step in your development experience. In this appendix, you find useful information to get the most out of the Visual Studio installation from the first run.
Installing Visual Studio LightSwitch
The Visual Studio LightSwitch installation media includes all files and prerequisites required to set up the development environment. A 90-day trial edition of Visual Studio LightSwitch is also available at www.microsoft.com/visualstudio/en-us/lightswitch/try.
If you have an MSDN subscription, you download LightSwitch as an ISO image. ISO images are ready to be burned to DVDs, but you can also use a virtual drive and thus treat the ISO image as a physical medium. Several virtual drives are available on the Internet (for example, Virtual Clone Driver, which ships for free: www.slysoft.com/en/virtual-clonedrive.html). After you install the driver, just right-click the ISO image in Windows Explorer and select Mount. You can then work with the virtual drive as if it were a physical one.
As you learned in this book, LightSwitch can be installed as a standalone environment or over Visual Studio 2010 Professional and higher. If the latter is your case, remember that you first need to install Visual Studio 2010 Service Pack 1, which is available at http://bit.ly/g9k1G6. When you are ready, launch the Setup.exe file (this requires administrator privileges), which is available in the root directory of the installation media.
There is no difference between installing Visual Studio LightSwitch standalone or as integrated in Visual Studio 2010, so all the steps described here apply to both modes. The first contact you have with setup is the acceptance of the license agreement. You must click Accept to install the software. The Welcome screen then opens, from which you can launch the installation immediately or choose a custom mode (see Figure A.1).
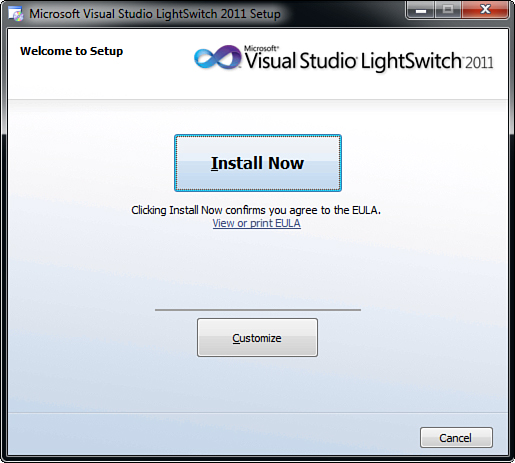
Figure A.1. The Welcome screen of the setup process.
Notice that the only difference is that when choosing a custom mode, you can select a different output folder for the installation, as shown in Figure A.2.
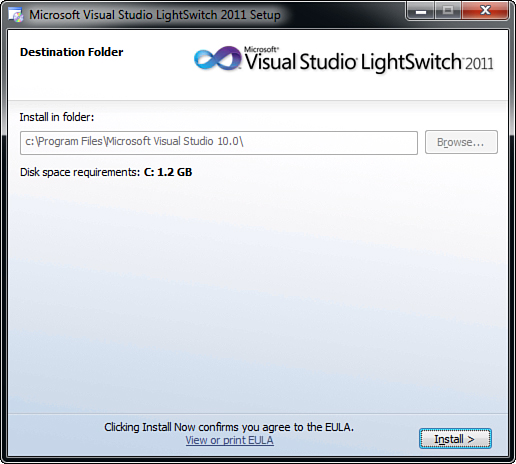
Figure A.2. Choosing a different output location.
At this point, click Install and wait for the setup process to complete. If you do not already have the .NET Framework 4.0 installed on your machine, a system reboot might be required; afterward, the installation resumes from the point of interruption. The Installation Progress dialog continuously informs you about the setup progress, as shown in Figure A.3.
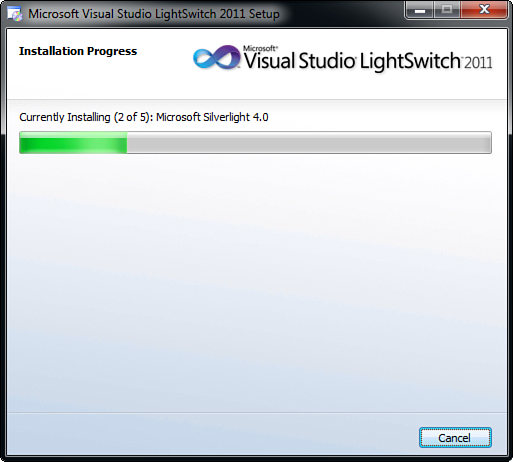
Figure A.3. Getting information about the installation progress.
The setup process also installs Microsoft SQL Server 2008 R2 Express Edition on the target machine, which is a prerequisite for the development environment. When the setup completes, the Setup Complete dialog opens (see Figure A.4). This dialog contains a link to the Visual Studio LightSwitch Developer Center and a button to quickly start the product.
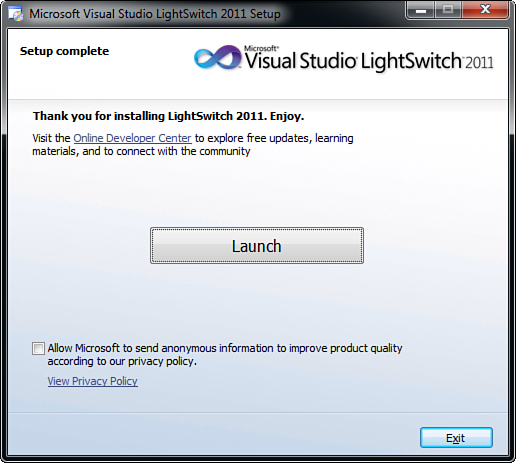
Figure A.4. Setup is now complete, and you are ready to launch the product.
You can either launch Visual Studio LightSwitch or exit to the operating system by clicking the appropriate buttons. If you experience any problems, you can visit the support forum for install troubleshooting at http://bit.ly/LightSwitchForums.
If you have some development experience with Visual Studio 2010, you know that when you first launch the IDE, you are asked to specify a settings profile. In LightSwitch, this does not happen because its IDE ships with settings that are good enough to satisfy the most common development needs. This is an important simplification because now you do not have to spend time deciding what profile is better for you; LightSwitch makes the appropriate choices for you.
Managing the Offline Documentation
When you install Visual Studio LightSwitch, the setup process also installs the full companion documentation to your hard disk. You can check for documentation updates by using the Help Library Manager tool, which you invoke by selecting Manage Help Settings from the Help menu. When the tool is started, select Check for Updates Online. As you can see in Figure A.5, the Help Library Manager checks for updates about all the installed documentation.
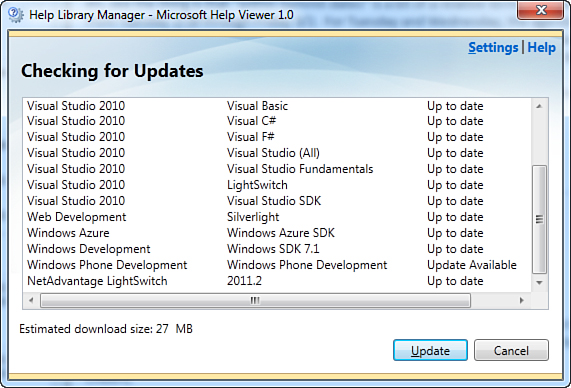
Figure A.5. Checking for documentation updates.
Figure A.5 also shows that an update is available for the LightSwitch documentation. So, when you click Update, the Help Library Manager will start downloading all the available updates, including the one for LightSwitch.