
In this chapter, we will look at different ways in which we can handle errors when they come up while using Excel functions.
Why Do Errors Occur While Using Excel Functions?
Whenever arguments to Excel functions are not in the expected format; for example, if a function expects a number and the value supplied is not numeric. Therefore, Excel cannot evaluate the function, and this results in an error.
An operation in Excel is invalid; for example, trying to divide a number by zero.
Different Types of Error Codes
Error Codes in Excel
Error Code | Description |
|---|---|
#DIV/0 | This error occurs when you tried to divide a number by zero. |
#N/A | This error occurs when a value is not found. |
#NAME? | This error occurs when you tried to use a non-existent named range or a function that does not exist. |
#NUM! | This error occurs when numeric values used are invalid. |
#REF! | This error occurs when a cell reference is removed. |
#VALUE! | This error occurs when the data type of the function argument is different than expected. For example, a text string is supplied as an argument instead of a numeric value. |
#NULL! | This error occurs when Excel is unable to figure out the range specified. |
#SPILL! | This error occurs when a formula results in a spill range that runs into a cell that already contains data. In dynamic Excel, formulas that return multiple values will “spill” these values directly onto the worksheet. The range that encloses these values is called the spill range. |
#CALC! | This error occurs when a formula encounters a calculation error with an array. |
#SPILL! and #CALC! errors are related to Excel 365 users with Dynamic Arrays enabled.
Functions Used to Handle Errors
There are a couple of functions used for error handling.
IFERROR Function
This is used to return a value when a formula results in an error. The IFERROR function has been widely used for error handling since it was introduced.
Syntax
The first argument is a function/formula/reference that is checked for errors.
The second argument is the value to be used in case the first argument evaluates to an error.
Example

IFERROR function
The function used in cell B2 is =IFERROR(10/0,"Error"). The value returned is Error. Here, we are trying to divide 10 by 0. This is an invalid operation. So, we get the error code #DIV/0. Since we have enclosed this equation inside the IFERROR function, the second argument of the IFERROR function is activated and the value Error is returned.
The function used in cell B3 is =IFERROR(10/5,"Error"). The value returned is 2. Here, we are trying to divide 10 by 5. This is a valid operation. Since the operation is valid, the second argument of the IFERROR function is not activated, and the value of the operation, 2, is returned.
Other Error-Handling Functions
Function Name | Syntax |
|---|---|
ISNA | =ISNA(value). Here, value can be cell/value/formula or a name range referring to cell/value/formula. Returns TRUE if the value is #N/A, else it returns FALSE. |
ISERROR | =ISERROR(value) Here, value can be cell/value/formula or a name range referring to cell/value/formula. Returns TRUE if the value is an error, else it returns FALSE. |
Debugging Excel Formulas
Using the F9 Key
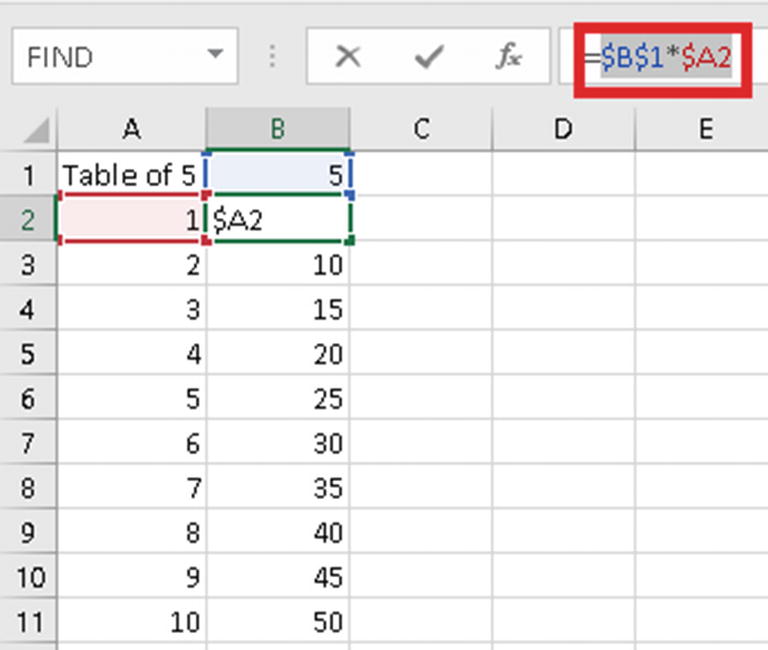
F9 key
Select the formula as marked in the red box and press the F9 key to evaluate the formula. Ensure you press the Esc key or press the Ctrl+Z keys to remove the changes after using the F9 key, or else the changes will be made permanent and you will lose out on your formula.
Formula Tab

Debug Excel formula
Trace Precedents – This option displays arrows to cells that affect the current selected cell.
Trace Dependents – This option displays arrows to cells that are dependent on the current selected cell.
Remove Arrows – This option removes arrows displayed by the previous two options.
Show Formulas – This option shows formulas in all cells containing formulas instead of the formula result.
Evaluate Formula – This option allows you to evaluate a formula contained in a cell.
- Error Checking – The Error Checking dropdown has three options, as follows:
- The first option is Error Checking - This option allows you to check for errors in the active sheet. When this option is selected, it displays the Error Checking dialog box if your worksheet contains errors. The first cell containing an error is selected when this dialog box is displayed. You can use this dialog box to find and investigate any errors one by one. Figure 12-4 shows the Error Checking dialog box.
 Figure 12-4
Error Checking dialog box
In this window, in the top-left corner, the actual contents of the cell are displayed, and below it is a short description of the error. In this case, it is division by zero. The buttons on this window are as follows:Help on this Error – This will display a help topic related to the specific type of error.
Show Calculation Steps – This will display the Evaluate Formula dialog box.
Ignore Error – Clicking this button will remove the green indicator from the top left-hand corner of the cell containing the current error.
Edit in Formula Bar – This allows you to edit the formula in the formula bar. Click Resume to continue after you have made the changes.
Options – This will display the Excel options.
The Previous and Next buttons can be used to move between the errors on the active worksheet.
The second option is Trace Error. For this option to work, ensure that your active cell is the cell containing an error. This option allows you to trace the source of the error in the currently selected cell. When you select this option, Excel draws red arrows to the source of the problem. Next, you should resolve the error.
The third option is to find circular references. A circular reference is a situation where an Excel formula refers back to its own cell, either directly or indirectly. Selecting this option will show a list of cells with circular references. Clicking on the cell listed under Circular References will bring you exactly to that cell. Next up, you should resolve the circular references. You should try to avoid circular references in your sheets whenever possible.
Summary
To summarize, in this chapter we looked into how to handle errors while using Excel functions.
In the next chapter, we will look into the interesting concept of megaformulas.