Chapter 2. What’s new and improved in SharePoint 2013
With the release of SharePoint 2013, Microsoft has continued the tradition of increasing the functionality of the SharePoint platform by incorporating even more of the features.
This section is where you get your first look at SharePoint 2013 and can see some of the changes that have been implemented. Because the number of changes and upgrades are just too plentiful to go into in any depth within the scope of this book, we will focus on the features that affect the end-user experience.
This section describes the changes and what they mean to you in terms of getting your work done more efficiently. In later sections we delve more deeply into some of the enhancements, showing you how to best utilize these changes to make your life easier.
Creating a new site
Site administrators have a lot of latitude for how they can create a site. With the release of SharePoint 2013, there are yet more options available. Also, the steps involved for creating a new site have been simplified.
Create a new site
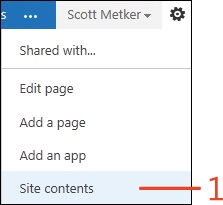
On the Home page of your site, click the Settings button (the small gear icon next to the name of the logged-on user). On the menu that appears, click Site Contents.
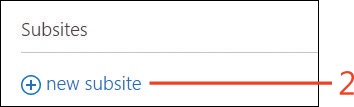
On the Site Contents page, in the Subsites section, select the New Subsite link.
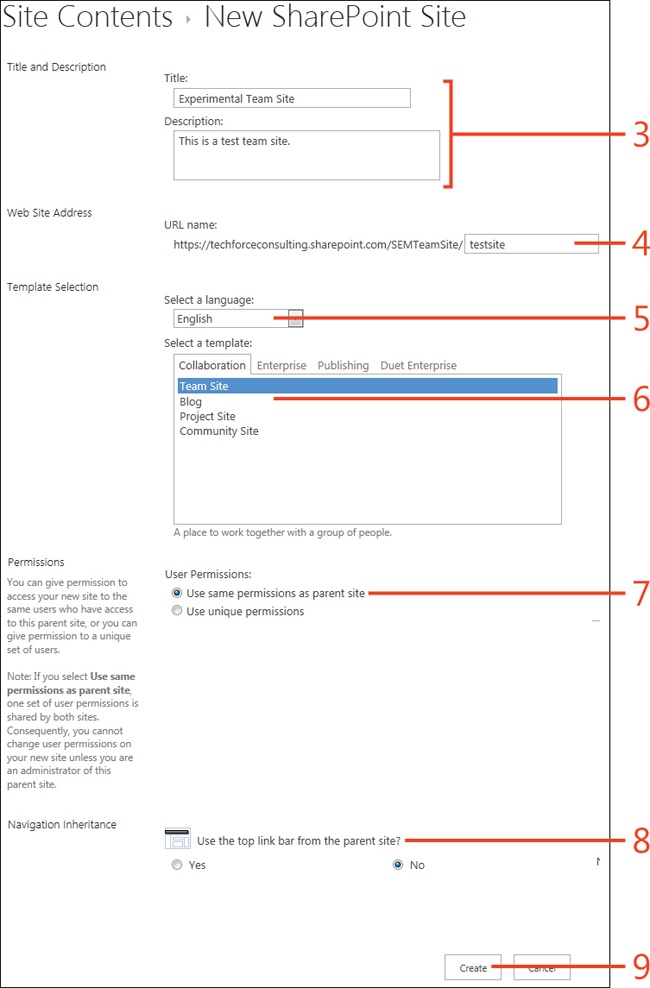
On the New SharePoint Site page, enter a title and description for the site.
Enter a URL for the site, relative to the root site.
Choose a language for your site.
On the Collaboration tab, choose the Team Site template.
Choose user permissions for the site.
Select navigation options for the site.
Click Create.
Customizing the interface
The chances are good that when you start to use your SharePoint site, you will want to customize a few things to meet the needs of your team. SharePoint 2013 supports a number of out-of-the-box formatting options (as well as supporting personalization for each option). Using these options, you can set up your site to match your corporate or departmental colors, change layouts, or simply change fonts and logos to your preference.
Customize the look and feel of your site
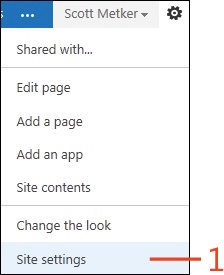
On the Home page of your site, click the Settings button (the small gear icon next to the name of the logged-on user). On the menu that appears, click Site Settings.
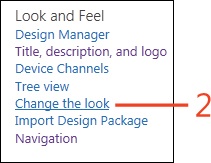
On the Site Settings page, in the Look And Feel section, click the Change The Look link.
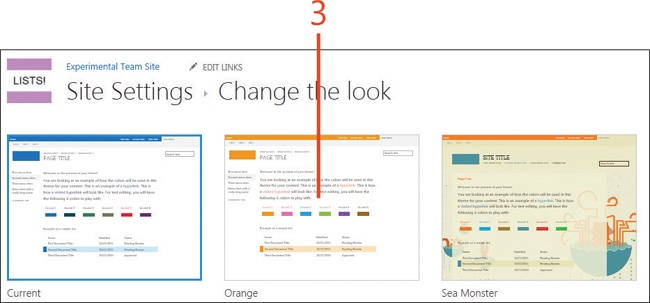
On the Change The Look page, click one of the displayed templates.
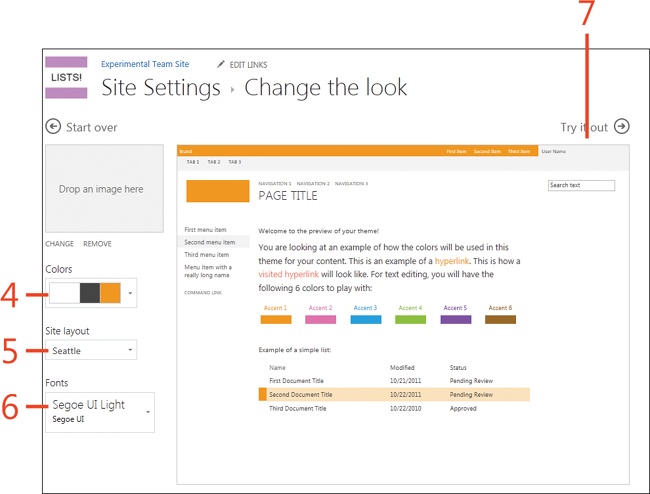
On the Change The Look page for the template you have selected, choose a different color scheme for the template, if you want.
Select a non-default site layout for the template, if you want.
Select a non-default font for the template, if you want.
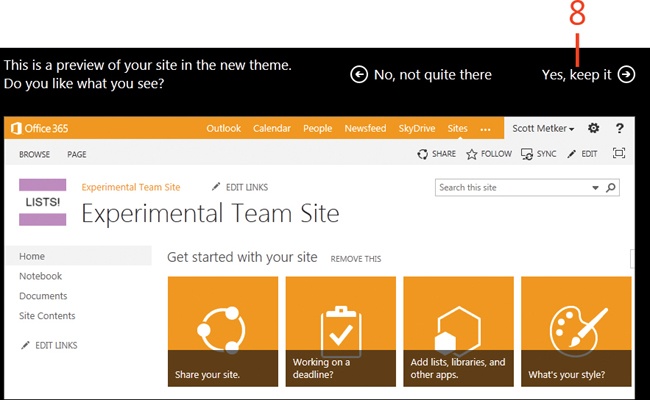
Click Try It Out.
Click Yes, Keep It to save your changes.
Using the Office Store
Microsoft has incorporated a new application development model in SharePoint 2013 called the SharePoint app. Certainly, we’ve all become familiar with the phrase, “There’s an app for that.” Well, now SharePoint can say the same. These self-contained web applications can come out of the box or be downloaded from Microsoft’s Office Store. Apps provide users with a way to take advantage of existing applications that others have already built rather than building them from scratch. Lists and libraries are apps as well as other useful mini programs.
Perhaps you want to highlight a “Tip of the Day” section on your SharePoint site or implement a Timesheet in which employees can enter their project hours. You can download these apps from the Office Store for free instead of hiring a developer to design and implement it!
Add an app on SharePoint
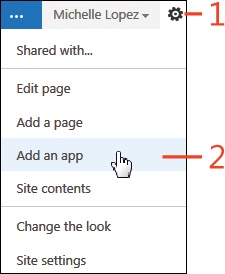
In the upper-right corner of the window, click the Settings button (the small gear icon next to the name of the logged-on user).
On the menu that appears, click Add An App.
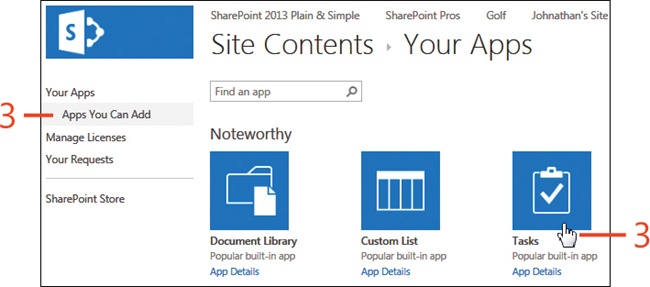
On the Your Apps page, click the app that you want to add to your site.
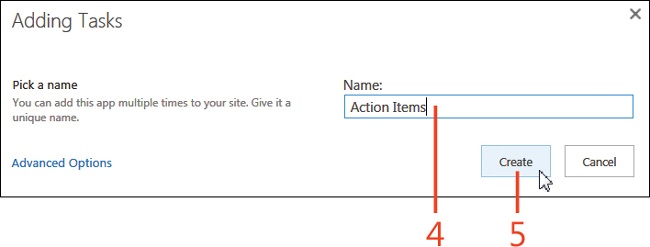
In the Adding Tasks dialog box, enter a name for the new app.
Click Create.
Creating an asset library
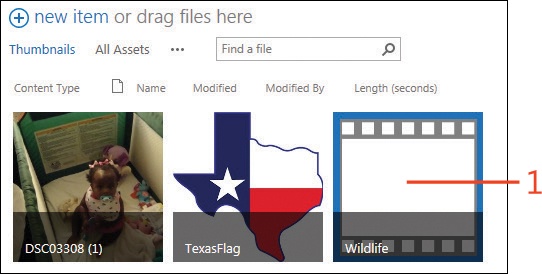
An asset library is a SharePoint 2013 app that has been optimized for the storage of digital assets. These assets can include audio, images, and video. The default view for this library presents the assets as thumbnails.
One of the optimizations implemented out of the box is the library’s ability to recognize extended metadata information contained with the media, such as author, date taken, people present in the image, resolution of the camera, and comments. The library also has the ability to generate and display a thumbnail image.
Create an asset library
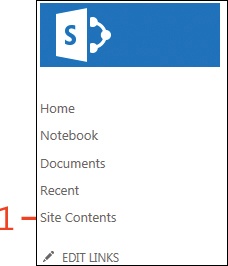
On the Quick Launch bar, click the Site Contents link.
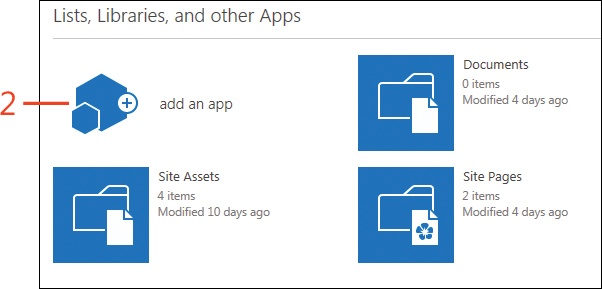
On the Site Contents page, in the List, libraries And Other Apps section, click the Add An App icon.
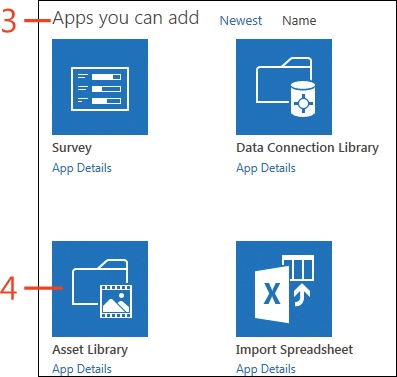
On the Your Apps page, scroll to the Apps You Can Add section.
Select the Assets Library icon.
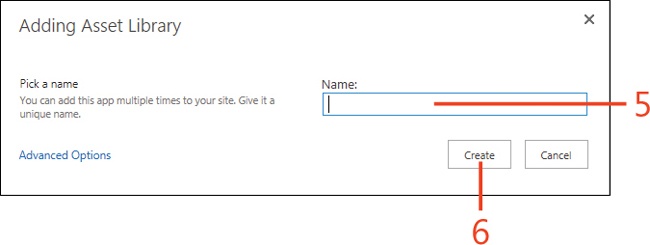
In the Adding Asset Library dialog box, enter a name for the library.
Click the Create button.
Adding a thumbnail to a video
The asset library has several new features when it comes to working with video files. In the past, you only had the ability to upload a file with an out-of-the-box configuration of SharePoint. Within SharePoint 2013, however, you can also select a frame, an image from your computer, or a web address to use as a thumbnail image for the video. You can also associate related content to a video file. This could be a separate document located in a different library such as a workbook.
Add a thumbnail to a video
In the asset library, select the video file with which you want to work.
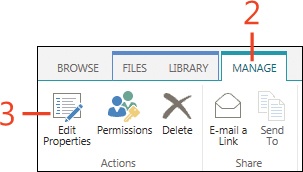
On the ribbon, click the Manage tab.
In the Actions group, click the Edit Properties button.
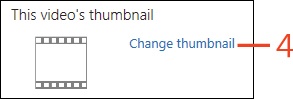
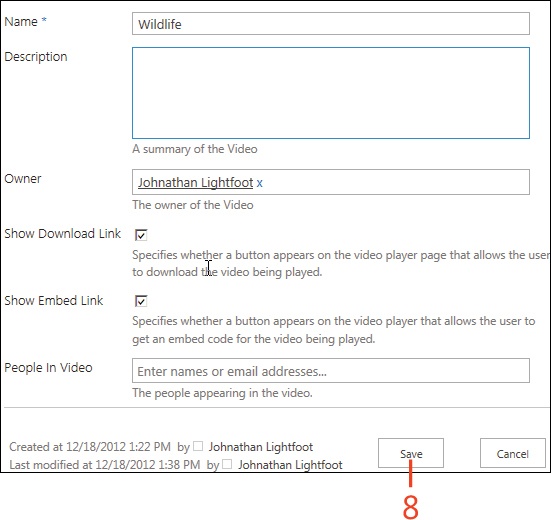
In the Edit Properties dialog box, click the Change Thumbnail link.
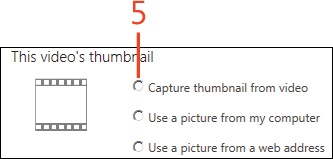
From the three options that appears, click the Capture Thumbnail From Video option.
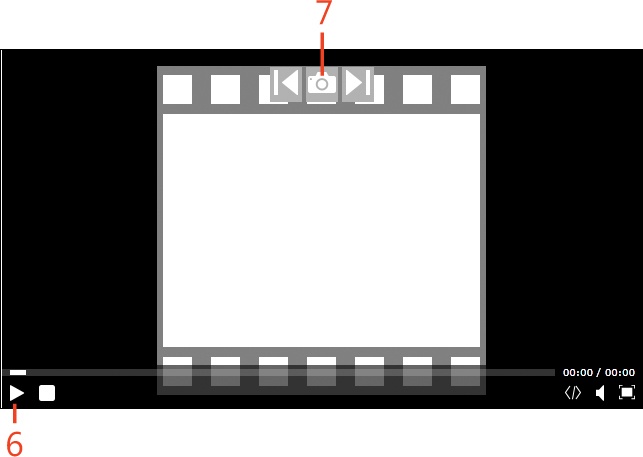
In the Video window that opens, click the Play button.
Click the Camera icon to capture the image.
Click the Save button.
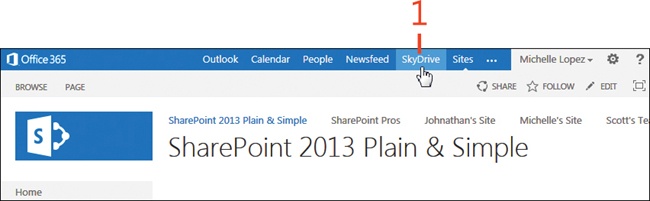
Using SkyDrive Pro
In previous versions of the SharePoint platform there was a feature called Workspaces (or if you are familiar with using the MOSS 2007 version of the platform, it was referred to as Groove). For the SharePoint 2013 platform, Workspaces has been replaced with SkyDrive Pro. Workspaces (or Groove) was a feature that a team could use to share documents on which they were collaborating.
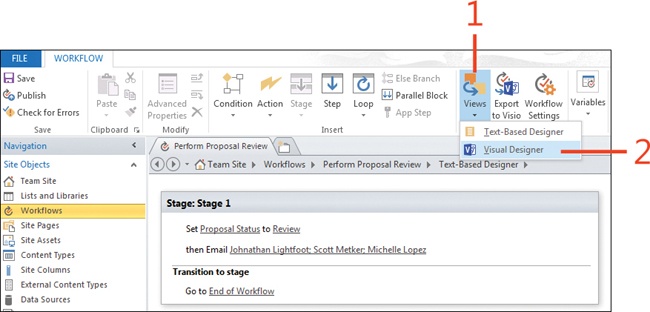
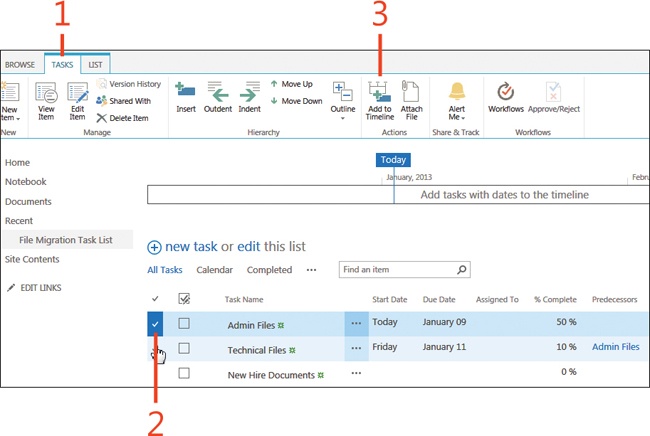
Using the timeline feature for tasks
The graphic timeline view makes it possible for you to see your task dates at a glance.
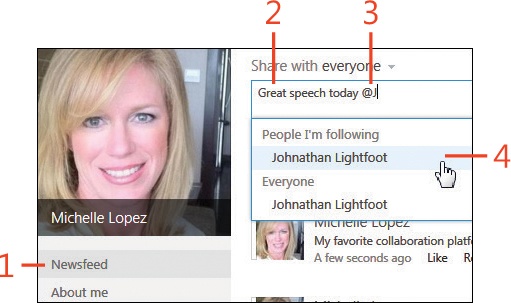
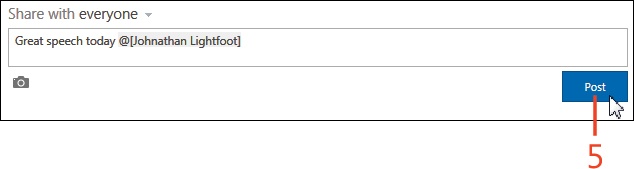
Mentioning a colleague feature
Many times, when updating the status on your Newsfeed or replying to a Blog Post, you’ll reference a colleague’s name. Mentioning someone in SharePoint 2013 draws attention to others and alerts those people that you’ve mentioned them. Newsfeeds will also be updated across the community that someone they’re following has been mentioned.
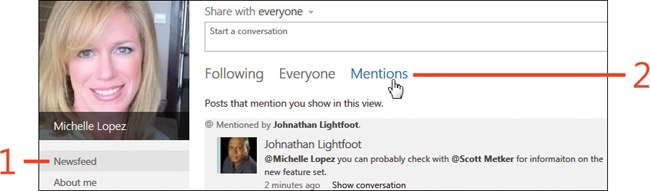
Similarly, when people in your organization mention you in a post, you might want to know that it occurred. If your Newsfeed settings include the option to automatically receive an email when anyone mentions you in a post, you’ll be notified in your Inbox. You can also view a history of all posts in which you’ve been mentioned.
Select a colleague’s name
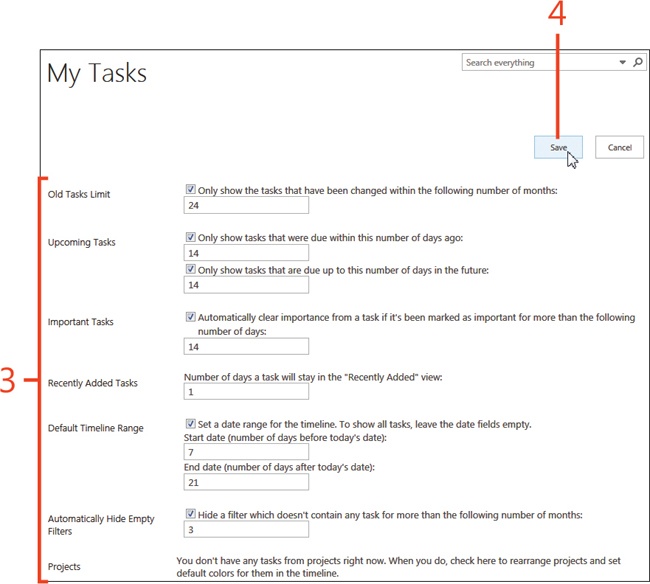
Expanding My Tasks settings
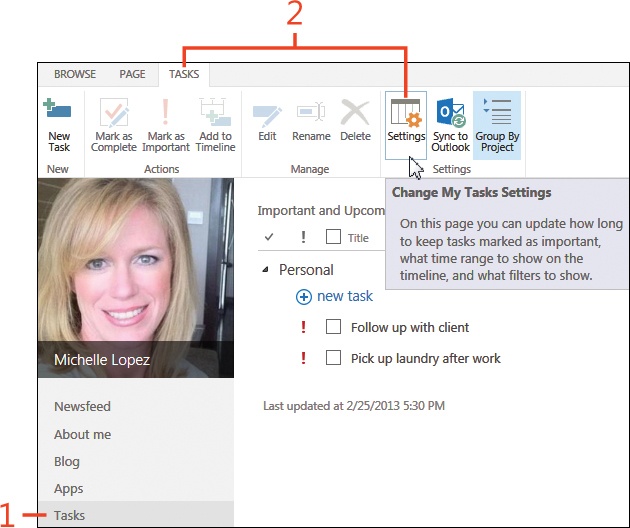
After the tasks assigned to you are in one centralized location on your My Tasks page, you can adjust the view options to suit your needs. You might want to view only tasks that have been edited in the last year, or revise the Tasks default timeline range. You can also choose which projects or task lists to include on your page, and synchronize your Tasks with Microsoft Outlook.
Adjust the My Tasks page view
On your About Me page, click Tasks.
On the ribbon, click the Tasks tab and then, in the Settings group, click Settings.
On the My Tasks settings page, update any of the following options: Old Tasks Limit, Upcoming Tasks, Important Tasks, Recently Added Tasks, Default Timeline Range, Automatically Hide Empty Filters, Projects.
Click the Save button.
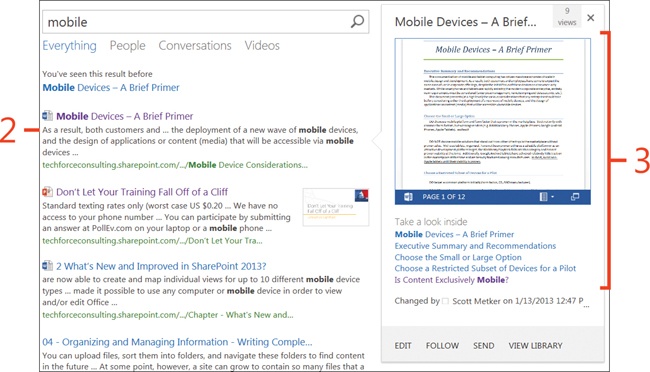
Previewing search documents
SharePoint 2013 offers a number of preview options within the search results view. For example, users can quickly preview Microsoft Office documents via the Office Web Apps integration. The same is true for video results.
These features are particularly useful when you are trying to scroll through a number of potentially relevant search results. Integrated preview makes it possible for you to quickly glance at a document or video and determine if you need to investigate further without opening or downloading the full version of the document.

Using the Community Site template
This feature is available to Office 365 and SharePoint Server 2013 editions. It has been included due to its expected popularity and usage. If you are not using Office 365 or SharePoint Server 2013 this section does not apply. If you have a collection of similar Community Sites that are managed by the same group of people, or if you don’t have administrative access to create site collections, you can also create a discussion site as a subsite.
Create a discussion site as a subsite
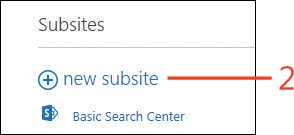
On the root site that will contain your community subsite, click the Settings button (the small gear icon next to the name of the logged-on user). On the menu that appears, click Site Contents.
On the Site Contents page, in the Subsites section, select the New Subsite link.
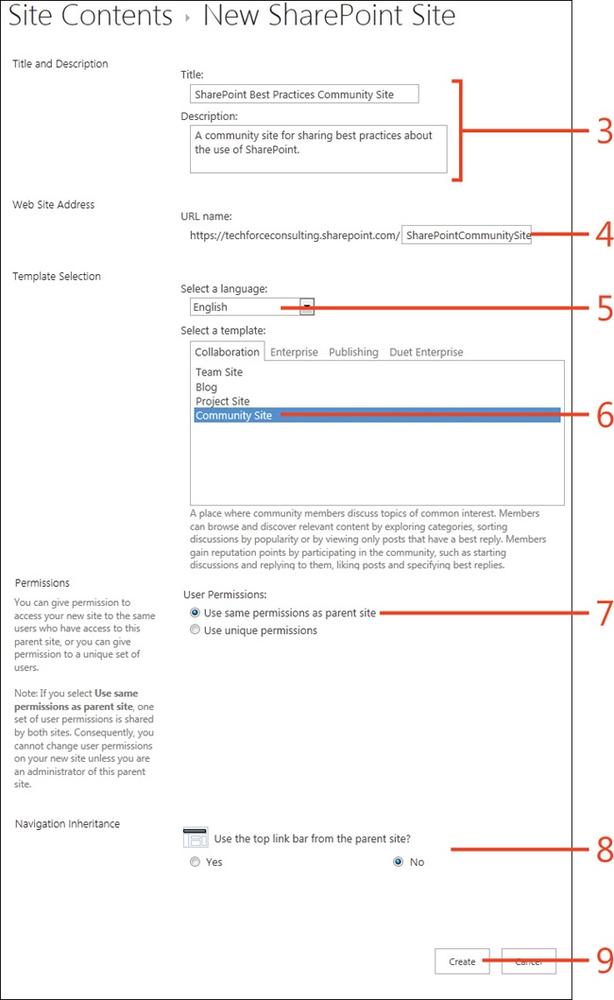
On the New SharePoint Site page, type a title and description for the site.
Enter a URL for the site, relative to the root site.
Choose a language for your site.
On the Collaboration tab, choose the Community Site template.
Choose user permissions for the site.
Select navigation options for the site.
Click Create.

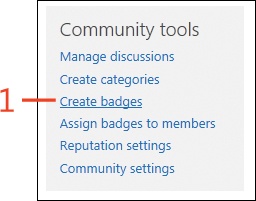
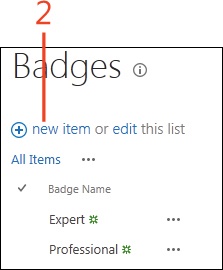
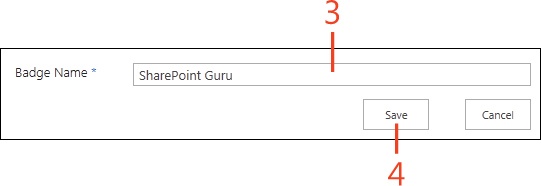
Creating badges
Badges are another new feature with SharePoint 2013. You can create new badges representing special achievements on your site that you or your moderators can award. Badges are a form of gamification, which refers to using game-style mechanics and awards in a non–game-playing scenario.
One such example is Microsoft’s own SharePoint MVP certification, which is granted to SharePoint pioneers within the Internet community, based upon the breadth and depth of their SharePoint support and evangelism.
Creating an eDiscovery Center
SharePoint 2013 introduces a new type of site: the eDiscovery Center. An eDiscovery Center is a single site that you can use to organize your discovery and legal-hold activities. You must have at least one eDiscovery Center created to work with legal holds and discovery queries. You can track one or many cases, which represent individual legal or regulatory actions.
The eDiscovery Site template is available to Office 365 and SharePoint Server 2013 editions. It has been included due to its expected popularity and usage. If you are not using Office 365 or SharePoint Server 2013 this section does not apply. In this task, we will walk through the process of using the eDiscovery Site template to create an initial eDiscovery Center in SharePoint 2013.
Create an eDiscovery Center
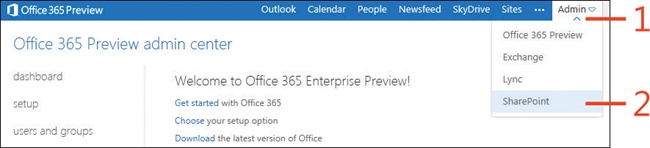
From the Admin Center for your Office 365 instance, at the right end of the toolbar, click the Admin menu.
On the menu that appears, click SharePoint.
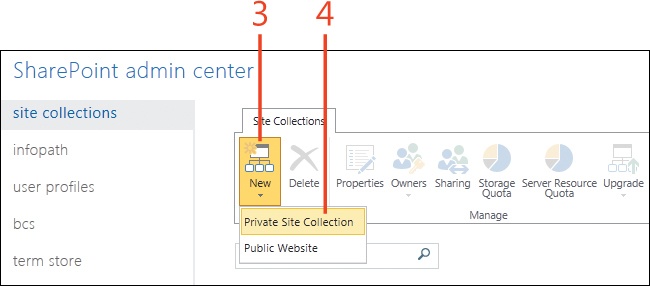
In the SharePoint Admin Center, on the ribbon, click the Site Collection tab, and then click New.
On the menu that appears, click Private Site Collection.
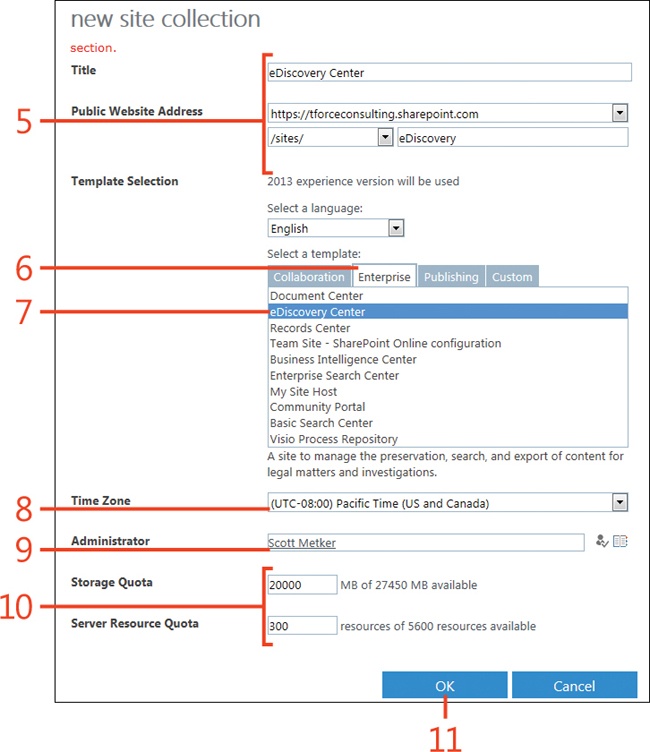
On the New Site Collection page, enter a title for the eDiscovery Center, a URL that will be used to access the site under your main URL, and a language for the new site.
Click the Enterprise tab.
Select eDiscovery Center.
Specify the appropriate Time Zone.
Choose the site administrator who will have administrator rights to the site.
Select your storage quota and server resource options.
Click OK.