Chapter 9. Using information management policies
With Microsoft SharePoint 2013 sites, groups of people can quickly consolidate a large number of files and content. Other sections in this book address methods of categorizing, organizing, and searching this information. Information management policies, however, give you the ability to apply regulatory rules to your content to control aspects such as data retention and disposal of data.
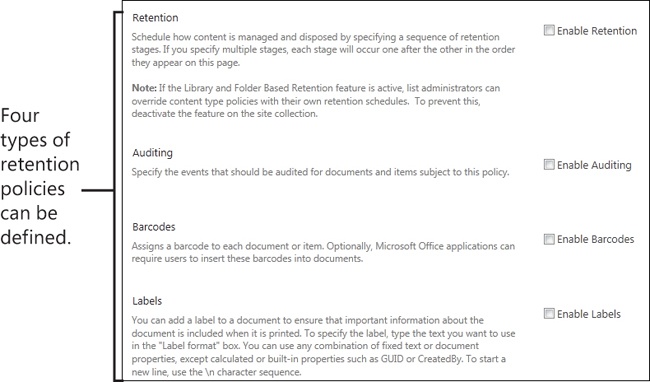
Information management policies are implemented via the application of rules (policies) that are applied to files to help regulate the usage of documents within your organization. Four main types of policies are included with SharePoint 2013: retention, auditing, document label, and document barcode. (The document label and document barcode policies have been deprecated in SharePoint 2013. For more information, see Introduction to information management policies on the next page.)
Information management policies are not typically needed for the casual user or by small groups of users with informal rules about how files are created, modified, or deleted. However, if you have corporate policies or industry regulatory guidelines that you must follow, information management policies can help.
Introduction to information management policies
Information management policies typically exist to enforce corporate or regulatory policies that apply to the management of content. For example, your company might require the storage of an audit trail listing all users who have ever viewed a particular document. It is important to understand that information management policies have different mechanisms of action. For example, some policies might prevent a user from removing a file, or they might simply log that a user has deleted a file.
Information management policies can be applied across an entire site to a particular content type, or they can be limited to documents within a single library or folder. Unlike other changes to content types or site columns, policies defined at the site-collection level can override any changes at a lower level.
Caution
Document label and barcode policies have been deprecated in SharePoint 2013. It is recommended that you do not use these features if they are made available within your implementation of SharePoint 2013.
Note that some of the information management policies available in Microsoft SharePoint 2013 appear primarily to support previous versions and are not recommended for use in the 2013 version. This includes the document label policies and document barcode policies.
Types of information management policies
The following list provides a brief overview of the four main types of information management policies:
Retention policies are configured to automatically perform document operations after a particular threshold (typically a date calculation) has been passed. They are used to manage the retention of documents and can be used to ensure that documents meeting designated rules are not deleted from the system. Conversely, these can also force the review or deletion of documents that are too old or have not been recently updated.
Auditing policies are used to write document activity to a centralized log. They ensure that certain types of document-related activities, such as viewing, editing, or deleting, are recorded permanently. These policies log user activity rather than restrict user actions.
Document label policies can be used to force users to add labels to Microsoft Office–based documents that include basic document data such as approval dates or document version number. This label can be displayed, for example, in the header or footer of the document.
Document barcode policies operate in a similar fashion as labels, but they use Office to inject a barcode to uniquely identify the document.
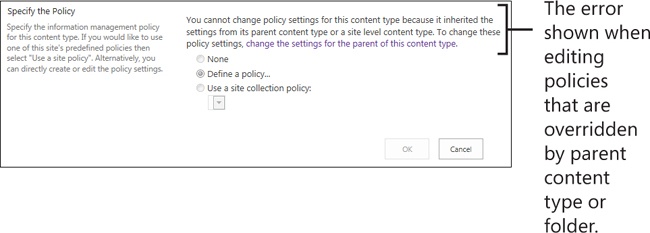
Information management policy inheritance
Information management policies in SharePoint 2013 can be inherited, either from parent content types or from parent folders (if applied to a list). In both cases, it is possible that you will be unable to make any changes to a policy because your site administrator has already made a change at a higher level. In either case, you will either need to remove or edit the policy at the parent object level or talk with your administrator about the best approach to take.
Accessing site content type information management policies
You can view the information management policies that are associated with your root (topmost) site content types. This can help you decide whether there are existing policies in place that will change how you use content types within your lists.
Access site content information management policies
In the upper-right corner of the window, click the Settings icon (the small gear graphic) and then, on the menu that appears, click Site Settings.
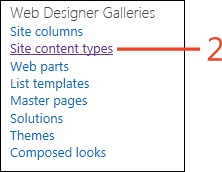
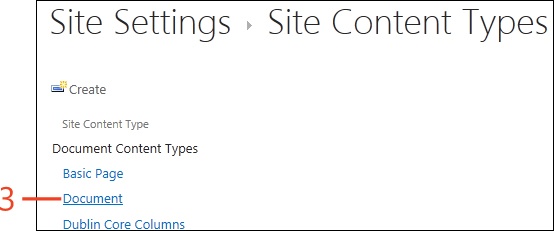
On the Site Settings page, in the Web Designer Galleries section, click Site Content Types.
Click the name of the site content type that you want to access.
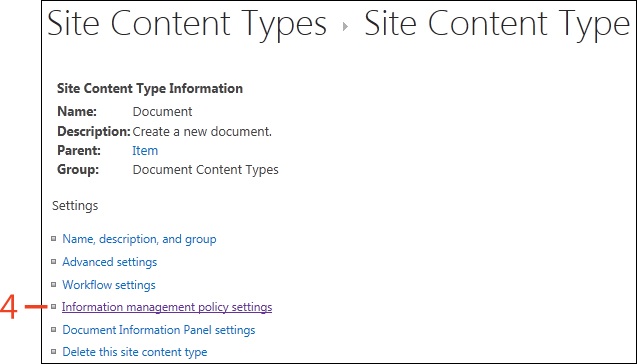
Click Information Management Policy Settings.

Accessing list information management policies
In the same way that you can manage information management policies for site content types, you can also access information management policies for a particular SharePoint 2013 list or folder. The difference with this approach is that the policies on a single document library or folder are not used elsewhere on the site and will not impact other users.
When you access information management policy settings at the library level, you have the option to apply retention schedules to all documents in the library rather than to specific content types. Also, information policy settings at the site content type level can be configured to override your local settings. In this case, you will receive a warning noting that you cannot change the settings locally.
Access library-based information management policies
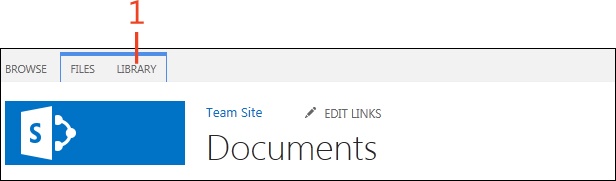
In a document library, on the ribbon, click the Library tab.
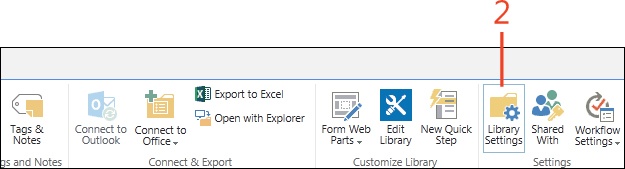
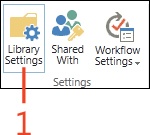
In the settings group, click the Library Settings button.
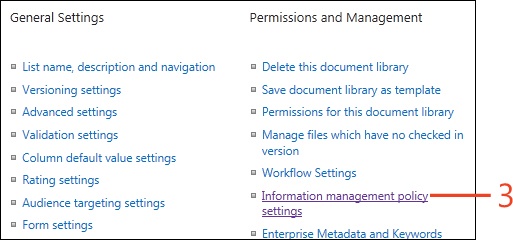
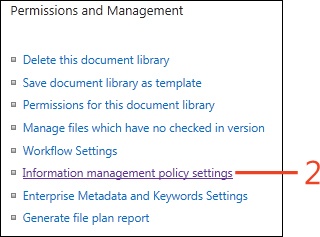
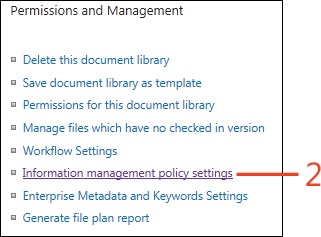
On the Settings page, in the Permissions And Management section, click Information Management Policy Settings.
Creating content type retention policies on a library
Retention policies cover both the automated retention and expiration of documents. One simple retention policy would be to automatically remove documents from a library that have not been modified in a very long time or to remove previous drafts (older versions) of a document after a period of time.
Content type retention policies can be defined site-wide, or they can be defined within a single library. The steps below cover adding a content type policy to a library.
Create a content type retention policy on a library
In a document library, on the ribbon, click the Library tab and then, in the Settings group, click Library Settings.
On the Library Settings page, in the Permissions And Management section, click the Information Management Policy Settings link.
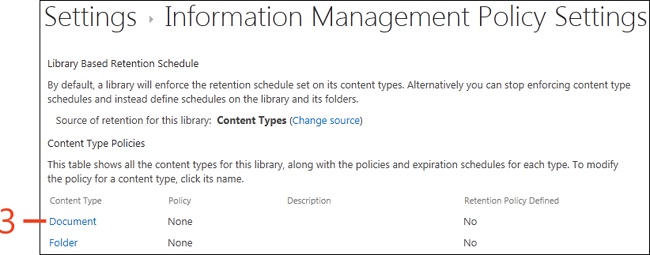
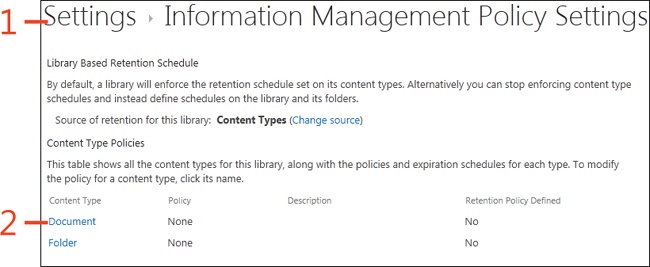
On the Information Management Policy Settings page, in the Content Type Policies section, click one of the content types.
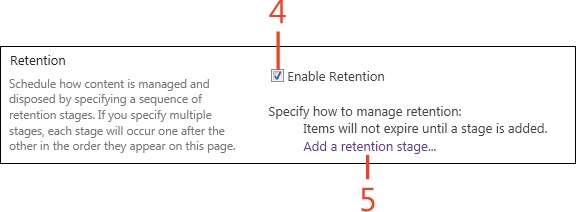
In the Retention section, select the Enable Retention check box.
Click the Add A Retention Stage link.
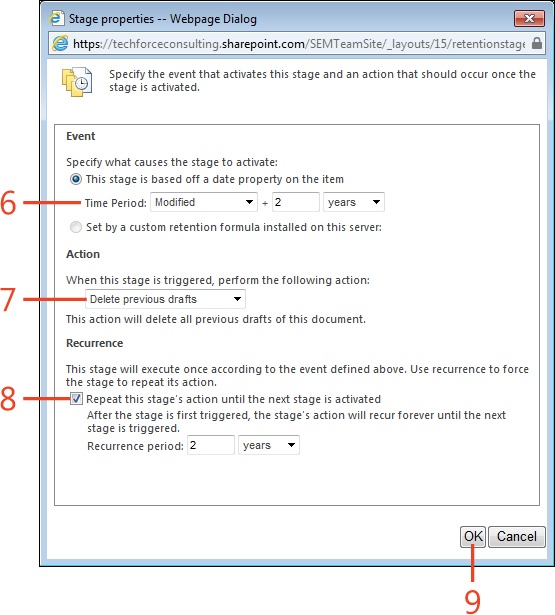
In the Stage Properties dialog box, in the Event section, choose a date field and duration after which the retention policy is executed.
In the Action section, choose an action to apply when the stage is executed.
In the Recurrence section, choose whether to repeat the stage and duration after which to repeat it.
Click OK.

Setting library or folder-based retention schedules
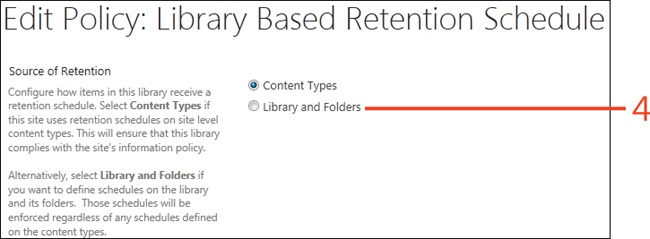
When setting retention policies at the library level in SharePoint 2013, you have two options: setting the retention policy on specific content types used within the library or setting the policy on all documents in the library. By setting content type–specific retention policies, you can use different retention policies with the same library (based on the content type of each file). You can use list retention policies for libraries where content types are not enabled or in libraries where you want the same retention policy applied to all documents.
Set library and folder retention policy source
In a document library, on the ribbon, click the Library tab and then, in the Settings group, click Library Settings.
On the Library Settings page, in the Permissions And Management section, click the Information Management Policy Settings link.
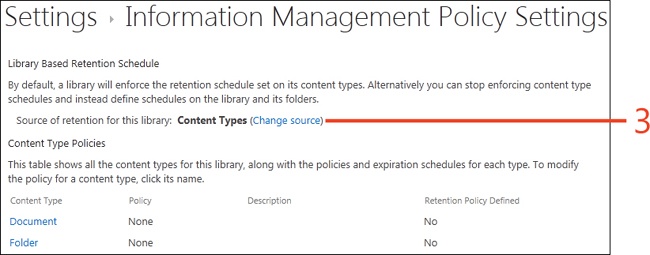
On the Information Management Policy Settings page, in the Library Based Retention Schedule section, click the Change Source link.
On the Library Based Retention Schedule page, in the Source Of Retention section, click Libraries And Folders.
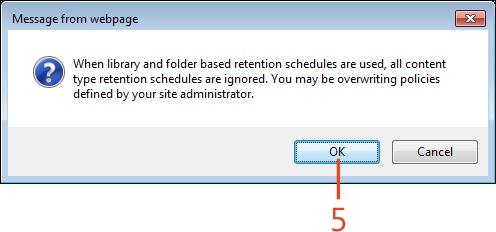
In the pop-up message box that appears, click OK.
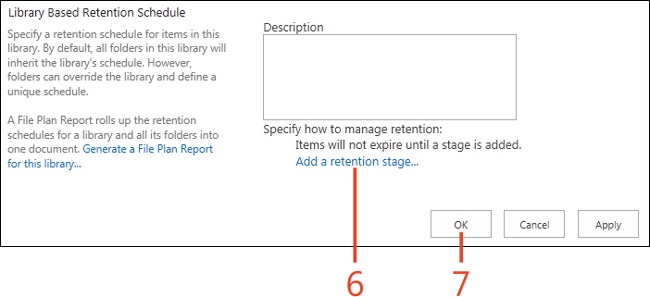
On the Library Retention Stage Configuration page, click Add A Retention Stage to add one or more stages.
Click OK.
Creating auditing policies
Auditing policies can be applied to site content types across the entire site collection to ensure that you monitor all files, regardless of where they are used within your site. Alternatively, they can be added only to a single library; however, you will still need to select specific content types to monitor within the library.
Create an audit policy on a site content type
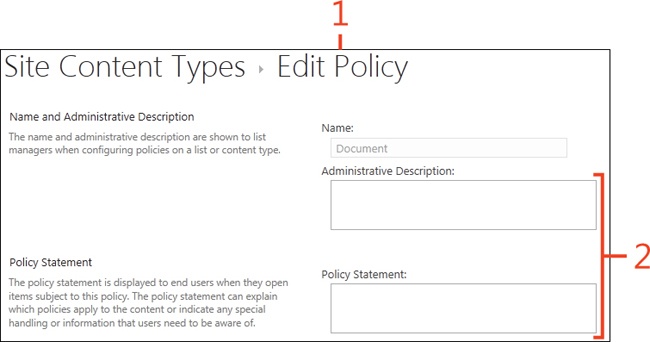
Access the Site Content Types – Edit Policy page on a site content type that you want to monitor.
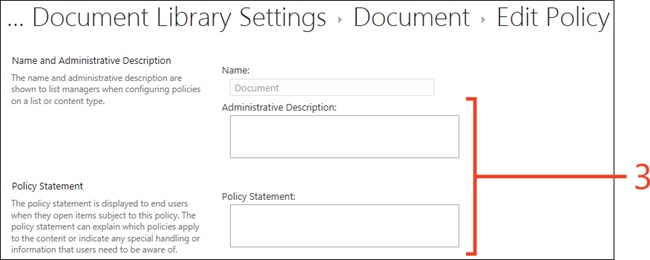
Enter descriptive text in the Administrative Description and Policy Statement text boxes.
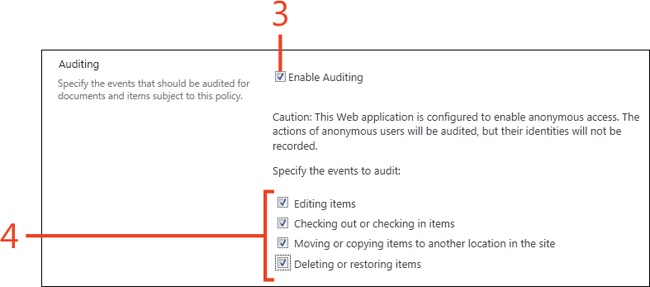
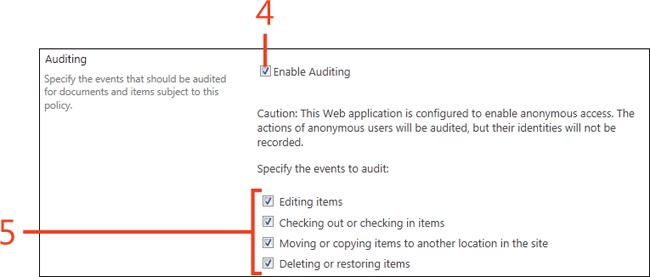
Scroll down and select the Enable Auditing check box.
Select the events that you want to audit.
Click OK to save your changes.
Tip
When adding or editing policies, use the Administrative Description and Policy Statement text boxes to describe the policy and provide informative text that can be displayed for users when they edit files. Remember, you will have more success and user adoption when users understand the reasons certain policies have been enacted.
See Also
For information about accessing information management policies on a site content type, see Accessing site content type information management policies.
Create an audit policy within a list or library
Access the Information Management Policies Settings page for the library that you want to monitor.
Select a content type used within the library that you want to monitor.
On the Edit Policy page, enter descriptive text in the Administrative Description and Policy Statement text boxes.
Scroll down and select the Enable Auditing check box.
Select the events that you want to audit.
Click OK to save your changes.

See Also
For information about accessing information management policies on a list or library, see Accessing list information management policies.
Viewing an audit report
When auditing is configured on a site or library, these events are captured by SharePoint 2013 and can be inspected by anyone with access to the site collection settings. The reports are written to Microsoft Excel–formatted files that contain summary and detail tabs showing the detailed metrics on file accesses and changes.
View an audit report
In the upper-right corner of the window, click the Settings icon, and then, on the menu that appears, click Site Settings.
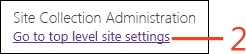
On the Site Settings page, in the Site Collection Administration section, click the Go To Top Level Site Settings link. If you are already at the top site, skip this step.
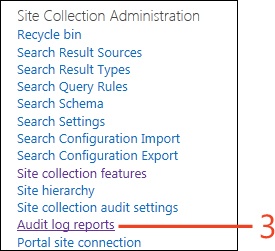
Click the Audit Log Reports link.
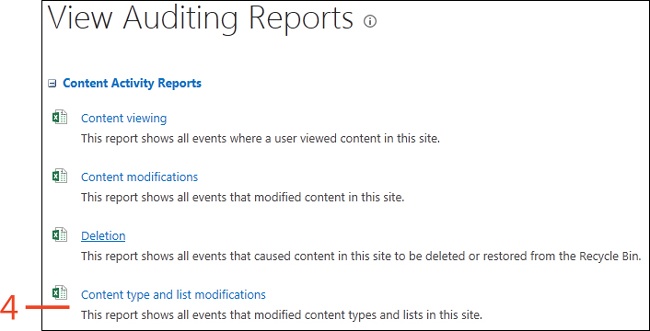
On the View Auditing Reports page, select a report to run.
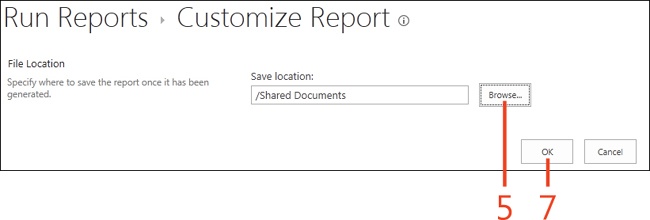
Click Browse to specify a location to which to save the report.
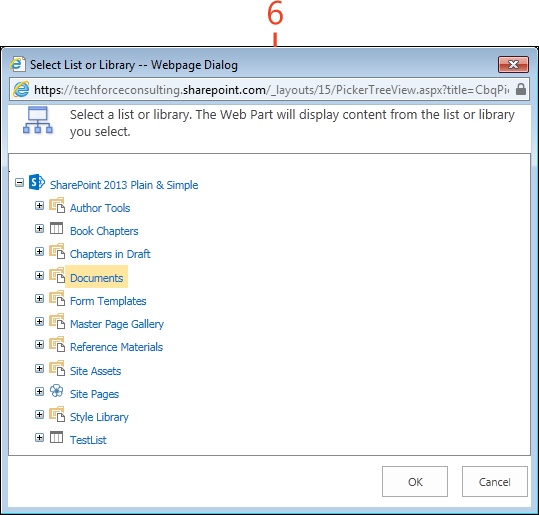
In the Select List Or Library dialog box, choose a location to which to save the report and click OK.
Back on the Run Reports page, click OK.
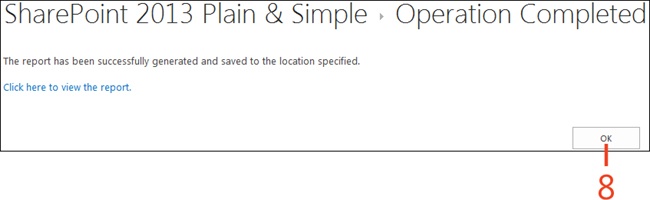
After the report completes, use the Click Here To View The Report link to open the report.

Tip
If the report finds no audit data, an error message will be displayed instead of the report link.
Caution
Do not rely on the document label or barcode features, even if they are available in your implementation, because the rules are inconsistently applied depending on which authoring tool you are using. For example, the web-based online Office applications do not support this feature and will not force (or even allow) users to generate labels or barcodes.