
Planning a VPN Implementation
VPNs create a secure data link with a branch office, remote employee, business partner, or customer that will enable or require server access behind a firewall. VPNs can provide a secure and encrypted data stream between a firewall and a remote client or server.
This section provides the general installation and configuration steps for a permanent site-to-site VPN tunnel using OpenVPN, an open-source VPN for Windows, Linux, and other OSs.
OpenVPN supports preshared secret key encryption via Static Key mode or SSL/TLS security with client and server certificates. Nonencrypted tunnels using TCP or User Datagram Protocol (UDP) through proxies or NAT are also supported. For flexibility, OpenVPN works with the TUN/TAP virtual networking interface that most platforms support. TUN is short for TUNnel, and TAP stands for network TAP, both of which are virtual network kernel devices.
Before you attempt this VPN installation, keep the following in mind:
- The IPSec protocol on which VPNs are based will not tolerate network address translation (NAT) of its data packets. If your firewall does NAT, then you will have to disable it specifically for the packets that will traverse the VPN.
- The networks at both ends of the VPN tunnel must use different IP address ranges. For example, the organization’s internal network may be using an IP address range of 192.168.0.1 to 192.168.0.254. The other network must use a different address range, such as 192.168.1.1 through 192.168.1.254. To avoid confusion, you may want to use completely different private address ranges for each network, such as 172.16.y.z. or 10.x.y.z.
- Permanent site-to-site VPNs require firewalls at both ends that use static IP addresses.
FIGURE 12-3 depicts a sample topology diagram of a VPN between two environments.
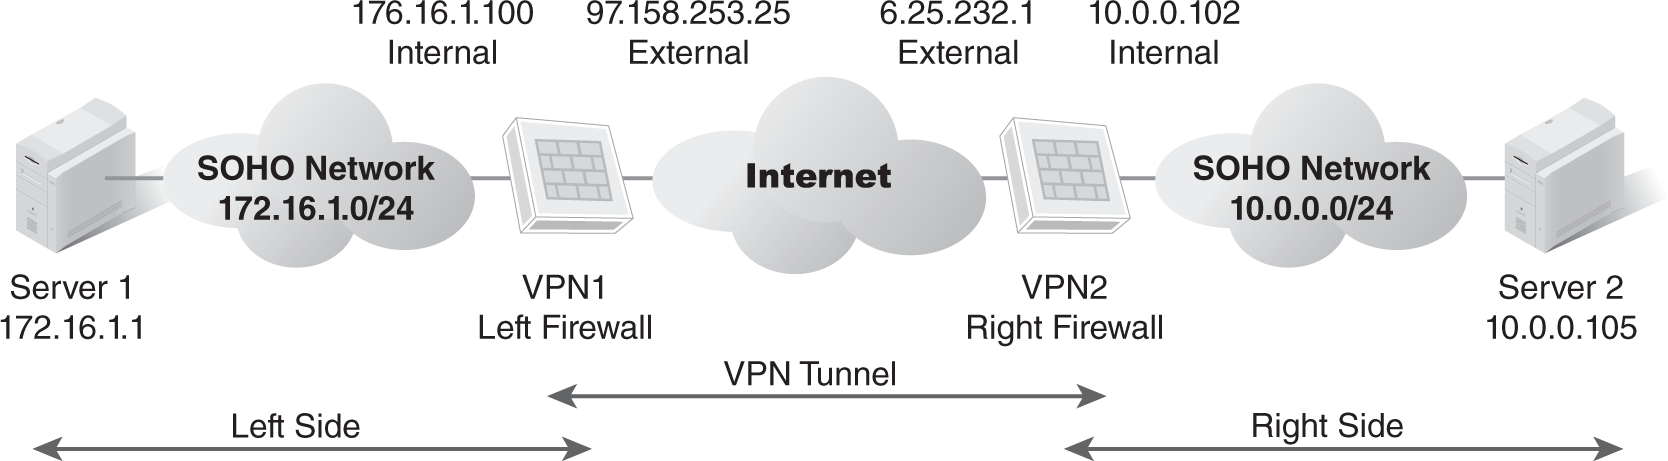
FIGURE 12-3 Sample VPN topology diagram.
Download and Verify Installation Files
Download the Windows installer .exe file from the OpenVPN Community Downloads site at https://openvpn.net/community-downloads/. Because installation file packages are signed with a GPG key, you must perform signature verification before installing the software. Download the signature file from the Downloads page to the same folder as the installer file, and then verify the signature file.
Installation Tips
You must install the software on at least two computers or virtual machines—one for the server and one for the client. Installing the Windows version of OpenVPN is simple—just double-click the installer .exe file and follow the prompts. On the Choose Components installation screen shown in FIGURE 12-4, leave the default components selected and click Next. After a few more screens, click Finish.
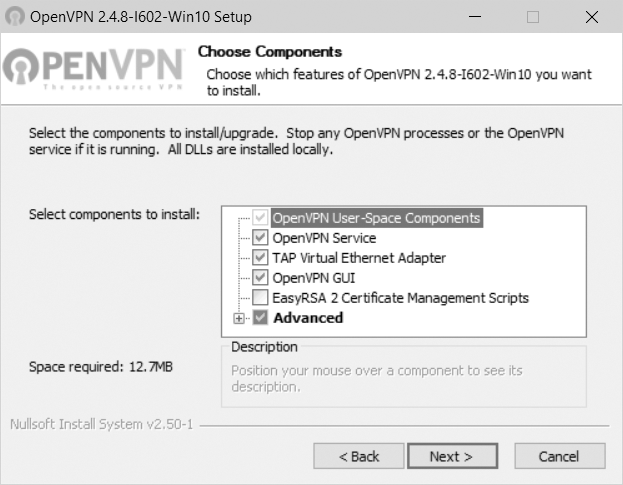
FIGURE 12-4 Choose Components installation screen in OpenVPN.
Courtesy of OpenVPN.
Once you finish installing files, you need to modify the sample configuration files, copy key/certificate files to the appropriate location, and then test your new installation.
 NOTE
NOTE
These instructions use Windows as an example. You can get details on Linux installation from the OpenVPN website.
Configuring OpenVPN
OpenVPN typically requires a configuration file and key/certificate files, which you should gather and copy to OpenVPN’s configuration directory at Program FilesOpenVPNconfig. However, a simple VPN with a single server and client can use a Static Key setup (secret key) rather than create a public key infrastructure (PKI) with key pairs and certificates. One caveat with the Static Key setup is that the secret key must be exchanged using a secure channel outside of the VPN. Consult OpenVPN’s installation guide for additional information on Static Key and PKI requirements.
OpenVPN provides sample configuration files in the Program FilesOpenVPNsample-config folder. Copy the client.opvn (FIGURE 12-5) or server.opvn (FIGURE 12-6) file to the OpenVPNconfig folder, depending on whether you are configuring the client or server. To edit a file, double-click it to open it in Notepad.
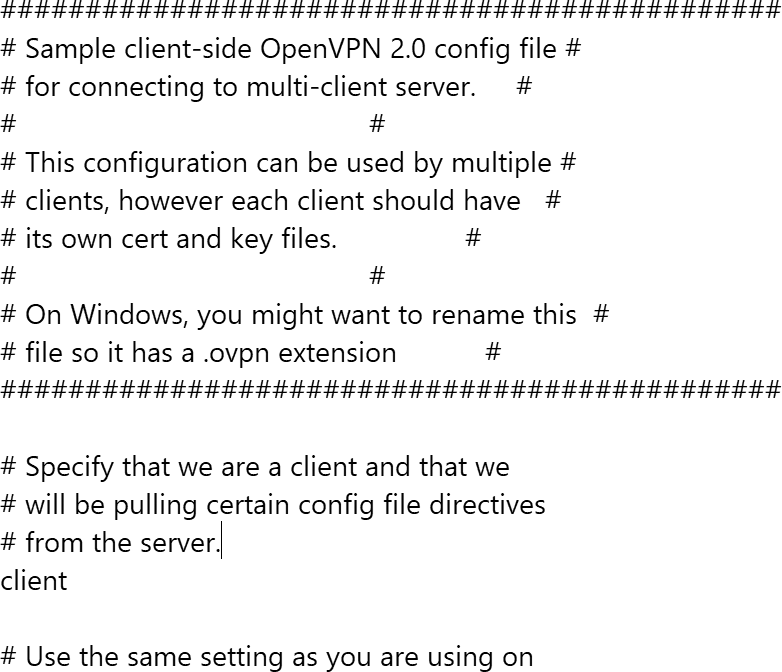
FIGURE 12-5 A portion of the client.opvn sample file in OpenVPN.
© OpenVPN Inc.
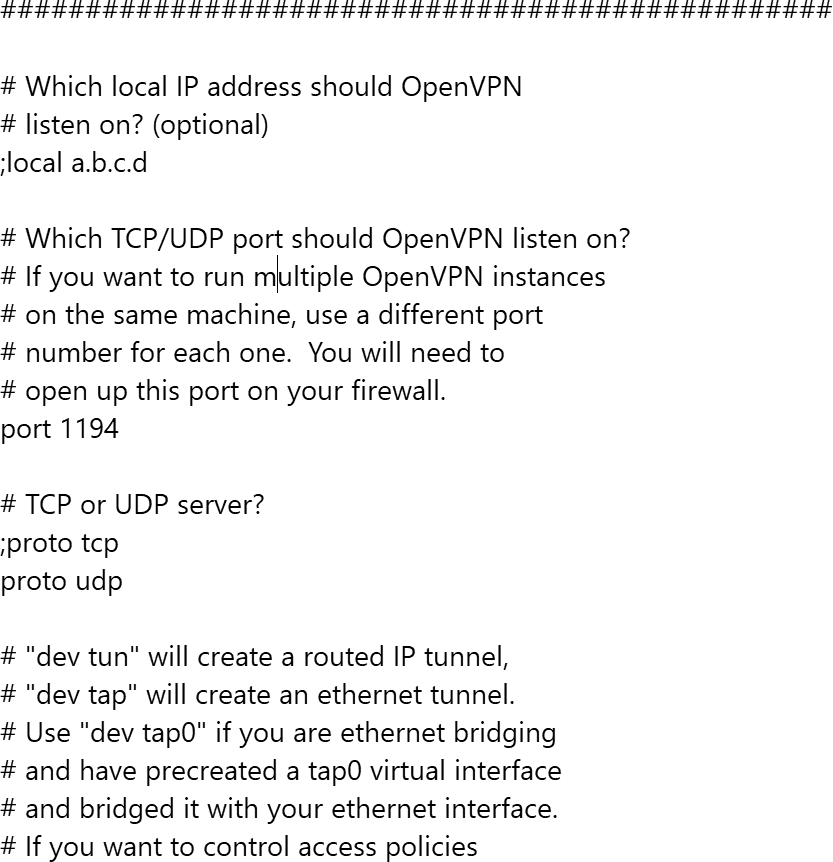
FIGURE 12-6 A portion of the server.opvn sample file in OpenVPN.
© OpenVPN Inc.
Contents of each configuration file include comments that guide you as to which items need to be modified. Directives or attributes preceded by a semicolon are ignored; removing the semicolon allows the directive or attribute to be read and acted upon.
In the server configuration file, edit the ca, cert, and key parameters to point to your PKI files if you decided to use that method. Also edit the remotedirective parameter to point to the hostname/IP address and port number of the OpenVPN server.
Ensure that parameters in the client configuration file match those in the server configuration file, such as dev (tun or tap) and proto (udp or tcp). Also ensure that the client configuration file points to the domain name or public IP address of the server.
In addition, ensure that UDP port 1194 is open on the server. The virtual TUN interface cannot be blocked on either the client or server. This interface might be named Local Area Connection n unless you rename it in Control Panel.
Running OpenVPN
At this point, OpenVPN is ready for use. To run OpenVPN:
- Right-click on an OpenVPN configuration file (.ovpn), and select Start OpenVPN from the pop-up menu.
- Issue the openvpn myconfig.ovpn command from a Windows command prompt.
You can also start OpenVPN as a service using Administrative Tools/Services in Control Panel.
Testing and Troubleshooting
To verify that the VPN is running, issue the ping command from the server and the client. For example, issue ping 10.8.0.2 from a server command prompt to attempt to reach the client, and ping 10.8.0.1 from the client to reach the server.
If this check fails, remember that firewalls can interfere with any VPN, so you should pay attention to your firewall settings. Remember to open UDP port 1194 on the firewall, or set up a port forward rule to forward UDP port 1194 from the firewall/gateway to the machine running the OpenVPN server. Also ensure that the TUN/TAP interface is not firewalled.
Many firewalls work well with OpenVPN. However, you might need to do the following:
- Create a name for the remote VPNs in the zones file.
- Describe which IPSec interface to use based on the names in the zone file.
- Describe how the networks named in the zones file interact in the policy file.
- Define the public IP address of the remote sites in the tunnels file.
For additional troubleshooting steps, consult the Troubleshooting section on the OpenVPN website.
OpenVPN Private Tunnel
Many SOHOs may not have the staff or skillset required to set up a VPN. However, surfing the Internet from home or over public Wi-Fi can be safer using a simple personal tunnel that encrypts the connection and makes your IP address anonymous. OpenVPN’s Private Tunnel product is one such option. Unlike the open-source OpenVPN, Private Tunnel is offered on a reasonably priced monthly subscription.
Once you sign up for a PrivateTunnel subscription and install the software, you choose a server in a region close to you and then connect to the service (FIGURE 12-7).
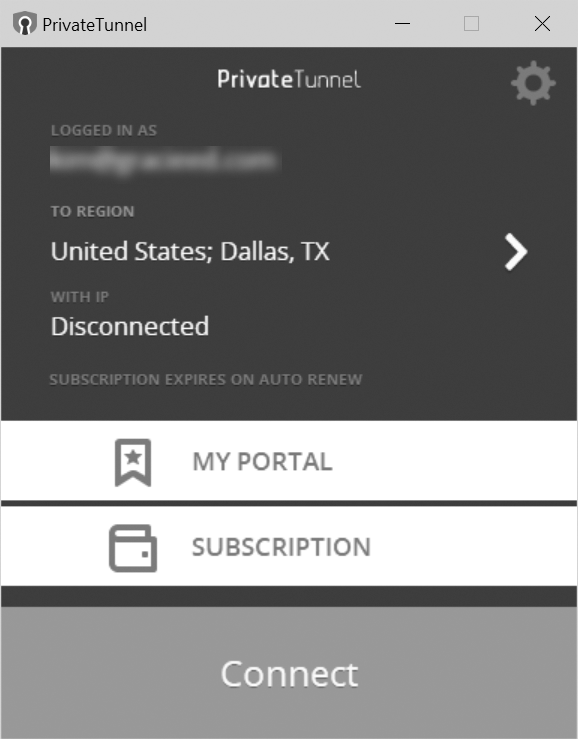
FIGURE 12-7 PrivateTunnel interface.
Courtesy of OpenVPN.
At this point you are connected to the Internet through Private Tunnel, which encrypts, hides, and protects your web browsing and network traffic. You can configure PrivateTunnel settings to launch automatically when Windows starts, or turn it on and off as needed.