
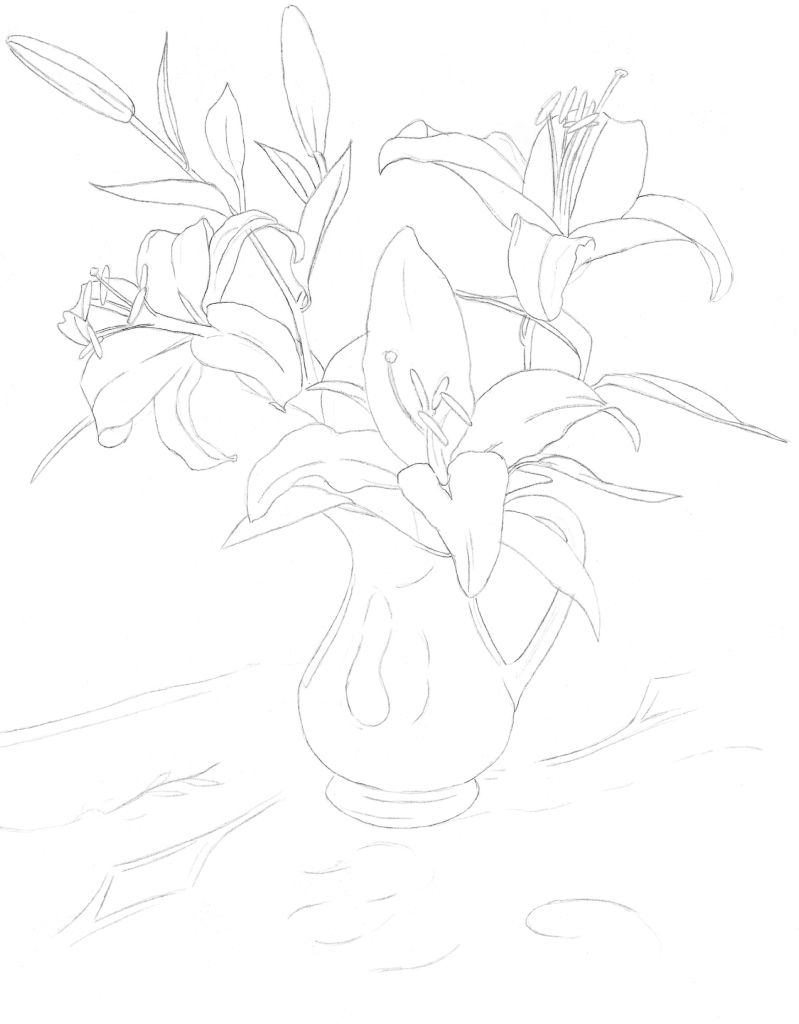
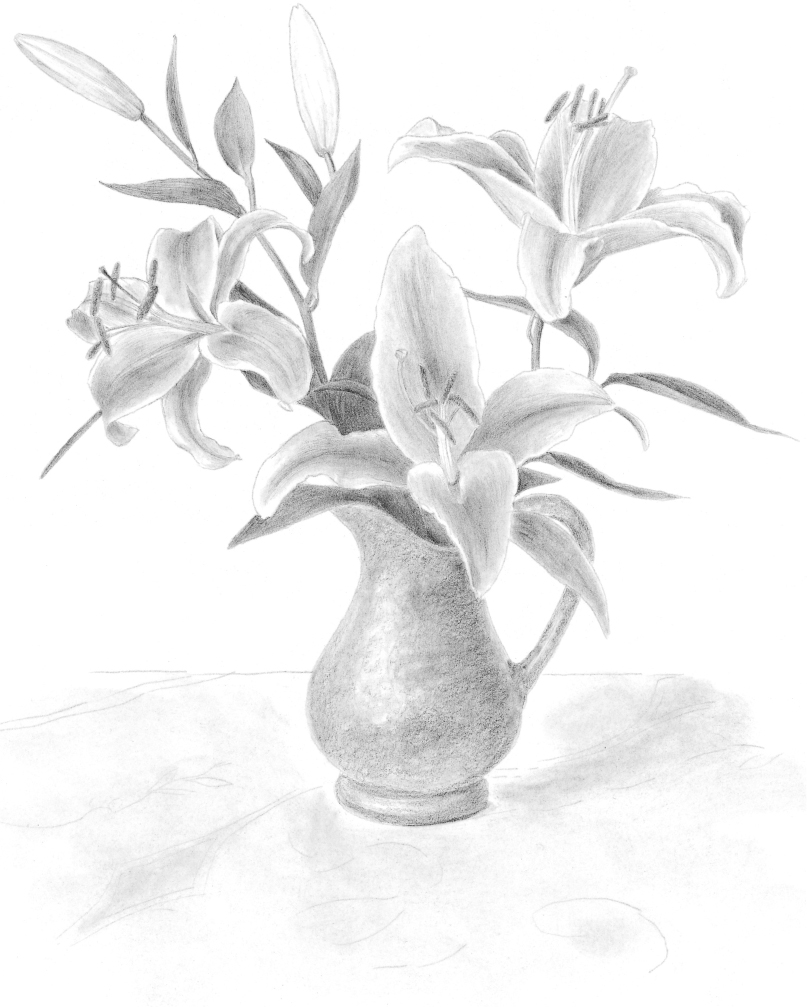
Step 1 I love the graceful, draping form of delicate tiger lilies and the interesting markings on their petals. For this composition, I contrasted the flowers with a heavy brass pitcher that I purchased in Italy, for an added benefit of including a pleasant memory in my drawing. First I draw an accurate outline with a sharp HB pencil on plate-finish Bristol paper.
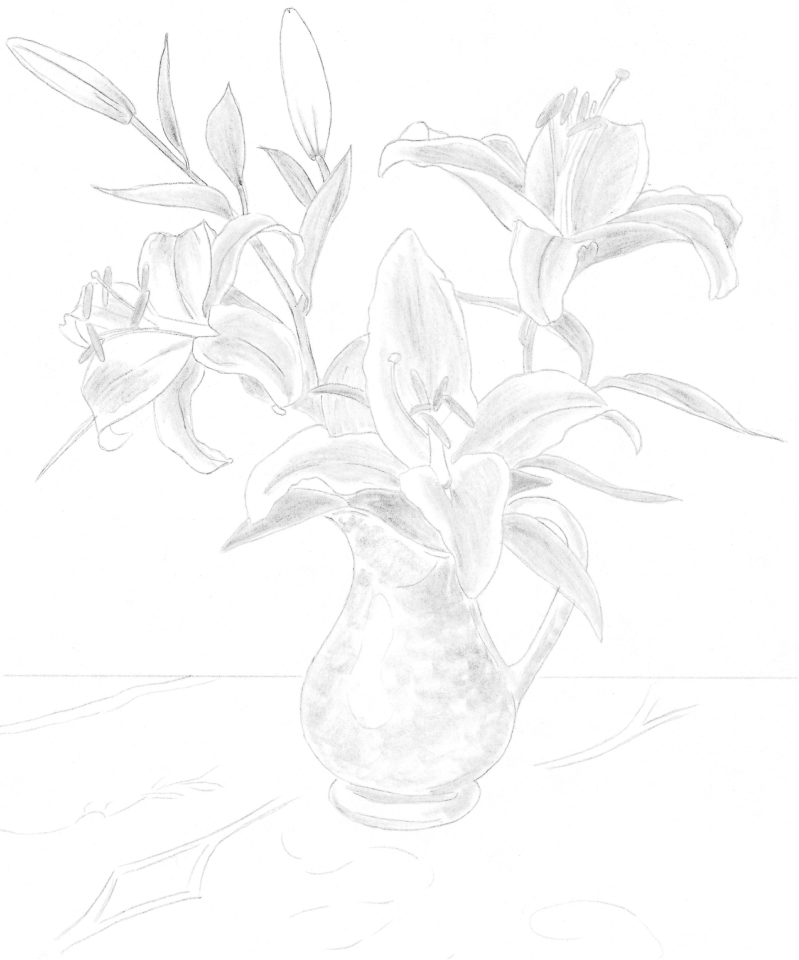
Step 2 I use carbon dust on a stump to apply the first layer of shading, so no pencil strokes are visible. I establish some tone in the flower stems, and then I apply carbon dust to the leaves, making my strokes follow the direction of the leaves. I work freely, adding a little more tone where the leaves are darker and lifting out some light tone in the petals of the flowers where they are pink. I use long, curving strokes following the form and folds of the petal. I keep the tones light and remember to retain the white borders of the flowers. I use the tip of the stump to give a very soft texture to the small, oval shape of the pollen-covered anther. Then I use a large stump and circular strokes to shade the brass pitcher. The texture is fairly consistent at this point.
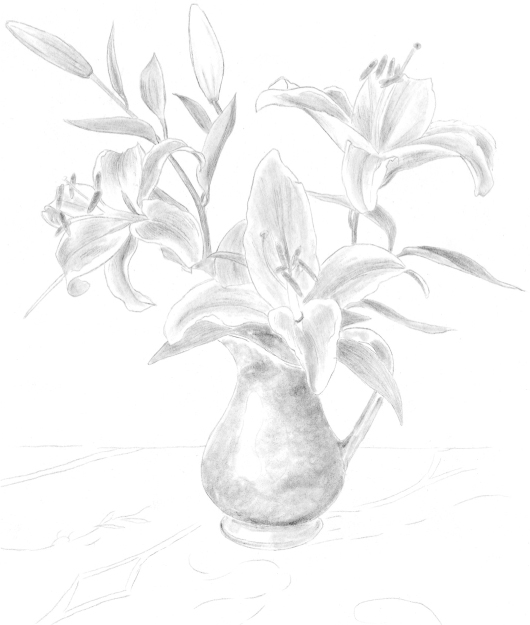
Step 3 I use a 2B pencil to add more tone to the stems, using long strokes along the length of the stems to show their strength and smooth lines. I do the same with the leaves. Then I carefully start adding tone to the petals. The color value is usually darker in the center and at the base of the petal, so I use a little more pressure in these places. I use a 6B to add a bit more texture to the anthers and the stigma. I shade the style with a 2B and use a curved, dark stroke at the base of the flower where the pistil and stamen emerge. There are two buds that have not yet opened, so I add just a little shading where their soft petals join the stem. I deepen the values of the pitcher using circular strokes, and then I blend the strokes. I place darker tone at the base of the pitcher and along the handle.
Step 4 I return to the stems and leaves to fully establish their even textures and the value of their green color, which is much darker than the value of the pink petals. I use a 2B, again using long strokes, to deepen the shadowed side of the stem by going over it with the point of a small stump. I shade the leaves, and I use a 4B in the darkest areas, such as at the base of the arrangement. While I am working on the leaves, I begin to alternate between a pencil and a blending stump. I allow some strokes to be more obvious to capture the appearance of the veining in the leaves. I also darken the undersides of some of the petals, keeping the strokes very soft looking. I take my 6B pencil and use the side of it to shade the pitcher irregularly. Then I lift out to maintain the highlight. I add some tone to the table where the cast shadow falls and then wipe it with a chamois cloth to smooth it.
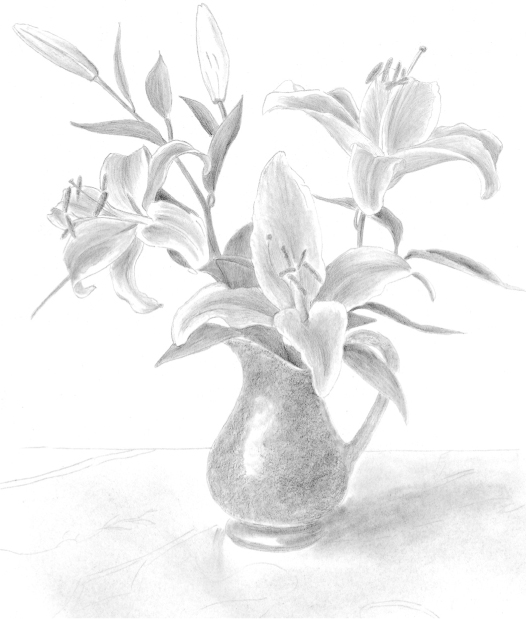
Step 5 At this point, my values and forms are well established, so I focus on refining the shading to show more texture. I use a pencil, a stump, and an eraser to create even tones and delicate transitions between strokes. I use the point of my pencil for small cast and form shadows, such as where the buds and the base of the leaf attach to the stem. I delicately shade the tight, smooth buds using an HB and long, light strokes. I smooth the tone on the velvety, soft petals and then touch up the edges, further defining the petals. I use a 4B with tiny, circular strokes to shade the anthers, adding to their pollen-laden roughness. I add more tone to the pitcher with a 6B, keeping it darkest on the side that is farthest away from the light and leaving the strokes rough to show the metallic texture. I lightly lift some tone from the edge of the right side of the pitcher to indicate the reflected light.
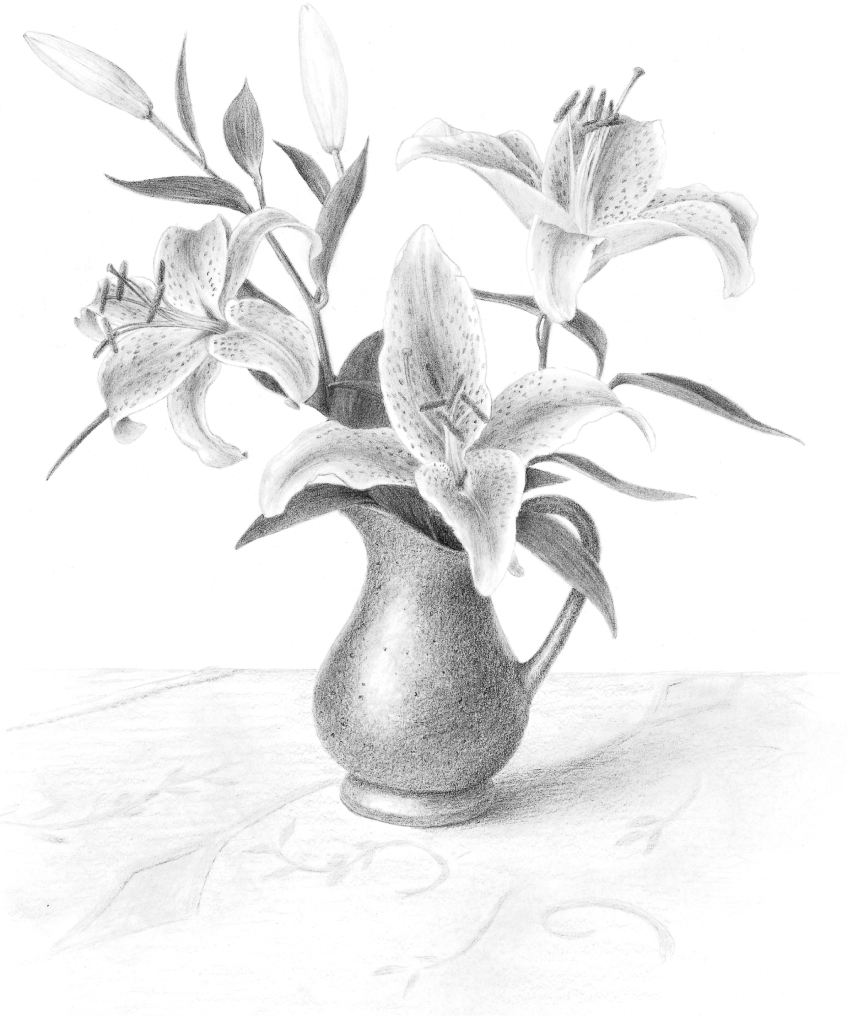
Step 6 I again darken the leaves with smooth, steady strokes, and then I use my kneaded eraser to lift out some thin venation lines. For the petals, I further refine the tonal shading using an HB, a stump, and an eraser. I lift out the white borders of the petals, and I add the flat spots that are so characteristic of the lilies. I also define the stamens and the pistils, strengthening the tone at the base of the flower where they merge. I smooth out the tones of the pitcher using a 4B with small, circular strokes, and then use the point of the pencil to better define the edges of the hard metal where there is a thin line of shadow at the base. I stipple in some dots with a 6B and randomly dab with the tip of the eraser to create the feel of the pitting. I add very light tone on the table using horizontal strokes with the side of the pencil. I use just a little pressure to deepen the embroidery pattern of the tablecloth. I also darken the shadow cast by the arrangement.