

Digital photography is part image capture, part digital darkroom work. This section covers getting properly equipped for the latter – you'll find tech talk here on computers, hard drives, memory cards and accessories that gives you some ideas for your own digital darkroom.
Here's a picture, courtesy of Apple, of the home computer I am currently using. I'd show you mine, but it's under my desk and it's surrounded by a rat's nest of wires and cables – which does not make for a nice opening illustration for this chapter. So please forgive me for using a product shot.
It's a Mac Pro with a Quad-Core Intel Xeon processor and 4GB of RAM. Here's why that info is important: speed. The combination of the Quad-Core processor and 4GB of RAM lets me process my RAW files at speeds that were unheard of just a few years ago.
The computer has a 500GB internal hard drive and a 700GB internal backup hard dive. Time Machine, an Apple application, automatically backs up my hard drive to the backup drive. With all that space, I have plenty of room to store my many thousand photographs. However, as you'll read in a few pages, I also use additional back-up drives as a precaution – because hard drives can fail.
When buying a computer, if you have to choose between a larger hard drive and more RAM, go for the RAM. The more RAM you have, the faster you can process your images. You'll especially notice the improvement in speed when you apply filters and other effects to your images. You'll also notice it when you are browsing through folders of your large files.
I have been using Apple computers for 30 years, and people ask me all the time if a Mac OS computer is better than one running Microsoft Windows. I reply, "Is a Chevy better than a Ford?" The point: Use a computer you feel comfortable driving. Both Windows and Mac OS computers will get you to the same place. Personally, however, I think Mac OS models have a better operating system.
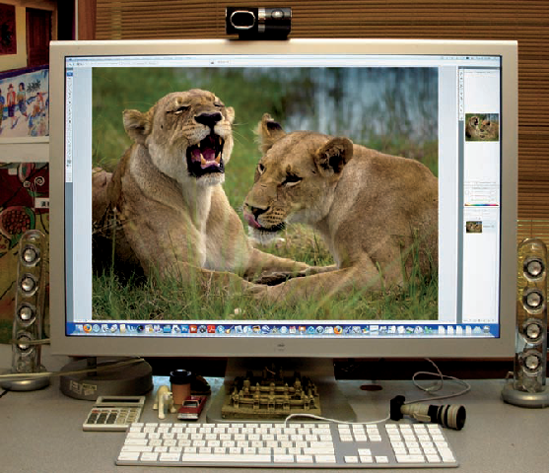
Your monitor is basically the palette on which you "develop" your images – fine-tune color, contrast, sharpness, brightness, adding creative effects and so on. If you are serious about your photography, get the best monitor you can afford.
I like to use a large monitor, the Apple 30-inch Cinema Display. At that size, I have a wide-screen, HD-quality view of my images, which allows me to check out all the details in a relatively large image. The monitor is large enough that I can view my images and adjustment windows simultaneously.
However, my business partner, David Leveen, prefers to use two monitors, as you saw illustrated in the lesson on how to Avoid Hard Flash Shadows in the Photographing People chapter. Like some pros I know, David uses one monitor to view the image, and the other monitor for his tools and adjustment windows.
Some tips on monitors: First and foremost, calibrate your monitor. If you don't, you will not get prints that match the image on your monitor. Popular calibration devices include the Spyder2Express, GretagMacbeth Eye-One Display 2, and the Huey Pro. Do a Web search on these devices and on monitor calibration, and you'll find examples that illustrate why it's a must that you calibrate your monitor.
After you calibrate, keep the room light constant. If you don't, the images on your monitor will look different at different times of the day and when you turn different lights on and off. Black shades and a constant light source are a good investment to keep the room light constant.
I believe Apple monitors don't have to be calibrated as frequently as monitors used with Windows-based computers. But no matter what kind of monitor you use, it's a good idea to calibrate it from time to time.
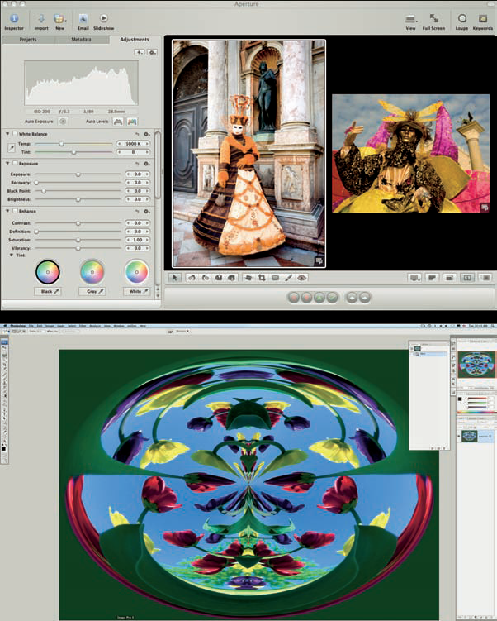
Most of my photographer friends use at least two image-editing applications: Photoshop plus Aperture (as I do), or Photoshop plus Lightroom.
Photoshop (bottom image) is the most powerful image-editing application on the planet. You think it, and Photoshop helps you create it.
Apple's Aperture (Mac OS only) and Adobe's Lightroom are also powerful image-editing applications – and they are getting more powerful all the time because they accept Photoshop-compatible plug-ins. They are also fantastic file management applications, letting you name, stack, sort, file and find images easily at super-fast speed. What's more, both applications were created for photographers, while Photoshop was actually created for designers. One more thing: You should be aware that Photoshop costs about three times as much as Aperture and Lightroom.
I use Aperture to import my images into my computer, and to name, sort and find them. I also do basic image enhancements in Aperture.
For fanciful images, such as the bottom image you see here, I use Photoshop.
End of story: I suggest using Aperture or Lightroom for most of your work, and Photoshop for special and sophisticated effects.
Okay, that's the end of this lesson.
Only kidding, at least in part. You see, you must back up your files in at least two places because hard drives can crash, causing you to lose all your valuable images. That is unless you don't mind paying $7,000 for a data recovery service to recover data from a crashed hard drive.
Although I have Apple's Time Machine software on my Mac Pro and an internal back-up hard drive, I still back up my photos on two accessory hard drives. I keep one in my office and one in my house. That way, in case of a fire or theft, I still have all my files.
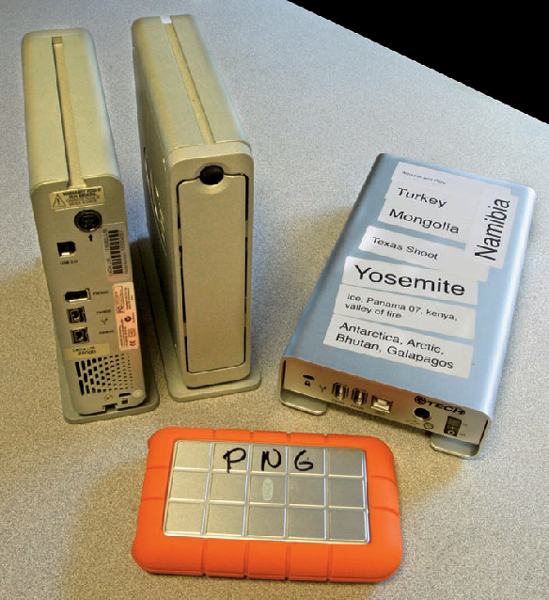
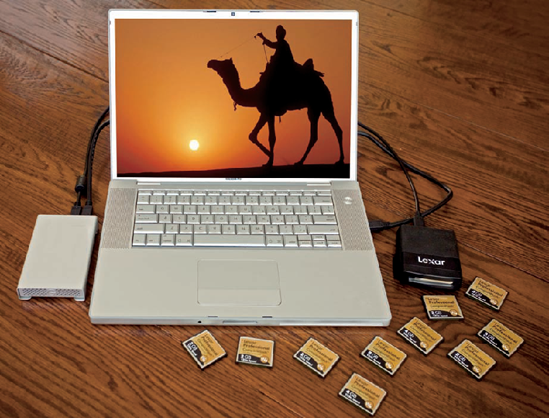
At home, I store my images on 250GB hard drives, and label them so I can easily find my photos. On location, I travel with a 160GB hard drive (the drive pictured here with the orange cover.) These portable drives run off power from the computer, so an AC adapter is not necessary.
In choosing and using accessory hard drives, make sure you have the right cables for the drive's connection ports so you can hook up your drives to your computer. The drives you see here have ports for FireWire 400 and FireWire 800 cables. My MacBook Pro laptop computer has ports for both, but my MacBook laptop only has a FireWire 400 port. When I travel, I make sure that I have the right cables for getting my pictures from my card reader to my computer.
I don't store any images on CDs or DVDs, because burning disks takes forever compared to writing files to a hard drive.
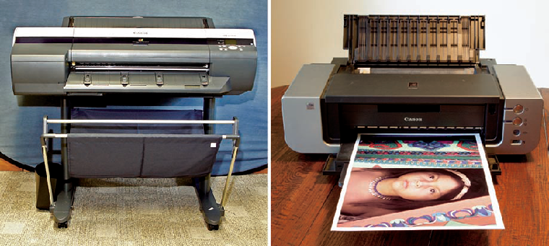
Most photographers don't realize that it is the inkjet printer that has driven the digital revolution – putting the control of the final image in the hands of the consumer.
Printers come in many sizes and cost from under $100 to several thousands of dollars. Basically, you get what you pay for, so if you are serious about making great prints, get a good photo-quality printer. Keep in mind that as the number of ink tanks increases, so does the image quality.
I use two printers. My Canon iPF 6100 (left) is a floor-standing, large-format, 24-inch printer that accepts both sheet paper and roll paper (for large prints, banners and panoramas). With a 12-color ink system, this printer can't be beat for color and big prints! My Canon Pixma Pro 9000, which fits on a desktop, makes prints up to 13×19 inches and features an 8-ink tank system. I use this printer for smaller prints.
When making a print, it's important to choose the correct paper and quality setting (in the printer's driver) to match the paper. Choose the wrong setting or paper, and your print may look like mush.
From time to time, run the printer's maintenance program. It aligns the print head and cleans the nozzles to ensure you get the best quality print.
Also keep in mind that you don't need to print a super-large file to get a great print. That will just slow down the printing process. For most prints, an image resolution of 360 PPI for the print's image size will give you a great print.
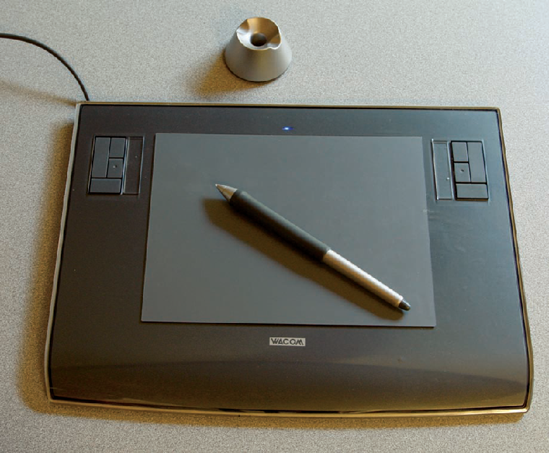
For the serious Photoshop, Aperture and Lightroom users, a Wacom® tablet with a stylus is a must. The pressure-sensitive stylus acts like a paintbrush, giving you precise control over the brushes in Photoshop, Aperture and Lightroom. Compared to using a mouse, it's like the difference between a painter painting with a fine paintbrush and a sponge (or a sock).
Several different models of Wacom tablets are available. Wacom Intuous® 3 tablets come in different sizes, from 4×6 inches to 12×19 inches. Mine is 6×9 inches.
Wacom Cintiq® tablets are also available in different sizes. The cool thing about these tablets is that they feature built-in, full-color monitors, so you "paint" directly on the tablets for the ultimate in creative control.
For more information, see www.wacom.com.
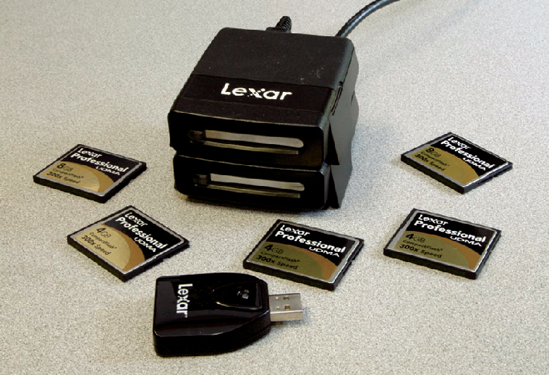
Your camera comes with a cable that lets you hook it up directly to your computer for downloading your pictures. Memory card readers, however, provide faster downloading – which is great for type-A photographers like me! In fact, I am so hyper that I use two card readers hooked up in tandem for even faster downloading.
Speaking of speed, not all card readers are created equal. Before you buy a card reader, check its specifications on the Web and compare it to other card readers. What's more, the type of cable you use affects image transfer speed. For example, a FireWire 800 cable provides faster transfer speed than a FireWire 400 cable, which provides a faster transfer speed than a USB cable.
When you travel, don't forget your card reader or readers. I travel with my Compact Flash card readers (stacked in this photo) to download my digital SLR images, and my SD (Secure Digital) card reader to download my compact camera images.
As always, a backup is a good idea when traveling far from home.
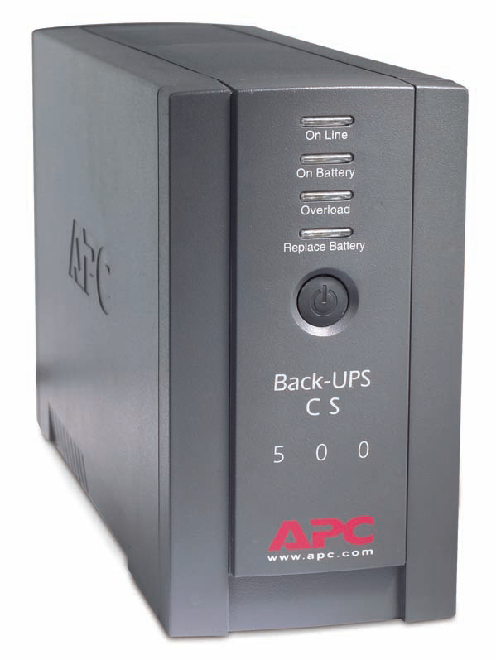
Here's another product shot, this time of my APC Back-UPS CS 500 power backup unit. Again, the rat's nest of wires around my unit does not make for a pretty picture.
Simply put, you must have a power backup unit. It will keep your computer running on battery power for a while if the AC power fails. It will also protect your computer from power surges, which can zap your motherboard and hard drive.
From time to time, check the unit's battery life with the supplied software.
On my workshops, I (as well as most of the participants) travel with a laptop, a card reader and a backup drive or drives. Image processing programs (Photoshop and/or Aperture/Lightroom) are loaded on their laptops, complete with the latest RAW plug-in or application update so that RAW files can be opened. That's an important point. If you have a new camera and don't have the latest RAW plug-in or application update, you may not be able to open your RAW files. That has happened to a few of my workshop participants, who were not happy campers.
When traveling, pack an AC power strip so you can charge your computer and camera battery at the same time. When visiting a foreign country, make sure you have the correct power adapter plug, which you can find at electronic stores.
If you will be on an extremely long flight, you may want to pack an extra laptop battery or bring an airplane power adapter. First Class and Business Class seats have outlets, but you may not find them in Economy Class – which is where I usually hang out.
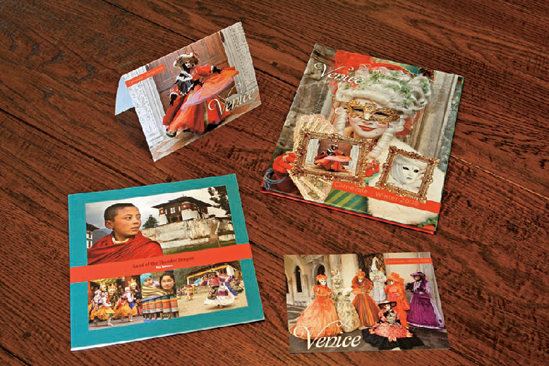
Well, it's not exactly in your home digital darkroom setup, but you do have access to it from there! It's your on-line lab – more specifically, the lab's Web site to which you upload files for prints and press products – including the soft- and hardcover books, postcards and folded cards you see here.
I use Mpix.com. Even though they are located in Pittsburg and Kansas, I'm able to upload images from my home in Croton-on-Hudson, New York. Mpix still turns around prints and press products in 24 hours. How cool is that?