Now, let’s talk about the actual Keyboard mode in GarageBand for iPad and all of its wonderful capabilities. Even if you’re a veteran keyboardist, like myself, I think you’ll be impressed by its capabilities. I know I was! Why? Because Apple really did try to include capabilities for everyone. If you’re a synth enthusiast, you get the knobs, arpeggiator, and other goodies that you expect. If you’re new to all of this, just bring up the Keyboard mode and start playing. You can’t break anything.
And, if you just want some good piano...well, you’ve got that, too. Apple really did its best to make everyone feel at home.
Let’s take a look!
Go back over to the Arrangement page and tap on the keyboard track that you created for the last exercise. If you tap exactly on the small keyboard picture, you should get the option to delete—press it (see Figure 6.1). Or, again, if you’re starting a new song, simply flick over to Keyboard.
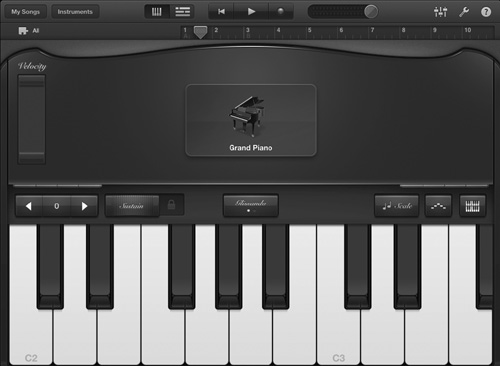
Keyboard mode always starts with the Piano preset. Notice that you still get the beautiful, polished black surface. But in this mode, you can actually play the keyboard as if you were on a real keyboard, synthesizer, and so on (see Figure 6.2). Try it out!
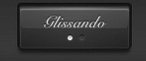
You’ll also notice a few other buttons in this mode that you didn’t see in the Smart Keyboard mode. For example, There’s the button labeled Glissando (see Figure 6.3), which is actually “flickable,” meaning you can flick the button to the right or left. In Glissando mode, this just means that if you wave your finger over the keys, you’ll go from key to key. If you flick over to Scroll mode, scrolling over the keys will allow you to move up the octaves of the keyboard. Try it out!
You also have the Sustain switch again (see Figure 6.4). Remember from the previous chapter? This just allows you to sustain the notes longer as you tap a key.
To the far left, you’ll see two arrows on either side of a number, as shown in Figure 6.5. The number indicates what octave you’re working in (how high or low you are playing on the piano). If you press the left arrow, you go down an octave. This makes your piano notes sound lower, because you’re playing farther down the piano. The right arrow makes you go up. The number will always let you know what octave you’re working in. Try it out!
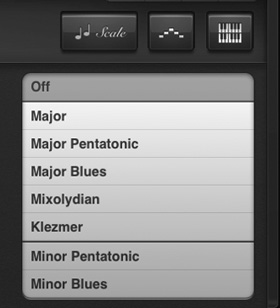
Next, you’ll see a button called Scale (see Figure 6.6). This button allows you to play in different musical scales, such as Major, Major Blues, and so on. When you enter one of these scales, you’ll notice that the keys change from regular piano keys to bigger lanes (not shown). This is because when you’re in a scale, the black and white keys don’t exactly play together the same way anymore. So, Apple just made it easier. Try out some different scales.
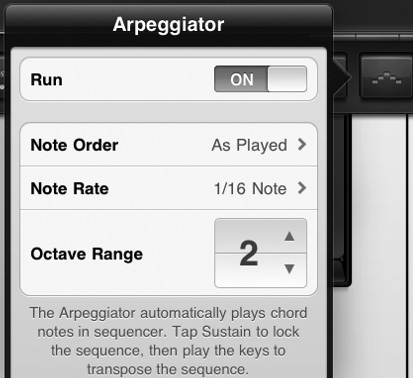
Now, let’s be frank. It can be hard to sound like a pro when you’re using a small touchscreen keyboard. But, by using the arpeggiator, you can sound like a prodigy with a quickness. If you press the small pyramid button, you’ll get a small on/off switch. Turn it on and take a look at Figure 6.7.
Tap the Arpeggiator button again to exit the menu, and now try holding two keys together. Notice how they play multiple notes now—and in time. The arpeggiator will essentially play multiple notes inside the keys that you are playing. This is great for making quick melodies on the fly, generating new ideas based on notes that you’ve chosen, and so on. Play several keys together and see what you think.
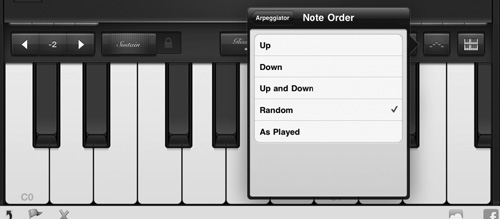
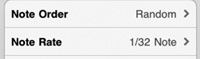
If you go back in to the arpeggiator menu, by pressing the pyramid button again, you can also adjust how the arpeggiator plays for you (see Figure 6.8). Note order is what direction the arpeggiator plays. Up, down, random? Choose whichever sounds good to you. Note rate determines how fast the arpeggiator plays (see Figure 6.9). If you choose 1/32, it’s really, really fast. If you choose 1/4, it’s pretty slow. You can’t go wrong if you look at the number. But the most fun is to experiment. Try adjusting the rate and order now.
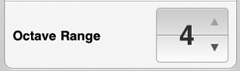
Finally, in the Octave Range setting (see Figure 6.10), you can choose how high or low (depending on the Note Order setting) the arpeggiator will go in terms of octaves. Basically, if you choose 4 octaves, you’ll hear the arpeggiator play many more notes than if you chose 2. Also, these notes will go much higher in 4 than in 2. Try it now!
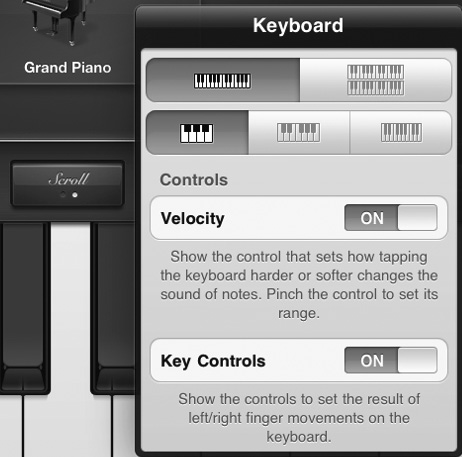
Last but not least, there is the Keyboard Mode button. It looks like two keyboards on top of one another (see Figure 6.11). Press this button now.
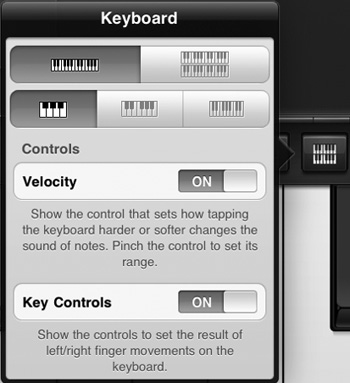
In this mode, you get several options. The topmost toggle buttons allow you to choose whether you want to see one or two keyboards on the screen (see Figure 6.12). Two keyboards are great because this allows you to play with two hands more easily—meaning you can play lower keys with your left hand and higher keys with your right. Just like a real pianist! Try switching to this mode now.
In the two-keyboard mode, I recommend using Scroll mode (see Figure 6.13) to set the bottom keyboard up on the lower notes and using Scroll on the higher keyboard to go to the higher notes. Try flicking Glissando over to Scroll and then flicking the keyboard left or right. If it says Scroll already, simply start flicking the keyboard left or right. Try it now.
Press the Single Keyboard mode button in the Keyboard menu to go back to a single keyboard (see Figure 6.14).
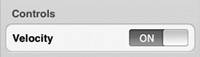
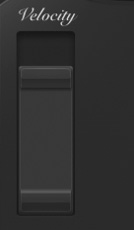
When you return to single-keyboard mode, you’ll notice the Velocity On/Off switch returns (see Figure 6.15). When you enable this, you’ll see a velocity bar appear in the left-hand corner of the screen. Turn it on now.
With the Velocity slider, shown in Figure 6.16, you can set a pre determined amount for how hard the keyboard will play every time you touch it. For example, when you play a piano key hard, the piano will play very loud. If you touch a piano key softly, you’ll get a very soft tone. If you push the slider all the way up in Velocity On, your notes will always sound harder, louder, and so on. If you lower the slider, the notes will always play softer. Try adjusting the slider now.
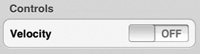
If you turn the Velocity mode off in the Keyboard Mode menu, you determine how soft or hard the notes are by how firmly or softly you press the keys on your iPad. Turn off the Velocity mode (see Figure 6.17) and try tapping keys firmly and softly now.
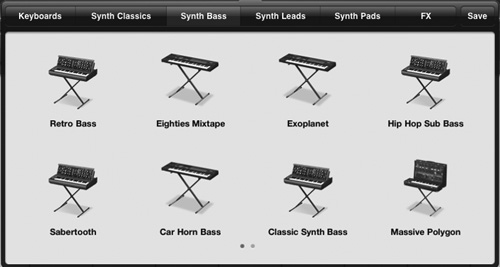
Pretty cool, huh? Well, what if you want to play a different type of keyboarded instrument? Simply press the Grand Piano button. This will give you an entire menu of options, as shown in Figure 6.18. There are tons of keyboards in GarageBand. Try a few different ones now!
Keyboards are a blast, huh? And we’ve learned a ton about them. Now, let’s try moving over to the dark art of music technology—sampling. I’ll see you in the next chapter!